
Most hobbyist birders who shoot a DSLR with a long lens are not unhappy with their images.
They want to know whether a mirrorless body would turn more of their frames into keepers, and whether the switch costs them something in the field.
For mirrorless vs DSLR for bird photography, two factors decide the answer: how each system finds and holds focus on a bird in difficult conditions, and how long each body lasts on a full day out.
Sensor size, lens choice and card speed matter too, but they have their own articles: full frame vs APS-C covers the sensor, prime vs zoom covers the lens, and the card comparison covers buffer clearing.
This piece stays with autofocus behavior, viewfinders and power.
What a DSLR Still Does Well for Birding and Where It Runs Out
A DSLR sends light up through a mirror to an optical viewfinder, and a separate phase-detect autofocus sensor sits below the mirror.
That design has real strengths for birding.
The optical viewfinder shows the scene with no processing delay and no blackout beyond the brief mirror slap.
It draws no power, so the battery only works when you focus, meter and shoot.
The best DSLR bodies built for action have fast, confident phase-detect modules that lock quickly on a contrasty subject.
The limits come from the layout. The dedicated autofocus module covers a cluster of points that sits mostly in the middle of the frame, with large empty areas toward the edges.
A bird that lands off center forces you to point the active point at it, focus, and recompose, or to use the outer points that tend to be less sensitive.
Tracking relies on the camera’s metering sensor reading color and pattern, which is a coarse description of a small, fast bird against leaves.
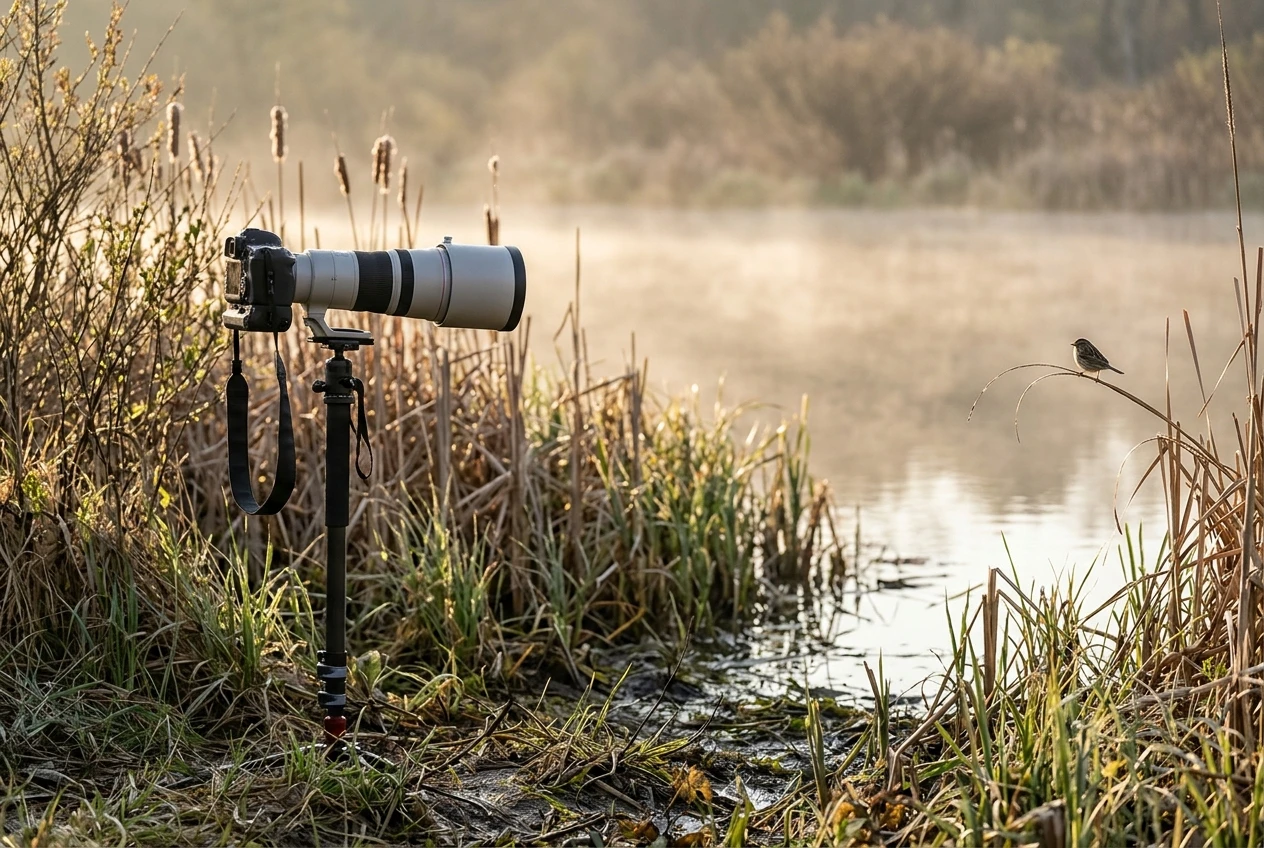
A DSLR also has no concept of an eye. It focuses on whatever sits under the active points, so the burden of placing a point on the bird’s eye, head or body falls on you.
Hold it steady on a perched bird and a good body does this well.
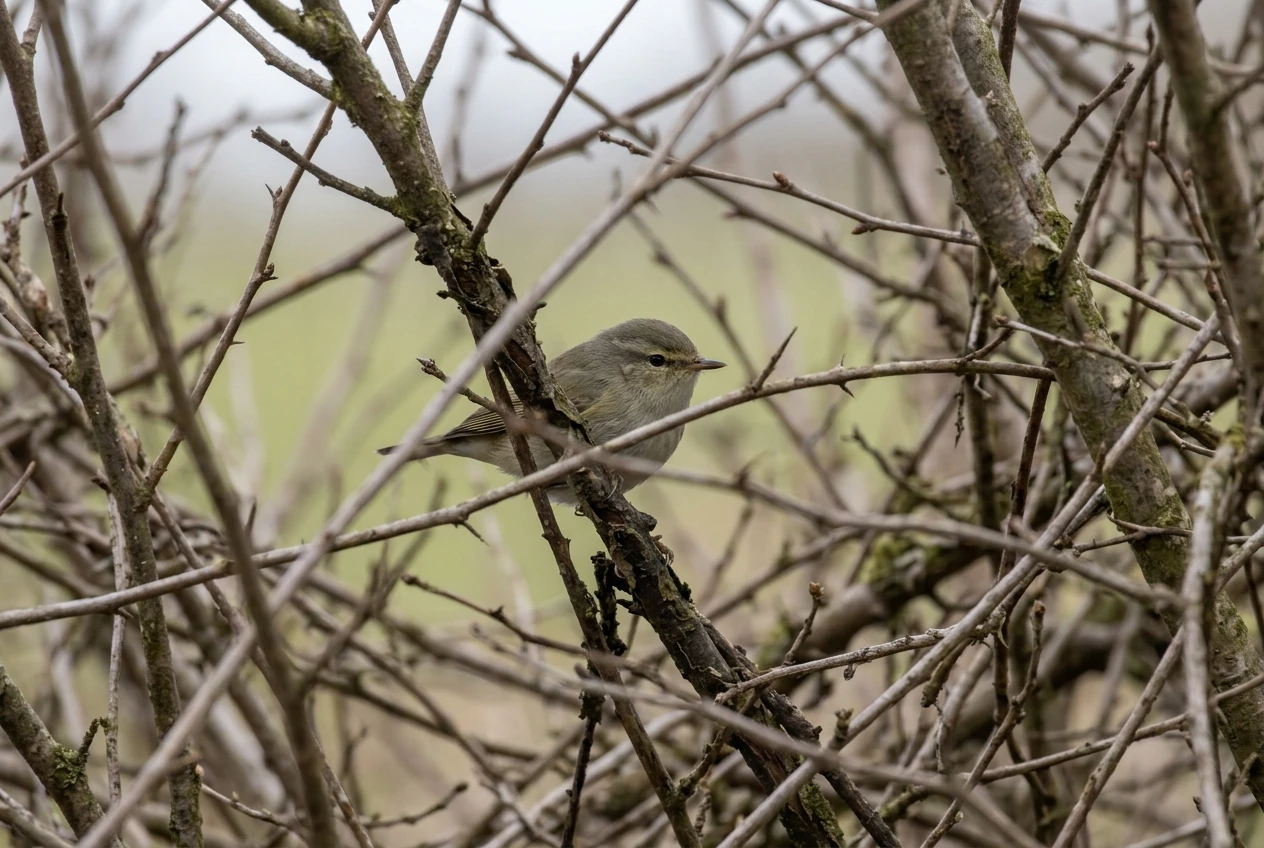
Keep it there on a warbler moving through branches, or a tern turning in flight, and the missed frames pile up.
How Mirrorless Subject Detection Actually Works: Eye, Head and Bird Recognition
A mirrorless body focuses using the image sensor itself.
Phase-detect points are built into the sensor and cover most of the frame, and the processor analyzes the live image continuously.
Subject detection runs on top of that. Current mainstream bodies from the major manufacturers include a bird or animal detection mode, trained to recognize bird shapes.
The recognition works in layers.
The camera first looks for a bird, then for a head within the bird, then for an eye within the head. The autofocus point moves to the deepest layer it can resolve and falls back to the next one if it cannot.
This matters in practice for two reasons.
- Eye size in the frame sets the layer. When the eye is only a few pixels across, as with a small bird at a distance, the camera usually settles on the head or body. The eye layer takes over when the bird is large enough in frame.
- The camera follows the subject across the frame. You do not need to place a point on the bird. Put it anywhere in the frame, and once it is recognized, the focus area moves with it.
Setup matters.
Detection has to be switched to birds, not people or “all subjects” if your body offers a choice, and the area mode must allow tracking across the frame.
Some bodies need subject detection enabled separately from the auto-focus area.
Check which setting your model uses, because a camera left in a general tracking mode will not use bird recognition.
Where Detection Helps Most and Where It Still Fails: Branches, Reeds, Flight and Backlight
Detection does not help equally across all situations. Four common conditions show the pattern.
Clutter: branches and reeds
This is where mirrorless detection gains the most over a DSLR when the bird is partly visible.
A DSLR’s active point sits on whatever is nearest or most contrasty, so twigs in front of a bird pull focus.
A detection system that has recognized the bird will often hold the bird’s head while twigs cross the frame.
It does not solve everything. If a branch covers the eye, the camera falls back to the head or body.
If the bird is mostly hidden, as with a rail in dense reeds, the camera may not recognize it at all and will focus on the reeds.
In those cases, your options are the same as with a DSLR: a single small point, or manual focus. The article on manual focus for perched birds covers that approach.
Flight
A bird against clear sky is the easiest case for any system: a single subject on a uniform background.
Mirrorless detection acquires it with minimal effort, and then holds on during direction changes that would take a DSLR’s coarse tracking away from the point.
The harder case is a bird against trees, a cliff or a crowd of other birds.
Detection can jump to a different bird, or to the nearest one, when subjects overlap.
Keeping the bird roughly centered at the start of the track still helps, and so does starting the track early, while the bird is still large in the frame.
The same holds for fast shorebirds and small flyers: the first half-second after acquisition is where most of the lost frames occur.
Backlight
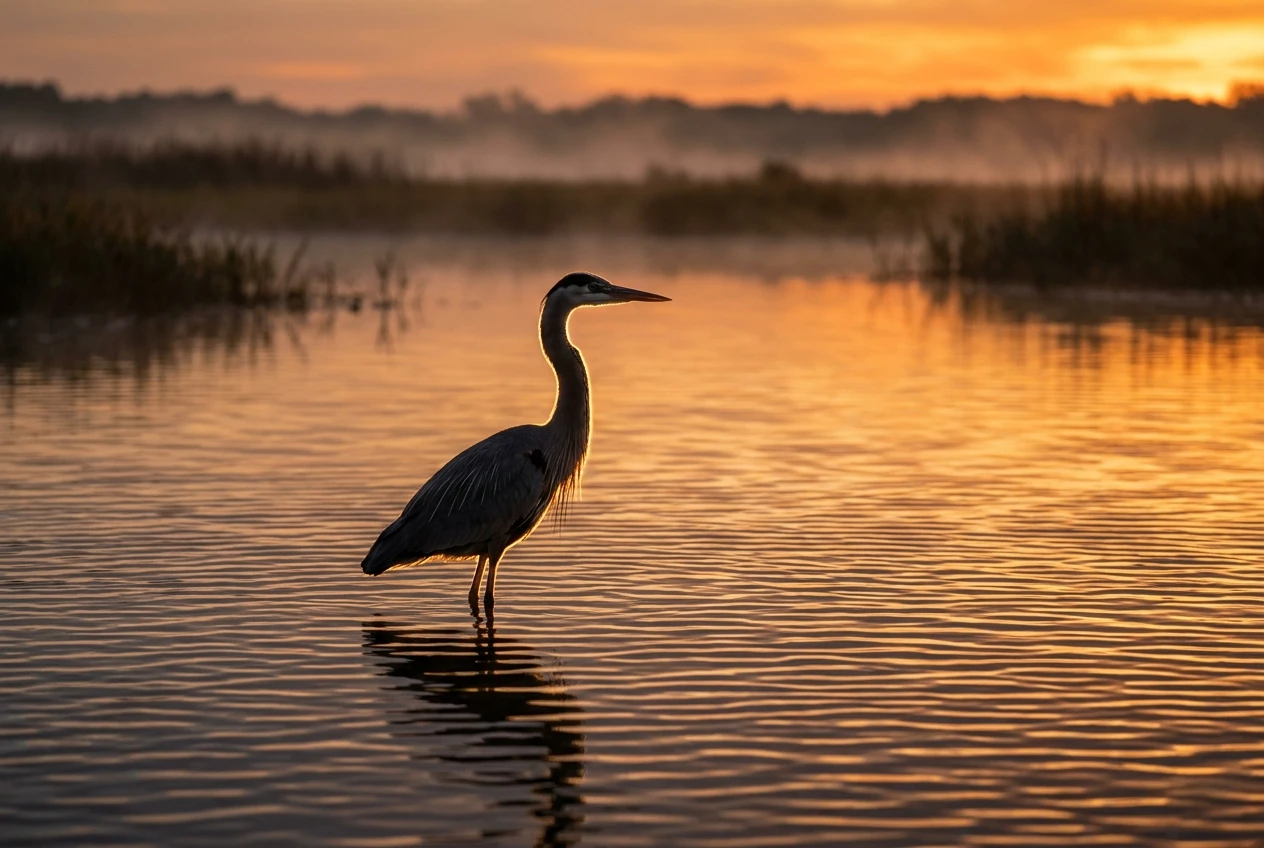
Backlight stresses both systems. In strong backlight, the bird’s face is in shade and the eye has little contrast with the surrounding feathers.
DSLR phase-detect modules lose sensitivity at the low end, and the points hunt.
Mirrorless sensors read the scene with the exposure you have chosen, so detection depends on how the bird looks in the preview.
If you are exposing for the bright background and the bird is a silhouette, the camera has little to recognize.
Exposing a little brighter for the bird, even at the cost of a clipped background, often gives detection a face to find.
If you are shooting this kind of light on purpose, the planning advice in Painting With Light applies.
Dark eyes on dark heads
Cormorants, some ducks and many dark-plumaged birds have eyes that do not stand out.
Eye detection can fail on these, and the camera falls back to the head, which is usually enough to get a sharp image at moderate apertures.
Wide-open apertures on a large lens leave little tolerance, so check your first few frames at full magnification.
Battery Life Compared: Why an Electronic Viewfinder Changes How You Plan a Birding Day
A DSLR’s optical viewfinder consumes no power.
The battery runs the autofocus module, the shutter, the lens motor and the rear screen when you use it.
Many DSLR bodies are rated for far more shots per charge than their mirrorless counterparts, and in the field that gap is noticeable.
A mirrorless body powers the electronic viewfinder, or the rear screen, continuously while you compose.
It also runs the sensor, the subject detection processing and often in-body stabilization whenever the camera is awake.
The drain is steady and does not depend on how many frames you take. A long wait for a bird at a feeder or a nest burns battery at nearly the same rate as a flight sequence.
Published battery ratings are measured by a standardized procedure with a fixed pattern of shooting and flash use.
They allow comparison between models but do not match a day of birding with long idle stretches and short bursts. Treat the rated figure as a ranking, not as a count of the frames you will get.
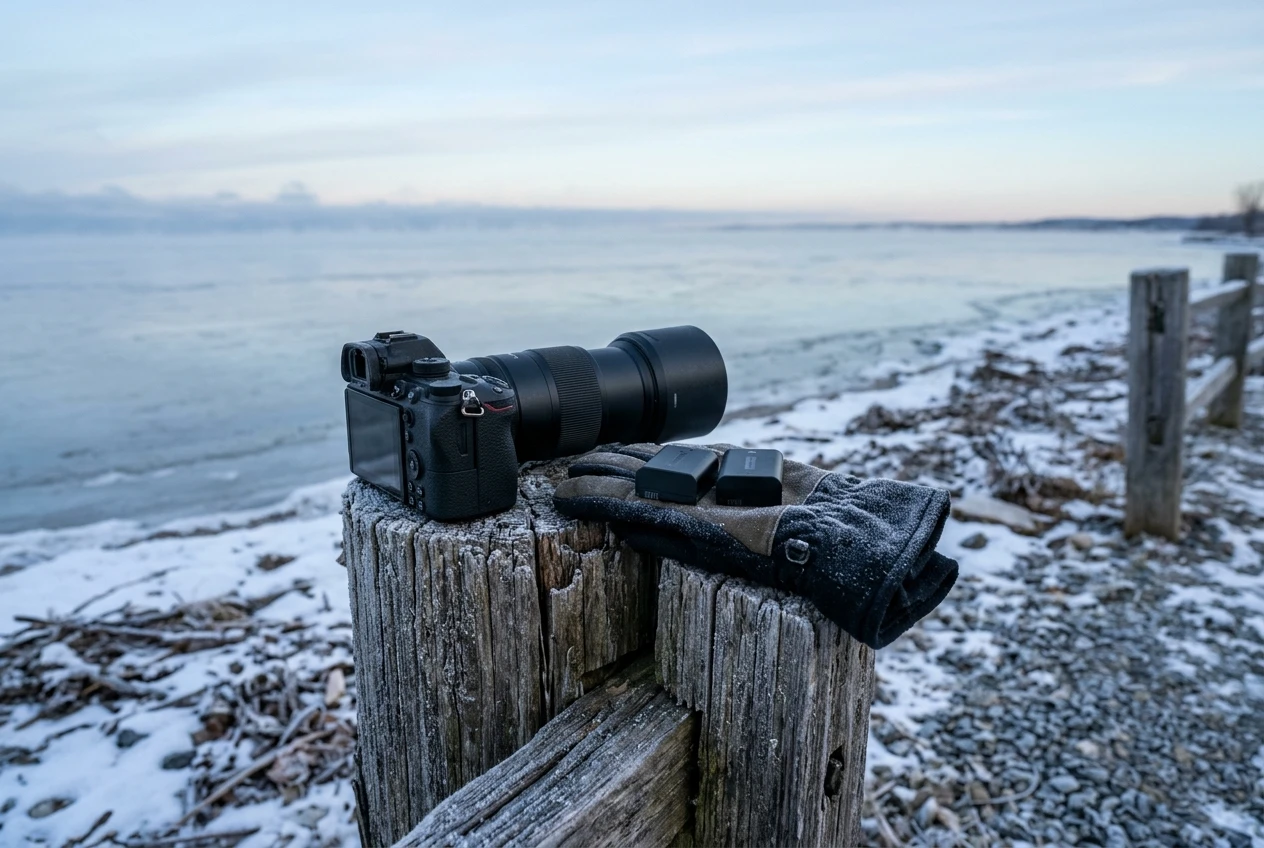
Temperature changes it further. Cold reduces the usable capacity of lithium-ion batteries, and a pack that lasts a full morning in mild weather may fall off early on a winter shoreline.
The gear protection guide covers cold-weather handling in more detail, including keeping spare batteries warm.
A few habits reduce drain on a mirrorless body without cutting into your shooting:
- Turn off image review, or shorten it, so the screen is not lit after every burst.
- Use the viewfinder eye sensor so the rear screen stays off when the camera is at your eye.
- Switch to a power-saving mode or shorten the sleep timer when waiting, and wake the camera with a half-press.
- Switch off features you do not use, such as continuous Bluetooth or Wi-Fi connections.
- Carry at least one spare battery as standard, and two for a full day, and keep the camera’s battery grip or USB power option in mind if your model supports it.
The practical result is that a mirrorless body changes how you plan, not whether it can last.
Where a DSLR user might carry one spare for a day, a mirrorless user should treat two batteries as the baseline.
Spares are small and light compared with any long lens, and the camera bag checklist covers where they fit.
Optical vs Electronic Viewfinder in the Field: Lag, Blackout and Seeing the Bird Land
The viewfinder is the other half of the power question, and it also changes what you see.
An optical viewfinder is the scene itself.
There is no lag, no frame rate, and no processing. When a bird takes off, you see it at that moment.
The disadvantage is that you see the scene as your eye sees it, not as the camera will record it. Exposure compensation, white balance and picture style do not show, and you check them on the rear screen afterward.
An electronic viewfinder shows the image the sensor is capturing, with your exposure applied.
For birds in backlight, or against bright water, that preview lets you adjust compensation before you shoot, with a result that matches the frame.
You also get focus peaking, magnified focus and, on many bodies, an overlay showing the detected eye or head.
This is the strongest argument for the electronic viewfinder: you see what the autofocus system has chosen before you press the shutter.
The costs are lag and blackout.
Modern viewfinders have short lag, but it is not zero, and with a bird flying across the frame the displayed position is slightly behind the real one.
Panning with a fast flyer feels different at first, and most people adapt within a few outings. Blackout is more important.
During a burst on a mechanical shutter, the viewfinder can flicker or freeze between frames, which makes it harder to follow a bird.
Bodies with a fast sensor readout and an electronic shutter reduce or remove blackout, but fast-moving subjects under an electronic shutter can show rolling-shutter distortion, such as skewed wings.
Whether this appears depends on the body’s sensor readout speed, so check sample flight sequences for your candidate body.
Seeing the bird land is the reason birders with mirrorless bodies most often cite the electronic viewfinder: with a long lens at a pond edge, you can keep the bird in view through the whole burst on bodies with minimal blackout.
On an optical viewfinder, the mirror briefly interrupts the view at each frame, but the view between frames is immediate and natural, and many birders prefer it for sustained tracking.
Either preference is reasonable. If you can, try both in the field before choosing, since this part is personal.
Adapting Your Existing Lenses: What Carries Over and What You Give Up
The cost of switching depends heavily on your lenses.
Each of the major manufacturers sells an adapter that lets its DSLR lenses mount on its mirrorless bodies, and the adapter itself holds no optics, so image quality is not reduced by the adapter.
Canon’s EF-to-RF adapters, Nikon’s FTZ adapters for F-mount and Sony’s A-mount adapters are the common examples.
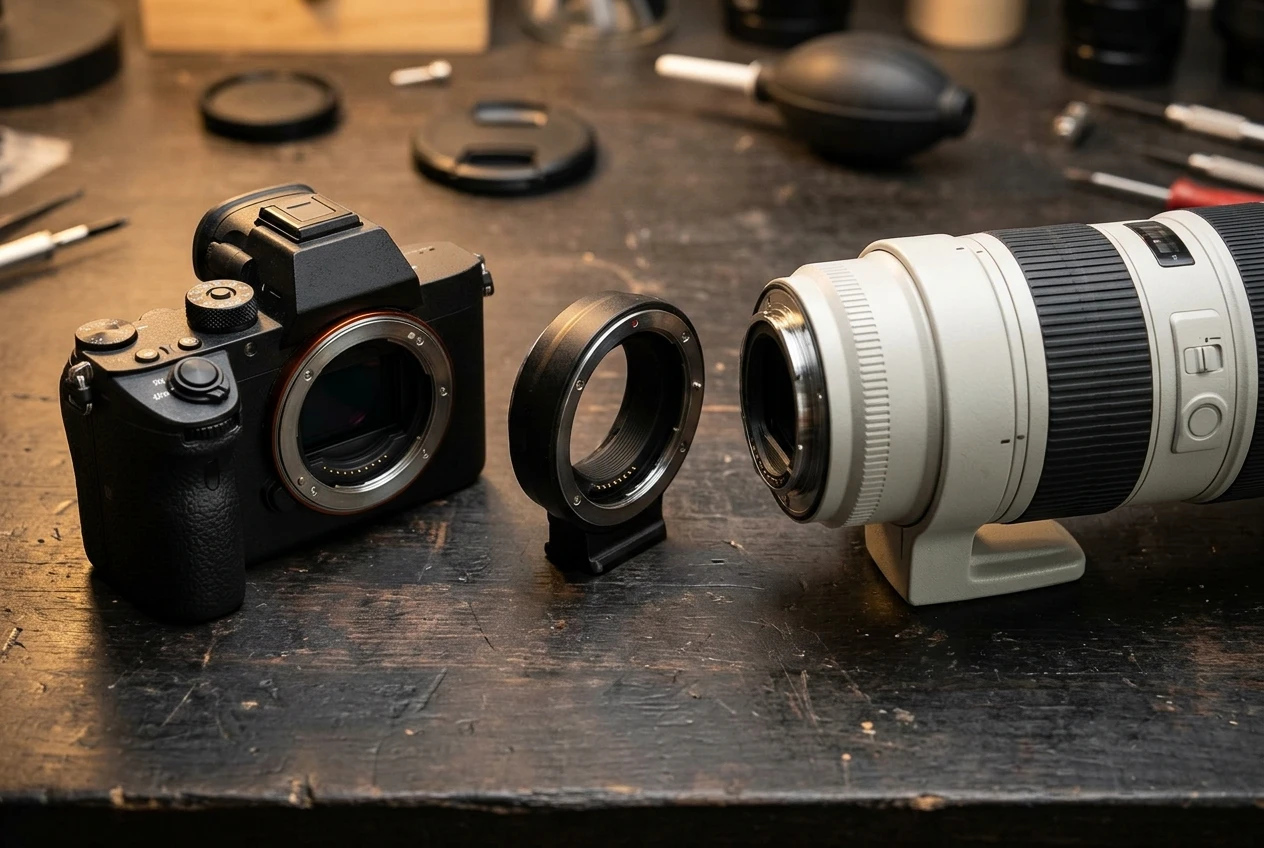
What carries over:
- Autofocus on lenses with their own motor. Lenses with built-in autofocus motors generally focus on the adapted body, and subject detection works at the body level, so it applies to them.
- Image stabilization and aperture control, which work through the adapter on recent lenses.
- Your investment in the glass. A long telephoto is usually the most expensive item in a birder’s kit, so keeping it matters.
What you may give up:
- Older lenses without a built-in motor. On some systems, lenses that rely on a motor in the camera body will not autofocus when adapted. Check the manufacturer’s compatibility list for your exact lens and your target body.
- Some tracking performance. Autofocus speed and burst rate with adapted lenses can fall below the figures achieved with native lenses, and the difference varies by lens. Manufacturer specifications are the place to confirm this for a given pair.
- Weight and balance. An adapter adds length and a little weight, which shifts the balance on a long lens. Your support gear matters here, and the monopod vs tripod article covers how to handle it.
Because most manufacturers have shifted lens development to mirrorless mounts, adaptation works best as a bridge.
Many birders adapt a lens for a year or two and then replace it with a native lens when the budget allows.
The best lenses guide lists current options.
Who Should Upgrade Now, Who Should Wait, and Who Should Keep the DSLR
Start with a diagnosis. Go through the frames you discarded from your last few outings and sort them by cause.
If most are soft because focus landed on a branch, the background or the wrong part of the bird, or because tracking was slow to catch a bird in flight, auto-focus is limiting you.
If most are lost to motion blur from too slow a shutter speed, poor light or composition, a new body will not fix them.
Upgrade now if:
- You regularly photograph birds in flight, or small birds moving through branches, and your lost frames are focus misses.
- You shoot in low or backlit light, where an electronic preview and eye detection give you more usable frames.
- Your lenses autofocus on the adapted system, or you are already planning to replace a lens.
- You can carry two or more spare batteries and charge between outings.
Wait if:
- Your lens will not autofocus when adapted, and replacing it would double the cost of the switch.
- Your DSLR body is working well and the budget would be better spent on a longer lens or a supportive head.
- You have not tried an electronic viewfinder and are unsure you would like it. Rent or borrow a body for a day before committing.
Keep the DSLR if:
- You mostly photograph perched birds from a blind or at feeders, where a single-point DSLR focus system rarely misses.
- You spend long days away from power and a few batteries are the practical limit.
- You prefer an optical viewfinder and your results are already what you want.
None of these is a penalty for staying.
A DSLR with a good long lens remains capable of excellent bird images, and the case for mirrorless is strongest where auto-focus is the bottleneck and weakest where it is not.
If you decide to move, compare current mirrorless bodies in the Avian Vistas camera buyer’s guide.