
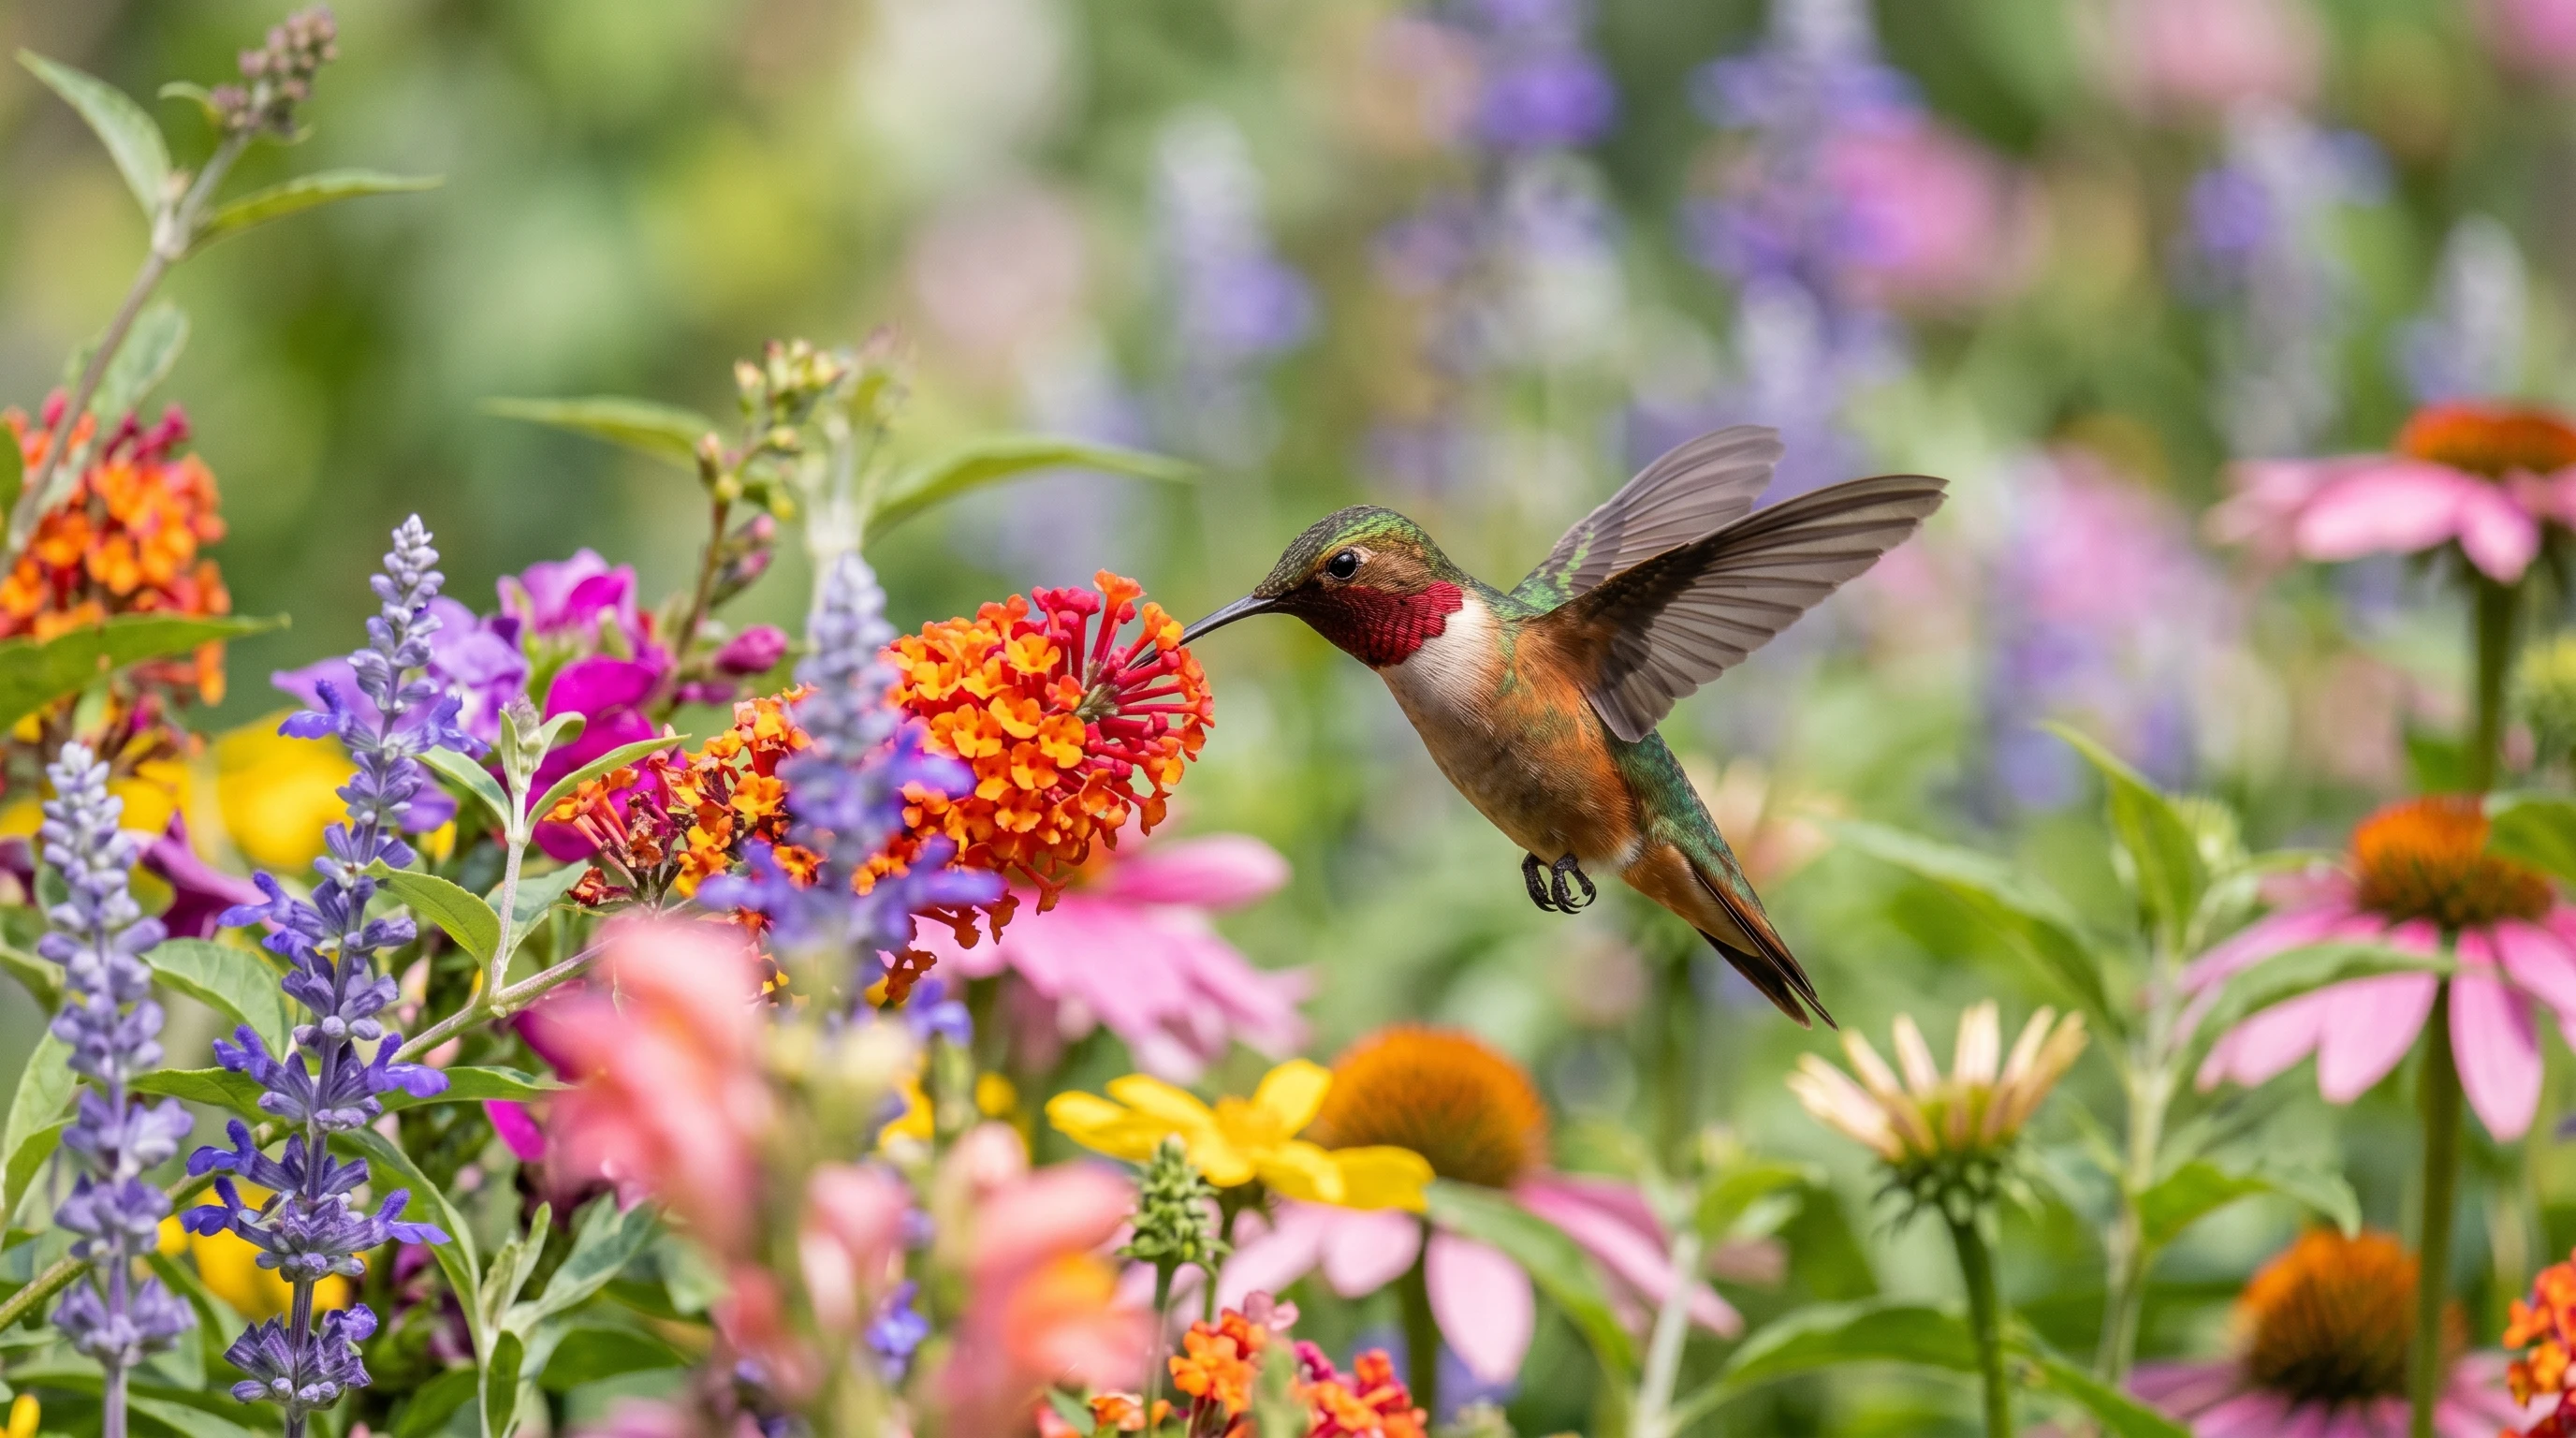
Capturing a sharp, vibrant photo of a hummingbird in flight feels a bit like catching lightning in a bottle.
I still remember my first attempts: blurred wings, dark frames, and a lot of missed chances. Speed, light, and anticipation really are the keys to nailing that crisp hummingbird photo.
If you are starting out, do not worry. This guide covers camera settings, gear picks, simple techniques, and beginner-friendly practice tips to help you snap your own keepers.
Why Hummingbirds Challenge Even Experienced Photographers
Hummingbirds are not just tiny; they are fast… like, really fast.
Their wings can beat up to 80 times per second, and they are basically aerial acrobats.
Getting a sharp image means freezing that rapid wing motion and nailing focus on a moving target smaller than your thumb.
This is what trips up most beginners:
- Speed: Hummingbird wings look like a blur in real time. Capturing that split moment takes a high shutter speed and quick reactions.
- Lighting: They move between shadow and sun quickly. Good light makes it way easier to set faster speeds while keeping image quality up.
- Anticipation: Watching where and how they feed or hover goes a long way. Predicting their flight paths gives you better chances.
You will get those crisp wings by using a very fast shutter (around 1/2000, 1/4000 sec), burst mode on your camera, and focusing on feeders or flowers, which are places hummingbirds like to hover.
Freezing the wings looks dramatic, but there is also something eye-catching about showing a subtle blur; it creates a sense of motion and energy.
Not sure where to start?
I recommend getting the basics down with feeders before heading to wildflowers.
Here is what you will find in this super detailed guide: camera settings, lighting, gear tips, technique advice, classic rookie mistakes, and a quick settings cheat sheet at the end.
Understanding Hummingbird Behavior
Learning how hummingbirds move around really helps improve your timing.
I spent a few mornings just watching them before I even bothered with my camera, and I picked up on some handy patterns:
- Hovering: One of their trademark moves; hovering midair, usually in front of flowers or feeders.
- Feeding: Hummingbirds feed every few minutes, visiting flowers repeatedly, or hovering at backyard feeders for a sugary snack.
- Territorial Moves: Many hummingbirds are feisty and will chase each other off their favorite feeding spots. Tracking this behavior helps you predict which branches or flowers they will revisit.
- Flight Paths: They often follow the same flight routines during feeding rounds. Spotting a bird pausing at the same flower or perch makes it much easier to prepare for the shot.
If you watch patiently, you will see their movement is not as random as it first seems.
Pick a flower patch or a feeder, observe for a few minutes, and you might just find a pattern worth exploiting.
It is especially helpful for anyone starting out with a camera and is a great way to get a feel for their habits.
Best Times and Locations for Hummingbird Photography
Best Time of Day
- Early Morning: Birds are hungry and active, the light is soft, and the air is still; this is perfect for clear, colorful shots.
- Late Afternoon: Warm sunlight and increased bird movement just before sunset make this another sweet spot for hummingbirds.
Best Locations
- Flower Gardens: Plantings with nectar-rich flowers almost guarantee visits during busy feeding hours.
- Backyard Feeders: These are probably the easiest place for beginners; birds come close and return often.
- Nature Reserves or Local Parks: Trails with wild flowers or native plants attract hummingbirds naturally.
- Patios/Balconies: Even small outdoor spaces can work with the right flowers or feeders set up.
Southern and tropical regions tend to have a variety of hummingbird species, but you might be surprised by how many show up even in suburban backyards if the conditions are right.
Sometimes, just putting up a small feeder can attract a surprising burst of activity, and it is worth checking in with local birding groups for hotspots as well.
Camera Settings for Hummingbird Photography
Locking in the right camera settings makes a huge difference.
Here is what I use and why it works:
Shutter Speed
- Freeze Wings: Set your shutter between 1/2000 and 1/4000 second. This speed is key for stopping wing blur and grabbing those razor-sharp midair moments.
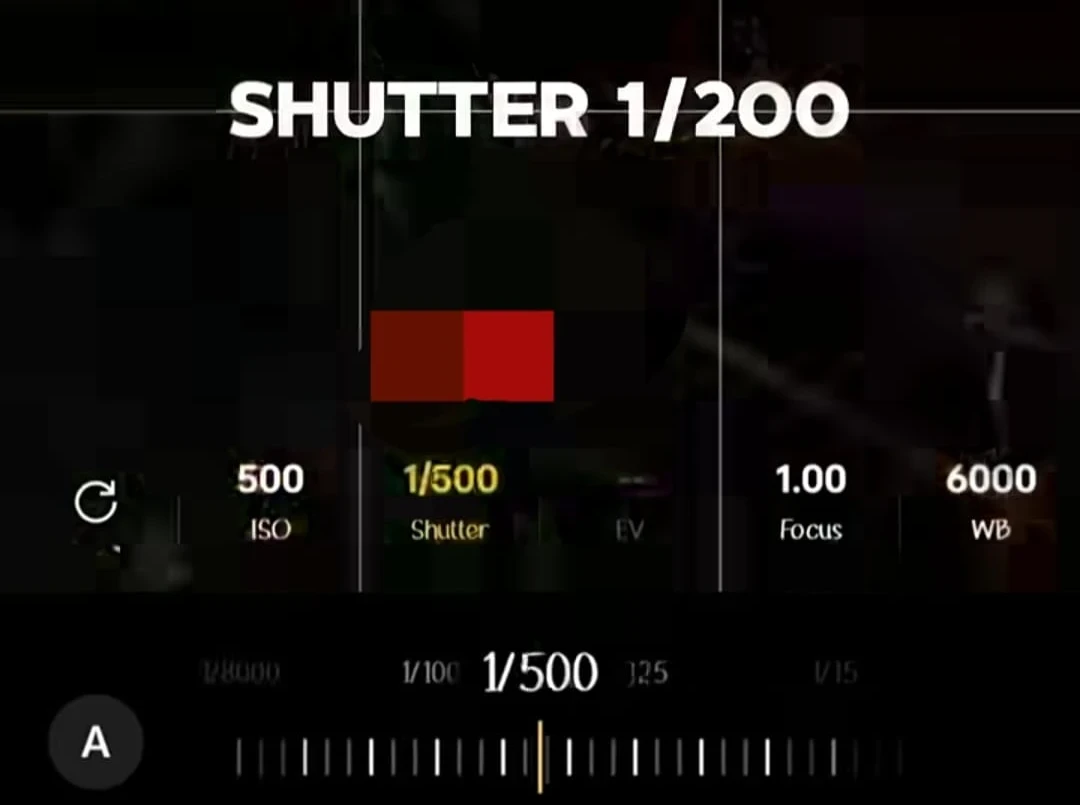
- Show Motion Blur: Try 1/500, 1/1000 if you want to catch some wing movement. Sometimes a blur looks really cool if you get the eye and head sharp but the wings in motion.
Aperture
- f/4, f/5.6: A wide aperture creates smooth background blur (bokeh) and puts the focus on your subject.
- f/8: A smaller aperture gives more detail in the feathers or the flower as long as you have enough light.
ISO
- Do not be afraid to boost ISO higher (ISO 800 or even 1600) to keep shutter speeds fast, especially in the shade. Modern cameras handle some noise pretty well, and a slightly grainy shot is better than motion blur.
Focus Settings
- Continuous Autofocus (AF-C): Set your camera to AF-C or AI Servo mode so it keeps locking onto the moving bird.
- Single Point AF: Use one focus point and place it right on the bird’s eye or head. The eye is where people instantly look first.
Burst (Continuous) Shooting Mode
- This is super important with fast, unpredictable subjects. Hold down the shutter and shoot a rapid burst; one of those frames is way more likely to catch the right moment.
Best Lenses and Gear for Beginners
You do not need to drop thousands on prolevel gear to catch a hummingbird shot, but picking the right lens makes things way easier:
- 200–400mm Telephoto Lens: A zoom lets you keep a comfortable distance so you do not scare the birds away. Even a 70–300mm can work for backyard feeders.
- Macro Lens: If you are shooting at closer distances (like a small feeder on your patio), a macro lets you fill the frame with detail.
- Tripod or Monopod: These help keep your setup steady, especially if you are waiting in one spot for a while or using a heavier lens.
- Fast Memory Cards: Continuous shooting fills up cards quickly. Fast cards help your camera handle burst mode without lagging.
If you are just getting started, borrow or rent a lens to see what you like before investing.
Even entry level DSLR or mirrorless kits can work if your setup is bright enough.
And do not overlook lens cleaning cloths and spare batteries; a long session means you really need your gear in top shape.
Using Feeders and Flowers for Better Shots
Why Feeders Work Great for Beginners
- Feeders give you control over the background, lighting, and setup, making it much easier to focus and anticipate when birds hover.
- Position feeders near attractive flowers for more natural looking shots. I like to clip fresh blooms to my feeder for a bonus splash of color.
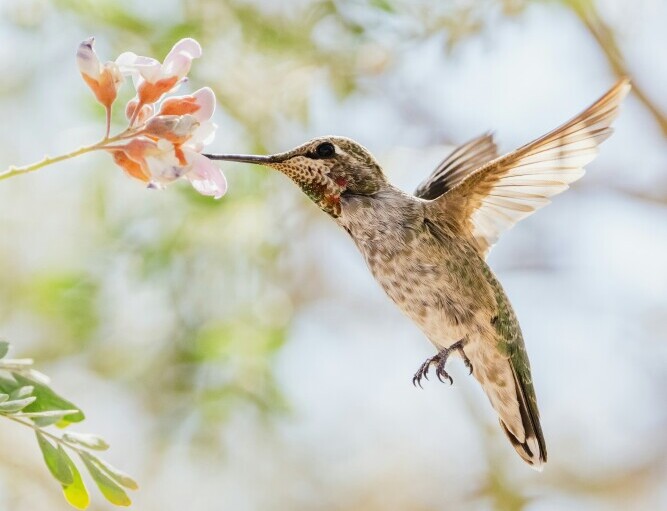
Natural Flower Photography
- Waiting at a patch of flowers takes patience, but the images look more authentic and wild. The trick is to watch where hummingbirds come back again and again, and pre-focus on those spots.
Whether you are using feeders or flowers, keeping your distance, moving slowly, and wearing neutral colors will make the birds less skittish.
It is also a good idea to avoid sudden movements and loud noises that might spook them.
The more invisible you make yourself, the better your photos will turn out.
Lighting Techniques for Hummingbird Photography
Natural Light
- Golden Hour: Morning and late afternoon sun brings out feather colors and softens shadows.
- Side Lighting: Try to position yourself so that sunlight hits from the side. This makes feather detail stand out and highlights iridescent colors.
Using Flash
- On Camera Flash: Brightens up the bird and freezes wing motion.
- Off Camera Flash: Adds depth and helps avoid harsh shadows, especially when placed off to the side.
- If you go this route, use low flash power to avoid startling the birds. High-speed sync allows flash use with really fast shutter speeds.
Natural light photos tend to look softer and more authentic, but you might be surprised how well controlled flash can work in shady gardens.
You can experiment with reflectors or even white sheets to bounce sunlight for extra natural fill light if you do not want to use a flash.
Composition Tips for Stunning Hummingbird Photos
- Focus on the Eye: When the bird’s eye is sharp, the whole photo feels alive. Use singlepoint autofocus and take your time framing the shot.
- Clean Backgrounds: Simple backgrounds make the bird pop. Use your lens at its widest aperture for dreamy blur, especially if there are distracting leaves or objects behind.
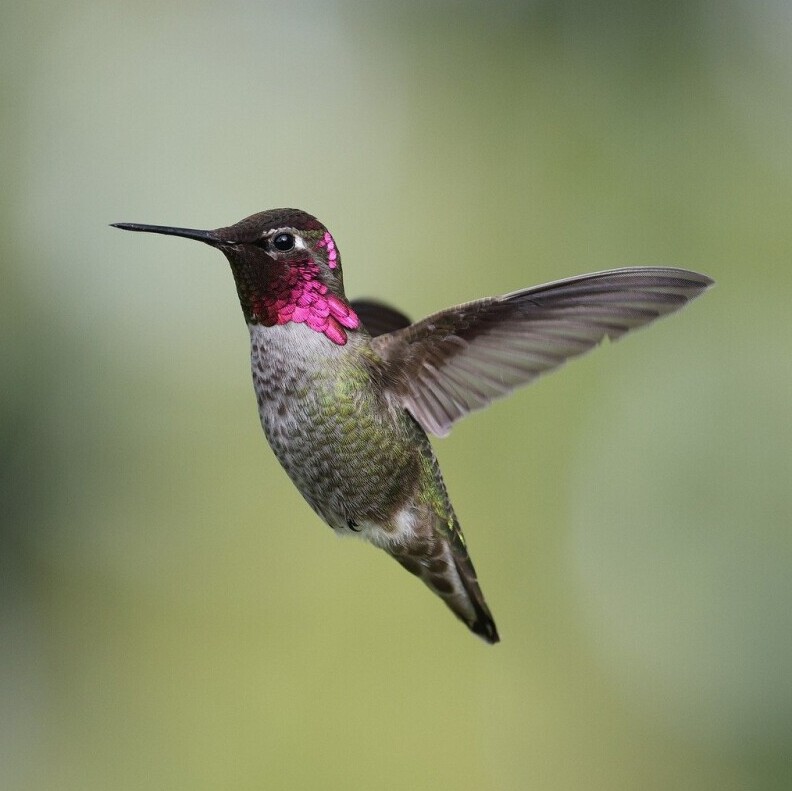
- Capture Hovering Moments: Wings outstretched or beak dipping into a flower looks awesome. Burst mode ups your chances of snagging that perfect pose.
- Color Contrast: Frame your shot so the bird stands out: green background, red flowers, and the jewellike feathers of the hummingbird all play off one another beautifully.
Techniques to Freeze or Show Motion
Freezing Motion
- Fast shutter (1/2000+)
- Use flash if your camera can sync at high speeds; this freezes even the fastest wingbeats with a crisp, almost floating look.
Motion Blur for Artistic Effect
- Try a slower shutter (1/500, 1/1000) to catch some movement in the wings while keeping the head sharp.
- Practice gentle panning with the bird’s motion for a streaky, artsy blur while the rest of the image stays clear. It takes practice but looks eye-catching when you pull it off.
Common Beginner Mistakes
- Using slow shutter speeds and getting blurry wings or bodies.
- Skipping burst mode and missing fleeting moments.
- Letting autofocus drift to the background. Always keep your focus point right on the bird’s eye or head.
- Shooting in low light without adjusting ISO or shutter, which means images come out dark or too grainy.
- Letting garden clutter distract from the subject. Check your frame for odd branches, feeders, or flower stems that mess up the shot.
Beginner Practice Tips
- Start with backyard feeders; it is a lot easier to control conditions and anticipate bird movements.
- Shoot when the light is consistent and bright, so you can use faster shutter speeds without worrying about exposure.
- Practice tracking birds through the viewfinder to get better at following quick movements.
- Regularly check your settings and review your images. Tweaking as you go helps you see which approaches work best in different lights or with different birds.
- Experiment with camera angles. Try getting down low or shooting from above for new and interesting perspectives.
- Spend time reviewing professional hummingbird images online and compare what makes them effective. Note colors, backgrounds, and sharpness.
Quick Settings Cheat Sheet
- Shutter Speed: 1/2500 sec or faster
- Aperture: f/4 to f/8
- ISO: Adjust as needed for brightness (typically 400, 1600)
- AF Mode: Continuous (AF-C) plus burst shooting
- Focus: On the bird’s eye for the sharpest connection
Hummingbird Photography FAQ
What is the best shutter speed for hummingbirds?
Shutter speeds between 1/2000 and 1/4000 will freeze wings. Slower speeds (1/500, 1/1000) create wing blur for a sense of motion.
Can beginners photograph hummingbirds successfully?
Definitely! Feeders and a bit of patience help give a boost to confidence. Fast shutter, good light, and burst mode are your best friends starting out.
Do I need flash for hummingbird photography?
Bright sunlight usually does the trick, but off camera flash can help freeze wing motion, especially in darker gardens or under shade. Just go easy and avoid startling the birds.
What lens works best for hummingbirds?
A 200–400mm telephoto is perfect for getting closeup shots while keeping your distance. Macro lenses work well if you have a setup where you can get in close.
Final Thoughts
Hummingbird photography pushes you to be quick, observant, and patient.
Every encounter is a new chance for a better shot.
With some practice, especially around feeders, you will quickly take your skills up a notch.
Master speed, work in good light, and keep tuning your approach.
If you want to keep pushing your skills, check out posts like:-
Best Lighting Techniques for Bird Photography
The bottom line?
Stick with it and have fun, and you will soon have a gallery of stunning hummingbird shots to show off.
Leave a question or comment in the box below and I will be happy to get back to you!!!
Happy bird photographing!!!!!!
This is a very beautiful article. The photos are lovely. I do photograph animals, including birds, but hummingbirds? I always thought that it would be way too difficult for an amateur like me. I figured that a professional with professional cameras can create beautiful photos of hummingbirds but if I tried, they would just look like colorful blurry spots.
That said,I do love how you break down hummingbird photography into simple, beginner-friendly tips on settings, gear, and technique. The practical advice makes it feel much less intimidating for someone just getting started, and it’s a helpful reminder that patience and practice really pay off when photographing these fast little birds. Well, thank you for this nice article and I just may consider upping my game a bit so I can also start photographing hummingbirds. They are beautiful.
MAC
Hi Michael,
Thank you so much — comments like yours are why I write these guides!
I totally get that feeling. Hummingbirds seem impossible at first.
They’re tiny rockets with wings hahaha.
But honestly, the “colorful blurry spots” phase is where we all start. Mine were definitely not Instagram-worthy in the beginning.
The good news: you are already photographing birds, so you have got the most important skill — patience and an eye for behavior.
Hummingbird settings are not magic, just fast shutter + good light + a feeder/flowers to give you a predictable spot.
You can absolutely do this with entry-level gear.If you ever give it a go, I would love to hear how it goes.
And if you get stuck, drop a comment — happy to troubleshoot settings with you.
Thanks again for the kind words and for considering adding hummers to your portfolio. They are worth the effort.
Best regards,
Ray