
Light can totally transform bird photography.
It does not matter how expensive your gear may be; if the light is not working for you, the result will probably end up under-whelming.
Sharpness, vibrant colors, the shimmer of feathers, and the overall mood of a shot are all shaped by the quality and direction of the light.
Even the best camera and lens will struggle in poor lighting, often leading to photos that look flat, grainy, or just dull.
How Light Defines Bird Photography
Every detail you see in a great bird photo, whether it is pinsharp focus, accurate feather colors, or dramatic separation between the bird and the background, starts with good lighting.
Light lets you capture those crisp edges and subtle textures that truly make a bird look alive in a photo.
If the lighting is off, you will often spot muted colors, hard-to-fix shadows, or images that feel flat and lifeless.
Every time I am out, I remind myself that chasing the right light gives my images their pop and story, way more than the gear I am carrying.
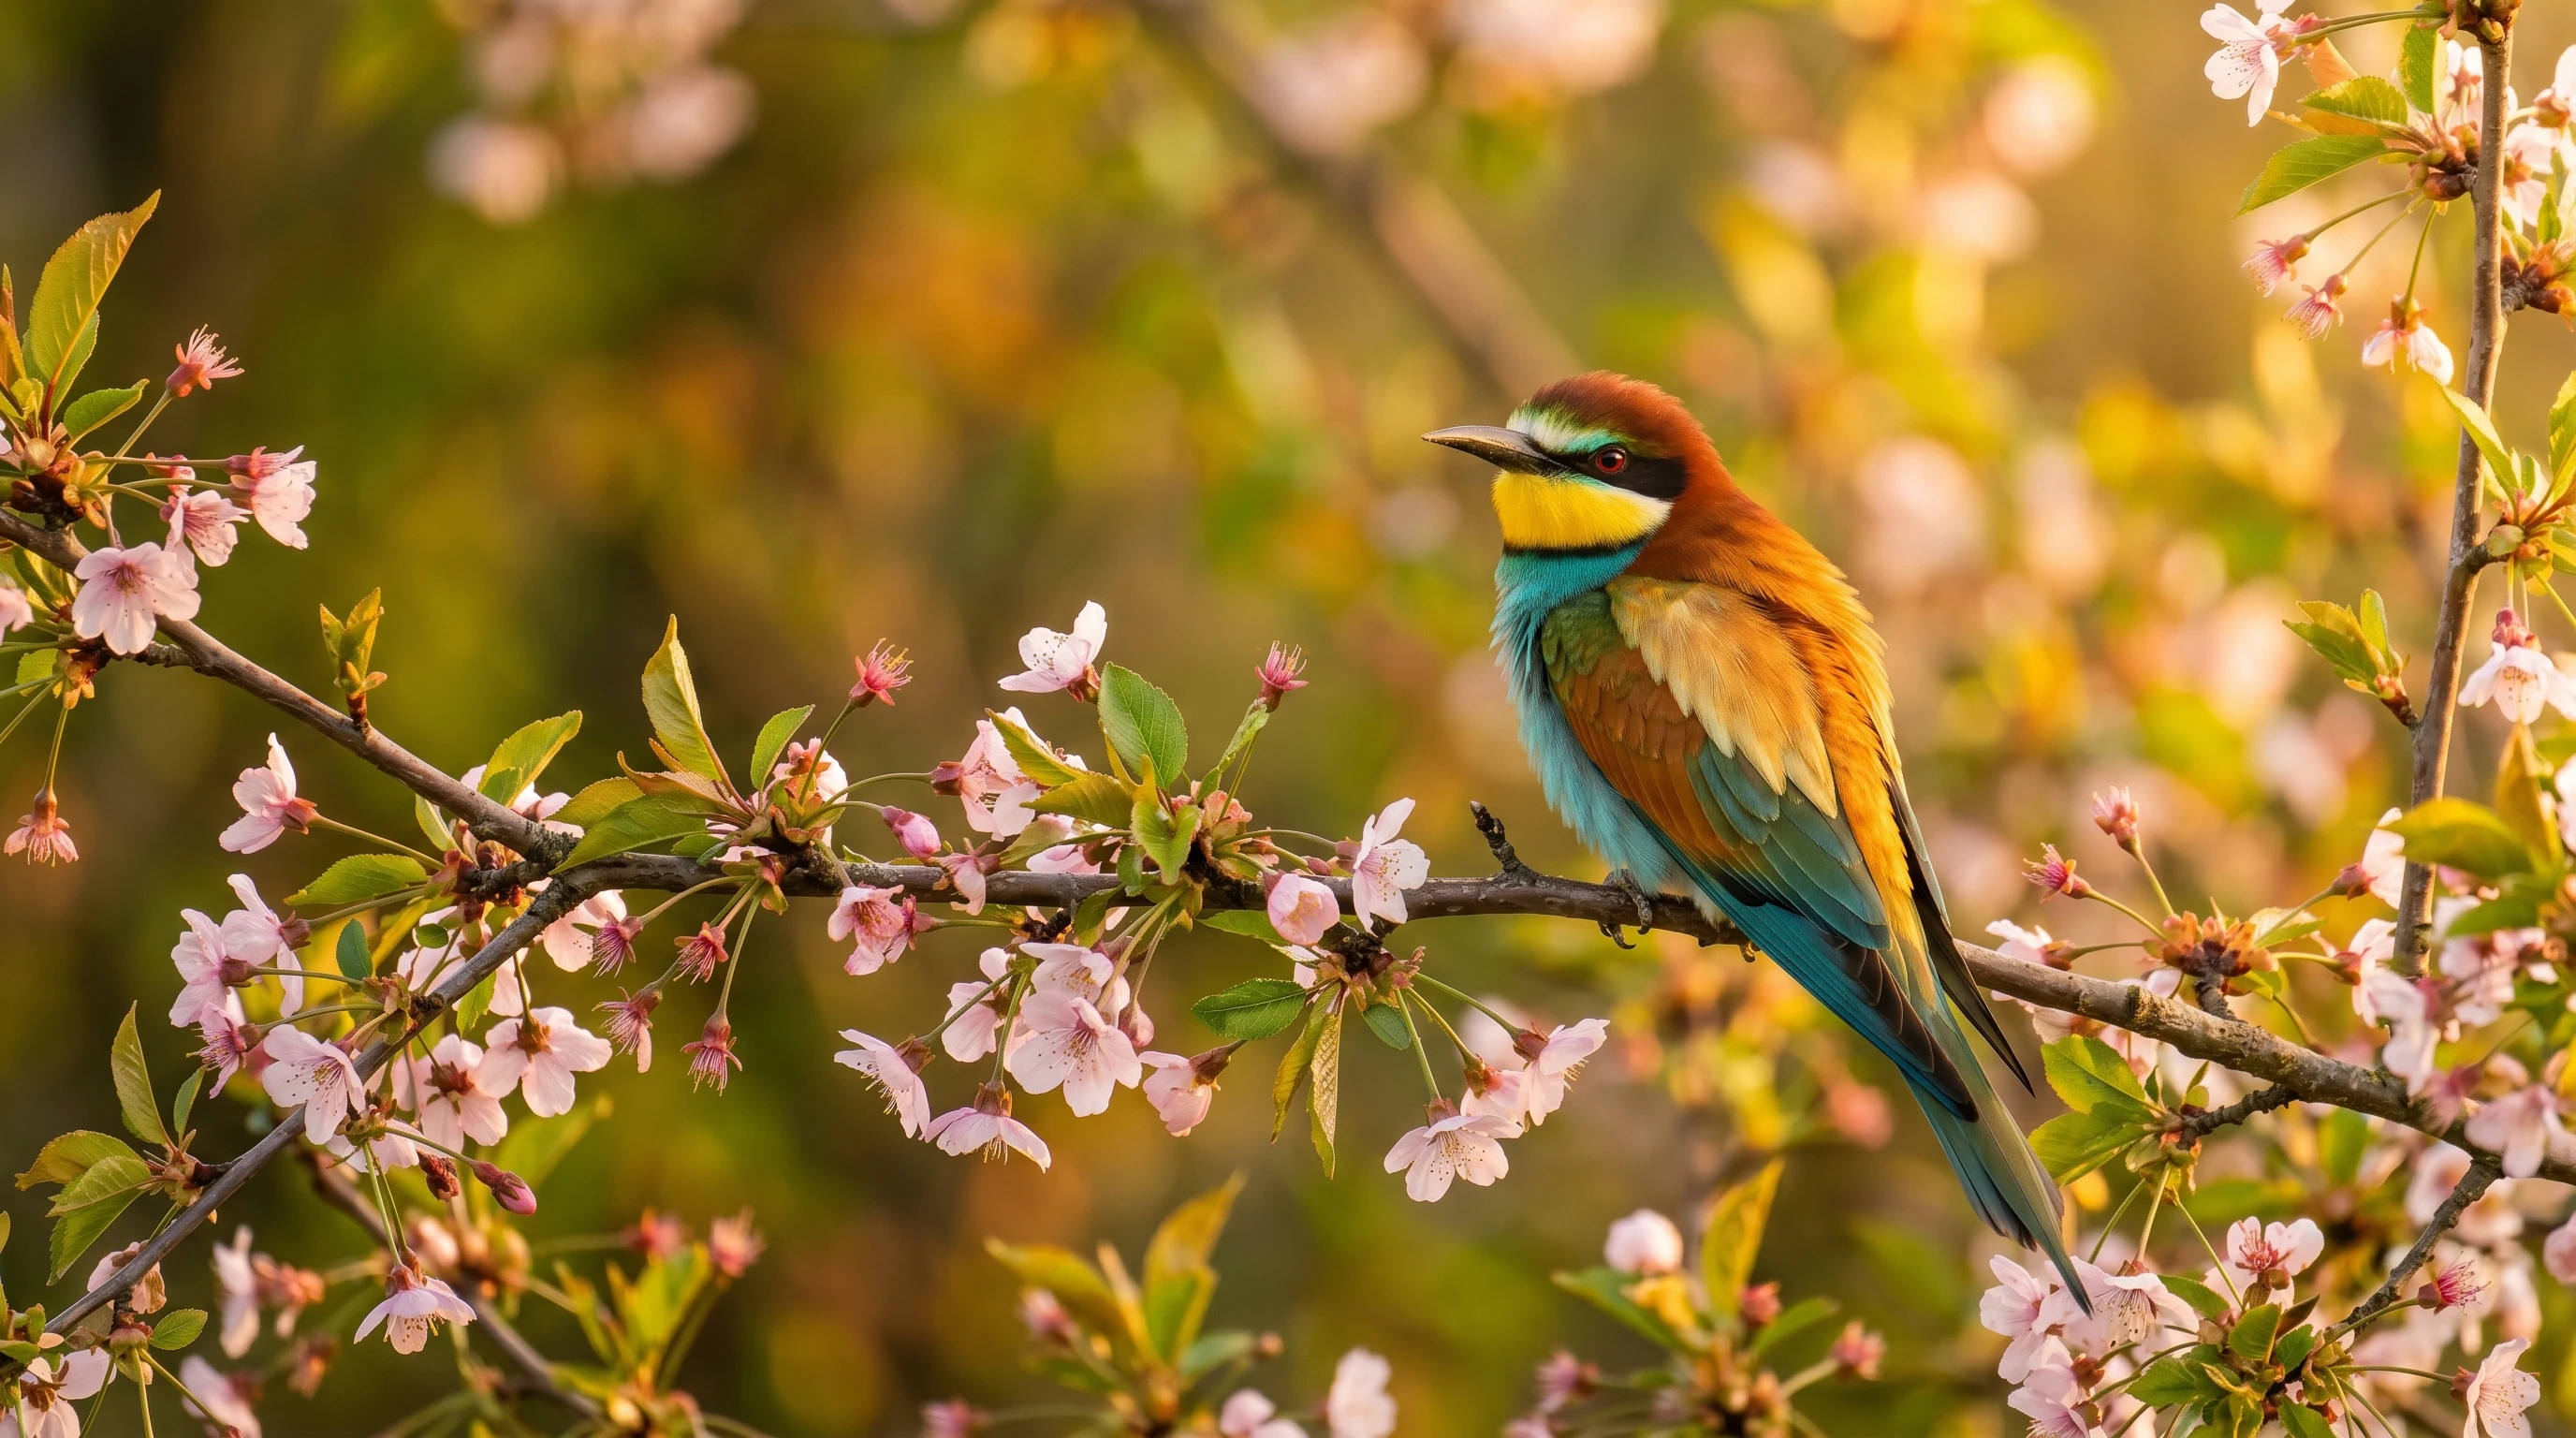
Soft, directional light, found in the early morning or late afternoon, is where you will track down that magic.
Side lighting brings out feather texture. Backlighting turns birds into striking silhouettes or gives them a glowing edge.
Even harsh midday light can work if you know how to handle it.
Learning to read and work with light is probably the most game-changing skill for any bird photographer.
The angle, intensity, and color of light all influence the outcome, so becoming comfortable with these variables expands your creative toolbox significantly.
Why Light Matters More Than Gear
It is tempting to focus on cameras and lenses, but light holds more power over your final image.
Here is what good lighting controls:
- Exposure and Noise: Strong light means you can use faster shutter speeds and lower ISO, getting sharper, cleaner shots.
- Color and Tone: The right light brings out real colors and smooth transitions in shades. Harsh or flat light can wash out colors or exaggerate contrast.
- Depth and Contrast: Directional light, especially from the side, adds a 3D feel and stronger separation between your bird and its surroundings.
- Texture: Warm, soft light highlights the small patterns in plumage, giving a tactile look to photos.
- Atmosphere: The way light falls can make your shot feel bright and hopeful or mysterious and dramatic, purely through the angle and type of light.
I have met plenty of skilled bird photographers who prioritize scouting for perfect lighting conditions over having the fanciest equipment.
It almost always pays off with better shots.
With time and practice, you will spot how light determines mood and interest in each photograph.
Types of Light in Bird Photography
Soft Light
Soft light comes from the sun sitting low on the horizon or when clouds act like a giant diffuser.
It is really forgiving and helps balance shadows and highlights for smooth, natural looking results.
This is great news for beginners because it makes exposure easier and brings out lovely detail in feathers.
Soft light minimizes harsh transitions and keeps your feather details crisp and clear.
Hard Light
Hard light, usually seen at midday with the sun high overhead, casts strong, sharp shadows.
It can be tricky because the contrast between bright spots and deep shadows gets extreme fast; white birds might lose all detail in the highlights, while darker birds can turn into black blobs.
Still, a bit of experience with exposure and positioning helps make use of this for certain creative shots.
When using hard light, try exposing for the highlights and letting shadows fall into a deep black for a bold, graphic look.
Directional Light
When you get light coming from one side rather than straight on, you will notice more depth and shape popping out in feathers and features.
Directional light is a solid way to make birds look three dimensional and much more engaging.
This style helps with showing off the subtle differences in color and pattern between the bird and its background, making your subject stand out emphatically.
Best Time of Day for Bird Photography
Early Morning (Golden Hour)
If you catch the sunrise, you will notice the light is soft, warm, and slants beautifully across the scene.
Birds tend to be pretty active then, and you get warm tones with gentle shadows that flatter almost every species.
I have found this window produces photos that feel alive and glowing.
It is also a quieter time for people and ambient noise, making the experience peaceful and focused.
Late Afternoon
Late afternoon gives a golden quality similar to the morning, plus lots of chances for backlit or sidelighted drama.
The light streaks in at a lower angle again, giving you another shot at those glowing feathers and softly blurred backgrounds.
The warmth of the afternoon light can intensify plumage colors, giving an eye-catching result.
Midday Light
Shooting with the sun overhead is generally tough.
Colors can look harsh, shadows are deep and not always pretty, and it is easy to lose details.
But for birds with strong patterns or black and white plumage, sometimes this kind of light can punch up contrast in an interesting way, so it is worth experimenting with different species and settings.
Look for open shade or use natural reflectors to help tone down harsh sunlight.
Front Light vs Side Light vs Backlight
Front Lighting
With the sun behind you shining directly on your subject, exposure is straightforward and you will see colors clearly.
This style is handy for getting ID shots or simply making sure you capture the bird as people would recognize it.
Front lighting helps with showing fine feather detail with minimum distraction.
Side Lighting
Lighting the bird from an angle draws out texture and shows off the patterns and layering in feathers.
It is probably my favorite for dramatic depth and visual interest.
The contrast between the lit and shaded parts makes images more dynamic and brings a creative flair to otherwise ordinary scenes.
Backlighting
Putting the sun or bright sky behind the bird can turn your subject into a silhouette or create a creamy rim light along the edges.
It gives a unique, creative result and adds mood to images, but can be a challenge to expose just right.
With backlighting, consider underexposing slightly to hold feather detail or shooting RAW to adjust highlights and shadows during post-processing.
How Light Affects Feather Detail and Texture
Feather texture can make or break a bird photo.
Light hitting your subject from the side or at an angle pulls those delicate lines, bars, and iridescence into view.
If the light is flat or head-on, these details just disappear.
Moving around the bird to catch a better angle usually pays off by highlighting those little sparkles and fringes that are hard to notice otherwise.
Patience and observation will let you find exactly the right spot for the best feather detail.
Using Light to Create Depth in Bird Photography
Depth in a photo comes from having strong contrast and careful use of light and shadow.
Side light or dappled sun helps “pop” a bird out from the background, especially combined with a shallow depth of field.
I always look for ways to set up shots where the background falls into shadow and the bird is bathed in a pool of natural light.
Layers of light and shadow give a three dimensional quality that is difficult to achieve any other way.
Exposure Techniques for Different Lighting Conditions
Bright Light
- Drop your ISO to keep noise down.
- Pick a faster shutter speed to freeze movement; this is really important with birds that don’t sit still for long.
- Watch your highlights, especially on light colored birds, to keep from losing detail.
Low Light
- Bump up your ISO if you need to, but keep an eye on noise.
- Open your aperture wide (low f number) to let in more light and keep backgrounds soft.
- If possible, use a tripod, monopod, or stabilize against something to avoid blur from longer shutter speeds.
High-Contrast Scenes
- Jump into your camera’s exposure compensation; dialing down the exposure can help save highlight detail on sunny days.
- Always shoot RAW. It offers more flexibility if you need to recover shadow or highlight details later.
Using Light Creatively
Silhouettes
Shooting a bird against a bright sky or sunrise can turn a regular shot into a punchy graphic shape.
It is a neat way to show off posture or flight action with bold contrast. Experiment with positioning the subject off-center for more dramatic silhouettes.
Rim Lighting
When the bird’s edge is lit up with morning or evening sunlight, you get a glowing outline that makes it look next-level cool.
This works best with birds on perches or those with big, fluffy shapes.
Rim lighting is especially vivid when there’s dew or mist in the air, intensifying the halo effect.
Reflections
Water doubles as a natural reflector, especially in soft light.
Getting both a bird and its reflection in perfect light can add symmetry and mood in one shot.
Early morning or still evenings are ideal for this style since the water surface is calm.
Shadows
Shadows themselves can be interesting subjects; sometimes the pattern under a flying bird or along a shoreline adds a graphic element that gives your photo an extra layer.
Look for these designs on the ground, water, or even nearby rocks.
Common Lighting Mistakes in Bird Photography
- Shooting in totally flat, midday light; colors look washed out and birds appear dull.
- Ignoring where the light comes from; you would not see texture and depth if you are not paying attention to direction.
- Blowing out white birds; it is easy to overexpose them and lose all plumage detail.
- Making dark birds muddy; underexposing them means losing all those subtle shades of black, brown, or blue.
- Standing directly under the sun; straight down light flattens everything and creates harsh shadows.
Practical Tips for Finding Good Light
- With the sun at your back, it is much easier to get colors and details right; start with this approach if you are new to bird photos.
- Pay attention to how light switches up throughout the morning and afternoon. Some birds will glow at one angle but look drab minutes later.
- Move around your subject rather than sticking to one spot; angle dramatically affects light quality.
- Look for natural reflectors like open water, sandbanks, or pale rocks; these bounce light onto your subject for soft fill.
- Scout your location during different weather—overcast skies create soft, even light, while partially cloudy days give you both drama and contrast to work with.
Lighting for Different Bird Photography Styles
Portraits
For classic close-ups, soft, even light is your friend.
It makes feather patterns sharp without harsh shadows.
Portraits benefit from natural catchlights in the eyes, which you can get easily when light comes from a gentle angle above your subject.

Action Shots
Bright light (not harsh, just strong) is super useful for freezing movement.
You will be able to crank up the shutter speed and keep ISO lower.
Watch for direct sun angles that lighten up wings in flight, freezing splashes or dramatic movement crisply against a soft background.
Black and White Photography
Strong, graphic lighting with big differences between light and dark brings out bold shapes and makes black and white edits much punchier.
Shadows become part of the story, giving monochrome images added punch and personality.
Habitat Shots
More balanced or diffuse light helps show off both the bird and the surrounding environment, capturing context and behavior without losing important details.
These wider shots tell a visual story about the place, not just the bird, so lighting needs to flatter both subject and scene.
Quick Lighting Checklist for Bird Photographers
- Plan shoots for golden hour when possible.
- Check where your light source is; it shapes everything in your frame.
- Skip harsh midday sun unless you have a creative angle in mind.
- Expose for highlights so you don’t blow out white feathers.
- Look for opportunities where side or backlight brings out texture and adds drama.
- Always doublecheck your histogram to avoid unwanted overexposure or deep, unrecoverable shadows.
FAQ: Light in Bird Photography
What is the best lighting for bird photography?
The best light is usually soft and comes from a low angle. Early mornings and late afternoons are great times. Cloudy days also work well because the clouds spread out sunlight, making for even, easy-to-manage light.
Why is my bird photo too dark or too bright?
This usually comes down to how bright the background is or how your camera meters the scene.
Adjust by using exposure compensation or manual exposure. Pay attention to both the bird and background brightness and double-check exposure on your camera’s preview screen after the shot.
Can I shoot birds in harsh sunlight?
It is possible, but be ready for tough shadows and possibly lost details. Using fill flash (carefully), looking for shaded areas, or shooting patterns that suit strong contrast can bring successful results.
Sometimes, harsh light can set off dramatic effects if paired thoughtfully with the subject.
What time of day is best for bird photography?
Golden hour—right after sunrise or before sunset—offers soft, warm, directional light. Birds are often most active then, so you get both beautiful light and interesting behavior.
Evening and cloudy conditions can also yield great images, depending on the scene you’re looking for.
For more on stepping up your bird photography, you might check out guides on creating depth, tips for eyecatching black and white shots, or even beginner’s advice for drone bird photography.
Continue practicing and paying attention to how light changes and influences your favorite bird photos.
Every small observation can give you a boost on your next outing.
For futher read, please feel free to check on our articles:-
-Understanding Light And Its Effect On Bird Photos
-Techniques For Photographing Birds At Dawn And Dusk
Leave a question or comment in the box below and I will be happy to get back to you!!!
Happy bird photographing!!!!!!
It’s amazing how that tiny “catchlight” in a bird’s eye can be the difference between a flat image and one that feels truly alive. Given how much light dictates the mood of the shot, do you find that certain species’ plumage, like the iridescent feathers of a starling or hummingbird, require a specific angle of light to really pop without becoming overexposed?
Hi Julie,
Thank you for such a thoughtful observation — you are absolutely right about catchlight adding that spark of life to a photo!
Great question about iridescent feathers too. Birds like starlings and hummingbirds are notoriously tricky because their colors depend heavily on the angle of light.
What you see is not just pigment — it is how the light reflects off the feather structure.
In my experience, the best results usually come from shooting with the light at a slight angle rather than directly overhead or straight on.
Early morning or late afternoon light works especially well because it is softer and brings out those metallic tones without blowing out the highlights.
If the light is too harsh or hitting the feathers directly, you can lose detail and end up with overexposed spots. Sometimes even a small shift in your position — or waiting for the bird to turn slightly — can make a huge difference in how those colors “pop.”
It is definitely one of those situations where a bit of patience really pays off!
Thanks again for your great question — love that you picked up on this detail.
Best regards
Raymond