
Photographing exotic birds in the wild is an experience I always find both challenging and deeply rewarding.
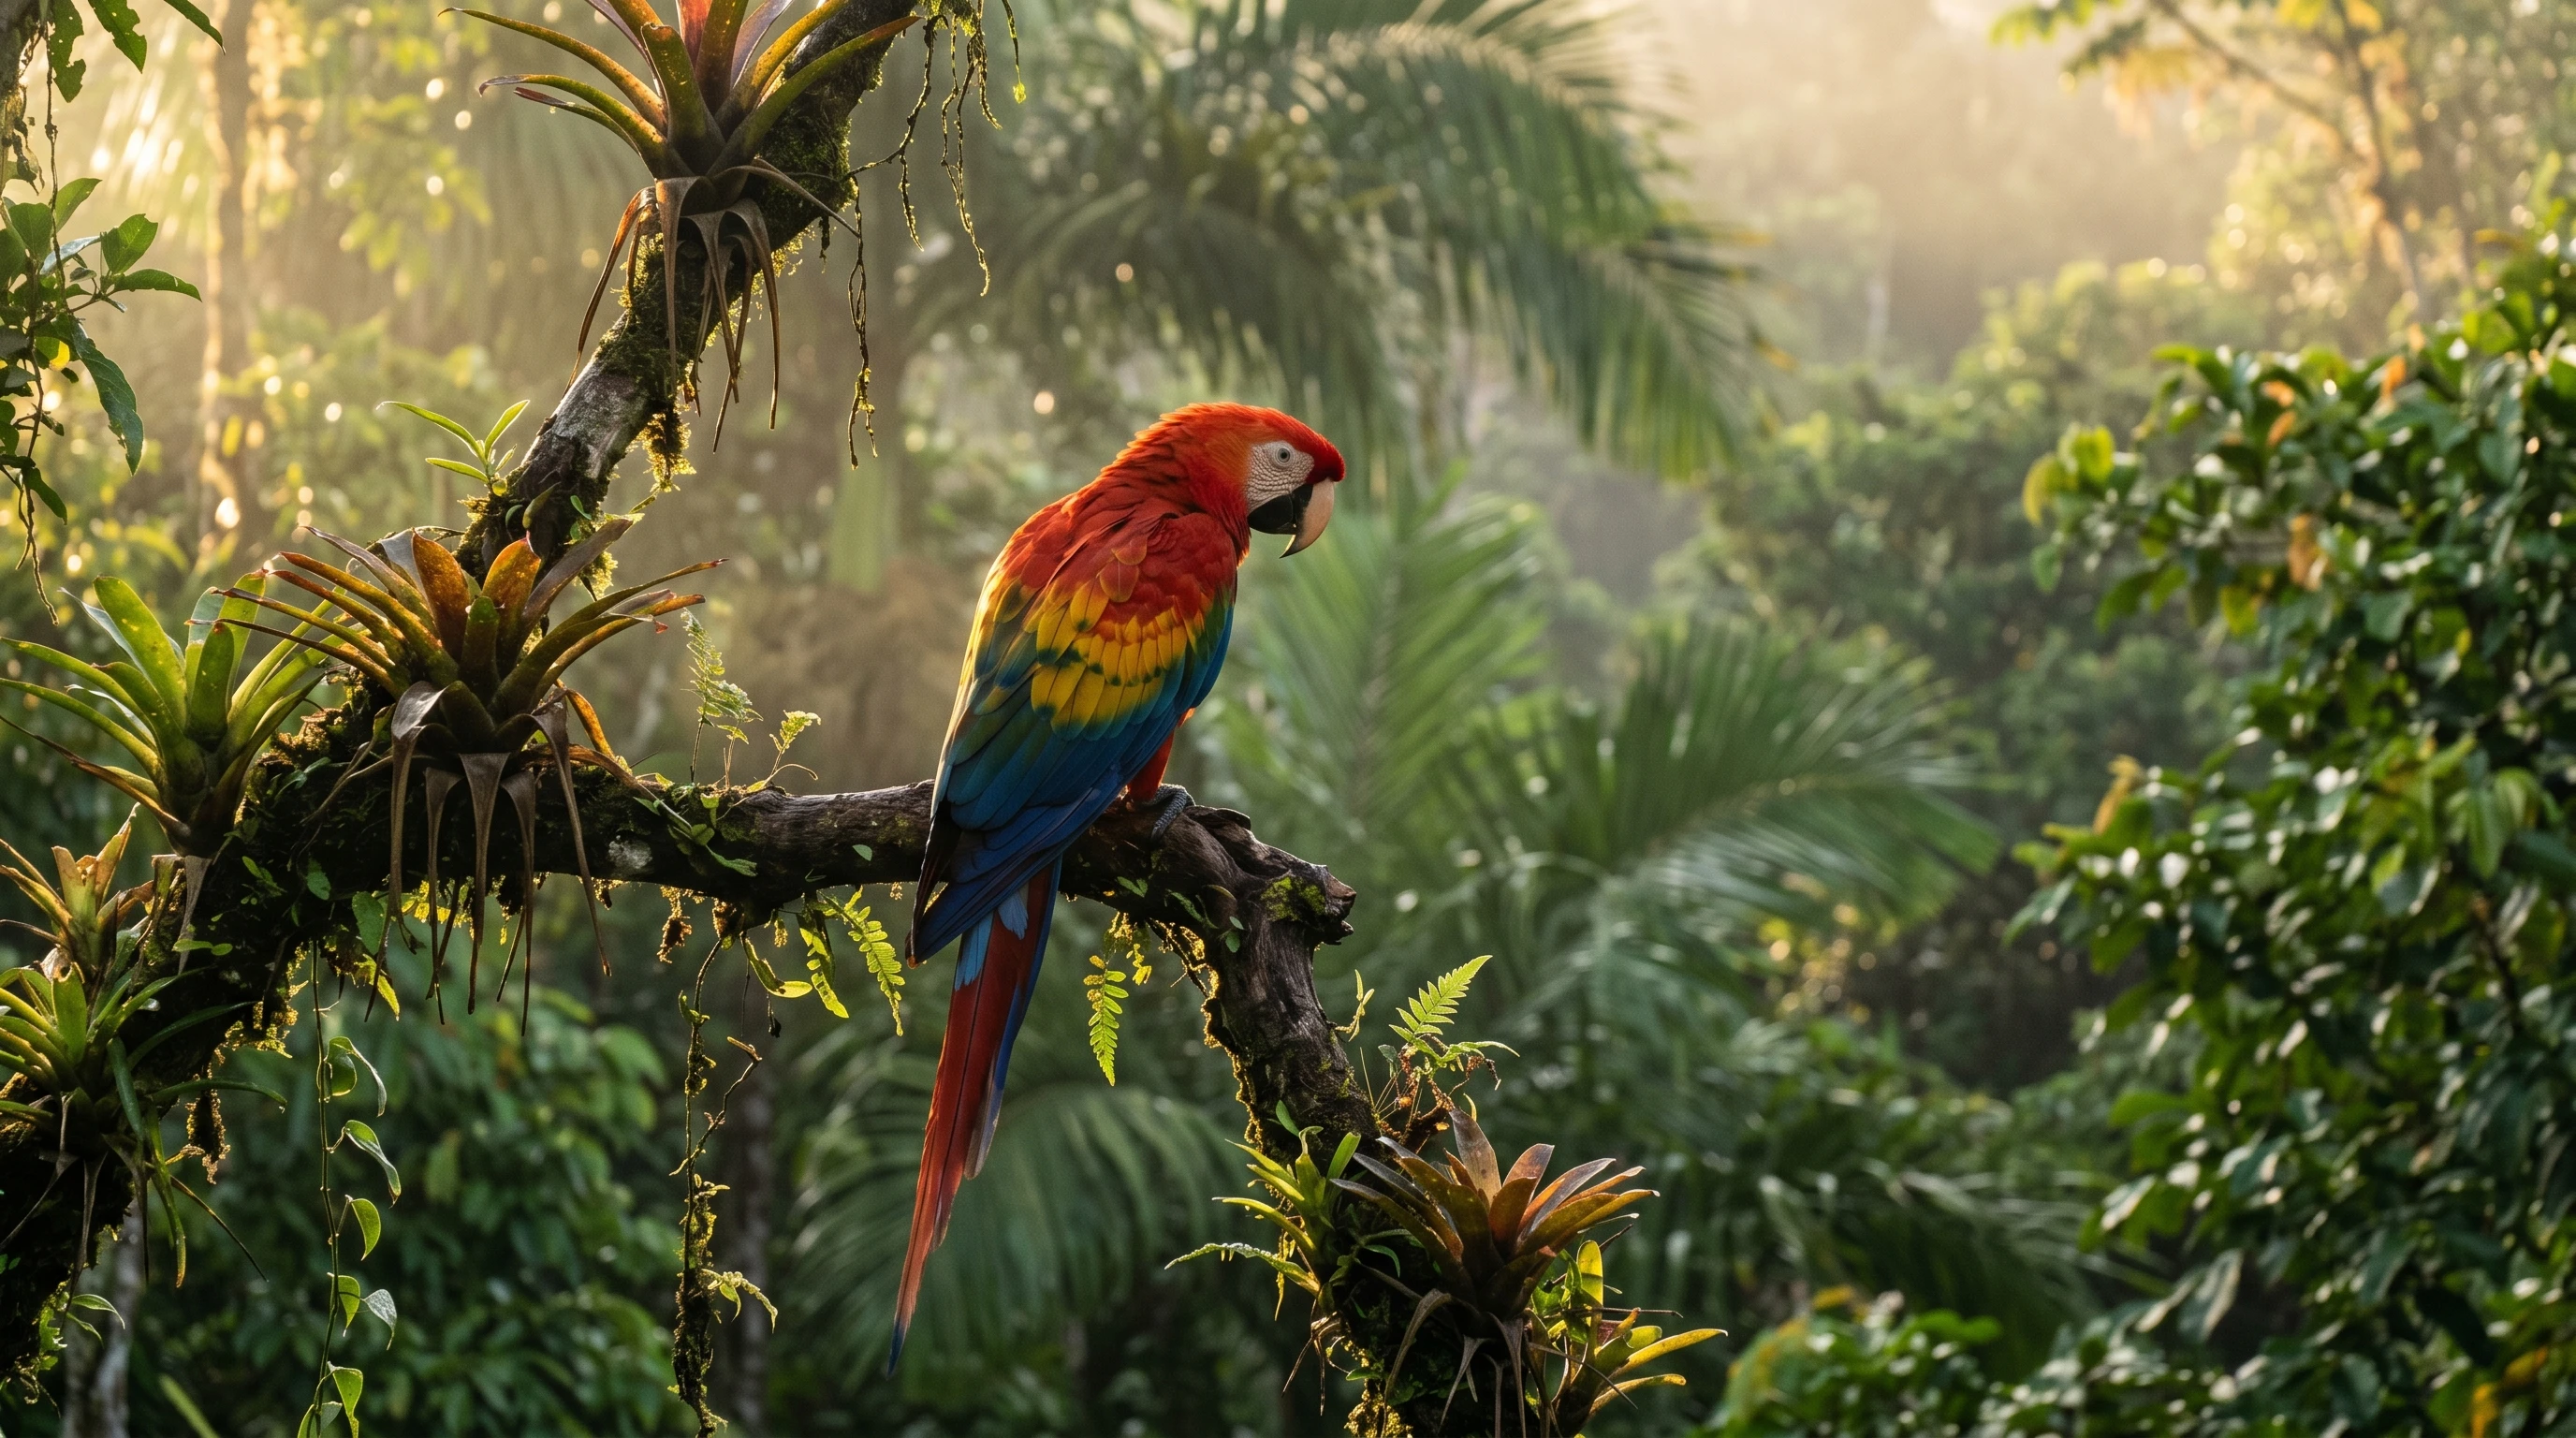
From watching a Scarlet Macaw burst from the forest canopy to catching the flash of a hornbill’s bill in dense jungle, every moment requires patience, care, and a fair amount of quiet anticipation.
Getting stunning wildlife images is not just about owning expensive gear; success really depends on how well you prep, your willingness to wait, and your knack for finding the right spot when the magic happens.
Exotic birds are often tucked away in forests or tangled thickets, so you will be working with unpredictable lighting, sudden movement, and all sorts of environmental obstacles.
In this guide, I am breaking down exactly where to search for these eye-catching birds, how to work with tough light, the settings and gear that help, and field techniques I rely on for capturing true-to-life wildlife shots.
What Are Exotic Birds and Why Are They Challenging to Photograph?
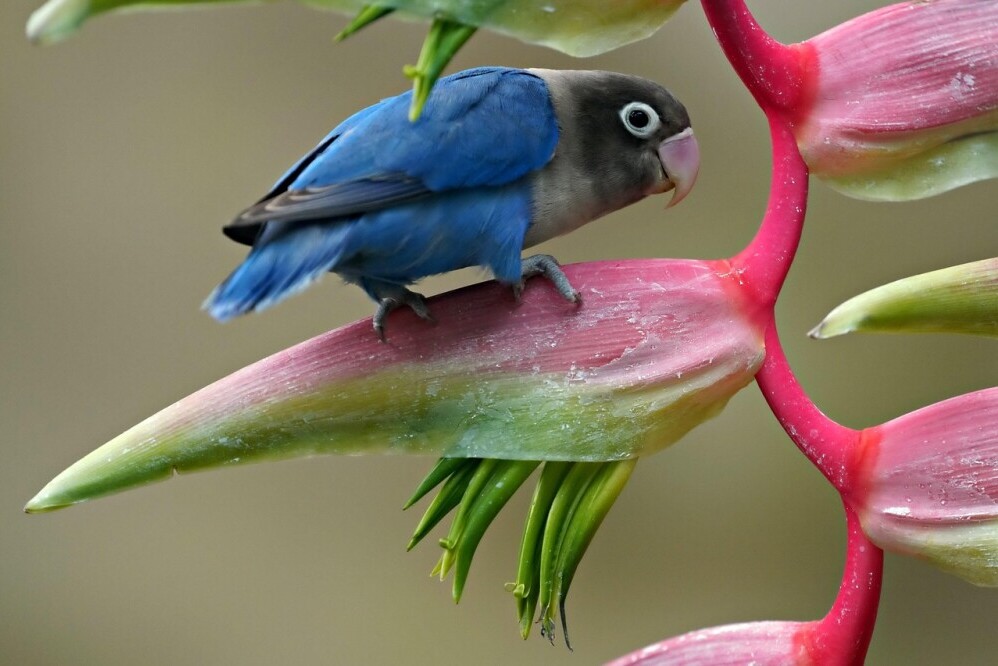
When I say “exotic birds,” I am really talking about tropical, rare, or vibrantly colored species that don’t show up in everyday backyards.
Think parrots, toucans, hornbills, ibises, tanagers, quetzals, birdsofparadise, and more.
You will usually find these birds in rainforests, remote wetlands, or sub-tropical jungles—places packed with biodiversity but also thick vegetation and unpredictable weather.
The real challenges kick in with:
- Dense habitats: Thick forests can block both your view and your light, making it harder to get unobstructed, well-lit photos.
- Low light: Even around midday, the canopy can make everything feel dim. You will have to tweak your settings to avoid blurry or noisy shots.
- Elusive behavior: Exotic birds are skittish. Many species will disappear as soon as they sense movement or noise.
But if you manage to get it right, there is nothing quite as rewarding as framing a wild toucan mid-call or nailing the metallic sheen of a hummingbird’s feathers.
The colors, the movement, and the stories you can tell through your images make all that effort worth it.
Best Locations for Exotic Bird Photography
Picking the right spot is a major step if you want the best chances to see—and photograph—striking species in their element.
Here are a few types of locations where I have had great luck:
Tropical Rainforests
- Amazon Basin: This vast expanse is home to iconic parrots, macaws, cotingas, and manakins. Tours from Peru, Brazil, and Ecuador are worth looking into.
- Central Africa: Rainforests in Gabon, Congo, and Uganda deliver chances to spot turacos, bee-eaters, and hornbills among other exotic birds.
- Southeast Asia: Reserves in Borneo, Sumatra, and Thailand offer glimpses of broadbills, pittas, and colorful kingfishers.
Wetlands and River Systems
If you prefer better visibility, try targeting wetlands, seasonal floodplains, and major river corridors.
These spaces often bring lots of birds together and can be easier to scan with binoculars and telephoto lenses.
I have had some of my easiest close-up encounters around oxbow lakes and river banks, especially early in the day.
Eco-Tourism Hotspots and Guided Birding Locations
National parks, wildlife reserves, and established birding lodges make things a bit more accessible.
Look for places that have set up observation towers, hides, or guided treks—these are often set up in prime habitats and come with local experts who know the habits of elusive birds.
Best Time of Day for Photographing Exotic Birds
Choosing when to shoot is almost as important as where you go.
Birds are creatures of habit, so knowing their daily patterns boosts your odds of getting energetic, well-lit shots:
Early Morning
This is when I have seen peak activity. Birds feed, preen, and call to each other when the air is cool and the light is soft.
In rainforests, the morning light shines through mist and canopy gaps, giving feathers a warm glow.
Those extra 20 minutes at sunrise can make all the difference.
Late Afternoon
The hours before sunset bring back another rush of activity.
Warm-toned light spills across treetops, creating beautiful contrast and natural highlights on plumage.
I often find birds coming out to sunbathe or calling before roosting for the night.
Midday Challenges
By midday, the light is much harsher and birds tend to settle down or hide from the sun and predators.
The strong sunlight also creates deep shadows and blown-out highlights. This makes getting an even exposure tougher.
If I do shoot at this time, I look for shaded clearings or stick to forest edges where the contrast isn’t as intense.
Camera Settings for Exotic Bird Photography
- Shutter Speed: Aim for a minimum of 1/1000 sec if birds are perched, and 1/2000–1/3000+ for flight or active movement. Fast shutter speeds help me freeze motion and catch crisp wing details.
- Aperture: f/4–f/5.6 works well for isolating a bird against the background. I use f/6.3–f/8 when I also want more of the habitat in focus, or when working with big groups.
- ISO: In dark forests, I often push ISO to 1600–3200. Balancing minimal noise while keeping enough speed is key, and today’s newer sensors make high-ISO shooting much more forgiving.
- Focus Settings: Continuous autofocus (AF-C) lets me track moving birds. I always make sure to place the focus point right on the bird’s eye or head for sharp, lively images.
- Burst Mode: I rely on high-speed burst shooting to capture quick wingbeats or unpredictable action. Having several frames to pick from increases your chances of getting the pose you want.
Best Lenses and Gear for Exotic Bird Photography
Recommended Lenses
Long telephoto lenses (400–600mm) are super useful here.
They keep you far enough not to disturb the birds but close enough to capture stunning detail.
Big prime lenses (500mm or 600mm f/4) offer speed and sharpness, but zooms (like 100–400mm or 200–600mm) are practical for flexibility in dense forests.
I find a lightweight 300mm or 400mm can be a lifesaver for hikes in thick jungle where mobility is key.
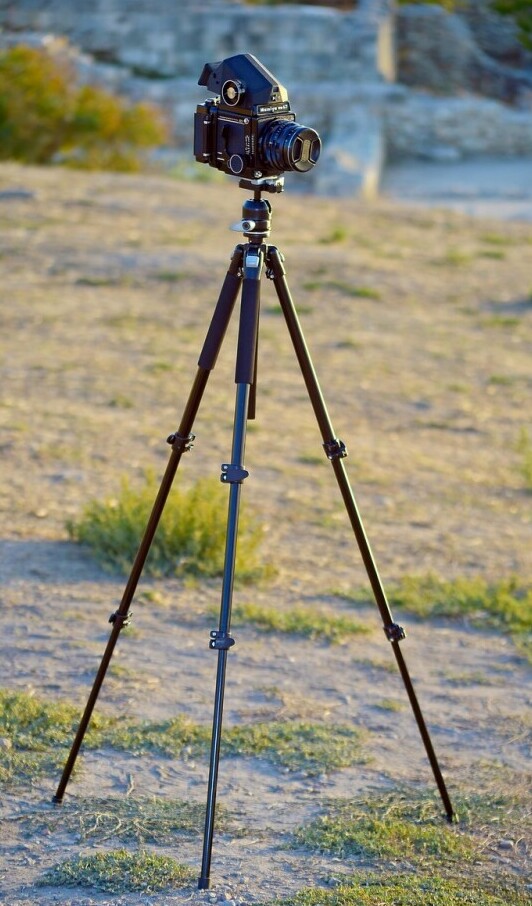
Support Gear
- Tripod with gimbal head (for long waits and heavy glass)
- Monopod (handy in tangled terrain where you move a lot)
Accessories Worth Checking Out
- Rain covers and lens hoods to protect from the elements
- Extra batteries (humidity and heat drain power quickly)
- High-speed memory cards
- Binoculars for scouting
- Lightweight but sturdy camera backpacks
Field Techniques for Photographing Exotic Birds
Learn Bird Behavior
I always take time to study the birds I am after.
Knowing feeding times, preferred perches, call patterns, and whether a bird likes to move in groups or pairs helps you guess where they might pop up next.
Birds often return to favorite trees or branches at the same times every day.
To step up your field skills, keep a small notebook or a birding app handy to jot down your daily observations—which species are active at dawn, which trees bloom at different times, and which trails are more likely to present opportunities.
Gathering this info increases your success rate for future outings.
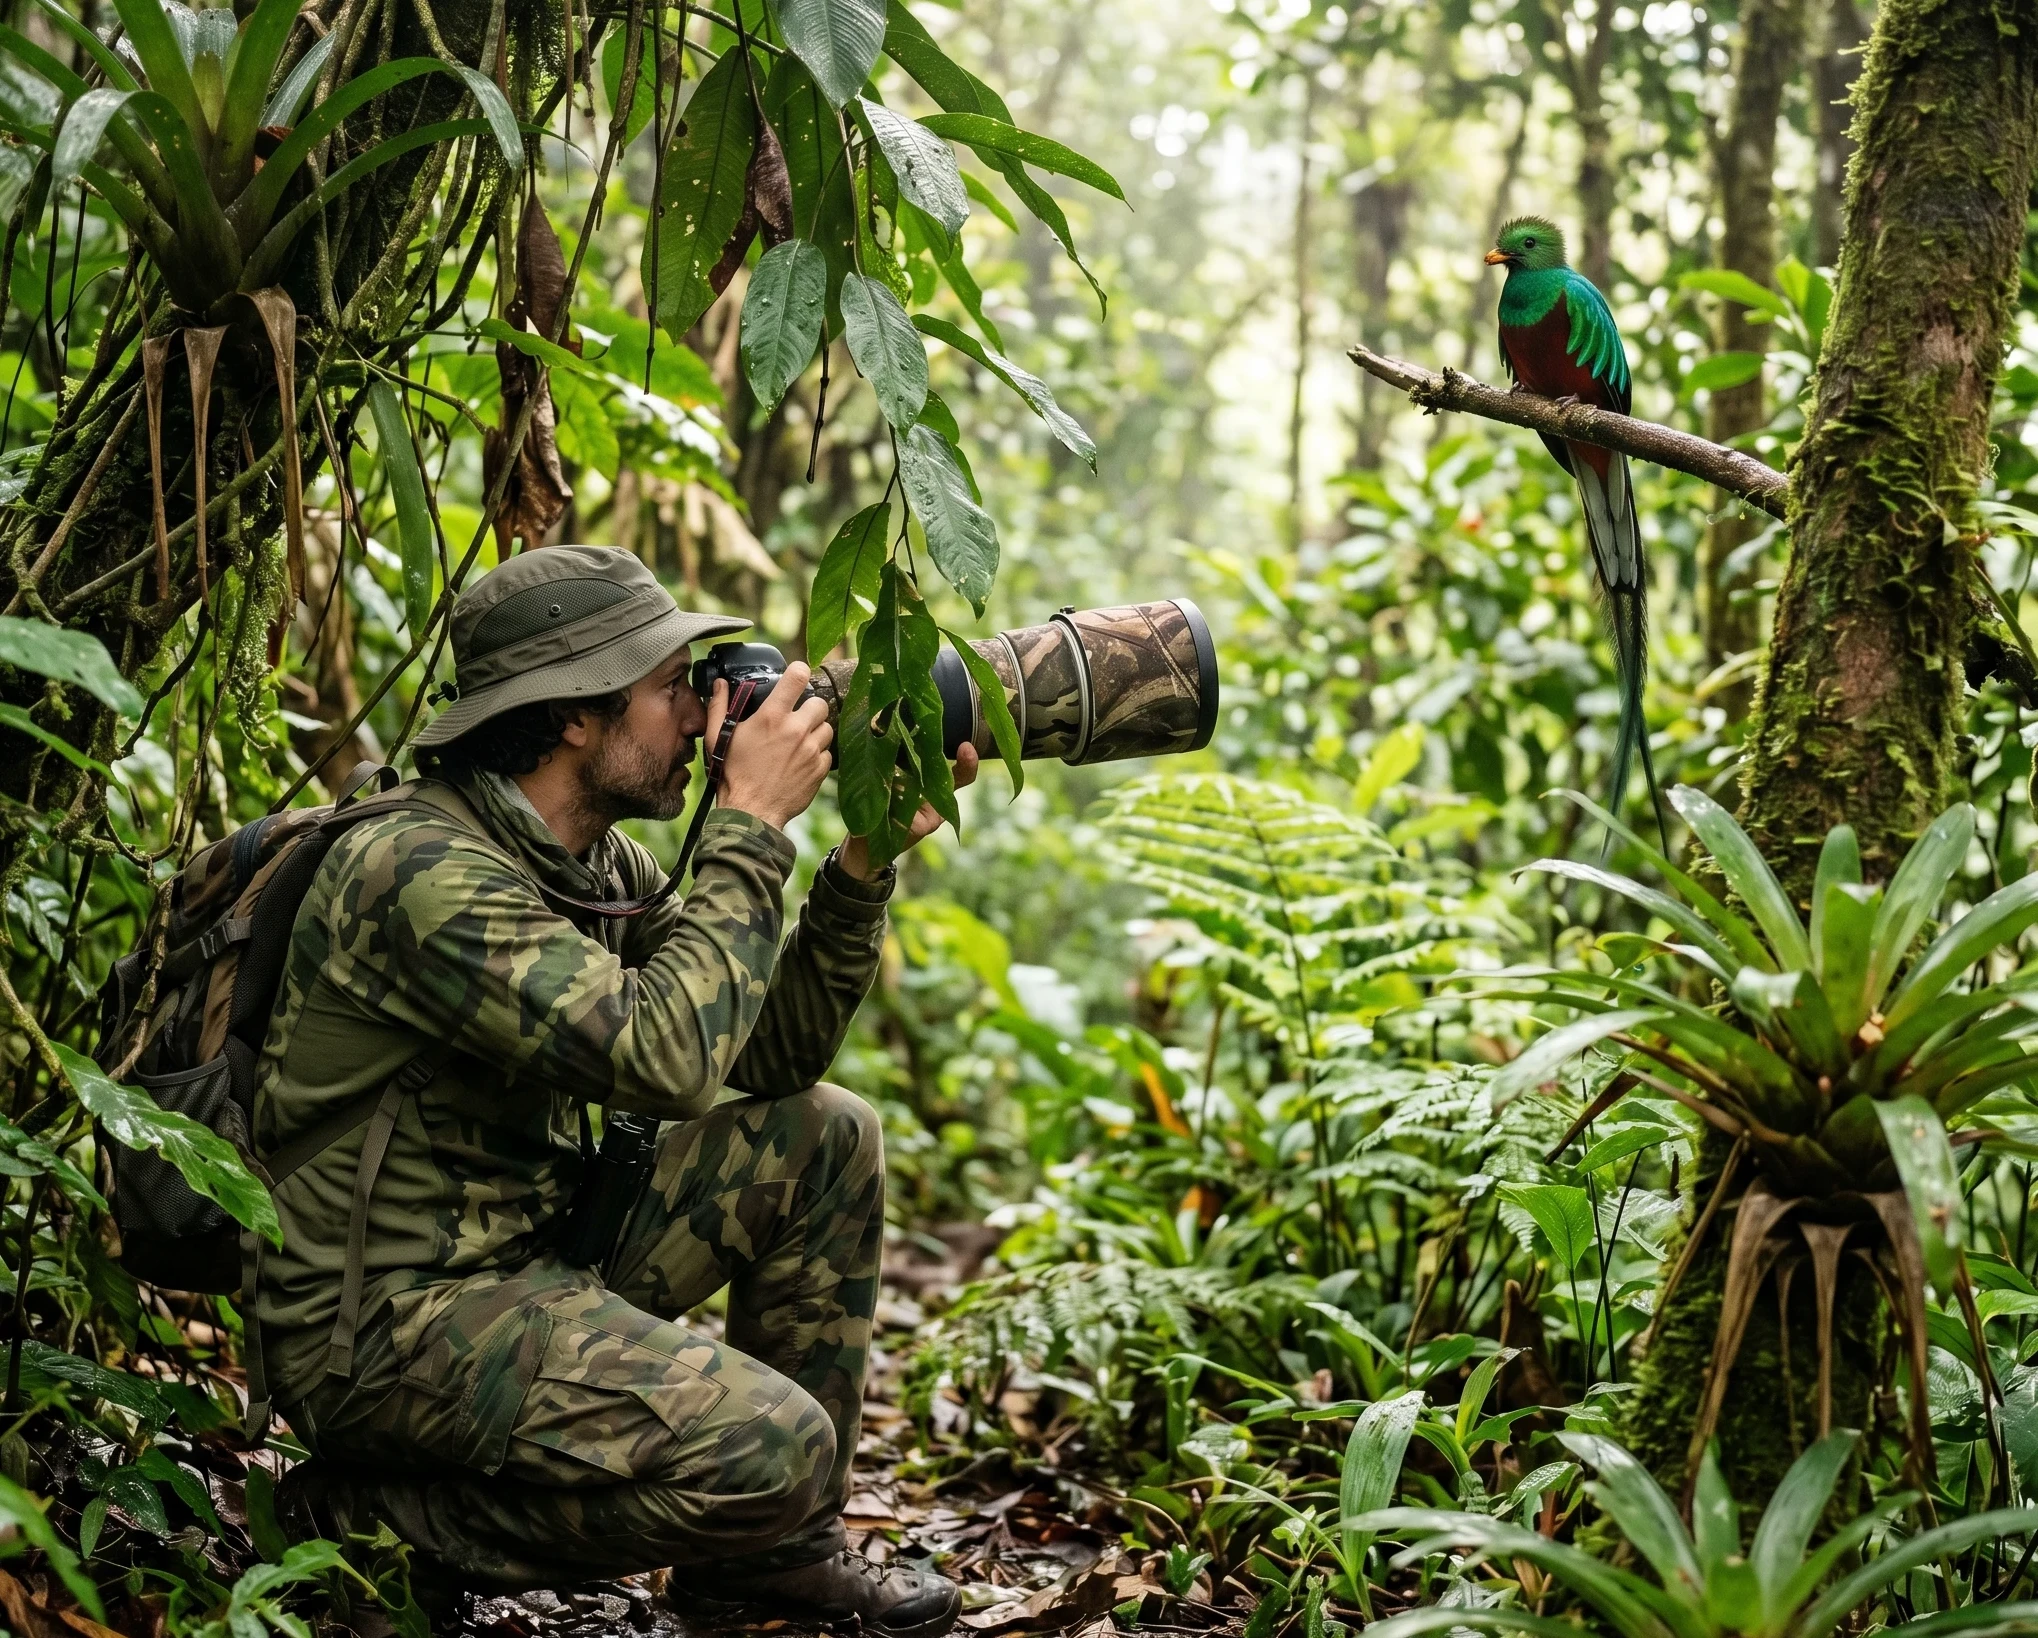
Stay Hidden
Blending in with the surroundings is key.
I use natural cover, like tree trunks or thick bushes, to break up my outline, and wear neutral, earthtoned clothing.
Moving quietly and staying low helps keep from spooking shy birds.
Some photographers also add camouflage coverings to their camera gear or even use small portable blinds when in an open field where there is less natural cover.
These extra steps can smooth the way to getting closer shots without stressing your subjects.
Move Slow and Quiet
Every step counts.
I avoid quick motions, whisper if I am out with others, and tread carefully to minimize noise.
Take breaks, watch and wait, as birds often circle back if you’re patient. Sometimes it is worth scouting a spot and then sitting motionless for extended periods; this lets birds get used to your presence, making them more likely to behave naturally right in front of you.
Observing tracks, droppings, or partially eaten fruit is another subtle way to predict hotspots.
Be Patient Above All
Wildlife waits for no one.
Sometimes I will spend an hour or more watching one patch of canopy or a single flowering tree, waiting for the right bird to appear.
The best images often come to those who put in this quiet time, so patience is honestly your biggest advantage.
On tough days, use this time to check your equipment settings, clean your lenses, and enjoy the atmosphere; patience is not just useful, it helps you get in tune with your environment to spot those brief, magical moments.
Lighting Techniques in Challenging Environments
- Diffused Forest Light: In deep jungle, the scattered light can be beautifully even. I look for soft windows of light shining through gaps in the canopy. These spots make feather colors pop without harsh shadows.
- Side Lighting: Getting at an angle to the sun, especially in the golden hours, brings out rich texture and depth in plumage. As the sun drops, shadows lengthen and a bird’s silhouette takes on added dimension. Experiment with different shooting angles to capture new perspectives on familiar species.
- Backlighting: Shooting into the light can give a glowing aura to birds, especially if there’s mist or soft haze. Rim lighting works wonders on species like hummingbirds with iridescent feathers. If your camera allows, spot meter off the bird’s head or chest to preserve detail even when shooting against bright backgrounds.
Composition Tips for Exotic Bird Photography
- Focus on Color and Detail: Frame your shots to highlight a bird’s most vibrant features—look for times when sunlight catches iridescence or contrasts with the foliage.
- Use Clean Backgrounds: I use wide apertures and try to position myself for a clean, outofocus background that does not draw attention away from my subject.
- Capture Behavior: Feeding, preening, calling, displaying, flying with food—all tell different stories. I try to anticipate key moments, like a macaw cracking open a nut or a toucan flinging fruit into the air. Capturing action shots of birds mid-flight or displaying courtship rituals is another fun challenge that adds variety to your portfolio.
- Use Natural Framing: Overhanging branches, clusters of leaves, or even gaps in the forest can serve as frames to help guide a viewer’s eye toward the bird. Do not hesitate to use reflections in water or textures of mossy logs to give context and depth.
Common Mistakes to Avoid
- Using slow shutter speeds in low light. This will hurt sharpness and capture more motion blur than you want.
- Ignoring the background. Clutter or bright patches distract from the subject. Always scan behind the bird before taking the shot.
- Getting too close. Birds startle easily, so keeping your distance prevents stress and helps keep them coming back.
- Overexposing feathers. Watch your histogram with bright or white plumage, especially in sunlight. Setting highlights warning in your camera menu can help you avoid blown details.
- Not prepping for weather. Unexpected rain or intense humidity can damage gear quickly. Bring covers and dry bags to keep your equipment safe. Add a silica gel packet to your camera bag as an extra dryness measure.
Beginner Practice Plan
- Try photographing birds at local wildlife reserves or aviaries. The birds may be less shy, and the environment is safer for your gear. This gives you a great foundation before testing your skills in the wild.
- Visit parks, nature centers, or botanical gardens with feeders and flowering trees. These are hotspots for native and exotic species in many areas. You will get time to practice tracking fast-moving birds, framing shots, and controlling exposure without worrying about distance or poor visibility.
- As you gain skills, head to larger natural areas. Practice patience, test different locations and times of day, and build your confidence in more demanding conditions. Join a local birding group to meet others, compare notes, and get alerts about recent sightings. Community knowledge can make your adventures smoother and more successful.
Quick Settings & Gear Checklist
- Shutter speed: 1/2000 sec or faster for action
- Aperture: f/4–f/8 for sharpness and subject isolation
- AF-C plus burst mode engaged
- Long telephoto lens (400mm+)
- Rain protection, extra batteries, highspeed memory cards
- Compact binoculars and a lightweight field guide or app
Frequently Asked Questions
Here are some common questions you might have when starting out with exotic bird photography:
What is the best lens for exotic bird photography?
Long telephoto lenses in the 400–600mm range are super useful, giving enough reach to capture crisp images without scaring off the bird. If you want more flexibility, zooms like the 100–400mm work well, especially when moving through dense forest. Consider lens weight and portability, too, especially if you’ll be hiking long distances.
How do I photograph birds in dense forests?
Use fast lenses (f/4–f/5.6), bump up your ISO as needed, and shoot in burst mode. Move slowly, use natural cover, and always be extra patient, since sometimes the best opportunities come after a long wait. Try to scout locations the day before at the same time of day; knowing where the light hits and how birds move boosts your shot count.
What settings work best for tropical birds?
Set shutter speed high (1/1000–1/2500+), use AF-C focus, and adjust ISO to match the light. Don’t be afraid to experiment, as every habitat and bird is different. Manual mode can help if light changes quickly in the canopy. Always double-check your histogram for best exposure.
Where can I find exotic birds to photograph?
Start with local reserves or aviaries for practice. For true wild encounters, research ecotourism hotspots, visit national parks, or link up with guided birding groups in well-preserved rainforests, wetlands, and river systems worldwide. Websites and field guides about regional birding trails make planning easier.
Staying Prepared and Making the Most of Every Opportunity
My advice: prepping well, anticipating bird movement, and picking smart locations all matter way more than just dropping cash on a top of the line camera.
Every session in the field will teach you new tricks about light, animal behavior, and how small changes in position or wait time can turn a maybe moment into a once in a lifetime shot.
Stay patient, keep exploring, and enjoy the process.
Do not be afraid to approach each session with curiosity and an open mind; sometimes your best photos come from taking roads less traveled and embracing the unpredictability of nature photography.
Curious about even more niche tips for bird photography? Check out these guides:
- Photographing Rare and Elusive Birds
- Best Lighting Techniques for Bird Photography
- Capturing Bird Feathers in Detail
Happy bird photography!!!
I had the chance to join my friend and colleague one weekend on her adventure to photograph exotic birds, and it was such a fun learning experience! I quickly realized how tricky it can be, between waiting patiently, dealing with shifting light, and trying not to spook the birds. We even wore earth-toned clothing to blend into the surroundings, which really helped us feel part of the environment.
Your guide reminded me of that day and gave me a deeper appreciation for how much preparation and patience go into capturing those stunning shots.
Do you find that blending in with clothing and natural cover makes a bigger difference than using portable blinds, or do both work equally well depending on the situation?
Hi Alysanna,
What a fun weekend!
“Feel part of the environment” is exactly it — mindset + clothing both matter.
Clothing vs blinds: it’s mobility vs proximity. Use earth-tones + natural cover when you need to move, follow birds, or shoot in forest.
You stay invisible and mobile.
Use a blind when you know the exact perch/nest and can wait.
You will get way closer because your human shape disappears completely.
Rule: If I can predict the bird within 20ft, I set a blind 1hr early.
If I am exploring, I go earth-tones and move like a heron — slow, only when they look away.
Honestly?
I often wear earth-tones inside a blind. Best of both.That patience you learned is the real gear.
Hope you get out again soon!
Best regards
Raymond