
The best travel tripod for bird photography is the one whose legs stay steady under your actual lens at the height you shoot, and that also fits in your luggage.
Spec sheets make this hard to judge because they list a rated load, a weight and a folded length, and none of the three tells you whether the tripod will hold a long telephoto still at 1/60 s in a light wind.
This article covers the legs only. Head choice is a separate decision (it is covered in the fluid head or gimbal head comparison), and so is whether you want a tripod at all.
What follows is how to turn a manufacturer’s numbers into a realistic expectation of stability, and which compromises are worth making for flights and remote hikes.
Why a tripod’s rated load is not the weight it can steadily hold
A rated load is a figure the manufacturer publishes for the heaviest weight the tripod is supposed to support.
It is a static number.
It says nothing about how far that weight sits from the center of the tripod, how much wind hits it, or how much vibration the legs ring with after you touch the camera.
A long telephoto is the worst case for those factors. The lens sticks out 30 to 50 cm in front of the head, and that lever arm turns a modest weight into a large twisting force on the head and the top of the legs.
A lens, body and head of a given total weight is a much harder job for a tripod than a block of the same weight sitting directly over the center column.
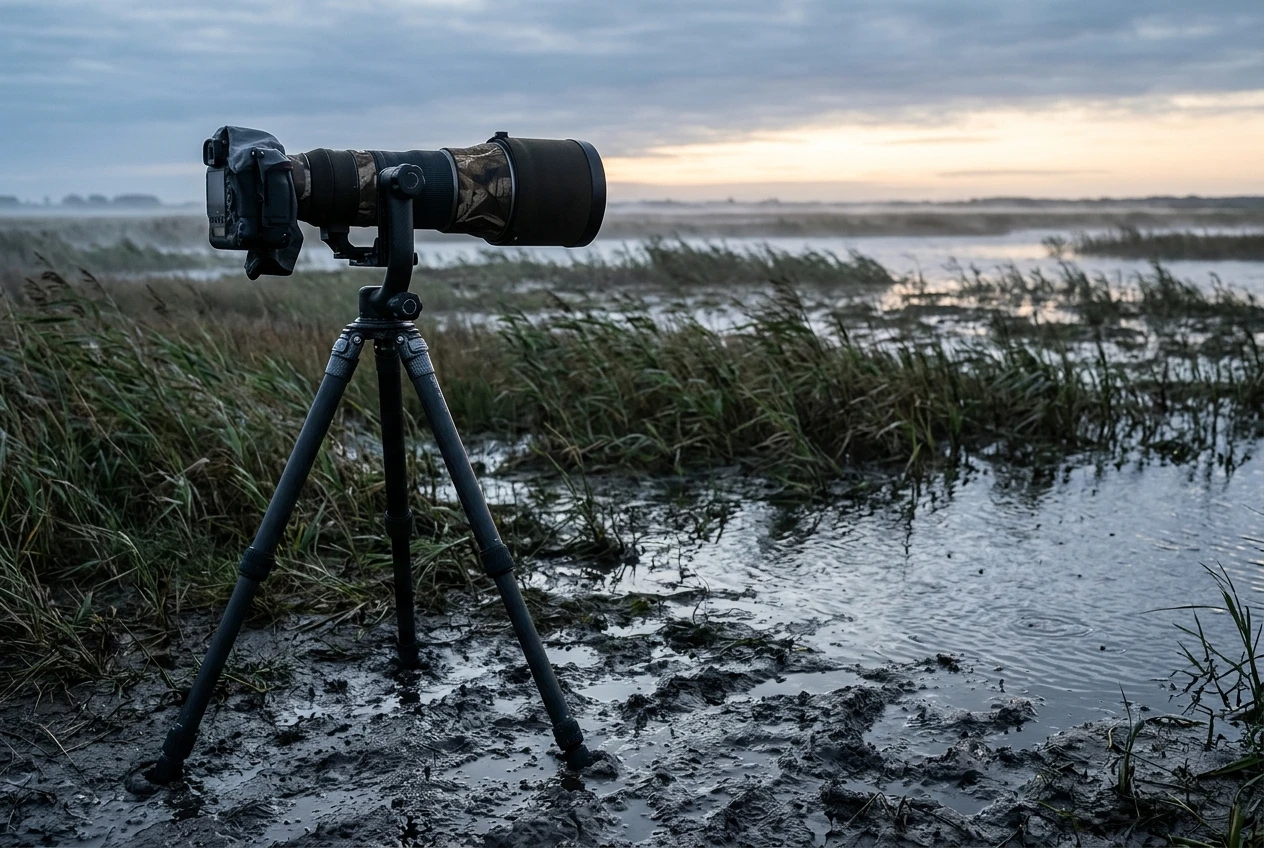
Two more points make the rated load a poor guide on its own:
- The manufacturer sets the number, so two brands may not have measured it the same way.
- A tripod can hold a load without collapsing and still move enough to blur a frame. Rated load describes the first. Birding needs the second.
A working guideline is to pick a tripod rated for at least twice your real load, and more than that if you shoot in wind or use the legs near full height.
Treat the rating as a ceiling you stay well under, not a target.
Adding up your real load: body, telephoto, head, plates and a wet lens hood
Weigh everything on a kitchen scale rather than trusting catalog figures, because the pieces you forget add up.
Here is an example with round numbers. Use your own values.
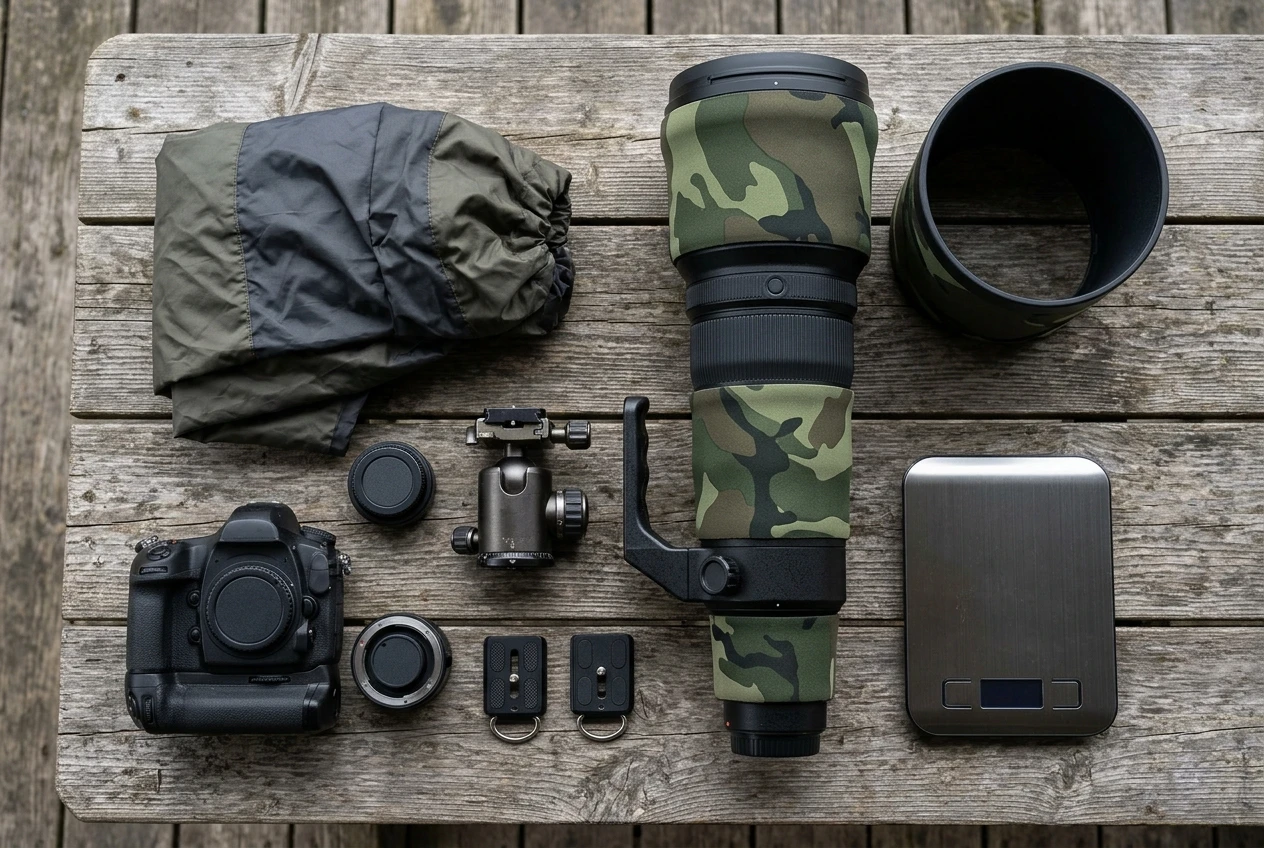
- Camera body with battery and card: 0.9 kg
- Telephoto lens with its tripod collar: 3.0 kg
- Gimbal or fluid head: 0.6 kg
- Plate and any lens foot or camera plate: 0.15 kg
- Lens hood soaked by rain, plus a rain cover: about 0.2 kg
That comes to roughly 4.85 kg. Applying the doubling guideline, you would look for a tripod rated around 9 to 10 kg.
A tripod rated for 5 kg would technically hold this setup, and it would also be at its limit before the wind picks up.Add a teleconverter and the weight barely changes, but the lens gets longer and the lever arm grows.
A 1.4x converter makes the rig more demanding even though the scale shows almost nothing.
Include any flash and bracket if you use fill flash, since both sit forward of the lens and add to the same lever arm.If you are still deciding between lenses, weight and length are part of that decision too.
The lens guide for bird photography covers the options, and the support you need follows from what you pick.
Carbon fiber vs aluminum legs for travel birding, and what each does to vibration
Material is the first trade-off, and it has two parts: weight and how quickly the legs stop vibrating after a disturbance.
Carbon fiber is lighter than aluminum at comparable stiffness, and it damps vibration faster. When you press the shutter or a gust hits the lens, carbon legs generally settle sooner, so the image is less likely to be softened by residual movement.
Carbon is also less unpleasantly cold to hold in low temperatures and does not corrode in salt air the way an aluminum finish can once it is scratched.
The costs are a higher price and the fact that a crack from a hard knock may not be visible from outside.
Aluminum is heavier, cheaper and tough. It dents rather than splits, and it is easy to judge for damage.
For a car-based birder who walks short distances, an aluminum tripod’s extra weight is a small penalty. For someone carrying a 600 mm lens on a three-hour hike or through an airport, that extra weight is a real cost.
Neither material guarantees stability. Leg diameter, the number of sections, the quality of the locks and the design of the top casting matter as much as the material.
A thick-legged aluminum tripod can be steadier than a thin-legged carbon one. When comparing, look at the diameter of the bottom section, because the thinnest tube flexes the most.
A fair summary of the weight trade-off: each gram saved by thinner tubes or a lighter casting comes out of stiffness, and the loss shows up first as slow settling after the shutter fires.
Material choice moves you along that curve at a better rate (carbon gives you more stiffness per gram), but you still pay when you go lighter.
Leg sections, folded length and the airline carry-on question
More leg sections make a tripod fold shorter. They also add joints, and every joint is a place where the legs can flex or slip.
Three-section legs are generally stiffer than four-section legs of the same material and tube diameter. Five-section designs fold smallest and are the least rigid.
For birding with a long lens, the practical rule is to buy the fewest sections that still fit your luggage plan. Folded length depends on three things:
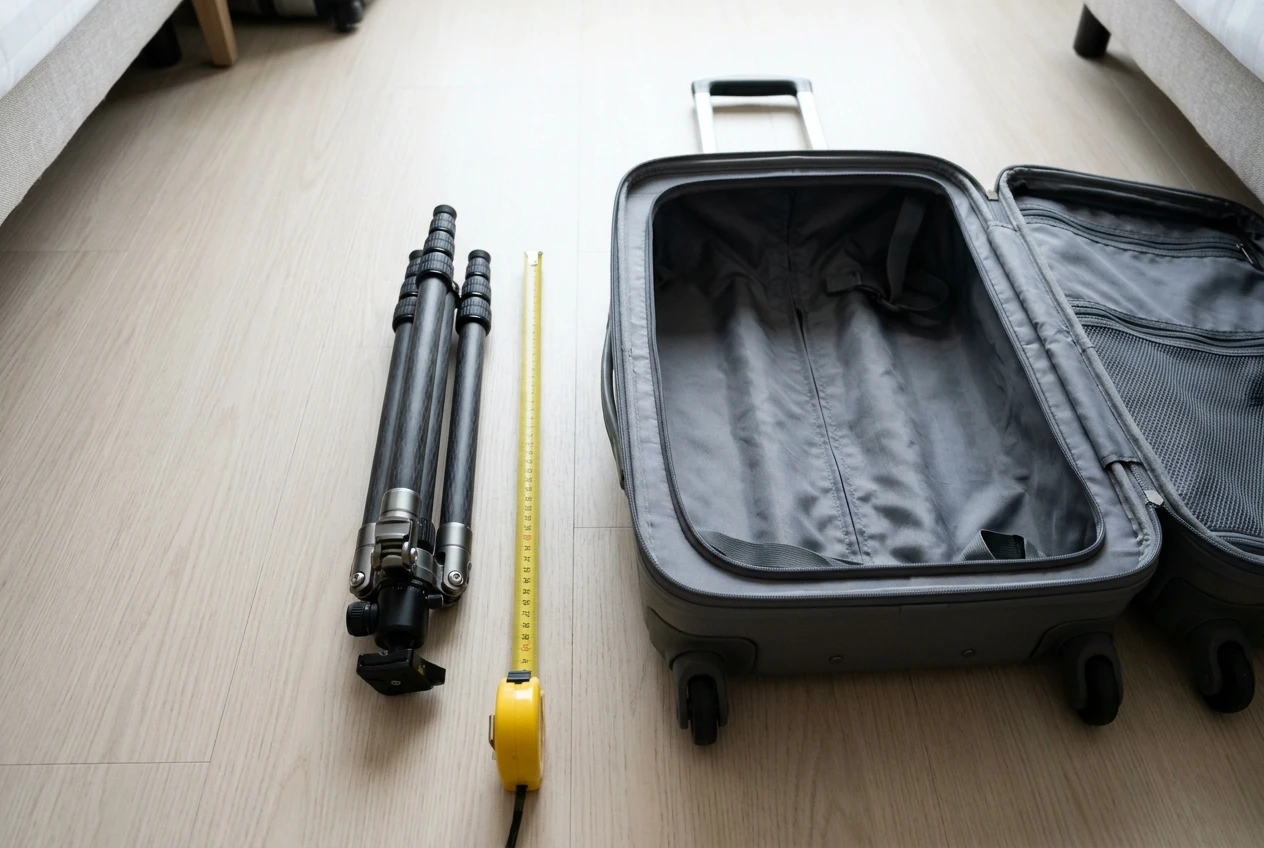
- The number of leg sections
- Whether the legs fold upward over the head (reversible legs), which cuts the folded length by roughly the height of the head and column
- Whether the head stays on or comes off for travel
Reversible legs are the most useful feature for flights.
Folded that way, the tripod is shorter, but the head sits in the middle of the bundle, so a large gimbal head needs to detach or the tripod will not pack as short as the specification suggests.
Check whether the folded-length figure includes the head.
On the carry-on question, airline rules vary by carrier, route and aircraft, and they change.
Some airlines allow a tripod in a carry-on bag if it fits the size limit, while others require it to be checked or restrict it to a personal item.
Check your airline’s current dimension and weight limits before you pick a tripod based on its folded length.
A practical approach is to measure your airline’s limit, subtract the thickness of the bag, and use that as your folded-length ceiling.
If the tripod has to be checked, a hard-sided case or a well-padded roll of clothing protects the leg locks and the head.
Keep the lens and body in your cabin bag. The camera bag packing guide covers how to organize the rest of that kit.
Height, low-angle and uneven ground: what remote birding sites demand of the legs
Birders rarely shoot at standing eye height with the legs fully extended. Birds feed on mudflats, perch at odd heights, and call for different angles in the same session.
Three leg properties decide how well a travel tripod handles that.
Working height without the center column. A center column raised above the leg junction acts as a long, thin lever and gives up much of the stiffness of the legs.
Look for a tripod whose legs alone put the head at a workable height for you. With a long lens on a gimbal head, the lens axis sits above the head, so the camera ends up higher than the tripod height figure suggests.
A tripod that reaches your chest height with the column down is usually adequate, because you bend slightly to the viewfinder.
Low-angle ability. Shorebirds, ducks on water and ground-feeding birds are best photographed from their eye level.
A tripod needs legs that splay wide, ideally with independent angle stops, and a center column that can be removed, inverted or shortened so the head can reach within a few centimeters of the ground. Check that the legs can spread to the lowest angle with your head and lens fitted.
A long lens fitted with a collar often hits the leg junction before the specification says it should.
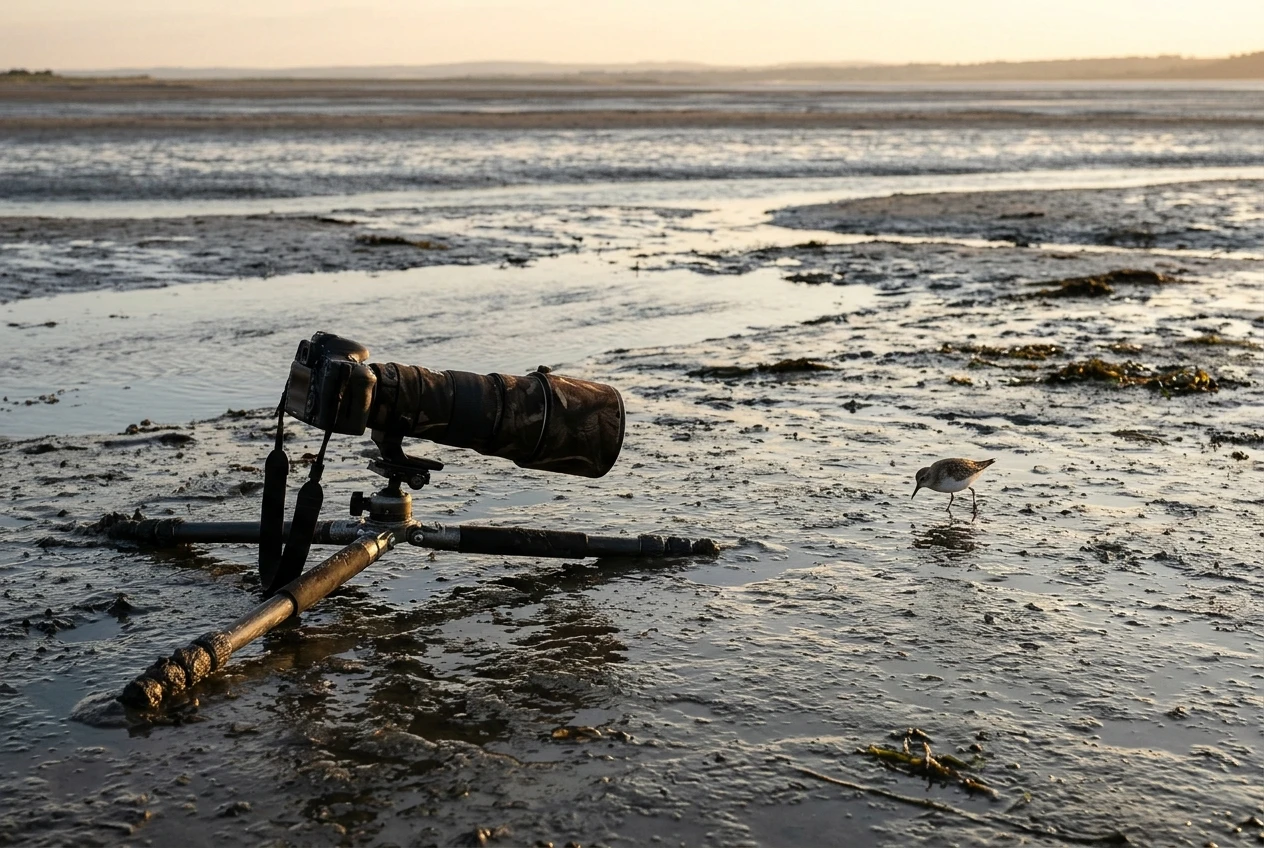
Uneven ground. On slopes, rocks and mud, independent leg angles and a leg lock you can operate with cold or muddy hands matter more than the maximum height.
Twist locks are generally more resistant to grit than lever locks, but they take longer to operate and can be hard to tighten with gloves.
Lever locks are faster and easier to check by sight, but sand and mud can get into the mechanism. Whichever you choose, rinse and dry them after use in sand or salt.
Rubber feet suit hard surfaces. Spiked feet give grip on soft ground and ice. If a tripod has interchangeable feet, check that the foot you want is available before you buy.
Stability tricks that let a lighter tripod hold more: hanging weight, leg angle, extension order and shutter technique
A lighter tripod can be made steadier through set-up and technique. Several habits move the balance back toward stability without adding weight to your pack.
Hanging weight
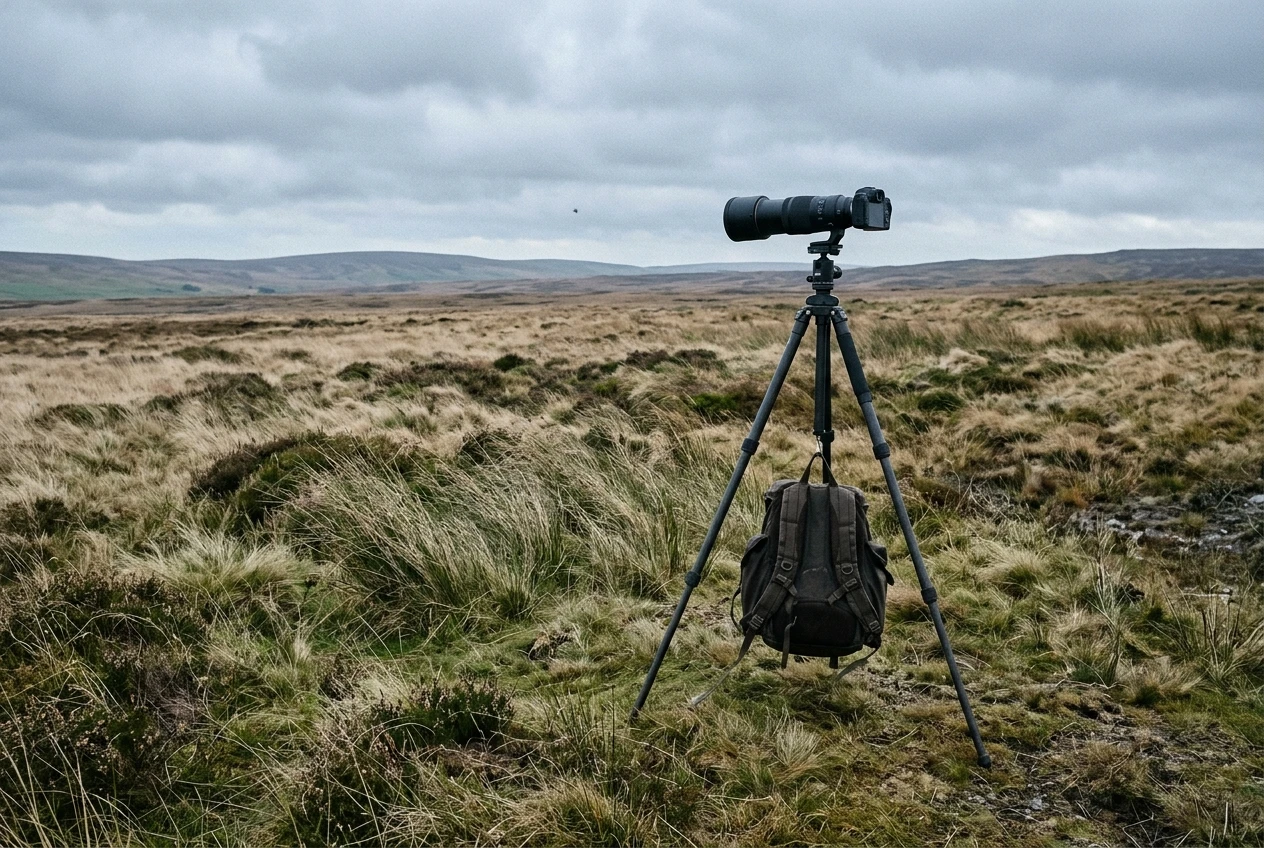
Many tripods have a hook under the center column.
A camera bag or a bag filled with rocks hung there lowers the tripod’s center of mass and damps small movements.
In wind, keep the bag from swinging: it should hang just clear of the ground, or sit on it, so it does not become a pendulum. If your travel tripod lacks a hook, a strap looped around the column works.
Leg angle
Spreading the legs wider lowers the tripod and widens its footprint, which resists tipping and sway. The trade is height.
Use the widest angle that still gives you a comfortable viewfinder position. One leg pointed toward the subject with the other two behind lets you stand closer to the camera on slopes.
Extension order
Extend the thickest leg sections first and use the thinnest section last, and only as far as you need. Each extra section out of the leg adds flex.
The center column should stay down for long-lens work. If you need extra height, extend the legs rather than raising the column.
Shutter technique
Vibration from your own hands is a major source of blur on a tripod. These adjustments reduce it:
- Use a remote release or a two-second timer so that your hand is off the camera when the exposure starts.
- On mirrorless bodies, use an electronic or electronic first-curtain shutter to remove shutter shock. Check for rolling-shutter distortion on fast subjects, since a fully electronic shutter can distort a bird in rapid motion.
- On DSLRs, use mirror lock-up or live view for still subjects.
- Check your lens manual for its image stabilization advice on a tripod. Some lenses have a dedicated tripod mode and others recommend leaving stabilization on, so follow the manufacturer’s guidance for your model.
- Keep a hand lightly on the lens in wind, without pressing, to damp movement. This is useful for gimbal-mounted rigs.
For still subjects, a shutter speed that is clearly faster than the wind-induced motion is the simplest insurance.
If you are fighting soft frames, test your setup at several shutter speeds against a stationary target and look at the files at 100 percent.
Which type of birder should buy which kind of travel tripod
The right tripod depends on how you travel and what you shoot. These profiles cover the common cases.
The frequent flyer with a 400 to 500 mm lens. Priority is folded length and weight.
A carbon, reversible-leg tripod with four sections is a reasonable compromise, since the lens is light enough to keep the leg stiffness requirement moderate.
Use the setup tricks above to make up the difference.
The remote hiker with a 600 mm or longer lens. The lens weight and lever arm call for a stiffer tripod, so three sections and a larger tube diameter are worth the extra weight.
Carbon helps hold the pack weight down. Accept a longer folded length, and plan for checked luggage if the airline requires it.
The hide or blind shooter. If you work from a fixed position, weight is less of a concern, and a heavier aluminum tripod with thick legs gives the best stability per unit of money.
The backyard blind guide shows how to design the space around the support.
The walk-and-shoot birder. If you follow birds on foot and need to reposition often, a tripod may slow you down.
Read the monopod or tripod comparison before you decide, because a monopod may be the better choice for some of your outings, with a tripod reserved for static setups.
Whatever the profile, the head is the other half of the support.
The weight, size and balance of the head affect which legs you need, which is why the fluid head or gimbal head article is worth reading before you finalize the legs.
This article links to that comparison once above, and the point remains: decide on the head and legs as a pair.
Packing and protecting a travel tripod in the field
A tripod that works at home can fail in the field because of dirt, moisture or rough handling. A few habits protect it.
- Clean the legs after sand, salt or mud. Extend the sections, wipe them with a damp cloth, let them dry, and then check that each lock tightens evenly. Grit in a leg lock causes slipping.
- Do not leave the legs wet in a closed bag. Moisture trapped in the sections can corrode the lock hardware and in cold conditions freezes the sections together. Dry them at the end of the day.
- Pad the top casting and the lock points in transit. Impact at the joints is more damaging than a scratch on the tube. A padded tripod bag or a wrapped layer of clothing works.
- Tighten the locks before you load the lens. Check each leg by pressing down on the extended tripod before mounting the camera.
- Carry spare parts you can fit yourself. Check whether your tripod’s feet and leg-lock screws can be replaced, and keep the matching tool in your bag.
For rain, salt spray and cold, the weatherproofing guide for bird photography gear covers what to do for the camera, lens and support together.
Choosing your legs
Start by weighing your own rig and doubling the figure to find a rated load to look for.
Then pick the fewest leg sections that fit your airline’s carry-on limit, favor reversible legs, and confirm the low-angle and column options for the ground you shoot on.
Check any tripod you are considering against those numbers, and buy through the affiliate links on this site for the picks that pass.
Once the legs are chosen, the head goes on top.
Read the fluid head or gimbal head article to choose the one that suits your lens and the way you follow birds.