
A support does two jobs for a telephoto lens. It carries weight your arms would otherwise carry, and it removes some of the camera movement that blurs frames at long focal lengths.
Whether you want a monopod or a tripod depends on how much of each job a given situation needs and what you give up to get it.
For monopod vs tripod for bird photography, the useful question is which trade-off suits where you are standing.
This article stays on the legs.
Heads, meaning fluid versus gimbal, are a separate decision covered in our fluid head vs gimbal comparison, linked at the end.
What a Support Actually Fixes, and What It Cannot
A support addresses static shake and fatigue.
Static shake is the small, continuous movement of your hands, arms and torso, magnified by focal length.
At 600mm, a tremor that is invisible at 50mm shifts the frame by many pixels during a slow exposure.
Fatigue matters because a heavy lens held for twenty minutes at eye level makes your framing sag and your technique get sloppy, and sloppy technique shows up as missed focus and soft frames.
A support cannot fix subject motion.
If a heron strikes at a fish or a warbler turns its head, a rock-solid tripod does nothing for that blur. Only shutter speed freezes the bird.
This is the most common misunderstanding when people buy their first support: they expect sharper images across the board, and what they get is sharper images of birds that are holding still.
The two supports also differ in what they remove:
- A tripod locks all three axes of translation and rotation until you loosen the head. The camera is stable between your inputs, so you can compose, wait and shoot without holding anything.
- A monopod carries the vertical load and removes up-and-down sag, but the lens can still sway forward, back and sideways. You supply the stability on those axes, which is why technique matters more with a monopod than with a tripod.
Expect a monopod to give a smaller improvement than a tripod, and a more variable one.
It depends on your stance, wind, and how firmly you press the lens into your eye and cheek.
Tripod: Where It Earns Its Weight
A tripod pays off when you stay in one place for a long time and the bird comes to you.
That covers hides, feeder setups, nesting sites you watch from a distance, and any perch you expect a bird to return to.
In a hide, weight and setup time stop mattering.
You set up once, before the birds arrive, with the lens pointed at the perch or the water you have chosen.
The tripod holds the framing while you wait, so you can lower the camera, look through binoculars, and raise it again with the composition unchanged.
With a long lens that has a lot of mass in front of the tripod collar, this is also the only way to sustain a long session without arm fatigue.
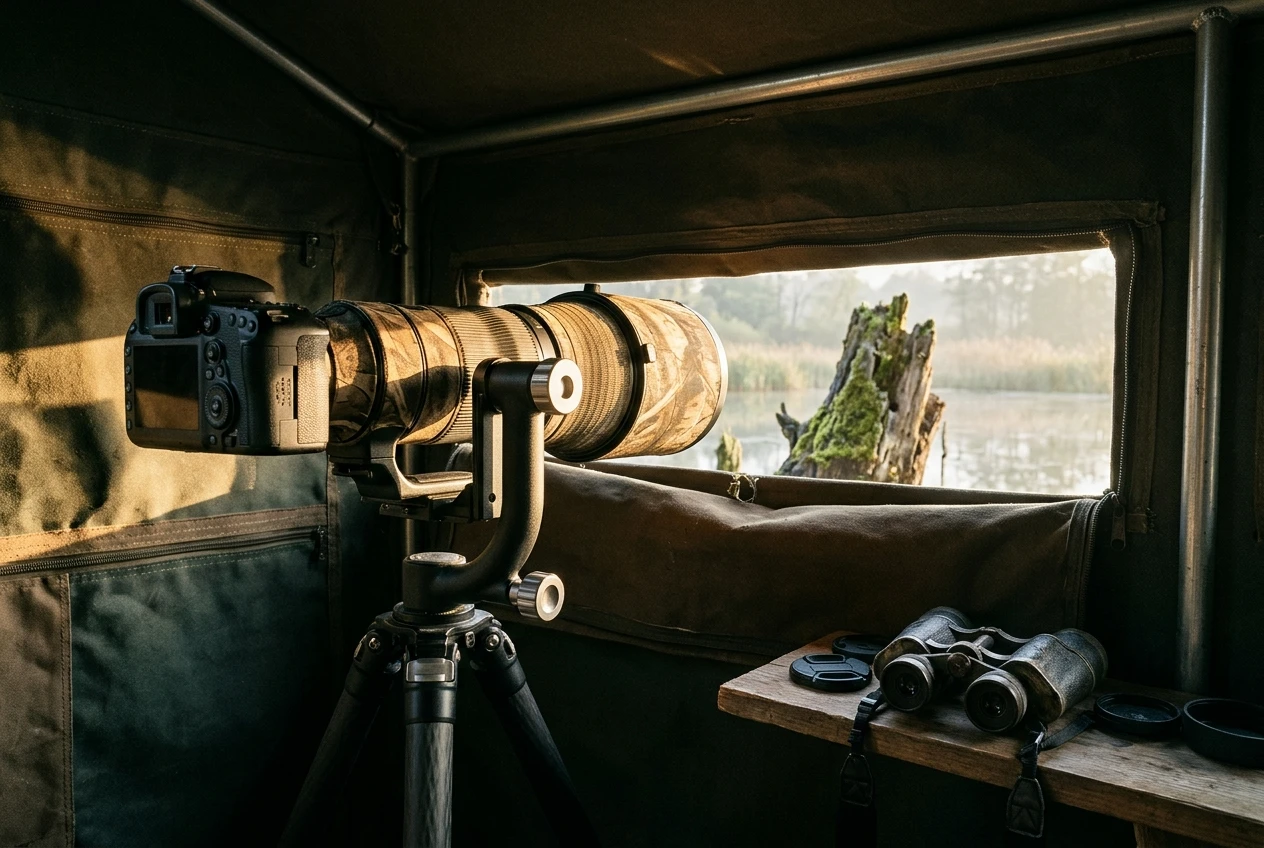
A tripod also gives you the most control over sharpness on stationary subjects. A perched owl at dusk or a songbird on a feeder at low light often calls for a slow shutter speed to keep ISO manageable.
Because the camera is locked down, the only blur left is the bird’s own movement, so you can choose a speed based on the bird alone.
A few technique points matter on a tripod:
- Keep the center column down. Raising it turns the tripod into a monopod with extra legs and adds vibration.
- Extend the thicker upper leg sections first and the thin lower ones last.
- On a windy day, hang a bag from the hook under the column or low on the legs to damp movement.
- With a mirrorless camera, use electronic first-curtain or the electronic shutter if banding is not an issue, and a two-second timer or remote release so your finger does not nudge the frame on slow exposures.
The costs are real. A tripod with enough capacity for a super-telephoto is heavy, slow to reposition and awkward on narrow trails.
Every time the bird moves to another branch, you have to move three legs to follow it.
Monopod: Steadiness Without Giving Up Mobility
A monopod suits birders who walk.
On a trail, at a woodland edge, or along a road where you stop and start constantly, you want to unfold nothing.
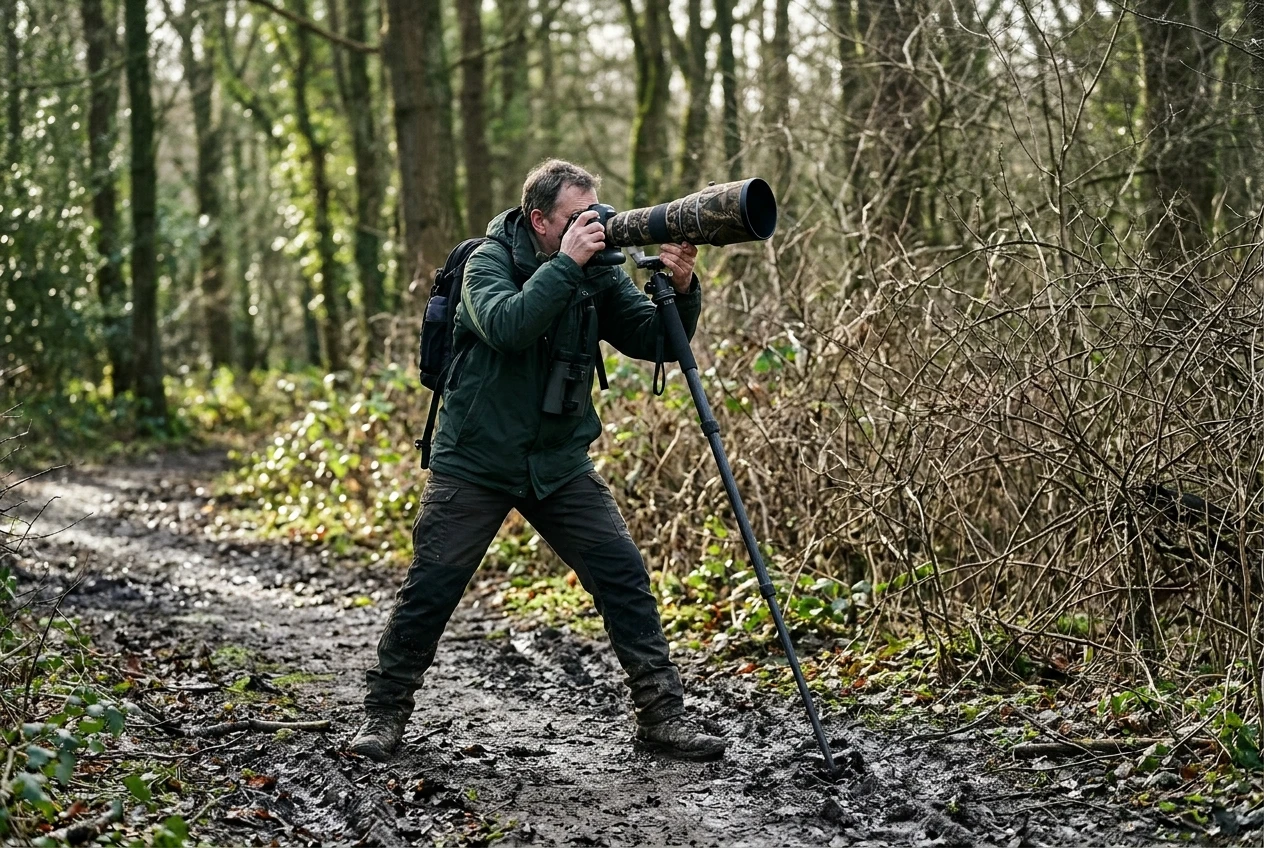
You plant the monopod, press the lens into position, and shoot. When the bird flushes, you pick it up and move.
The monopod’s advantage is speed. Adjusting height is a single twist or flip lock.
It collapses to a walking stick length, takes little room in a pack, and weighs a fraction of a tripod.
It also keeps you in a normal shooting posture, which matters when you are following a bird along a hedgerow, because you can pivot on your feet and swing the lens more freely.
Technique decides how much stability you get.
Stand with your feet apart and the monopod forward so that your two feet and the monopod tip form a triangle.
Lean slightly into the lens with the monopod angled back toward you, rather than holding it vertical and swaying with it.
Hold the lens grip and the camera, and let the monopod take weight rather than guiding the lens.
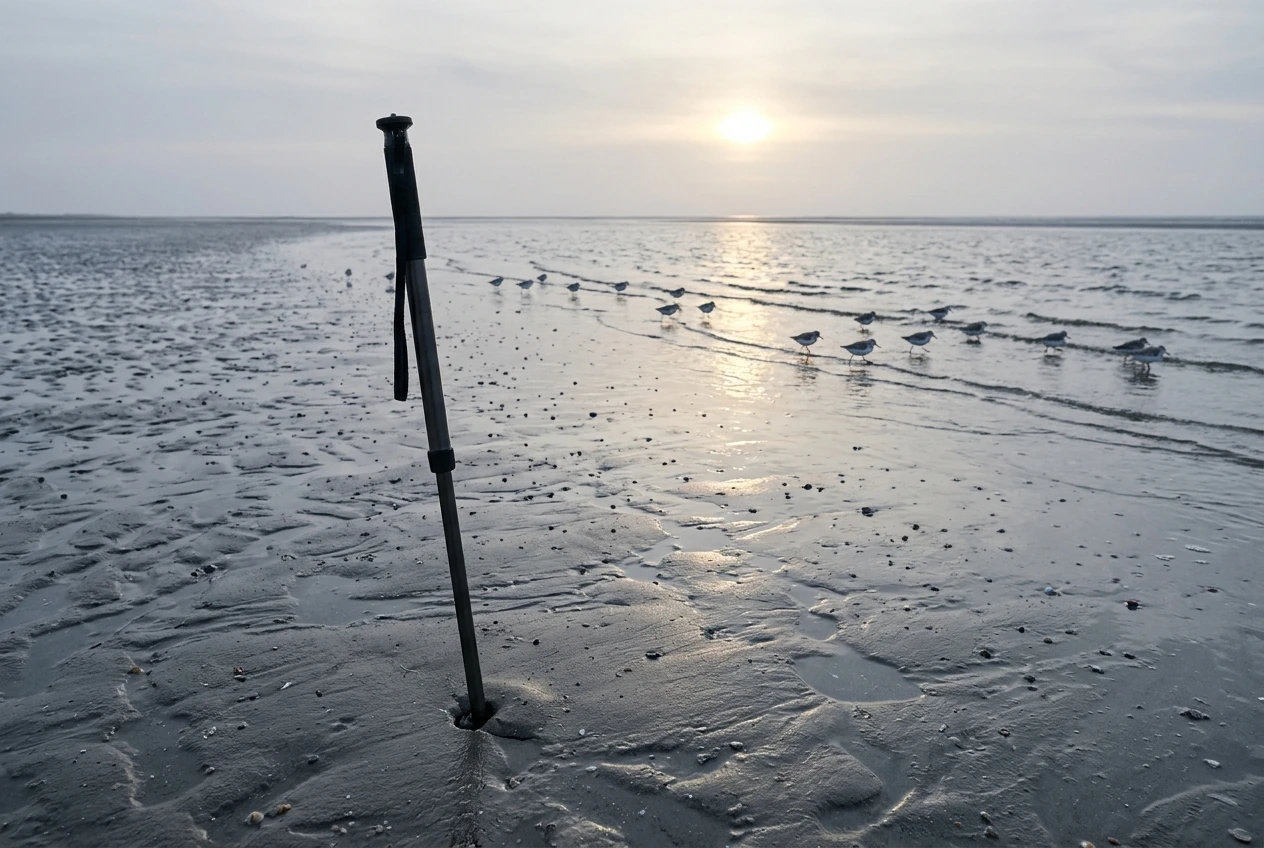
The shoreline is a case where the monopod is usually the better pick, for two reasons.
First, birds move along the waterline constantly, and shorebirds in particular will run out of the frame before a tripod can be repositioned.
Second, soft sand and shallow water let tripod feet sink and shift unevenly, while a monopod only needs one stable point.
The shorebird guide on this site, How To Photograph Shorebirds Effectively, covers the fieldcraft that goes with it.
After any salt water contact, rinse the monopod with fresh water, extend the sections and let them dry before storing, or the locks will corrode and stick.
Birds in Flight and Fast Subjects: Why Panning Freedom Changes the Answer
Flight shooting favors the support that gets in the way least.
Following a bird across the sky needs a smooth arc of movement, a free choice of direction, and the ability to rotate your body to follow it.
A tripod restricts you to the arc the head allows, and the legs can limit how far you can rotate, tilt up or track a bird that passes overhead.
A good head helps a great deal here, but that comparison belongs to the head article.
A monopod allows nearly the full range of handheld movement and still takes the weight, so the lens does not drop between bursts.
Many flight shooters also go fully handheld with lighter lenses, and that is a legitimate choice. The monopod makes sense when the lens is heavy enough that handholding costs you accuracy over a long session.
Remember that support does not freeze wingbeats.
For birds in flight, set the shutter speed for the subject, not the support. As a starting range, 1/2000s suits larger, slower flyers, and small fast birds or fast wingbeats often need 1/3200s or faster.
A tripod does not let you go slower on these subjects, because the wings and body are moving regardless.
A tripod does win in one flight scenario: a fixed flight path. If birds repeatedly pass the same point, such as a gap in a ridge, a breeding colony, or a feeding spot where they return to the same lane, a locked tripod aimed at that point and ready to fire is faster than pointing a lens that you must raise each time.
Shutter Speed and Stabilization Settings
Support changes the minimum shutter speed you need, but only for the camera movement part of the equation.
The classic hand-held guide is a speed of at least 1/focal length, so about 1/600s at 600mm. That is a floor for your own movement. It says nothing about the bird.
For perched birds, bird movement sets the real floor. Even a still bird moves: head turns, blinks, preening, and the branch itself shifts in wind.
Something like 1/250s to 1/500s is a reasonable range for a calm perched bird, and faster if it is active.
On a tripod you can use those speeds without worrying about the 1/focal length floor. On a monopod, stay closer to or above the floor.
Lens stabilization needs a decision for each support:
- Tripod: Many older lens designs and some maker instructions say to switch stabilization off on a tripod, because the system can introduce its own drift when there is nothing to correct. Many current lenses and bodies detect a tripod and adjust automatically. Check your lens manual and follow it. If in-body stabilization is also active, check how it behaves when the lens detects a tripod.
- Monopod: Leave stabilization on. A monopod leaves residual shake, and stabilization corrects it.
- Panning: Use the panning-aware mode if your lens has one. Canon calls it Mode 2 on many lenses, and Nikon uses a Sport mode on some lenses. Naming varies by maker, so check the manual. These modes correct vertical shake while leaving horizontal sweeps alone.
Leg Height, Load Rating and Carry Weight
Three specifications decide whether a support works with your lens.
Check each one against the actual lens and body you own, using the weights in the maker’s specifications.
Height. A tripod should put the viewfinder at eye level with the center column down, once the head and camera are mounted. If you must raise the column or stoop, it is too short. Remember the head adds height.
A monopod should be tall enough that you can hold the camera at eye level without bending. Mounted at its full extension, the top should sit at about your chin or eye line.
Load rating. Add the weights of the body, the lens, any teleconverter and the head, and compare the total with the stated capacity.
A widely used rule of thumb is to choose a rating well above the load, around two times or more, because rated capacity is measured under static, ideal conditions and does not account for wind or heavy front-loaded lenses.
A lens with a long barrel puts its weight forward of the mounting point, which loads the support more than the weight alone suggests.
Carry weight. Weight matters over distance.
Carbon fiber is lighter than aluminum and absorbs some vibration, and it costs more. Fewer leg sections are generally stiffer but pack longer, and more sections fold smaller with a small loss in rigidity.
For the packing side, see the list in What to Pack in Your Camera Bag for a Long Lens Birding Day.
Also check how the support attaches.
Your lens needs a tripod foot or collar, and the plate or clamp must match the head you plan to use, which is usually Arca-Swiss compatible.
Pick-by-Situation Cheat Sheet
Situation | Better support | Shutter speed | Panning freedom | Setup time |
|---|---|---|---|---|
Hide or feeder | Tripod | Set by bird movement, can go below 1/focal length | Limited, rarely needed | Slow, done once |
Walking trail | Monopod | Keep at or above 1/focal length | High | Seconds |
Shoreline | Monopod | Fast for moving birds, 1/1600s and up | High | Seconds |
Flight | Monopod, or handheld | 1/2000s to 1/3200s or faster | Highest | Seconds |
Low perch or ground level | Tripod with legs that spread low | Set by bird movement | Moderate | Moderate |
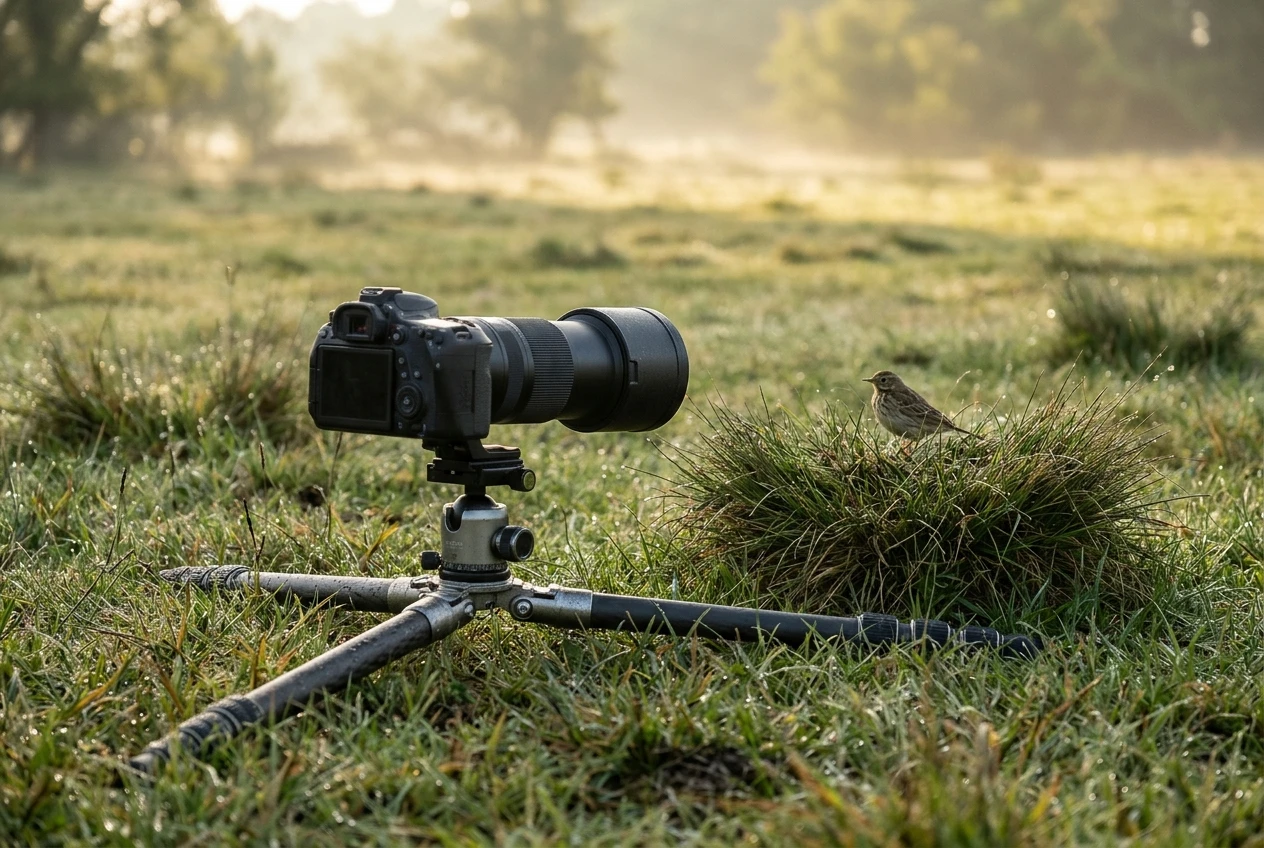
Low perches are the awkward case for a monopod.
A monopod’s top ends up well above a bird at ground level unless you sit, kneel or lie down, and then you lose its mobility anyway.
A tripod with legs that splay almost flat puts the lens at the bird’s eye line and lets you stay there for a long time.
Carrying both is justified in a few cases. If you drive to a site, spend part of the day in a hide, and part walking, the tripod stays at the hide and the monopod goes with you.
If you use a heavy lens and walk to the location, the monopod alone is usually the sensible choice.
If you shoot one situation nearly every time, buy for that situation and add the second support only when a missed shot makes the case for it.
Before You Buy
Before you buy a support, check your lens weight against the load it needs to carry.
Our guide to the best lenses for bird photography lists the options, and the fluid head vs gimbal head article covers the head that goes on top.