
Sandpipers are among the hardest small birds to photograph well.
They are small, they feed in bursts of fast head movement, and they cover the ground in sudden sprints before freezing again.
Most of them also work the exact strip of sand where reflected light and background clutter are hardest to control.
Knowing how to photograph sandpipers comes down to matching your camera settings to what the bird is doing in each second, and putting your lens at the bird’s level.
This guide covers settings and technique for that.
For broader timing and location advice across all shorebirds, the site’s shorebird photography guide is the companion piece.
Why Sandpipers Punish Ordinary Bird Settings
A setup that works for a perched songbird fails here for three reasons.
Size in the frame. Even with a long lens, a sandpiper at a respectful distance occupies a small part of the image. Autofocus systems have little subject to lock onto, and any motion blur or focus error is magnified when you crop.
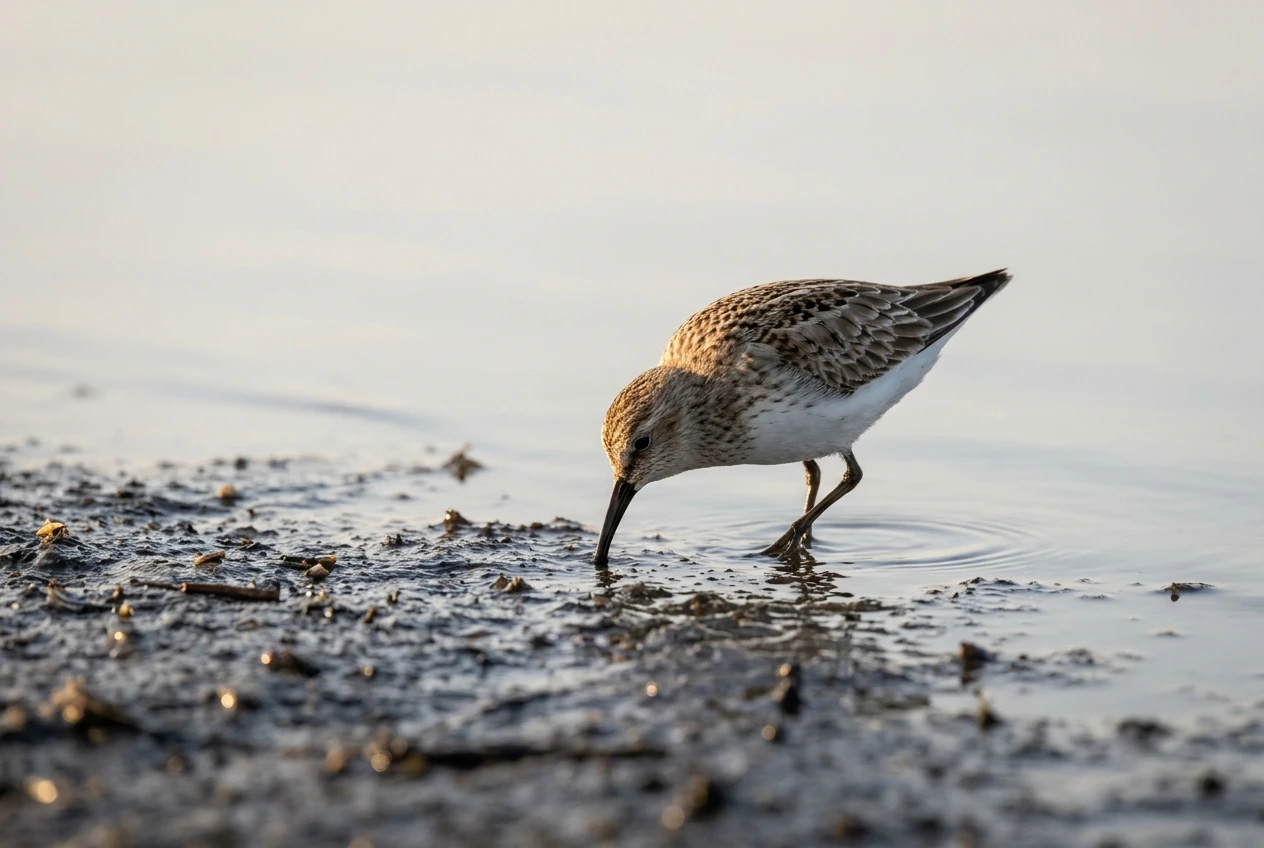
Speed of the head and bill. A sandpiper probing the mud moves its head and bill in rapid jabs while the body stays nearly still. A shutter speed that freezes the body will often leave a blurred bill or eye. Probing is the behaviour that most often catches photographers out.
Stop-start travel. The bird feeds, sprints a short distance, stops dead, and sprints again. Autofocus has to follow a subject that changes speed and direction with no warning, and it often lands on the wet reflection under the bird or the sand behind it.
Each of these problems has a settings answer, and the answers differ by behaviour.
A single compromise setting will either waste your keepers or underexpose the light you have, so the next sections treat each behaviour separately.
Shutter Speed by Behaviour: Probing, Running, Preening and Takeoff
Treat the figures below as starting points for a bird at moderate distance with a long lens.
Raise them if your frames still show blur, and lower them only when you have confirmed the sharpness holds.
Probing and feeding
Use 1/1250 to 1/2000 second. The body may be nearly still, but the head and bill are not.
Fast probing is the case where a speed that looks generous for a stationary bird still gives soft bills.
Running along the tideline
Use 1/2000 to 1/3200 second.
A running sandpiper moves its legs fast and changes direction abruptly, and you are also panning with it, which adds your own movement error.
If the bird runs toward or away from you, the subject moves less across the frame and you can sometimes drop slightly, but a crossing run needs the faster end.
Preening and resting
Use 1/800 to 1/1250 second. A bird that stands and preens is usually moving only its head and wings in slow, short motions.
Wait for the pauses and shoot the moments when the head is still, and you can use the lower end. Wing stretches are faster than they look, so raise the speed if you are shooting those.
Take-off and flight
Use 1/3200 second or faster, and 1/4000 or above if the light allows.
Small shorebirds beat their wings very quickly, and the wingtips will blur at lower speeds even when the body is sharp.
A frame with a sharp head and blurred wing tips may still read as motion, but a frozen wing needs the high speed.
Aperture and ISO
Set the aperture around f/5.6 to f/8.
Wide open on a long lens gives a depth of field so thin that the bill and the eye may not both be sharp when the bird stands at an angle.
Stopping down a little gains depth at the cost of light.
Light is what you pay with, so let ISO float.
Use manual exposure with Auto ISO, set your shutter speed for the behaviour in front of you, and change it as the bird changes what it is doing.
Modern sensors handle higher ISO well enough that a noisy sharp frame is almost always more useful than a clean blurred one, and noise reduction in editing can recover a lot.
Autofocus Set-up for Erratic Ground-Level Birds
Exact menu names differ between camera brands, but the logic carries across all of them.
Use continuous autofocus. Select the mode that keeps refocusing while the shutter button or back button is held (often called AF-C or Servo).
Single-shot autofocus locks once and will miss a bird that moves.
Focus with a back button. Assign autofocus to a rear button and take it off the shutter release.
You can then hold focus tracking as long as you like and release it when the bird drifts behind another one, without changing how you press the shutter.
Turn on subject detection for birds. Most current mirrorless bodies offer a bird or animal detection mode. When the bird is large enough in the frame, it will find the eye.
When the bird is very small, eye detection often drops out and the camera falls back to the head or body, which is still fine for sharpness at these apertures.
Choose the starting zone with the flock in mind. There are two sensible approaches:
- A wide tracking area with subject detection works when a single bird is isolated against a clean background. The camera finds the bird anywhere in the frame.
- A smaller zone or a single-point-based tracking start works when several birds are close together. A wide area lets the camera jump to a neighbour, whereas a small zone keeps it on the bird you placed under it.
Adjust tracking sensitivity for stop-start movement.
Many cameras let you set how quickly the system reacts when the subject distance changes, and how long it holds onto a subject when something passes in front.
For sandpipers, a more responsive setting helps because the bird accelerates and halts quickly.
A very sticky setting can keep focusing on the spot where the bird used to be. Test both settings on a few minutes of feeding birds before the best light arrives.
Pre-focus on the likely path. If a bird is working a tideline, focus on the wet sand a little ahead of it and wait.
The camera will usually reach focus faster from a nearby distance than from a hunt across the whole range.
Use a fast burst. Short bursts are best for running birds, because the posture changes in every frame and the best leg position and head angle are not predictable.
For probing birds, a burst timed to the moment the bill lifts yields the most sharp frames.
If you ever want to focus manually on a bird that stays put, the site’s guide to manual focus for perched birds covers focus peaking and magnification, though autofocus is the practical choice for sandpipers on the move.
Getting Low: Ground-Level Shooting, Bean Bags and Water-Level Backgrounds
Height is the most important compositional decision with a sandpiper.
Shoot from standing height and you look down at the bird, with a background of sand, pebbles and tide wrack that sits close behind it and competes for attention.
Shoot with the lens at the bird’s eye level, and the background becomes the distant water or shoreline, which blurs into a smooth, even tone.
The reason is geometry.
Background blur increases when the distance between the bird and what is behind it increases relative to your distance from the bird.
Getting low turns the line of sight nearly horizontal, so the background is whatever lies far away along that line, not the ground a metre behind the bird.
Ways to get low:
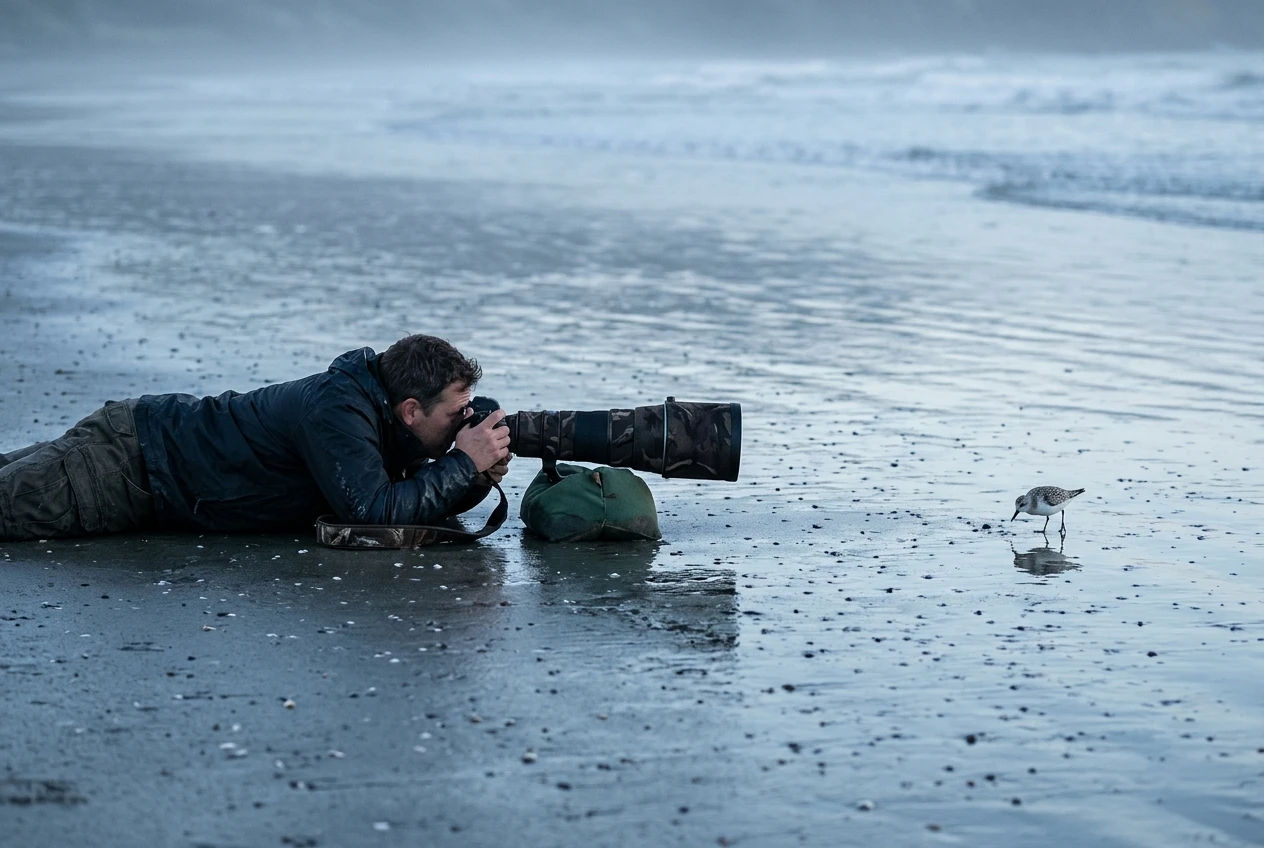
- Lie prone. Lay on the sand or mud with the camera’s rear screen tilted up so that you do not need to press your face to the ground. A groundsheet and a waterproof jacket make this tolerable.
- Support the lens on a bean bag. A bean bag set on the ground holds a long lens steady and low, and it forms to uneven sand. It is also quick to reposition.
- Use a low-set tripod or ground-level head. If you use a tripod, set the legs wide and the head close to the ground. Whether a fluid or gimbal head suits this better depends on the weight of your lens, and the site’s comparison of fluid head vs gimbal head for bird photography goes into that.
- Protect the gear. Sand, spray and salt are hard on lenses. Use a rain cover or a simple sleeve, keep the front element covered between shots, and wipe salt off with a damp cloth before it dries.
Once you are down, watch for reflections.
A calm wet patch behind the bird can give a clean mirror image, which makes an attractive composition.
The site’s article on bird photography composition tips explains where to place the eye and the empty space in a frame like that.
Reading Tide and Light to Put the Birds Where You Can Reach Them
Sandpipers follow the water.
A tide table for your location tells you more about where the birds will be than any other piece of information, so check it before you leave.
- Falling tide: Mud and sand are exposed gradually, and birds feed along the retreating edge. They often spread out along a wide area, which makes them harder to approach but easier to isolate.
- Rising tide: Birds are pushed up the shore and tend to feed closer to dry ground as the water advances. This often brings them closer to you, and it is when a still, low photographer can have birds feeding past without disturbance.
- High tide: Feeding area disappears, and birds usually gather at a roost. Roosting birds are stationary, which helps with settings, but they sit tight together and are often further away.
Light is the second variable.
Put the sun behind you and slightly to the side, so the plumage is lit evenly and there is a catchlight in the eye.
Low sun early or late in the day gives warm, directional light and keeps the shutter speed demands manageable.
Harsh midday light from overhead flattens the bird and makes the shine on wet sand worse.
The site’s page on the importance of light in bird photography gives more on how light direction changes a frame.
Approaching Without Flushing the Flock
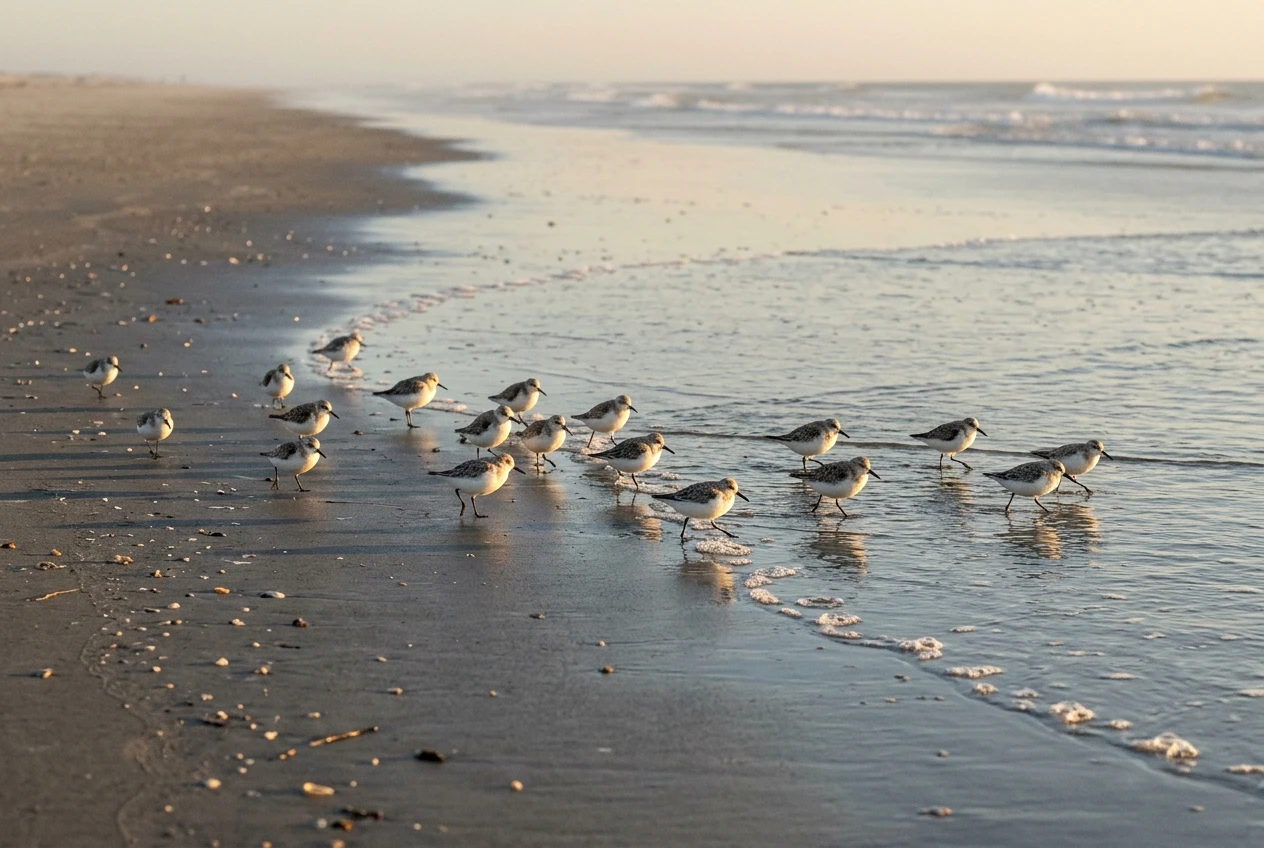
A flushed flock gives you flight shots at best and nothing at worst. Where you stop matters as much as how you walk.
- Walk slowly and at an angle. Walking directly toward a bird reads as a threat. An oblique path that gradually closes the distance is less alarming.
- Lower your profile early. Crouch or kneel before the birds react, not after. A shape that gets smaller as it approaches is less threatening than a tall one.
- Watch the birds, not the viewfinder. Birds that stop feeding, lift their heads or start calling are telling you that you are too close. Stop moving at that moment, wait until they resume feeding, and then continue or stay where you are.
- Choose a stopping point and stay. A good place to stop is where the birds are working toward you, such as a rising tideline. Settle in, lie down and let them close the distance.
- Move only between birds’ attention peaks. When a bird is probing with its head down, your movement is less likely to be noticed than when it is looking up.
Observe local rules and keep clear of nesting areas and protected zones.
A photograph is never worth pushing birds off a feeding or roosting area they need, particularly where they are building energy for migration.
Exposure on Wet Sand and Bright Water
The conditions at the water’s edge fool the camera’s meter.
Bright wet sand and a pale sky pull the exposure one way, and the bird, which is often a mid-tone with white underparts, needs a different one.
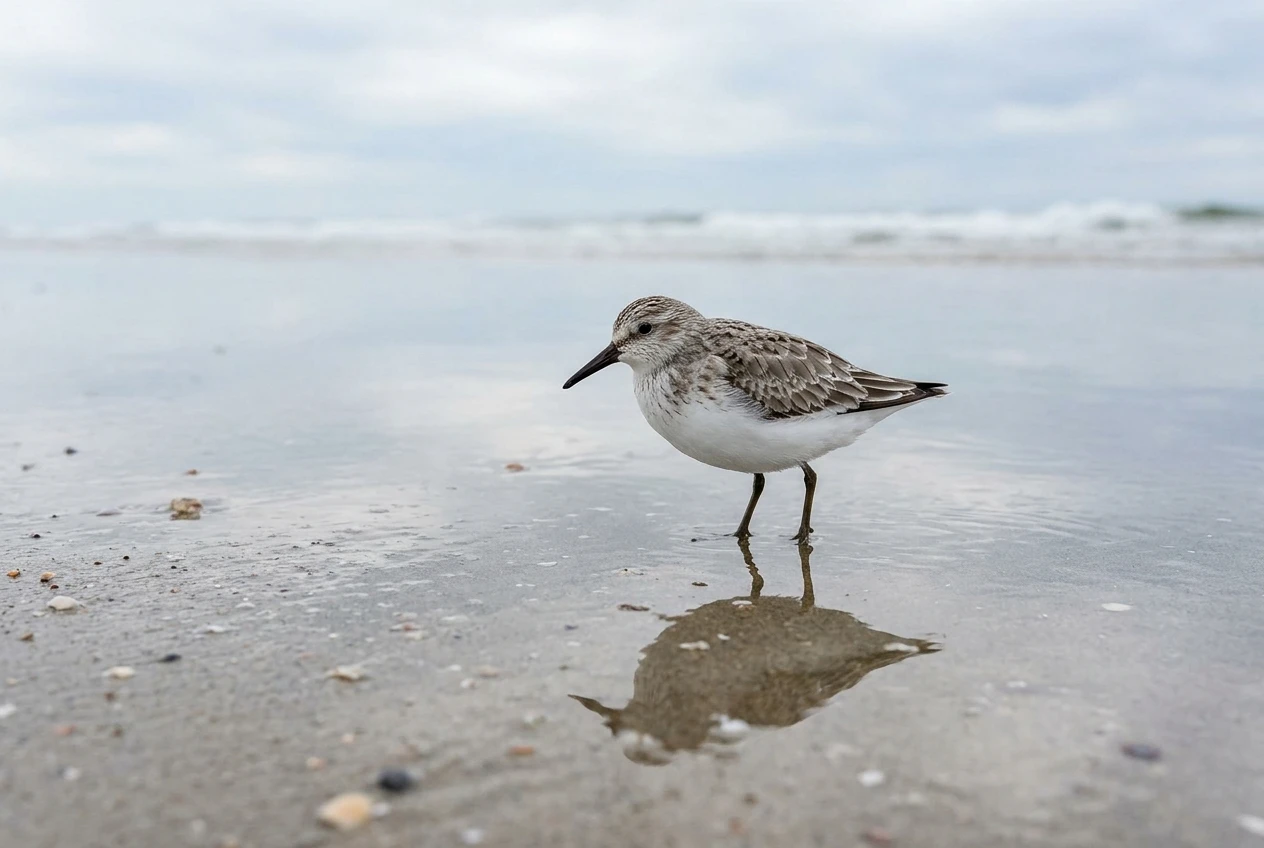
- Check the histogram and highlight warnings. White underparts on many sandpipers lose feather detail first. If the highlight warning flashes on the belly, reduce exposure.
- Use exposure compensation. When a bird is lit against dark mud, the meter may overexpose. When it is against bright water or sand, it may underexpose. Adjust by a third to a full stop in the direction the histogram suggests and check after a few frames.
- Meter on the bird. Spot or centre-weighted metering gives more weight to the bird than evaluative metering, which averages a scene dominated by reflective ground. With manual exposure and Auto ISO, exposure compensation still applies, so you can set it there.
- Shoot RAW. Raw files hold more recoverable highlight and shadow detail than JPEGs, which matters when the scene has a wide range of brightness.
- Control glare. Shooting with the sun behind you reduces the shine on wet surfaces. A polarising filter can reduce reflections off water, but it takes away light, which you can ill afford at the shutter speeds above. A lens hood helps against stray light in every case.
When the exposure is right, plumage texture shows: the pale edges of the back feathers, the fine streaking on the breast and the dark eye.
If the light is too contrasty for that, wait for a cloud or move to a different angle.
Choosing Focal Length and Cropping Margin for Birds This Small
A sandpiper at a distance that does not alarm it will look small in the frame at 300mm and still small at 400mm.
A lens of 500mm to 600mm, or a shorter lens used with a teleconverter, gets closer to a full-frame result.
The site’s comparison of teleconverter vs prime lens for bird photography sets out what you gain and lose with each option.
Frame with cropping in mind:
- Leave room around the bird. A frame filled to the edges leaves no margin when the bird runs unexpectedly, and a clipped bill or tail ruins the image. A looser frame also keeps the bird inside the autofocus area.
- Leave space in the direction of travel. A running bird looks better with empty space ahead of it than behind it.
- Use the sensor’s resolution. A higher-resolution sensor gives you more crop room before the detail falls apart, which makes up for lost reach.
- Do not over-crop soft frames. Cropping does not rescue a missed focus point, and it makes motion blur more visible.
Sharp, well-composed sandpiper images come from combining the pieces above: a shutter speed matched to the behaviour, autofocus configured for a small erratic subject, a low position and a patient approach.
If your current lens is limiting how much of the frame the bird fills, the Best Lenses for Bird Photography 2026 guide compares long lenses suited to small, distant shorebirds.