
A long lens is a lever.
The barrel extends well in front of the tripod, the camera body sits behind, and the weight of the whole assembly acts through a single point, its center of gravity.
Where that point sits relative to the head’s pivot determines how much effort it takes to move the lens, how much the head has to hold, and how the rig behaves when a bird changes direction.
That is the real difference in the fluid head vs gimbal head for bird photography question.
Both can support a telephoto.
They put the lens’s center of gravity in different places, and they handle the resulting forces in different ways: one with damping, the other by balancing the lens so there is almost nothing to resist.
Why the pivot point matters: center of gravity and the long lens
Mount a lens on a conventional head and the pivot is under the camera, at the base of the clamp. The lens’s center of gravity is above and usually ahead of that pivot, somewhere along the barrel.
When you tilt the lens, that mass swings around a point that is not at its center, and gravity applies a torque that grows as the lens tilts forward or back.
The head must counter that torque, either with a locked tilt axis or with friction.
A gimbal head moves the pivot.
The lens is mounted so that its center of gravity sits on or very near the tilt axis, and the pan axis passes through (or just beside) the same point.
With the lens balanced, gravity applies almost no torque in any orientation.
The lens stays where you point it without any locking.
Two quantities matter for tracking:
- Static torque: the twisting force gravity applies when the lens is not balanced. A fluid head must be set up to cancel this. A gimbal head is set up to eliminate it.
- Rotational inertia: the resistance of the lens to changes in rotation speed. Heavy, long lenses have a lot of it, and no head changes it. You feel it when you start a pan, stop it, or reverse direction on a bird.
A good setup works with both.
The head decides how static torque is handled and how much extra resistance you add on top of the inertia the lens already has.
How a fluid head works: drag, damping and the pan-tilt bar
A fluid head contains a viscous fluid in a sealed cartridge on each axis (pan and tilt).
Moving the axis forces the fluid through restricted passages, which creates drag.
The key property is that fluid drag depends on speed: the faster you push, the more it resists, and at rest it gives no holding force at all.
That has a practical consequence for long lenses. A fluid head does not hold a forward-heavy lens in place by itself.
You either lock the tilt axis, or you position the lens so its center of gravity sits above the tilt axis, or the head has a counterbalance spring (common on video-oriented heads) that offsets the load.
If none of those is done, the lens dips forward the moment you let go of it.
The drag adjustment is the benefit.
Pan and tilt drag can usually be set separately, and a heavier setting smooths out the small jerks of your hands, which is why fluid heads dominate video.
The pan-tilt bar, a long handle extending from the head, gives you leverage to move the lens with light, steady pressure instead of gripping the lens barrel.
For a bird photographer, the trade-off is direct: drag smooths motion and also resists every motion, including the fast ones you want to make.
How a gimbal head works: balanced free-swing and the offset arm
A gimbal head is a mechanical frame with two rotating axes.
The most common arrangement for bird photography is a vertical pan axis on top of the tripod, and a swinging arm or cradle that carries the lens on a horizontal tilt axis. Two designs are widely used:
- Side-mounted (sideways) gimbal: the lens attaches to an arm that sits beside it, so the lens swings around the arm’s pivot. The lens hangs from the pivot point, and balance is set by sliding the lens foot along the mounting clamp.
- Top-mounted (vertical) gimbal: the lens sits in a clamp on a vertical arm, with the pivot above or through the lens’s center of gravity.
The offset arm is what lets the lens balance.
The pivot has to be placed at the lens’s center of gravity, and on a side-mounted design that means the mounting arm sits off to one side of the lens axis.
The lens then swings around the pivot like a pendulum that has been tuned to zero.
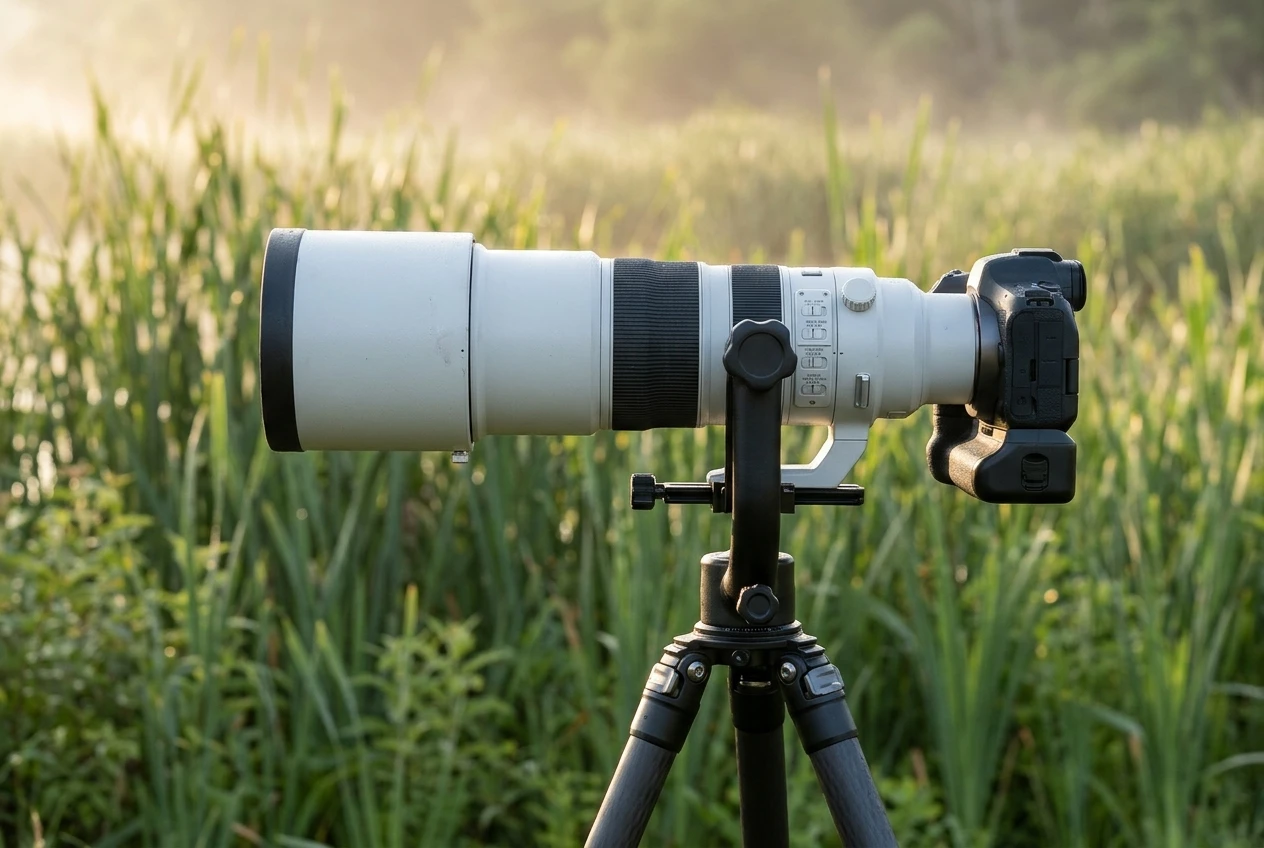
Because the lens is balanced, it has no tendency to fall in any direction.
Friction in the bearings is usually small and adjustable. Moving the lens takes only enough force to overcome the lens’s inertia and that light friction, which is why a long lens on a gimbal feels nearly weightless.
The cost is that the head offers no damping of its own. Every wobble in your hands goes straight to the lens, and a bird that flies out of frame takes the lens past its mark just as easily.
Tracking birds in flight: response, momentum and the limits of each head
Tracking a bird in flight means moving the lens in a smooth arc that matches the bird’s angular speed, then adjusting it as the bird turns, dips or accelerates.
The head’s job is to add as little unwanted resistance as possible and to avoid adding delays.
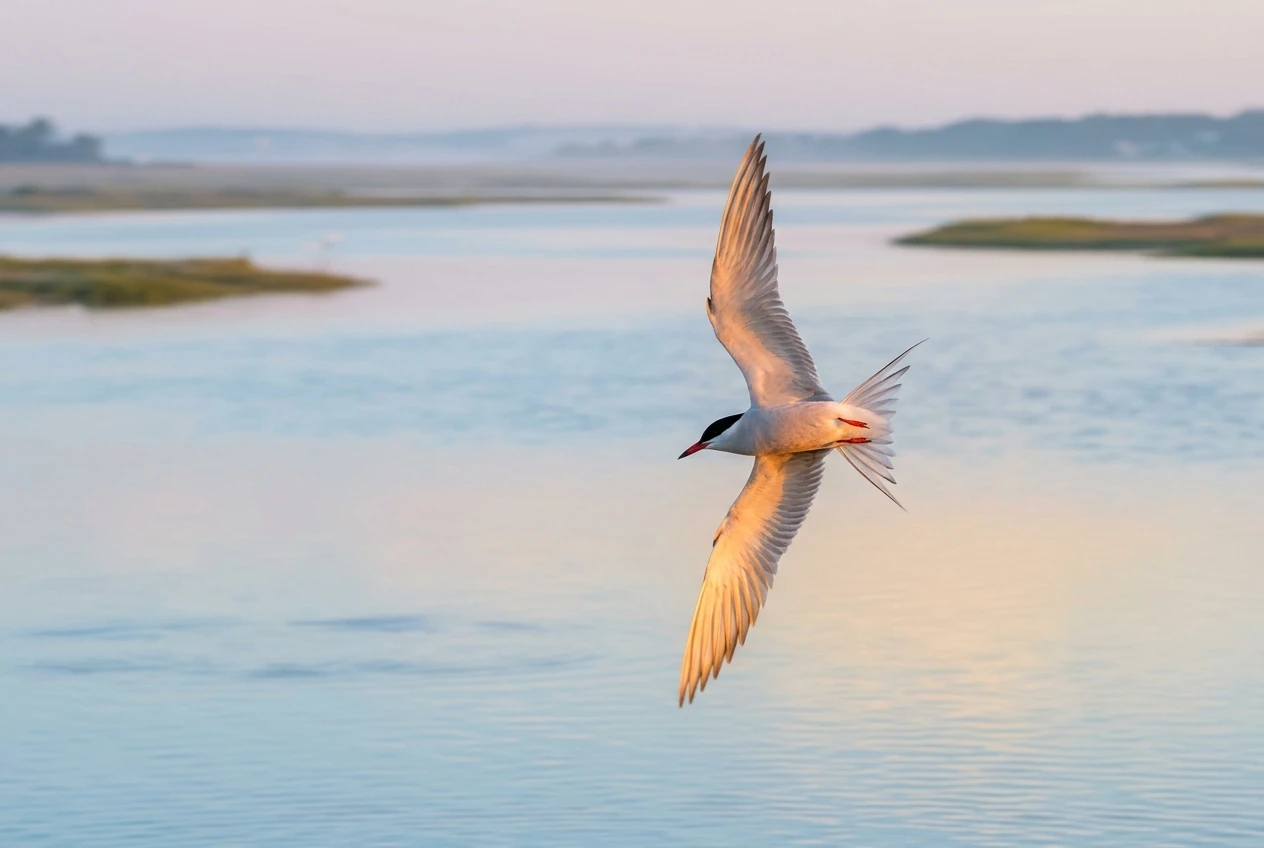
Gimbal head. A balanced lens responds to the force your hands apply and little else. You can start, stop and reverse quickly, and you can pan and tilt at once along a diagonal.
This matters with a fast, erratic subject such as a swallow, a tern or a falcon in a stoop, where the line the bird follows changes within a second.
The limit is that nothing smooths your input. If your panning is jerky, the frame is jerky.
Many photographers also find that a gimbal rewards a loose grip, with one hand guiding the lens near the front and the other on the camera grip.
Fluid head. Drag slows the response to sudden input, which is exactly the opposite of what a fast bird demands.
A light drag setting reduces the penalty, but the resistance never reaches zero while the head is damping, and the head’s tilt axis is usually below the lens center of gravity, so you are also working against the lens’s own mass swinging around a low pivot.
For slow, large subjects on predictable paths, such as a heron lifting off, geese on a straight line or a raptor soaring along a ridge, the smoothing can help you hold a steady line.
It becomes a hindrance when the bird jinks.
A few points follow from the mechanics:
- Drag adds lag, and lag shows up as the bird drifting toward the edge of the frame before your correction arrives.
- Momentum cuts both ways on a gimbal. The lens will keep swinging after you stop pushing, so you need to guide it to a stop, not release it.
- Neither head fixes technique. Practice panning with the lens on common birds, such as gulls or pigeons, before depending on the head for a rare opportunity.
For more on shot technique once the rig is set up, the guide to photographing birds of prey in action covers the shooting side of this subject.
Perched birds, hides and long waits: where fluid drag earns its place
Perched subjects reverse the priorities.
The bird is not moving fast, you may hold the lens aimed at a branch or a feeder for many minutes, and what matters is stable framing, fine adjustments and not tiring.
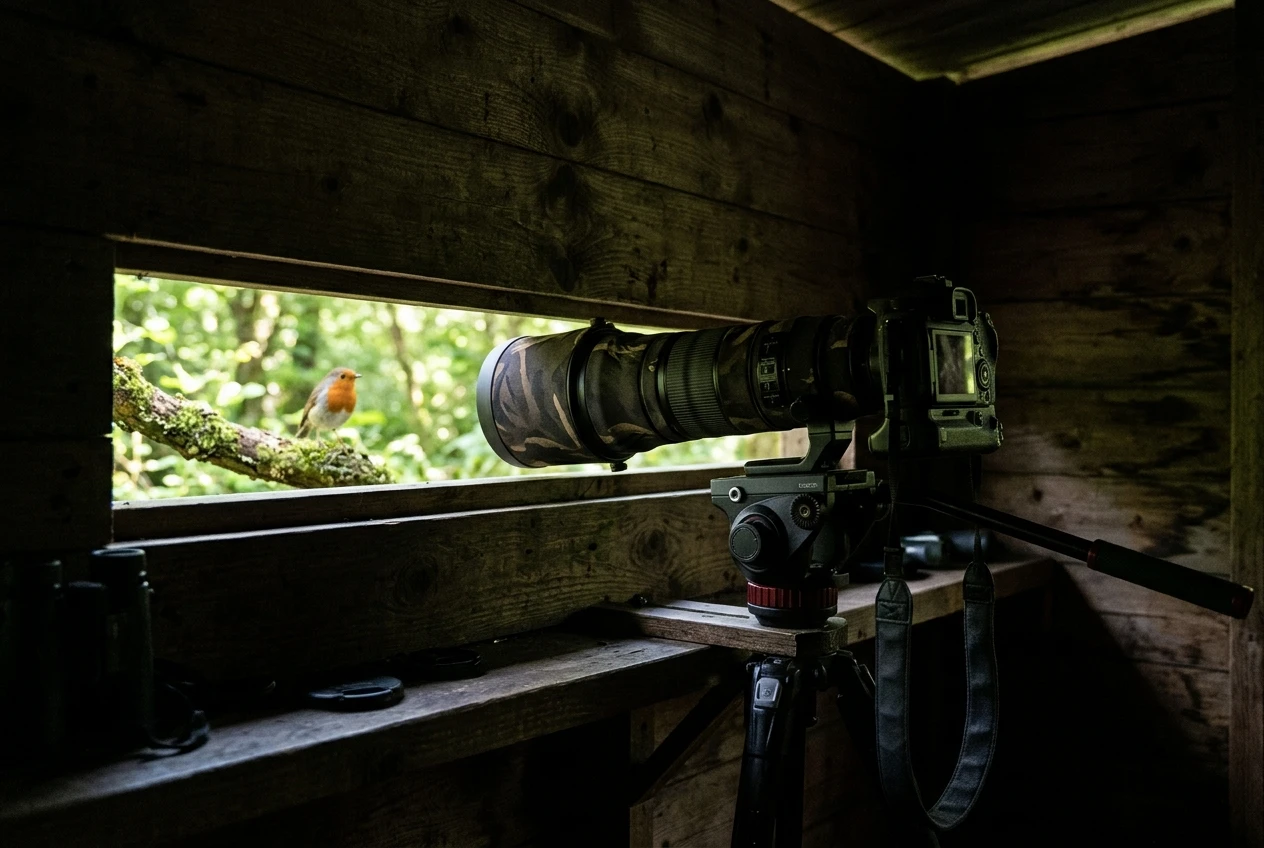
A fluid head is well suited to this.
With the tilt axis balanced or locked, you can make small, controlled adjustments, because the drag stops the lens from overshooting a small correction.
A slow pan to follow a bird hopping along a branch is smooth, and the head holds position when you let go of the bar.
In a hide, where you may be sitting for hours, that stability lets you rest between moments of activity without re-aiming each time.
A gimbal can also do this work, with a caveat: it holds position only as long as the balance is accurate. If you slightly front-load the lens, it will droop; if it is slightly rear-heavy, it will rise.
Friction knobs on the pan and tilt axes help, and many gimbals have a lock for the tilt axis. The head is workable on perched subjects but needs more attention to balance than a fluid head does.
Fine focus also matters on perched birds. When you work in manual focus with magnification, any movement of the lens shifts the focus point on the eye, so a stable head helps.
The article on manual focus for perched birds explains how focus peaking and magnification work together, and a head that holds position makes both easier to use.
Matching the head to your lens: weight, lens foot and tripod stability
The lens determines which head is practical. Three things to check:
- Load capacity. The head’s stated capacity must exceed the combined weight of the lens, camera body and any accessories, with room to spare. A head working near its limit flexes and drifts, which defeats the purpose of both designs.
- Lens foot. A gimbal head needs a lens with a tripod collar or foot, because that is what clamps into the head and slides to set balance. Super-telephoto primes and many long zooms have one. Lighter lenses and some mid-range telephotos do not, and on those a gimbal needs an added plate or collar, or a fluid head may be the simpler choice.
- Foot length and position. The balance point must fall within the range the clamp and foot allow. A short foot limits how far you can slide the lens, so check that the center of gravity can reach the pivot with your camera body attached.
Tripod stability affects the result as much as the head does.
A balanced lens on a gimbal puts the mass close to the tripod’s vertical axis, which helps, but a heavy rig on a light tripod will still vibrate.
Keep the legs spread, the center column low or unused, and avoid hanging a bag from the column unless the tripod is rated for it.
A lens that is swinging freely will transmit every vibration to the frame, and a head cannot correct for an unstable tripod beneath it.
Very light setups may not need either head.
A small telephoto on a mirrorless body can sit on a lighter fluid head, or be handheld with a monopod.
As the lens gets longer and heavier, the argument for balancing it around a pivot gets stronger.
Setup details that decide results: balancing the lens, tension settings and quick-release plates
Both heads depend on setup. A good head set up badly performs worse than an average one set up carefully.
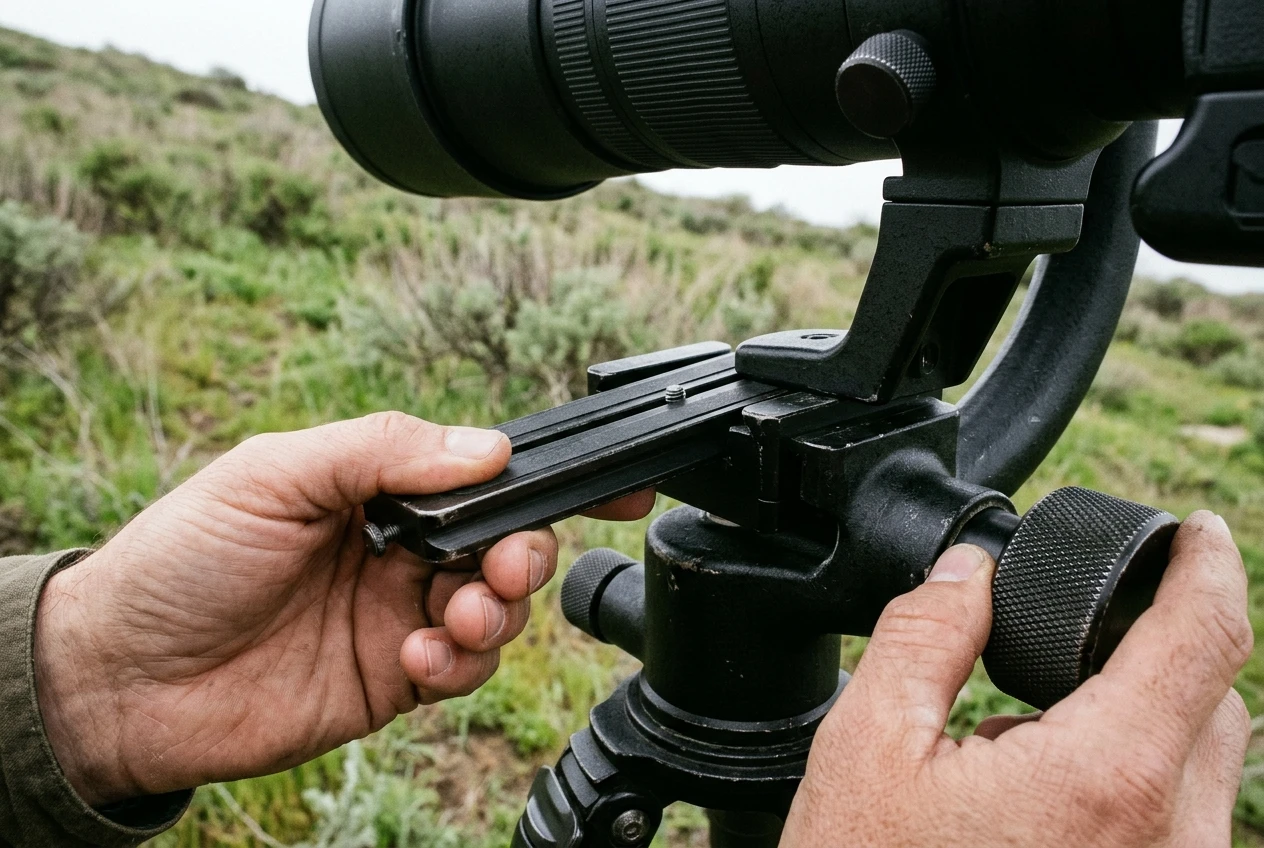
Balancing the lens
On a gimbal, mount the lens and body, loosen the clamp slightly, and slide the lens forward or back until it stays level when you let go.
Then check the other axis, rotating the lens around its barrel if needed, so it does not roll to one side.
Rebalance whenever the load changes: a different camera body, a teleconverter, a lens hood in a different position, or a zoom lens that extends its barrel when you change focal length.
Each shifts the center of gravity.
On a fluid head, balance means placing the lens so its center of gravity is over the tilt axis, using the sliding plate or clamp, and then locking the tilt when you are not actively moving.
If the head has a counterbalance spring, set it to match the load.
Tension settings
Set pan and tilt friction low for flight and higher for perched subjects.
On a gimbal, a small amount of friction can stop the lens from swinging past your aim, but too much defeats the point of the head.
On a fluid head, start with the drag at the lightest setting that stops the lens from jumping, then add a little for steadier panning. Try the settings on a bird or any moving object before you rely on them.
Quick-release plates
Most photo heads use Arca-Swiss compatible clamps, but plates and feet vary in length and profile.
Use a plate that is long enough to move the lens through its balance range, and tighten the clamp fully, because a lens that slips by even a small amount changes the balance and can fall.
Plates with a stop screw or a lip prevent the lens from sliding out of the clamp. Check the connection each time you attach the lens, and keep a hand on the barrel until the clamp is tight.
Which head to buy for your kind of birding
The choice follows what you shoot most and how heavy the lens is.
- Mostly birds in flight with a heavy super-telephoto: a gimbal head. Balancing the lens removes the weight from your hands and the resistance from the head, and these are the conditions where fluid drag costs you the most. Choose one with a load rating comfortably above your lens and body.
- Mostly perched birds, feeders and hide work with a long lens: either head works. A fluid head holds framing and allows fine adjustments with less setup attention. A gimbal works if you take the time to balance it and use its lock.
- A mix of flight and perched subjects with one head: a gimbal is the more flexible choice, because you can add friction for perched work but cannot take drag out of a fluid head. If you shoot mostly slow, large birds on predictable paths, a fluid head remains a reasonable alternative.
- A lighter telephoto, or a lens with no tripod foot: a fluid head, or a light gimbal with an added collar or plate. Check that the lens can be balanced before you buy.
- Very long hides or all-day sessions: consider how much the head and tripod weigh together, since you have to carry them. A head you will actually bring is better than a more capable one left at home.
Whichever head you choose, test it with your own lens and body at home before the first outing: balance it, set the friction, and practice panning with a moving subject.
Check your lens weight class first
The head you need depends on the lens you plan to mount, so check the weight class of your lens before choosing a head.
The guide to the best lenses for bird photography covers lenses from beginner to pro, which shows what your head must carry.
Where this site links to a tripod head beside a recommendation, that link is an affiliate link, and the affiliate disclosure explains how that works.