
Reaching more distance for bird photography comes down to two options: add a teleconverter to a lens you already own, or buy a longer prime.
The two are not interchangeable.
The converter costs light, can reduce autofocus performance, and only works well on certain lenses.
The longer prime costs more money and more weight, and it puts a fixed focal length in front of every shot.
A third option sits behind both: crop a shorter lens harder.
This article compares teleconverter vs prime lens for bird photography on three measurable factors (sharpness, light loss in stops, and autofocus behavior), then applies them to specific field situations.
What a Teleconverter Actually Does to Your Image
A teleconverter is a set of optical elements mounted between the camera body and the lens. It takes the image the lens projects and enlarges the central part of it before it reaches the sensor.
A 1.4x converter multiplies focal length by 1.4, and a 2x converter multiplies it by 2.
A 400mm lens becomes 560mm or 800mm, and the field of view narrows to match.
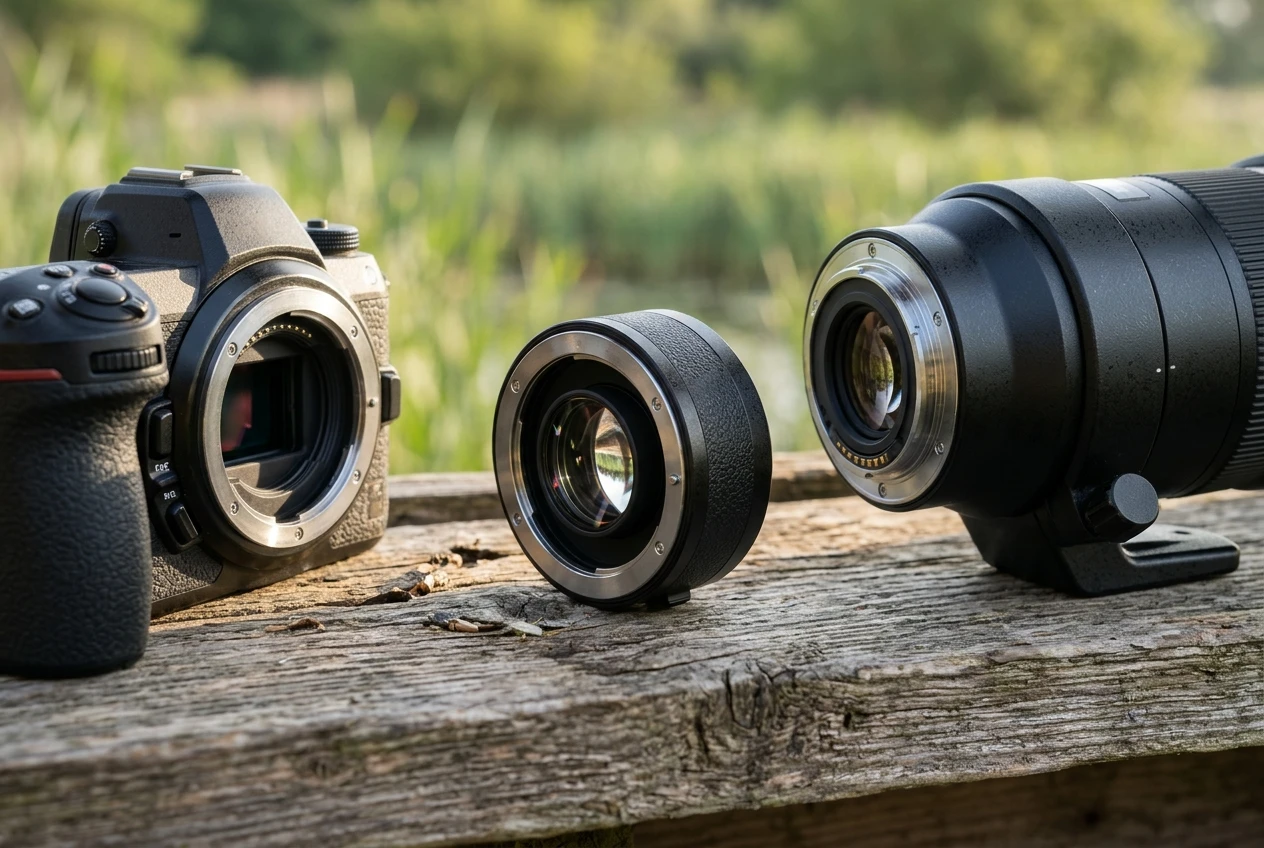
The aperture opening in the lens does not change, but the same amount of light is now spread over a larger projected image.
The f-number multiplies by the same factor as the focal length. That is why a converter always costs light, and why the cost is fixed by the multiplier, not by the brand.
Because the converter enlarges the projected image, it also enlarges everything wrong with that image: residual aberrations, slight softness at the edges of the lens’s sharp zone, and any focus error.
A converter does not add detail.
It spreads the lens’s existing detail over more sensor pixels, which only helps if the lens delivers enough resolution to benefit.
Three things stay the same:
- Minimum focus distance is unchanged, but the maximum magnification at that distance rises by the multiplier. This helps with small birds at close range.
- Image stabilization on the lens or body keeps working, though the longer effective focal length makes shake more visible.
- Pixels on the subject rise with the square of the multiplier. A 1.4x converter puts about 1.96 times as many pixels on a bird that fills the same frame as before, and a 2x converter puts four times as many.
Light Loss in Stops: What 1.4x and 2x Cost You
Each stop of light loss halves the light reaching the sensor. A 1.4x converter loses one stop and a 2x converter loses two. In practice you read the loss in the f-number:
Host lens | With 1.4x | With 2x |
|---|---|---|
f/2.8 | f/4 | f/5.6 |
f/4 | f/5.6 | f/8 |
f/5.6 | f/8 | f/11 |
f/6.3 | f/9 | f/12.6 (roughly f/13) |
To keep the same exposure, you pay in shutter speed or ISO.
Take a bird shot at 1/2000 s, f/5.6, ISO 800. With a 1.4x converter on that lens (now f/8) you need ISO 1600 at the same shutter speed, or 1/1000 s at ISO 800.
With a 2x converter (now f/11) you need ISO 3200 at 1/2000 s.
The ISO cost is the easy part. The harder problem is the shutter speed.
A bird in flight or a fidgeting warbler needs a fast shutter, and halving it to save ISO can turn a sharp frame into a blurred one.
Longer effective focal length also makes camera shake and subject movement more visible in the frame, so the minimum shutter speed you can trust goes up as well.
A native long prime does not have this penalty at the same focal length. A 600mm f/4 is brighter than a 400mm f/2.8 with a 1.5x converter, if you could even compare the two directly.
At f/4 versus f/5.6 you gain a full stop of light, and with it a cleaner file or a faster shutter. That is the main reason people pay for the larger lens.
Sharpness Compared: The Pairing Matters More Than the Multiplier
The common claim that teleconverters make images soft is only partly true. The softness depends on what you attach the converter to.
Converters are designed to work with specific lenses.
Some super-telephoto primes have optics built with converter use in mind, often with a rear element that sits close to the converter and a formula tuned for the added magnification.
On these lenses, a 1.4x converter often produces a result that is very hard to tell apart from a native lens of the same focal length, though stopping down slightly or checking the corners can reveal a small difference.
A 2x converter on the same lens shows more loss, mostly in fine detail and contrast.
Other pairings go badly.
Many telephoto zooms are physically unable to accept a converter, because the rear element protrudes and would hit the converter’s front glass.
Some zooms can mount one but were never designed for it.
The result is lower contrast, softer fine detail and slower autofocus. A good converter on a mediocre lens does not give a good image.
The lens sets the ceiling, and the converter usually lowers it.
Three factors determine how the combination compares with a native prime:
- Host lens quality. A lens that is already sharp wide open at its native aperture has more to give to the converter. A lens that needs stopping down to be sharp loses more.
- Multiplier. The 1.4x converter usually costs much less sharpness than 2x. The cost is not linear: going from 1.4x to 2x often costs more than going from none to 1.4x.
- Converter generation and match. Use the manufacturer’s compatibility list for your lens. Third-party converters can work, but a mismatch with the host lens is a frequent cause of soft results.
A native long prime has no extra glass in the path. It was designed to resolve fine detail at its focal length, so at equal conditions it usually wins on sharpness.
The size of that win varies from small (a top-tier 1.4x on a matched lens) to large (a 2x on a lens not designed for it).
Atmosphere complicates the comparison. At long distances, heat haze and air turbulence limit sharpness regardless of the glass.
A converter that moves you from 400mm to 800mm will show more of that haze, so the gain on paper may not appear in the file on a warm day over open ground.
Autofocus Speed and Accuracy at Reduced Aperture
Autofocus systems measure focus using light that comes through the lens.
When you add a converter, less light reaches the AF sensor, and the system works with a smaller effective aperture than it was designed for.
Cameras publish a limit for this. Many bodies state a maximum f-number at which autofocus still works, and the limit can differ by AF point type.
Older DSLRs often required f/5.6 for most points, and a few supported f/8 only at the center point. Many current mirrorless bodies support f/8 across a wide area, and some go further, but the specifics vary by model.
Check your camera’s manual for the exact figure and which points remain active, since the answer determines whether a 2x converter on an f/5.6 lens is a realistic option on your body.
Even within the supported limit, autofocus gets worse as the aperture shrinks:
- Speed. The system takes longer to lock, particularly from a defocused state. Birds that appear suddenly in the frame are the hardest case.
- Accuracy. With less light, fewer AF points work reliably, and the camera is more likely to hunt on low-contrast subjects such as a gray bird against an overcast sky.
- Tracking. Continuous tracking of a flying bird depends on frequent, accurate focus measurements. Slower measurement means more missed frames.
- Subject detection. Eye and bird detection on mirrorless bodies can still work well with a converter, but the detection may be less stable in dim light, because the camera is analyzing a darker image.
A native prime at f/4 or f/5.6 has none of these penalties. It gives the AF system the full aperture it was designed for.
That is a practical advantage for flight photography, where AF behavior often decides how many frames are sharp.
Cropping Versus Converting
There is a third option, which is to shoot with the lens you have and crop afterward. Cropping throws away pixels, so the question is how many you can afford to lose.
On a 24-megapixel body, a 1.4x crop leaves about 12 megapixels, and a 2x crop leaves about 6.
A converter instead keeps the full sensor resolution on the bird.
On a 45-megapixel body, the same crops leave about 23 and 11 megapixels, which is plenty for web use and moderate prints.
Cropping is a good choice when:
- The sensor has high resolution and the lens resolves enough detail to match it.
- The light is low, so you need the full aperture of the native lens to keep ISO and shutter speed workable.
- The bird is moving fast, and you need the best possible autofocus more than the largest possible subject.
- You are not sure what framing you will need, and a wider frame gives you room to follow the bird.
Converting is a good choice when:
- The lens is sharp enough that extra magnification adds real detail.
- The bird is small, still and far away, and you cannot get closer.
- The sensor has lower resolution, so a crop would leave too few pixels for the output you want.
- Light is good enough that the lost stop or two costs little.
Before you buy anything, crop one of your own images to the field of view a converter would give you.
If the crop looks acceptable at the size you publish or print, you may not need the extra glass yet.
Field Scenarios
Perched songbirds at distance
This is where a teleconverter is strongest. The subject is mostly still, so you can use a modest shutter speed and let the AF system lock without needing to track.
A small bird at 15 to 20 meters may fill a small part of the frame at 400mm.
A 1.4x converter often brings it to a usable size without a large penalty in light, and the full sensor resolution stays on the bird.
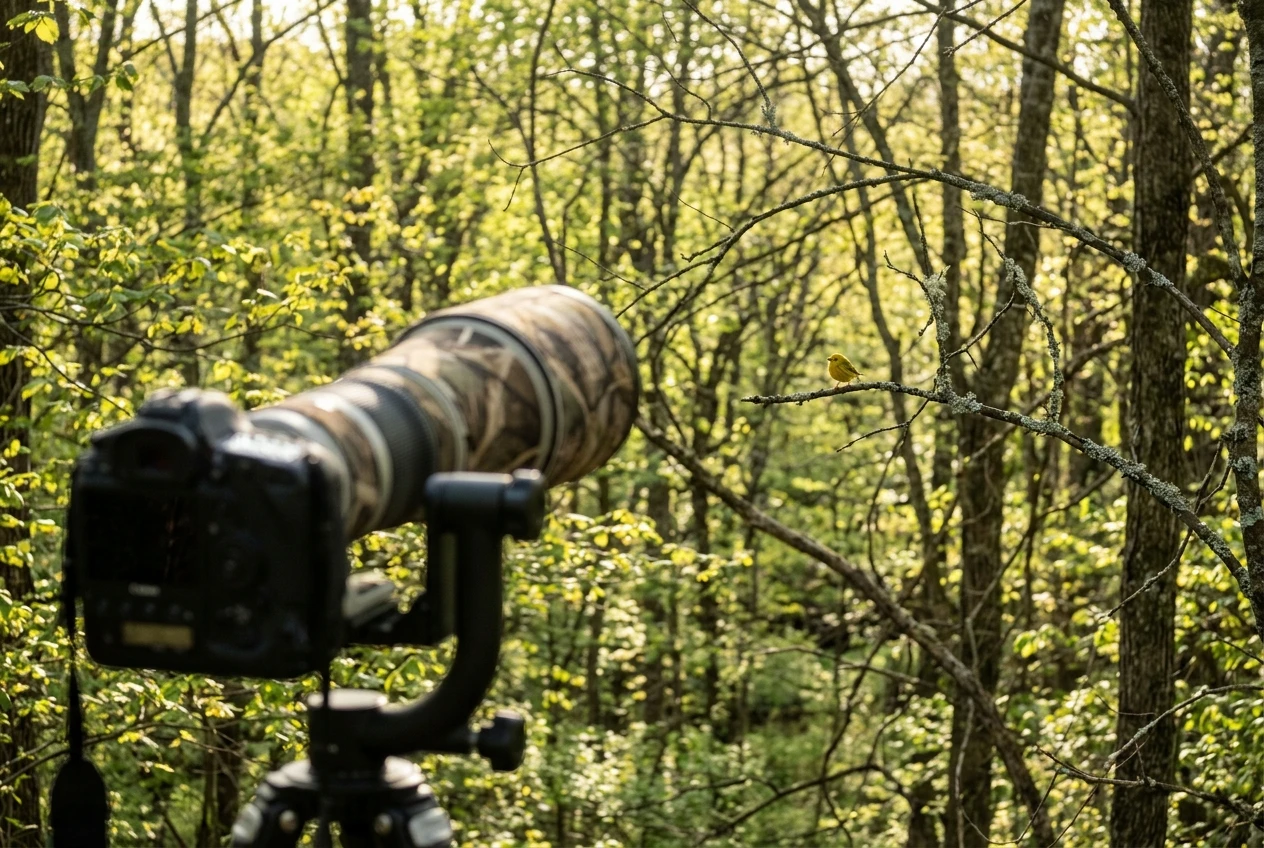
If the bird is very small and distant, a 2x converter on a matched, bright lens can work in good light.
Heat haze and a slower AF response are the main limits.
The pairing matters more than the multiplier here: a 1.4x on a sharp lens beats a 2x on an average one.
For more on songbird technique, see the guide to capturing songbirds in springtime.
Birds in flight
Flight photography favors the native lens.
You need fast, continuous AF, a high shutter speed (often 1/2000 s or faster for small, quick birds) and enough light to keep ISO under control.
A converter takes away exactly what you need most: aperture and AF performance.
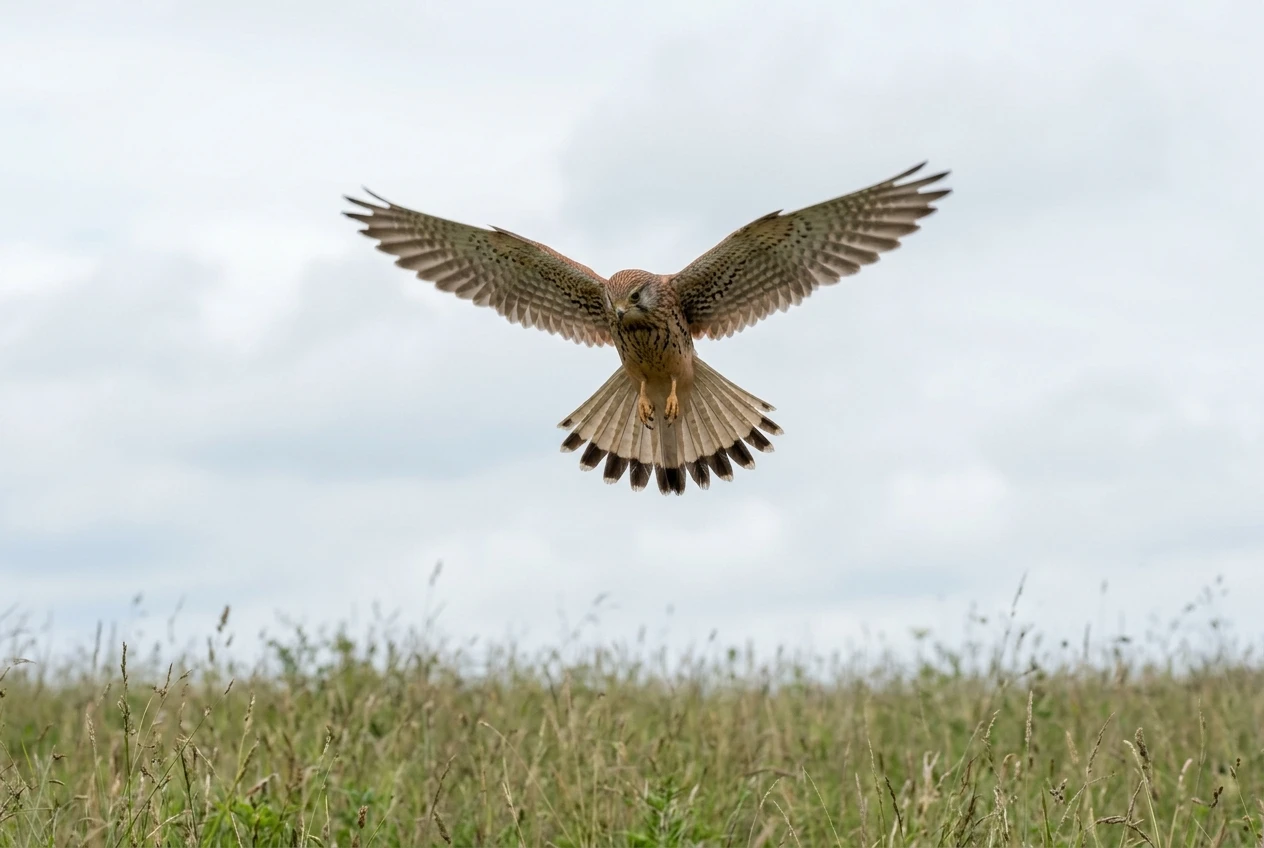
A 1.4x converter on a bright host lens is workable in good light, particularly for large, slow birds such as raptors soaring or waterbirds on a steady line.
A 2x converter is a poor fit for most flight work.
A longer prime has the same effective reach without the AF penalty, but the weight and cost may be difficult to justify.
Cropping from a shorter lens often gives the best compromise for hobbyists. If your subjects are raptors, the guide to photographing birds of prey in action covers settings and technique.
Dawn and dusk
Low light penalizes converters twice: the sky is dim before you add glass, and the AF system has less to work with.
At dawn or dusk, the stops you lose to a converter translate into high ISO, slow shutter speeds or both.
A native prime with a wide aperture is the better tool here, and cropping the file is often better than losing the light.
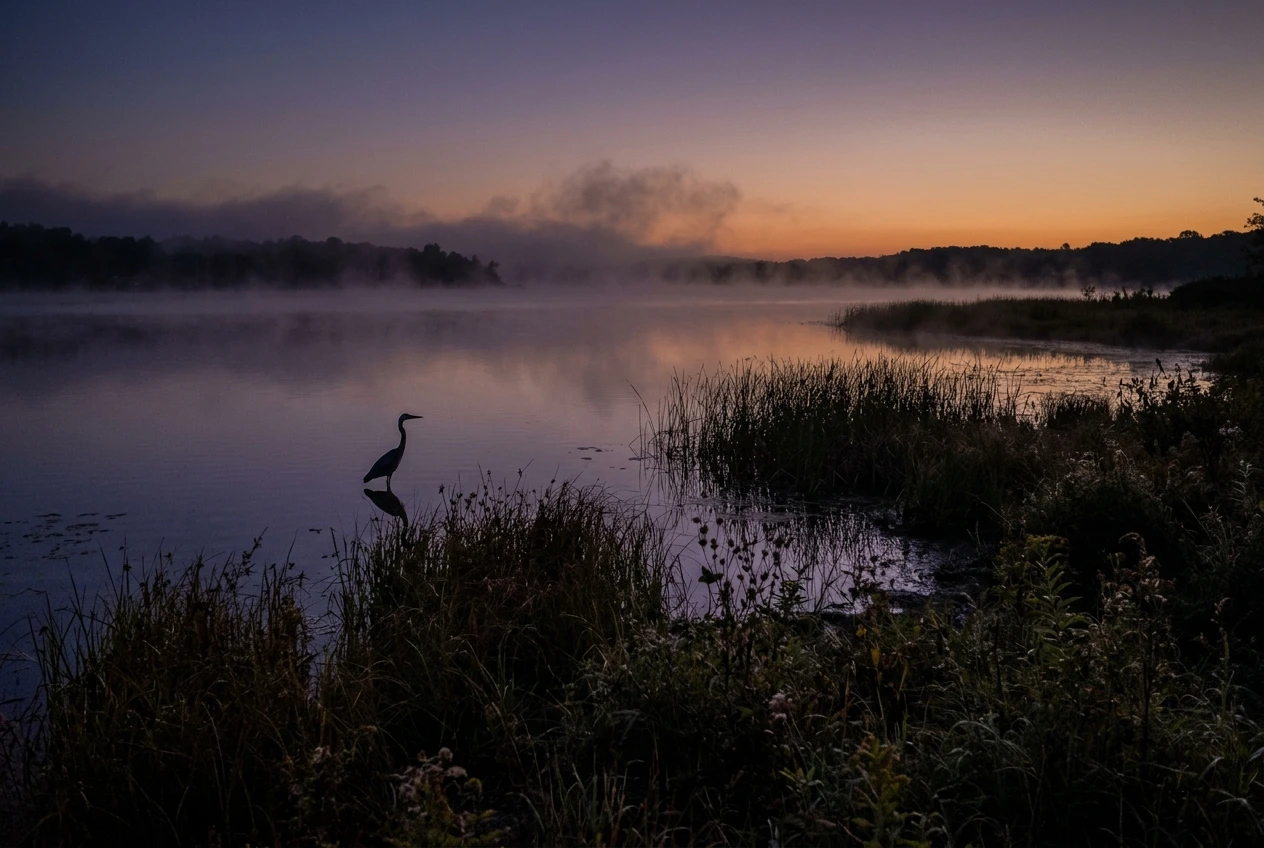
If you do use a converter in dim conditions, use the 1.4x, choose a still subject, and watch the shutter speed.
Low light is also when you should expect more AF misses and plan for them by taking more frames.
For the light conditions themselves, the article on the importance of light in bird photography explains how to read them.
Travel weight
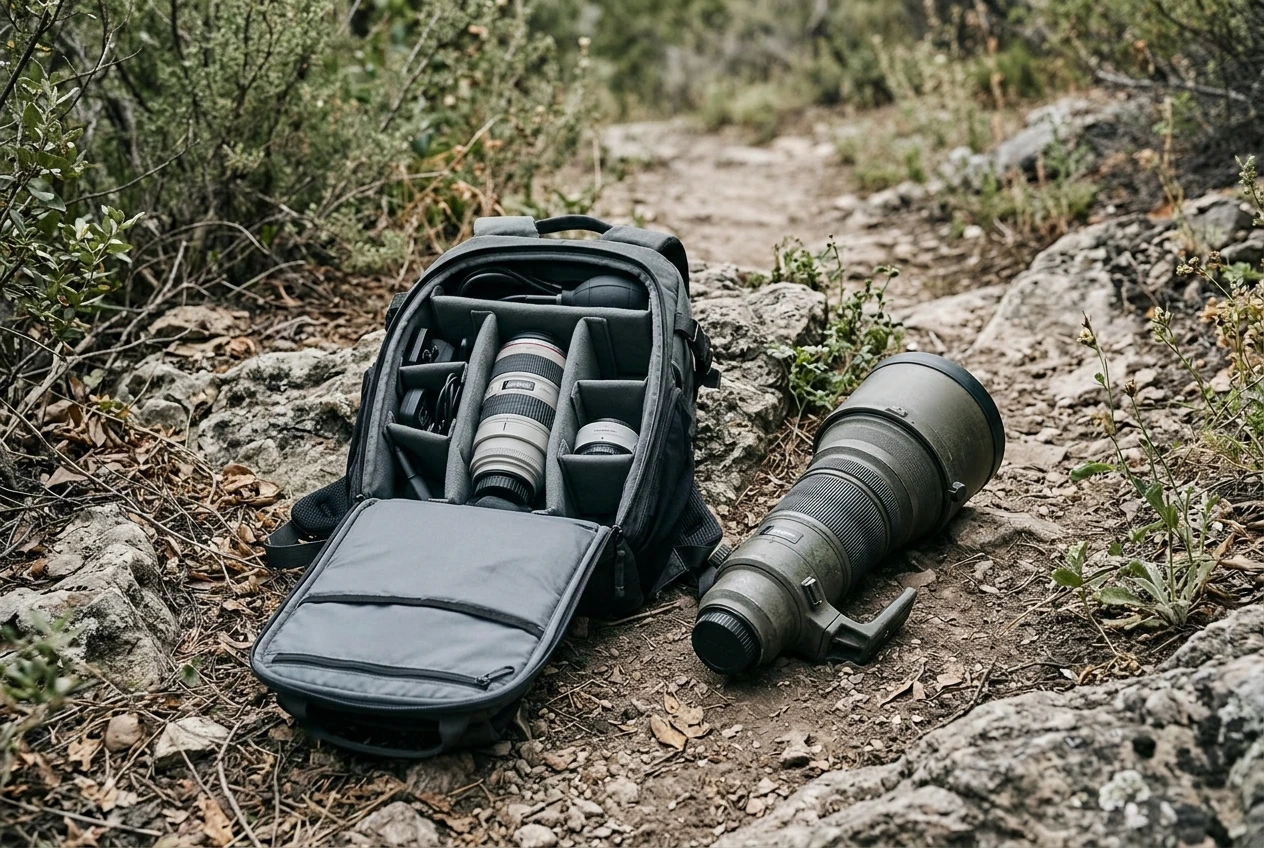
A converter weighs a small fraction of what a longer prime does and takes up little space in a bag.
That is its strongest argument for travel.
If you carry one telephoto and want a second reach option without a second lens, a matched converter is the lightest way to get it.
The trade-off is that you are carrying a more complicated system, with one more part to mount, clean and keep dry.
In dusty or wet conditions, swapping a converter in the field exposes the camera’s sensor chamber and the lens’s rear element, so many photographers change it only in sheltered spots.
A Quick Decision Table
Situation | Best first choice | Why |
|---|---|---|
Still songbird, good light, far away | 1.4x converter on a matched lens | Keeps full resolution on the bird at a modest light cost |
Very small, distant bird, bright light | 2x converter on a bright prime, if your camera’s AF supports the aperture | Maximum reach, if the lens and body can handle it |
Birds in flight, good light | Native lens, crop as needed | AF speed and shutter speed matter most |
Birds in flight, low light | Native lens | Every stop of light counts |
Dawn and dusk perched birds | Native lens, or 1.4x on a bright lens | Light loss and AF limits are most severe |
High-resolution body, medium distance | Crop first | Enough pixels survive the crop |
Low-resolution body, small subject | Converter | Cropping would leave too few pixels |
Travel with weight limit | Converter on a compatible lens | Lightest way to add reach |
Camera AF limit of f/5.6 | 1.4x on f/4 lens at most | A 2x would fall outside the AF range |
Before you use the table, check two things: whether your lens accepts a converter at all, and what your camera’s AF limit is at the resulting aperture.
Both are listed in the manufacturers’ documentation.
Buying Order for Hobbyists
The order below is built around risk: the cheapest tests come first, and the commitments you cannot reverse come last.
- Crop test. Crop your existing images to the field of view you would get from a converter or a longer lens. If the result is acceptable, you have saved the cost of new equipment.
- Check compatibility. Confirm whether your lens works with a converter, which converters are listed as compatible, and what your camera’s AF limit is at the effective aperture. If the lens does not accept converters, the question is closed.
- Add a 1.4x converter if the lens supports it. It has the lowest cost in light and sharpness, and it keeps the AF system closest to its normal range.
- Consider a 2x converter only on a bright, matched lens and a body whose AF supports the effective aperture. Otherwise the loss in image quality and AF reliability will outweigh the extra reach.
- Buy a longer prime last. It is the most expensive and heaviest option, but it keeps full light and AF performance, and it is the right step once you know that you regularly need the reach and the aperture together.
A converter is a cheaper way to learn how much extra reach you actually use.
If you find that you rely on it for most shots, the longer prime becomes easier to justify.
Check Your Own Gear
Compatibility between a lens, a converter and a camera body decides most of what is described above, and it differs from one setup to the next.
Check the compatibility of your own camera and lens with the teleconverter options in our lens guide for bird photography, then use the affiliate links there to compare current pricing.