
When autofocus hunts on a perched bird, you usually have time to fix it.
The bird is sitting still, so the problem is a camera that cannot decide what to lock onto.
Manual focus with focus peaking and magnified live view gives you control over where the focus plane sits, and a still subject gives you the seconds to use it.
This guide covers the focus act itself: the camera settings to configure, where peaking gives false readings, a routine for acquiring the eye, and how to combine manual and autofocus.
Composition and lens choice are covered elsewhere on the site.
When autofocus loses the eye on a perched bird, and when switching to manual is the right call
Autofocus fails on perched birds in a small set of predictable situations:
- Twigs or leaves in front of the eye. The camera sees a near, high-contrast twig and locks onto it. Subject detection can also lose the eye when a branch crosses the face.
- Low-contrast plumage. A dark eye in dark facial feathers gives the autofocus system little edge detail to work with, so it hunts or settles on the body instead.
- Dim light. Autofocus sensitivity drops as light falls. In shade, at dawn or at dusk, the system slows down and misses more often.
- Cages, aviary wire and netting. The mesh is a repeating high-contrast pattern, and the camera tends to focus on it instead of the bird behind it.
Switch to manual when the bird is stationary, when autofocus has missed or hunted twice on the same pose, and when you have several seconds before the bird is likely to move.
Stay on autofocus for hopping birds, birds that are feeding actively, and anything in flight.
Manual focus takes a few seconds per acquisition, so it only works on a bird that stays put.
Setting up the camera: peaking, magnification and a custom button
Do this setup at home, so you are not hunting through menus with a bird in front of you.
Focus peaking color and sensitivity
Peaking overlays a colored highlight on the edges the camera judges to be in focus.
Choose the color that appears least in your subject and background.
Red peaking disappears on a rufous bird or autumn foliage, and yellow is lost against a bright sky or golden grass.
Blue or white often works against warm browns and greens, but test it against the birds and backgrounds you shoot most.
Sensitivity, often labeled low, mid and high, sets how much edge contrast triggers the overlay. Start at low or mid.
High sensitivity lights up fine feather texture and sensor noise in dim light, so the whole bird glows and tells you nothing.
Raise the level only if you cannot get any overlay on a low-contrast subject.
Magnification steps and a custom button
Most bodies offer a few magnification steps, commonly something like 5x and 10x, though the options differ by camera.
Check what yours provides.
Then assign magnification to a custom button you can reach with your thumb or index finger while holding the lens.
Menu-only magnification is too slow for a live bird.
Also configure these where your camera allows:
- Magnification start position. Set the zoomed view to open on your current focus point, or move the magnification box with the joystick or touchscreen. You want the box over the eye in one move.
- Live view exposure preview. Check whether live view shows the scene at your set aperture or at the lens’s widest aperture. Previewing at the wide-open aperture gives a thinner depth of field and an easier read of the focus plane, but it will not show the depth you will actually get.
- Viewfinder or rear screen. In bright light the electronic viewfinder is easier to read than the rear screen, and pressing your face to it steadies a long lens.
- Focus limiter switch. If your lens has one, set it to the range that includes your subject distance. The ring then has less travel to cover when you pull focus.
- Focus ring response. Some bodies let you choose between linear and non-linear ring response. Linear gives you the same movement for the same turn each time, which makes fine adjustment more repeatable.
Why peaking lies: feather texture, backlit edges and high-contrast twigs
Focus peaking measures edge contrast in the live view image. It does not measure whether the eye is sharp. That distinction explains most of its failures.
Feather texture. Fine barbs and feather edges have plenty of contrast, so peaking lights up large areas of plumage even when they are slightly soft.
Peaking also marks the whole zone of acceptable sharpness, not the single sharpest plane.
On a long lens at close range, that zone can be a few centimetres deep, so the overlay may show your eye plane, a plane behind it, or both.
Backlit edges. Rim light creates a bright, high-contrast outline around the head and shoulders.
Peaking can fire strongly on that outline even when the eye sits slightly in front of or behind it. Glare and halos around bright edges add false highlights on top of that.
Backlight can also make a great photograph, as covered in planning moody bird photos around backlight, side light and shadow, so it is worth learning to focus through it rather than avoiding it.
High-contrast twigs. A dark twig against a bright sky produces some of the strongest peaking in the frame. It pulls your attention and your focus ring toward it.
Meanwhile a dark eye in dark feathers produces little peaking, because there is little edge contrast to measure.
The overlay can be bright on the branch and absent on the eye, and the branch looks like the correct target.
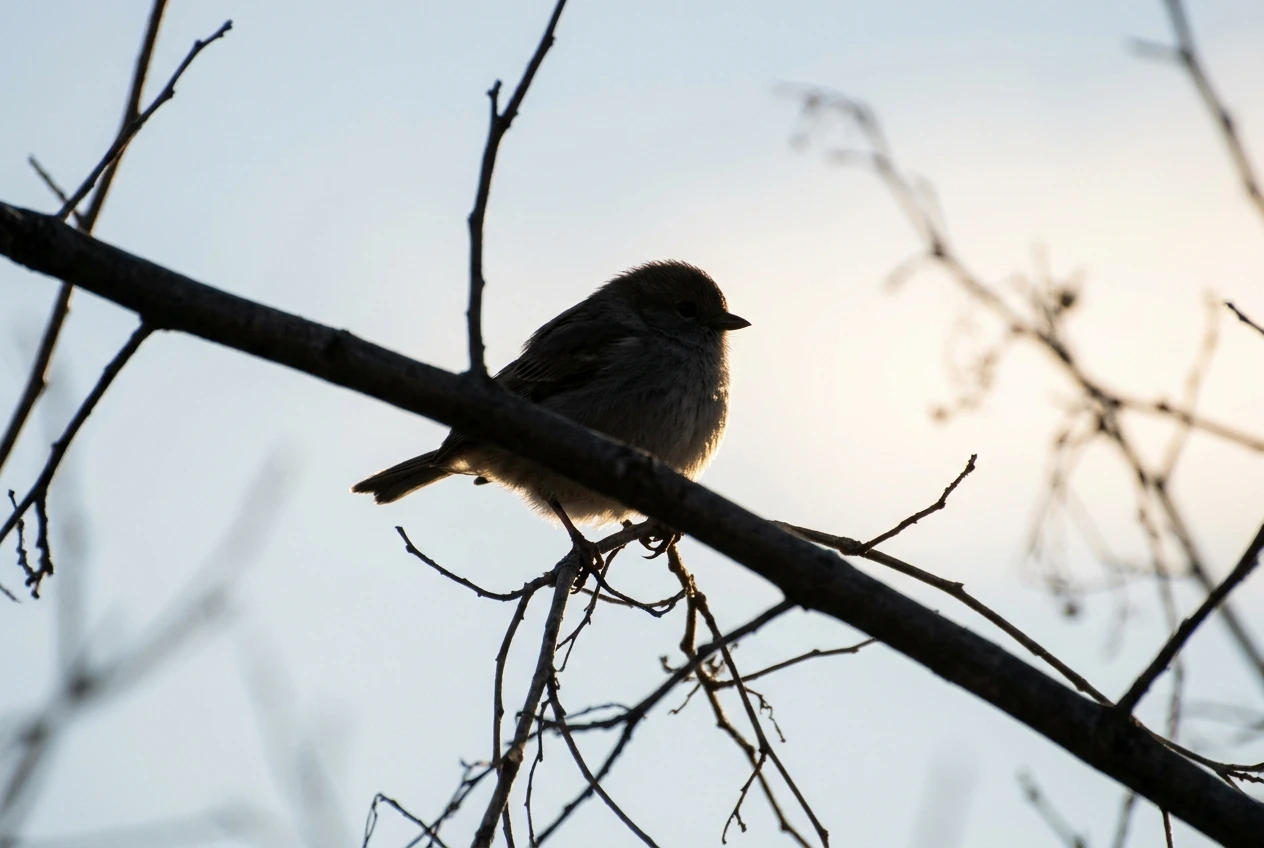
The working rule: use peaking to bring the focus plane close, then use magnification to confirm. Never judge the eye by the overlay alone.
The magnify-then-confirm routine: acquiring the eye at 5x to 10x without losing the bird
Magnification is where you check what peaking only suggests.
The risk at long focal lengths is that a magnified view amplifies every small movement of the bird and of your hands, and you lose the subject.
The routine below limits that.
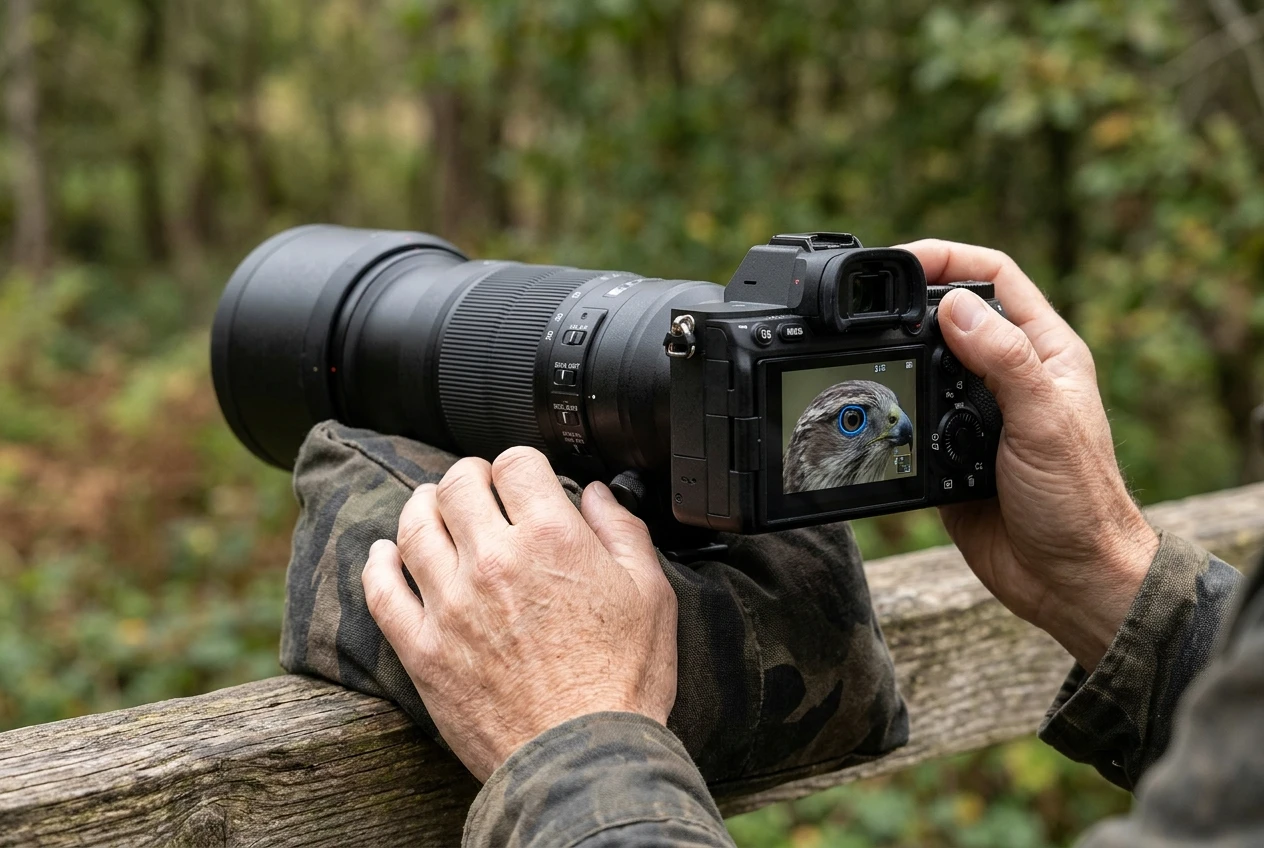
- Frame the bird at normal magnification. Settle the composition and confirm exposure first.
- Pull coarse focus. Turn the ring until peaking appears on the bird’s head or on the perch at the same distance as the eye. This only needs to be close.
- Magnify to 5x, box over the eye. Start at the lower step. It gives you enough detail to see the eye ring and feather edges while keeping more of the bird in view if it shifts.
- Bracket past the peak. Turn the ring slowly past the sharpest point, then back past it, narrowing the range each time. Stop where the eye ring, the edge of the pupil and any catchlight look crispest.
- Go to 10x only if needed. On a tripod or a firm support, 10x lets you split hairs on a tricky eye. Handheld at long focal lengths, the shake at 10x is usually too large to read.
- Return to normal view and look at the whole bird. Check that it has not turned its head, then shoot. Some cameras allow shooting while magnified and others exit the zoomed view on the shutter press, so check how yours behaves.
After the first frame, review it at 100% on the eye. If the eye is soft and the feathers just behind it are sharp, the focus plane sits too far back.
The reverse means it sits too far forward.
Correct by a very small ring movement and shoot again.
Focus on the eye plane, not the eye itself
For focusing, think of the eye as sitting on a plane parallel to the sensor.
On a bird perched side-on, that plane runs through the eye and, roughly, along the whole near side of the head.
Focus there and the head is sharp from the bill to the nape at a modest aperture. On a bird turned partly toward you, the near eye sits nearer to you than the far eye and the bill tip is nearer still.
Pick the near eye as your plane and accept that the bill tip may fall slightly outside it.
Choosing aperture and shutter speed so a manual focus miss is survivable
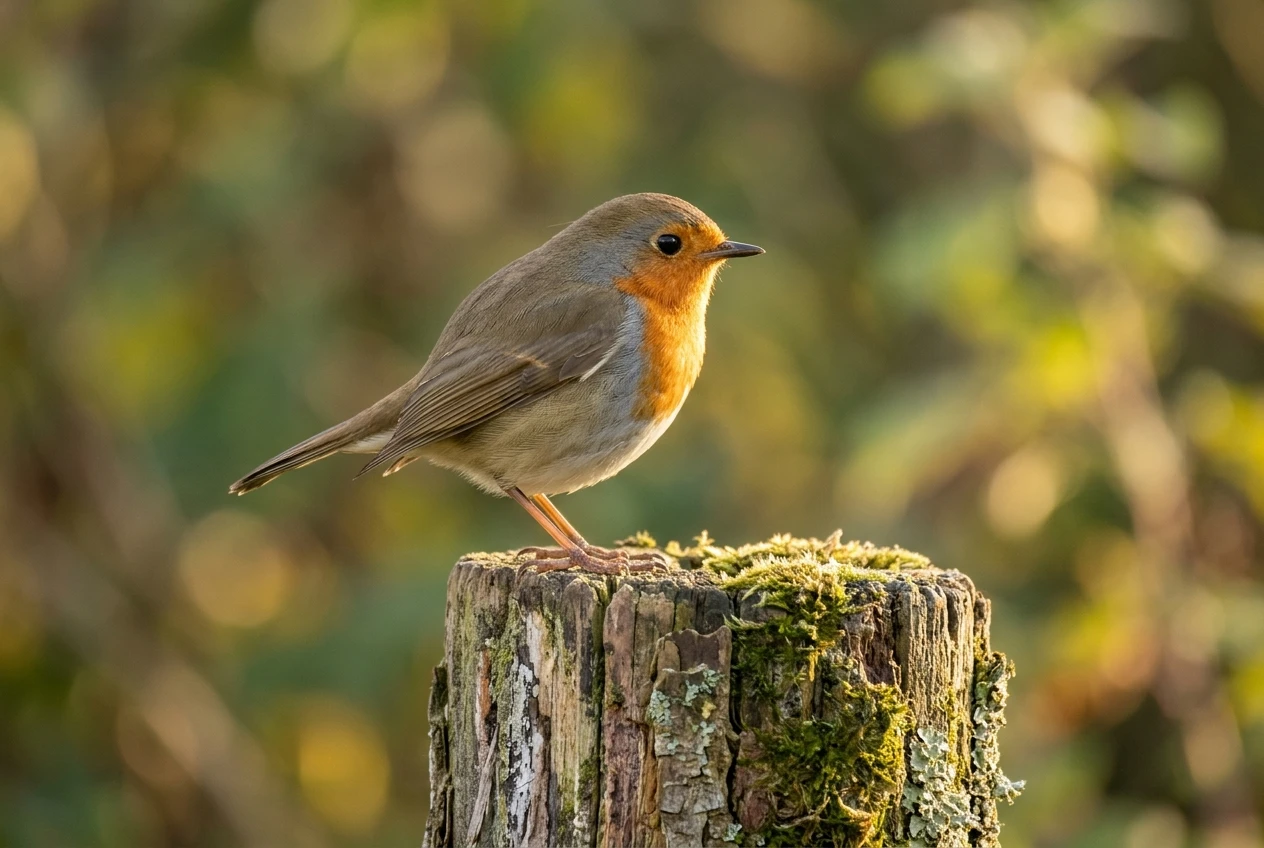
Manual focus misses by small amounts, and the exposure settings determine whether a small miss ruins the frame.
Aperture. A narrower aperture deepens the zone of sharpness, which absorbs small focus errors and covers an angled head.
Stopping down one to two stops from wide open is a reasonable starting point when light allows.
The cost is a higher ISO or a slower shutter speed. In dim light you will often have to choose between a thinner focus zone and a noisier file.
Shutter speed. A perched bird is still, but it blinks, shifts its head and ruffles feathers. Handheld on a long lens, aim for a fast shutter speed.
1/1000 s is a common starting point, though your stabilization system, support and the bird’s behavior all affect what you can get away with.
On a tripod or beanbag you can go lower, but head movement can then blur the eye even when the body is still. Treat these as starting points and check your results at 100%.
Bracketing by hand. Because the bird is stationary, take a short burst of two or three frames while nudging the ring by a very small amount between them.
This is manual focus bracketing, and it costs seconds. Review the set afterward and keep the sharpest.
Focus-and-wait technique: pre-focusing on a perch and letting the bird come to you
Pre-focusing removes the acquisition step entirely. If birds keep landing on the same perch, such as a feeder pole, a favorite branch or a post, you can focus on that spot before the bird arrives.
- Choose the perch and the point on it where the bird is likely to sit.
- Focus on the front edge of that spot at the height where the bird’s eye will be, using the magnify-then-confirm routine on the perch itself.
- Set your aperture and shutter speed for the depth and motion you need.
- Wait. When the bird lands, check where its eye sits relative to your plane, then shoot. If it landed forward or back of the plane, make a small correction with the ring and confirm at 5x.
A bird landing side-on to you will put its eye close to your pre-focused plane.
A bird facing you will put its eye nearer than the perch point you focused on. A bird facing away puts the eye farther.
Learn to adjust by a small amount in the right direction rather than starting over.
Check your focus again after the bird leaves and a new one lands.
Knocking the lens or changing the zoom ring shifts the plane, and a pre-focus that was correct ten minutes ago may be off.
Using back-button focus to blend manual and autofocus for a quick final nudge
Manual focus does not have to mean abandoning autofocus. Back-button focus lets you use each for what it does best.
Assign autofocus activation to a rear button, often labeled AF-ON, and remove autofocus from the shutter button in the menu.
Pressing the shutter button then only takes the photo.
This lets you lock focus with a press and release of the back button, then turn the focus ring by hand without the camera refocusing when you press the shutter.
A practical sequence for a bird behind a twig:
- Set a single small autofocus point and place it on a clear part of the head near the eye, such as the cheek or the base of the bill.
- Press and release the back button to lock focus in one-shot mode.
- Magnify and make the final adjustment with the focus ring.
- Shoot.
Many cameras also offer an autofocus mode with manual override, where you can turn the focus ring after autofocus locks without switching modes.
The menu name varies by brand, so check your manual for it. When it is available, it removes the need to switch the focus mode switch during a sighting.
This hybrid works well when autofocus gets close but not exact.
If autofocus keeps jumping to a twig, or to wire in front of a caged bird, skip the autofocus step and go fully manual.
Practice drills at the feeder before you try it in the field
A feeder gives you a repeatable perch and a cooperative subject.
These drills build the speed you need in the field, and you can run each of them without birds present, using the empty perch.
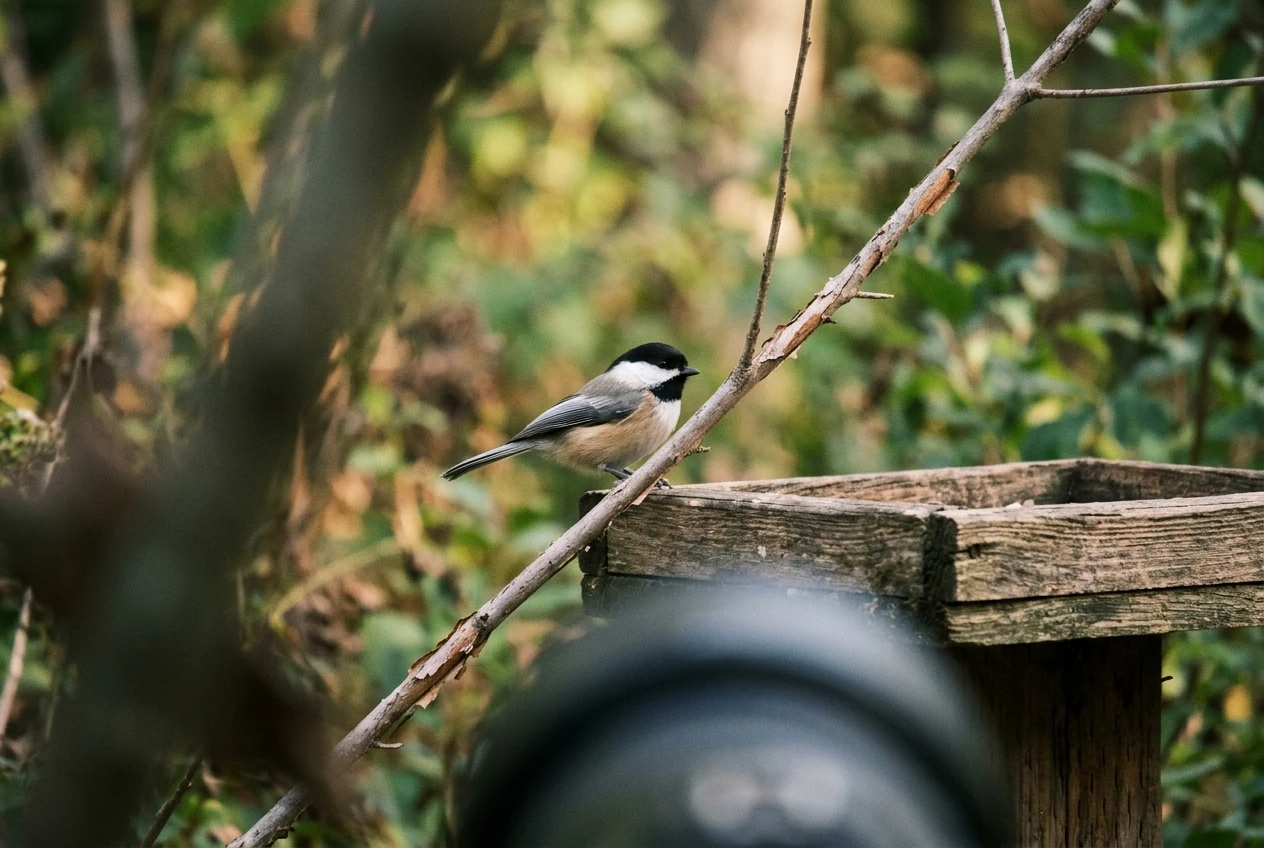
- Throw and acquire. Turn the focus ring to the minimum focus distance, then run the full routine (coarse focus, 5x, bracket past the peak, confirm) on the feeder perch. Repeat it until the sequence is automatic, and try to shorten the time each round.
- Twig test. Place a thin twig between you and the perch. Focus on the perch edge, then on the twig, and watch how peaking changes on each. This shows you how strongly peaking is drawn to near, high-contrast objects.
- Peaking calibration. Shoot a short set of frames: one at your best focus, then one step in front and one step behind it. Review each at 100% and compare what the overlay looked like with the real sharpness. You learn how far your camera’s peaking can be trusted at your usual distance and aperture.
- Pre-focus and wait. Focus on the perch, set your exposure, and wait for a bird to land. Count how many frames are sharp on the eye and how many need a correction. Repeat with a different aperture and compare the keeper rate.
- Hybrid focus. Lock focus with the back button on a point near the head, then make the final adjustment by hand. Compare the results with fully manual focus.
Keep notes on the combinations of aperture, distance and light that gave you the most keepers. You will build a reference for the field.
Check your gear for peaking, magnification and a smooth focus ring
Not every body offers the same peaking options, magnification steps or custom button choices, and some lenses have focus rings that are too loose or too coarse for fine adjustment.
Before you buy, check which cameras provide focus peaking and magnified live view in our best cameras for bird photography guide, and which lenses have a smooth, precise focus ring in our best lenses for bird photography guide.
Affiliate links on this site are disclosed on the affiliate disclosure page.