
If you are working out what to pack in a camera bag for bird photography, start from the lens.
A telephoto or super telephoto is the longest, heaviest and most fragile thing you carry, and the rest of the kit has to work around how you transport it.
Most bag advice treats the lens as one more item on the list.
For a six hour walk, it decides which bag you need, which items can share space with it, and which items have to stay out of the bag entirely.
This guide builds the kit in that order: carry method first, then a ranking of every other item by how often you reach for it, how fast you need it and what it costs in weight and wear.
It does not recommend lenses, cameras, heads or cards. Those decisions are covered in other guides on Avian Vistas, and the links appear where they apply.
Start with the lens: choosing a carry method before choosing a bag
A long lens with the hood on and a body attached is usually longer than any standard camera bag compartment.
Before you shop for a bag, decide which of these four ways you will carry it, because each one changes what the bag needs to do.
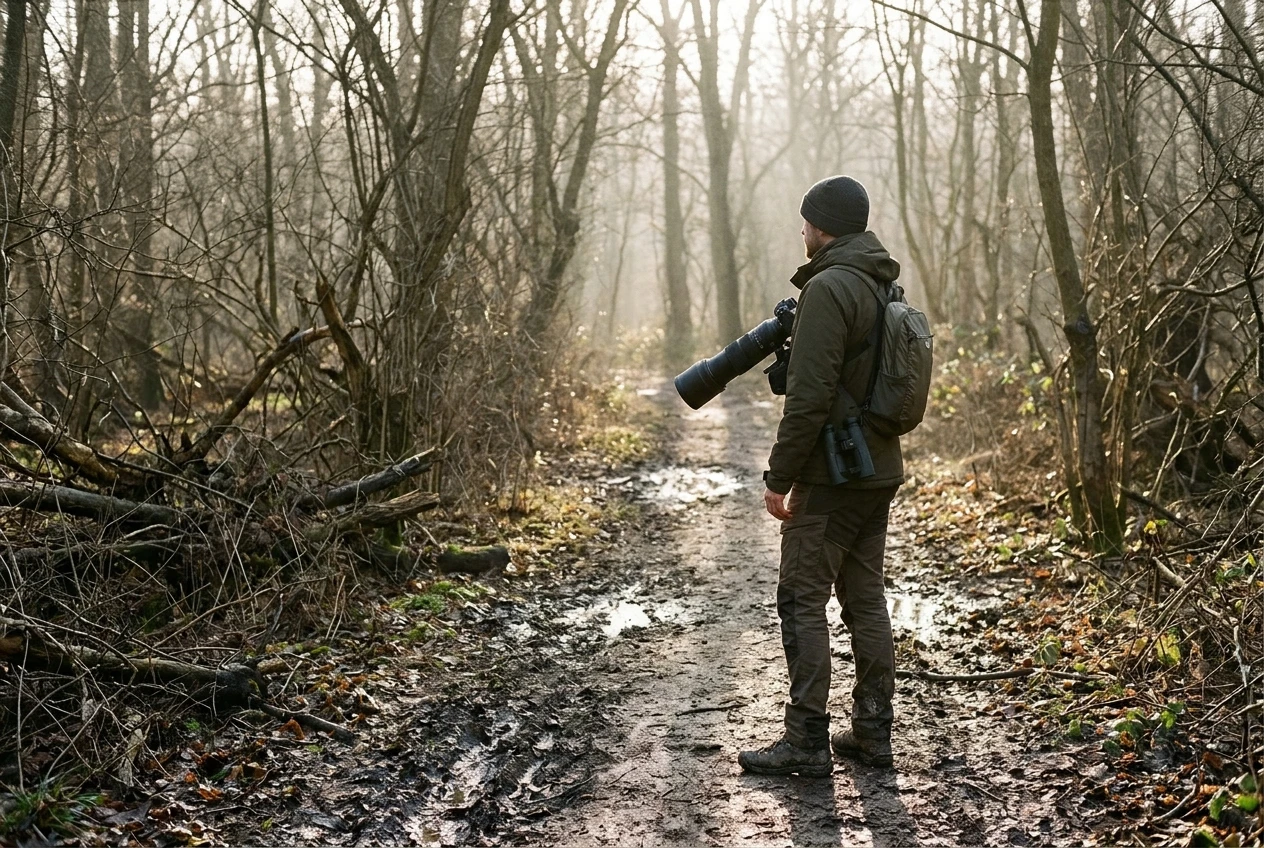
- Mounted on a tripod or monopod over the shoulder. The support takes the weight off your neck, but the lens swings with every step and catches on branches. It suits open ground, boardwalks and hide-to-hide walks.
- On a chest harness or holster. The camera and lens hang in front of you, supported by both shoulders, and your hands stay free for binoculars and walking poles. The bag then only has to carry supplies.
- On a shoulder strap or sling strap. This is the fastest to raise but loads one shoulder and the neck. Over several hours, that adds up to fatigue and a worse hold when you finally shoot.
- Inside the bag. This is the safest in rain and on rough ground, and the slowest by a wide margin. A bird that flushes in the time it takes to unzip, lift and mount has gone.
For most walking birders, the workable answer is to keep the lens attached to the camera and outside the bag, supported by a harness, strap or support. The bag then holds spares, weather protection and food.
That is a lighter and simpler bag than one designed to swallow the whole rig, and it is why this guide treats the bag as a carry system rather than a container.
Carry the lens by its tripod collar or foot where the design allows it, not by the camera body alone.
The collar sits close to the lens’s balance point, so the mount takes less leverage.
Check how your lens and camera are meant to be supported before you rely on a strap attached only to the body.
Pack by reach time: what lives on your body, in the top pocket and at the bottom
Every item belongs in one of three zones, set by how quickly you may need it. Each zone has a different cost if you get it wrong.
Zone 1: on your body, reachable in two seconds
This zone is for things you need mid-encounter or constantly.
- The camera and lens, ready to raise
- Binoculars, if you use them to find birds before you lift the long lens
- A lens cloth in a jacket or vest pocket
- One spare memory card in a small pocket, in a case that keeps it clearly separate from your used cards
Anything in this zone should be small, light and secure. If it dangles, it will catch on something, so keep it in a zipped pocket.
Zone 2: the top or side pocket of the bag, reachable in about ten seconds
You use these items several times a session, but not in the middle of a shot.
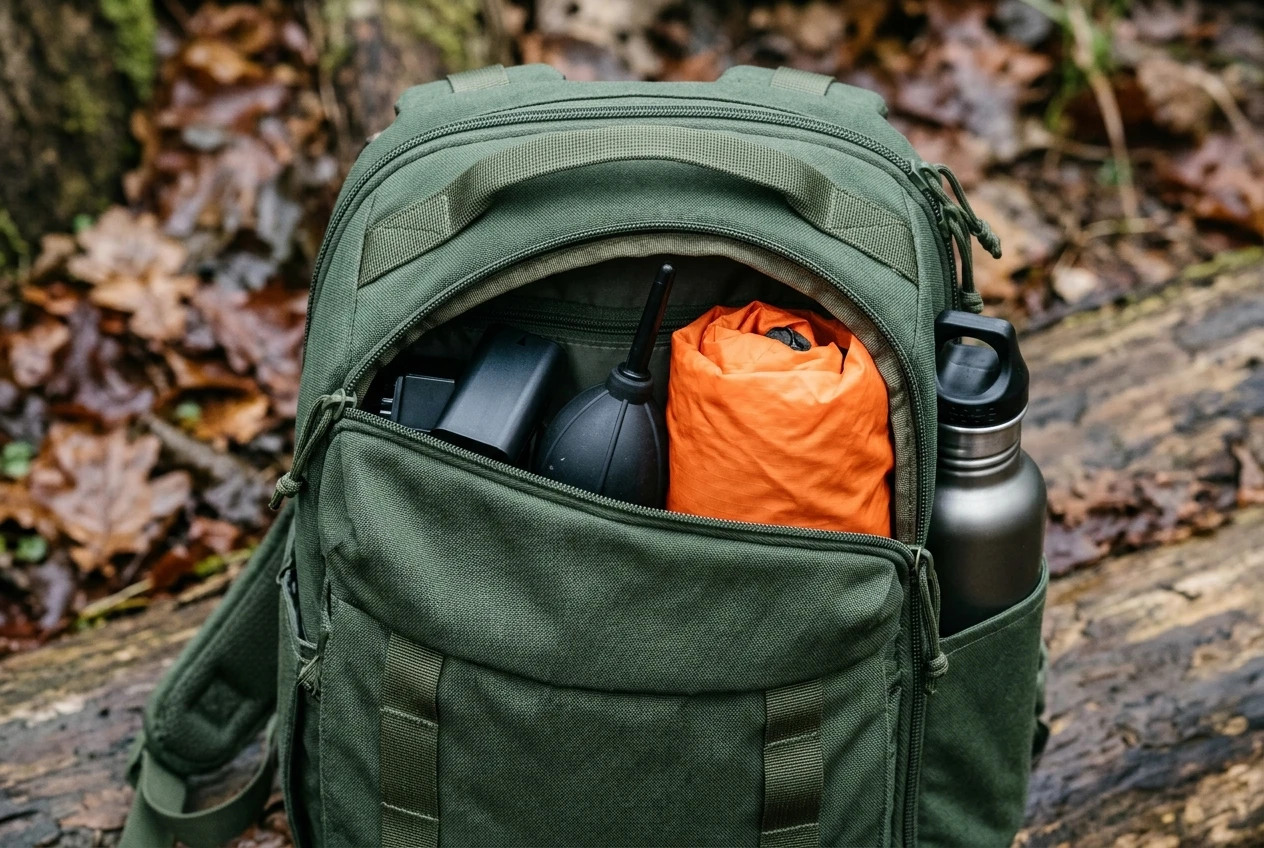
- Spare batteries
- A blower
- The rain cover, in the pocket that opens fastest
- Water and a snack
- A second lens cloth
Ten seconds is the test.
If you would need to put the bag down, open the main compartment and dig, the item belongs in a lower zone.
Rain is the usual case where this matters. A cover that is buried under a jacket will be fitted after the lens is already wet.
Zone 3: the bottom of the bag, reachable in a minute or more
These items you hope not to use, or use only during a break.
- A waterproof jacket or extra layer
- A small first aid kit
- A headlamp
- A compact bin bag or ground sheet
- A small microfibre towel for wiping gear and hands
A simple way to rank each item
Score every candidate on three questions: how often will I reach for it, how fast must I reach it, and what does it cost in weight and wear?
An item that scores high on frequency and speed goes in Zone 1 or 2. An item that scores low on both but high on consequence, such as a first aid kit, goes in Zone 3 and stays there.
An item that scores low everywhere and is heavy should stay at home.
The non-negotiables: spare batteries, cards, lens cloth, rain cover and a blower
These five items earn their weight on almost every outing because their absence ends the session or damages the kit.
Spare batteries. Long lenses with image stabilisation, continuous autofocus and high frame rates draw a lot of power, and cold weather reduces how much a battery delivers.
Carry at least one fully charged spare, and keep it in an inner pocket close to your body in cold conditions.
Swap a battery as soon as the camera shows a low level, instead of running it to zero in the middle of a flight sequence.
Memory cards. Carry spare cards in a hard case with a clear way to tell used from unused, such as the case orientation or a marked pocket.
A card that fills at the wrong moment is a common reason for lost shots. If you are unsure which card type keeps up with your burst rate, the guide on which memory card actually clears the buffer for bird burst shooting covers the SD and CFexpress question so you can settle it before you pack.
A lens cloth. Use a clean microfibre cloth kept in a sealed pouch or pocket so it does not pick up grit.
A cloth that has been in a muddy bag can scratch the front element. Keep one dedicated to glass and a second for the body and hands.
A rain cover. Fit it before you need it. A cover that works for a long lens must clear the hood, leave the zoom and focus rings reachable, and still allow you to see the screen or viewfinder.
Try it on the actual rig at home, with gloves on, so you know how long it takes to fit and whether the opening in front lets rain run in.
A blower. Dust and sand on the front element should be blown off before anything touches the glass. Wiping a gritty lens with a cloth drags particles across the coating.
A hand blower weighs very little, fits in a side pocket and prevents the most common type of avoidable lens damage.
Protecting a long lens from rain, dust, salt and mud without slowing you down
Protection that takes more than a few seconds to deploy tends to be skipped.
Set up each defence so it is already mostly in place before the weather turns.
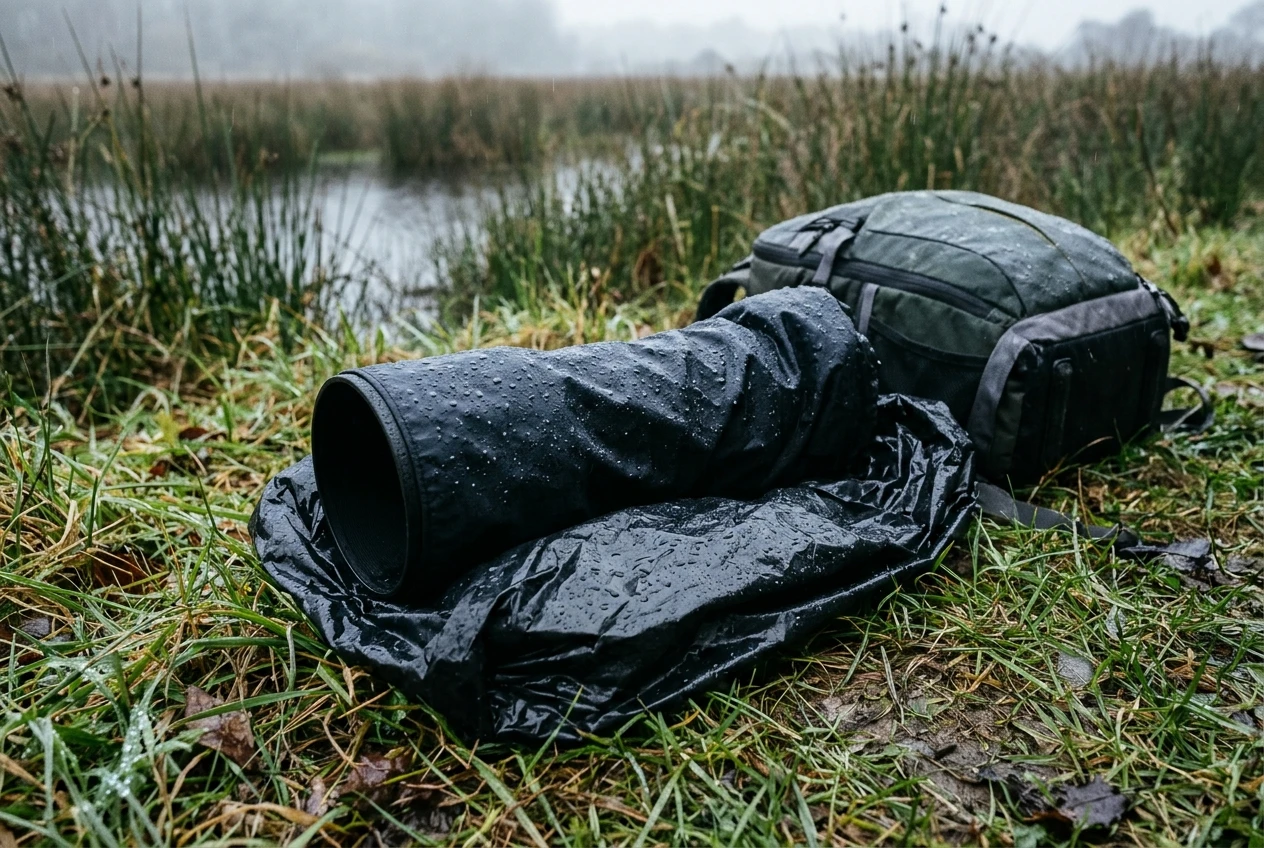
- Rain. Keep the hood on at all times, because it shields the front element from drops and stray light. Keep the cover in the fastest pocket. In light drizzle, the hood and a quick wipe of the body are often enough, but in sustained rain, fit the cover before the first drops soak the seams. Dry the lens and body when you stop, not at the end of the day.
- Dust and sand. Avoid changing lenses or cards in blowing dust. If you must, turn your back to the wind, point the open camera body downward and be quick. Blow the front element, then wipe it only if smears remain.
- Salt. Salt spray dries into crystals that scratch and corrode. After a coastal session, wipe the exterior of the lens and body with a cloth lightly dampened with fresh water, avoiding seams and the lens mount, then dry thoroughly. Keep the bag off the sand and off wet decking.
- Mud. Mud usually reaches the kit via the bag, not the camera. Put the bag on a ground sheet or a folded bin bag instead of directly on wet soil, and choose a bag with a waterproof or easily wiped base. Wipe the tripod collar and any support feet before packing, so grit does not work into the collar.
- Condensation. Moving from a cold outdoor setting into a warm car or house can fog the lens and body. Seal the camera in its bag or a plastic bag before you go inside, and let it reach room temperature before you open it. Silica gel sachets in the bag help absorb moisture between sessions.
Weight management: what to leave behind and how to distribute the load
Weight is a cost you pay every minute of a six hour walk.
A kit that feels fine in the car park can leave you with sore shoulders and shaky hands by mid-morning.
Handling it comes down to two decisions: what goes and where the rest sits.
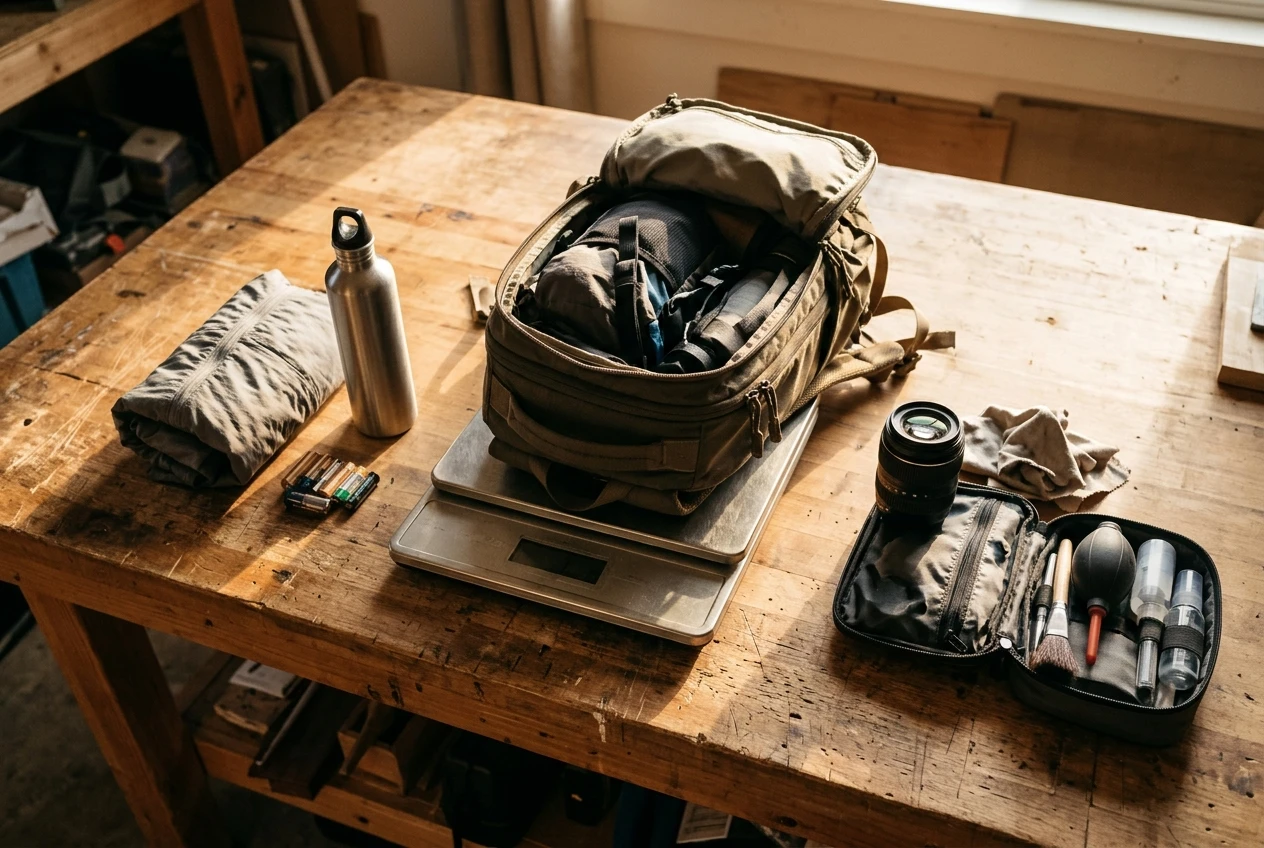
What to leave behind
Weigh your packed bag at home and be strict about what earns its place.
- A second lens or second body is rarely used on a walk built around a single long lens. Leave it at home unless the plan genuinely needs it.
- A full-size tripod is excess on a route where a monopod or hand-holding with a harness would do. If you are deciding what support to carry, the comparison of a fluid head or gimbal head for birds covers how each carries the weight.
- Spare clothing beyond one layer, large cleaning kits and duplicate cloths add up quickly.
- Water is heavy, since a litre weighs about a kilogram. Carry what the route and weather require, and no more.
Keep a short audit habit: after each session, note anything you did not touch. If an item stays unused across several outings and it is not a safety item, remove it.
How to distribute what remains
Pack the heaviest items close to your spine and in the middle of the bag’s height.
Heavy items at the bottom pull the bag backward, and heavy items at the top make it sway.
Put light, bulky items such as the spare layer at the bottom and keep frequently used items on the outer pockets.
Use a hip belt if the bag has one, so your hips carry a share of the load. Tighten the chest strap to stop the shoulder straps from sliding outward.
A harness for the camera shifts the heaviest single item from your neck to your torso. That change often does more for comfort than any adjustment to the rest of the bag.
Backpack, sling or harness: matching the bag to your terrain and your shoulders
No bag type is best for everyone. Match it to the ground you cover and how long you carry it.
Bag type | Best for | Main drawback |
|---|---|---|
Backpack | Long walks, uneven ground, carrying water and layers | Slow access; you must swing it round or take it off |
Sling | Short walks, quick access to batteries and cards | Loads one shoulder; uncomfortable over many hours |
Harness plus small bag | Hands-free carry of the lens with supplies on the back or hip | More straps to adjust; some setups feel cluttered |
On long, rough or muddy routes, a backpack with a hip belt carrying supplies, plus a harness or holster for the camera, spreads the load best.
On short, flat outings such as a reserve boardwalk or a car-side hide, a sling is quicker and enough.
Shoulder shape and any history of neck or back strain matter, so try a loaded bag for a full walk before committing, and alternate sides if you use a sling.
If you are still working out how much your own rig weighs, the best lenses for bird photography guide and the best cameras for bird photography guide list the options that shape what you will be carrying.
A pre dawn checklist and a post session routine for keeping the kit durable
Pre dawn checklist
Run through this the night before, then check it again before you leave.
- Batteries charged, with spares in the bag
- Cards formatted in the camera, spares in a labelled case
- Lens front element and rear element clean, hood attached
- Rain cover in the fast pocket, and fitted once to confirm it still works
- Blower and both cloths in place
- Water, food and an extra layer sized to the forecast
- Ground sheet or bin bag for wet ground
- Camera settings checked so the first shot is not wasted on yesterday’s configuration
- Bag weighed or at least lifted, with anything unneeded removed
Post session routine
How you finish a session decides how long the kit lasts.
- Let the camera reach room temperature in its sealed bag if you have come in from cold.
- Remove cards and batteries, then offload files before you do anything else.
- Wipe the exterior of the lens and body, and dry the rain cover and bag fully. A damp bag stored shut grows mould.
- Blow dust from the mount, hood and lens caps, then clean the front element only if needed.
- Recharge the batteries you used and rotate them so wear is even.
- Empty the bag, discard grit and replace silica gel sachets when they have absorbed moisture.
- Note anything you did not use or wished you had, and adjust the pack for next time.
Measure first, then build the kit
Before choosing a bag, measure your longest lens with the hood and body attached, then use the best lenses and best cameras guides on Avian Vistas to check what you will really be carrying.