
A backyard blind lets you set up a long lens a few metres from a perch while the birds carry on as normal.
If you want to know how to build a bird photography blind that works, start with your camera rather than the carpentry.
Four measurements decide almost everything: where the sun is at the hours birds are active, how big your lens and head are, where the bird’s eye sits when it perches, and how far away the perch has to be to fill the frame.
This plan works from those four. It applies to any backyard species, from sparrows and finches to thrushes and woodpeckers.
Decide where the blind goes
Start with the sun, because the blind is the one part of the setup you cannot easily move later.
Use a compass or a phone compass app to find the sunrise and sunset directions for the season you shoot in.
In the northern hemisphere the sun rises and sets further north in summer and further south in winter, and the midday sun sits in the south.
In the southern hemisphere the midday sun sits in the north.
For most backyard birds, activity peaks in the first hours after sunrise and again in the late afternoon.
Stand where the blind would go and note where the sun will be at those times. The usual aim is to have the sun behind you or over one shoulder, falling on the perch from the side or slightly from behind the camera.
A blind that faces the sun squarely gives you backlit birds, and a port that catches the sun can light the interior and show your shape through the opening.
Backlight and side light can be deliberate choices, and our piece on planning moody bird photos around backlight, side light and shadow covers them.
For a first permanent blind, plan for front or side light on the perch and look at the rest of the sky later.
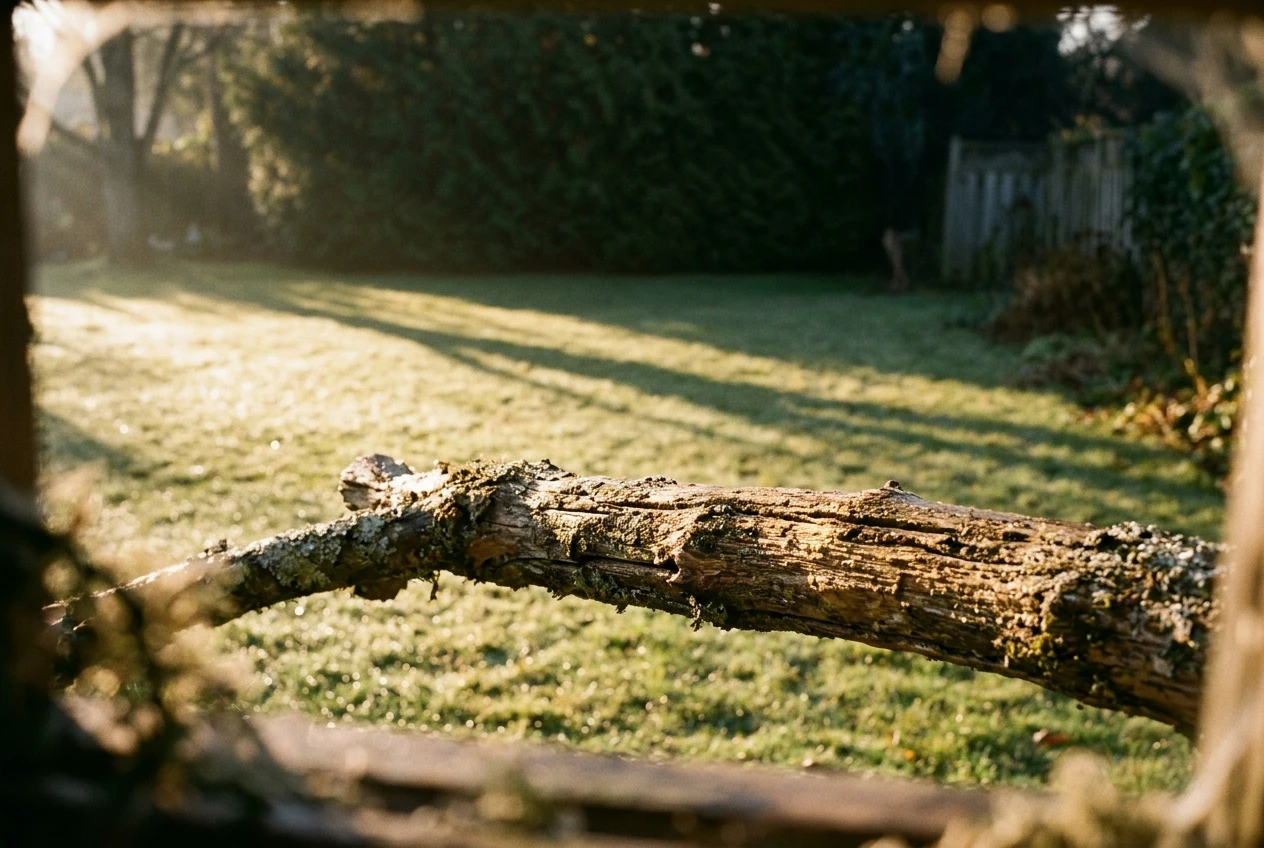
Next, check the background.
The distance behind the perch controls how smooth the backdrop looks. As a working rule, the background should be many times farther from the perch than the perch is from your lens.
A perch 6 m from the blind in front of a fence 2 m behind it gives a busy backdrop. The same perch in front of a hedge or tree line 15 m or more behind it blurs into soft colour.
Two more checks before you commit to a spot:
- Background tone. A shaded evergreen hedge or a dark wall of foliage behind a sunlit perch makes the bird stand out. Sunlit patches in the background turn into bright blurred blobs that pull the eye away from the bird.
- Perch position. The perch should sit where the light reaches it during your shooting hours. Look for shadows from fences, roofs and trees at those times, and watch how they move over a day.
Finally, consider the bird’s side of the layout. Birds approach cover from shrubs and trees, so a perch near existing branches draws more visits than one in the middle of open lawn.
If you are working on attracting a particular species, such as a fishing bird, our guide to attracting kingfishers to your garden covers the habitat side in detail.
Choose a blind type
There are three practical routes: a fabric tent, a frame with panels, and a fixed garden structure. They differ in cost, noise, and how much of the build you control.
Fabric tent
A pop-up fabric blind is the quickest to set up and the easiest to move as the sun’s path changes through the year.
It also flaps in wind, and the fabric is noisy when you brush against it. The ports are usually fixed slits or flaps that suit a typical lens, which may not match yours.
Check whether the manufacturer’s port positions leave room for your hood and head, and be ready to cut or sew your own.
Frame and panel
A timber or PVC frame with exterior panels (plywood, hardboard, or heavy fabric stretched over the frame) is stiff and quiet in wind.
You choose where every port goes, how high it sits, and how large it is. It takes some basic building skills and storage space if you take it apart, but it is the best option when you want exact control over the shooting position.
Fixed garden structure
A fixed structure is built like a small shed, with hinged flap ports in the walls and a door on the side away from the perch.
It gives shelter in rain and cold, lets you leave gear set up between sessions, and the birds get used to a permanent object quickly.
Check your local planning or building rules before you build anything permanent, since requirements for outbuildings vary by place.
If you are unsure, build the frame-and-panel version first. It teaches you where the ports need to go, and if you later want a permanent structure you will know exactly where to put the openings.
Size the shooting port to your lens, hood and tripod head
Size the port from your own equipment, not from a generic hide plan.
Take these measurements with the lens mounted on the camera and on the head you will use:
- The outer diameter of the lens hood, fully extended.
- The widest point of the lens barrel, which may be a focus ring, a tripod collar, or a switch panel.
- The distance from the head’s pivot point to the front of the hood.
- The swing of the gimbal arm or the side clearance of your fluid head’s pan handle.
- The camera’s width and height in portrait orientation, if you plan to use a vertical grip or an L-bracket.
The port must be bigger than the hood by enough margin to allow the lens to pan and tilt without catching the edge.
The smaller sweep comes from placing the head’s pivot close to the port. If the pivot is 60 cm behind the port and you want to pan 15 degrees to each side, the front of the lens moves about 16 cm sideways at the port (60 cm × tan 15°).
A port of just the hood’s diameter will not allow that. Move the tripod closer to the wall and the sweep shrinks proportionally.
There are two common designs:
- Round or square hole with a cloth sleeve. The hole is a little larger than the hood and a loose fabric sleeve or a double flap closes the gap around the lens. It stays dark inside, but you can only aim within the limits of the cloth.
- Horizontal slot with a curtain. A slot as wide as your planned pan range, with a curtain of dark cloth hanging from above and a second flap that overlaps it. You can follow a bird across the perch and the opening stays mostly closed.
The front edge of the lens hood should sit at or just past the plane of the port.
If cloth sits in front of the hood it can intrude into the image, which shows as dark corners and softened contrast at long focal lengths.
Cut a cardboard mock-up of the port, set up your gear behind it, and check the full range of movement before you cut the real wall.
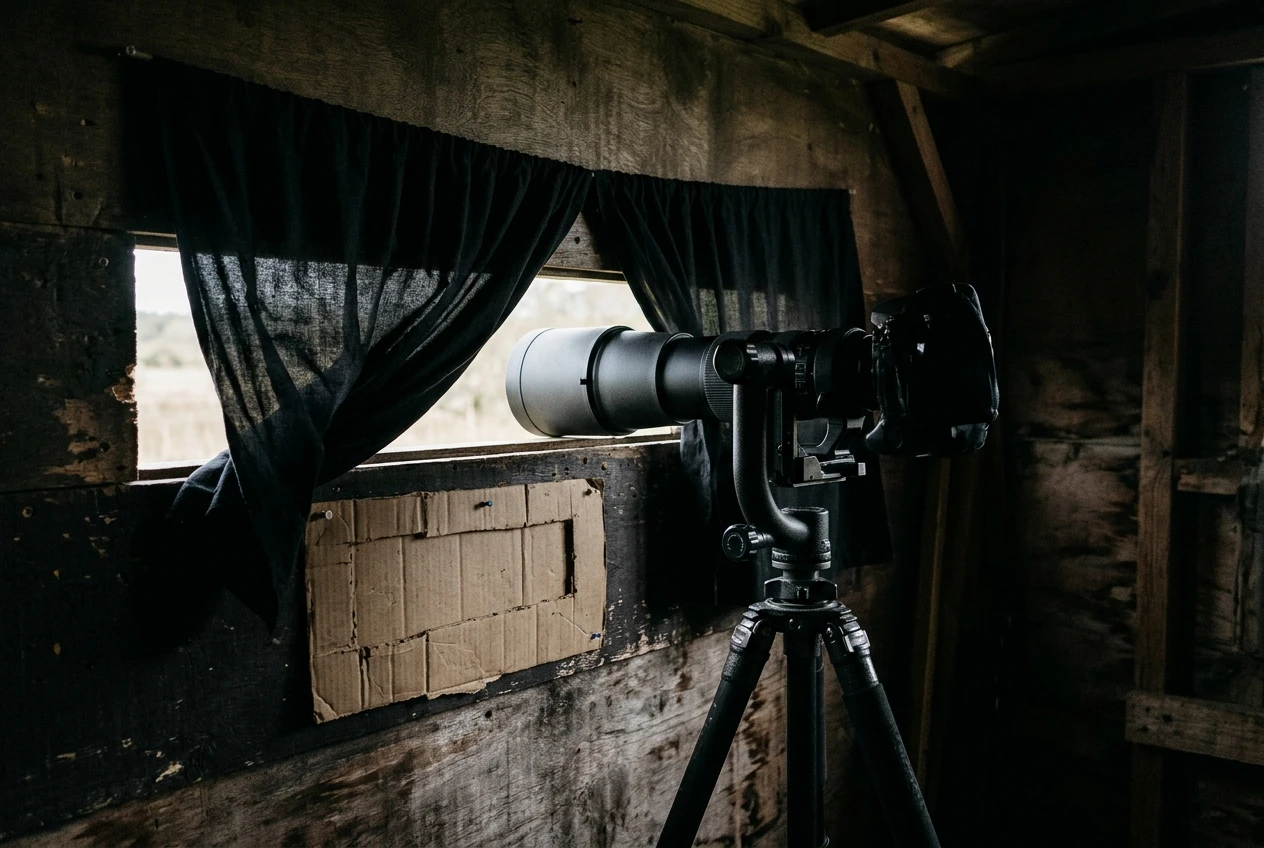
Think about the support while you are measuring.
A tripod with a gimbal head is the usual choice for a fixed position and a heavy lens.
If you are comparing options, our articles on monopod vs tripod for bird photography and fluid head vs gimbal head go through what each one carries and how it moves.
Set seat height and camera height for an eye-level angle
The most visible difference between blind photos and handheld photos from standing height is the angle.
Photographing a perched bird from above shows the top of its head and a ground background.
Photographing at the bird’s eye level gives a clean profile, the eye in a flat plane with the lens, and a background made of the distant scene rather than the lawn.
To set the heights, work backwards from the perch:
- Decide the perch height above the ground. Most songbird perches in a garden are somewhere between knee and head height; pick the height you can match comfortably.
- Estimate where the bird’s eye sits on that perch. It is a few centimetres above the perch for small birds and higher for larger ones.
- Put the lens axis at that height. This is the centre of the lens, not the camera’s top plate.
- Set the port at that height, with the slot centred on it or slightly above it.
- Choose a seat so that, when you sit with the camera at your eye, your eye is level with the viewfinder. The tripod legs should be able to reach the lens height with the head and camera in place.
An adjustable stool or a stool with different leg lengths solves most of the problem.
For ground-feeding birds, the lens needs to be much lower, close to ground level, and a low port, a ground pod or a beanbag becomes more useful than a tripod.
A second, lower port in the same wall lets you cover both situations, but each port needs its own cloth cover.
A good test is to put a similar-sized object on the perch, such as a small branch with a piece of tape where the eye would be, and look through the viewfinder from your seat.
Move the perch up or down until the tape is level with the lens axis, then mark that height on the perch stand.
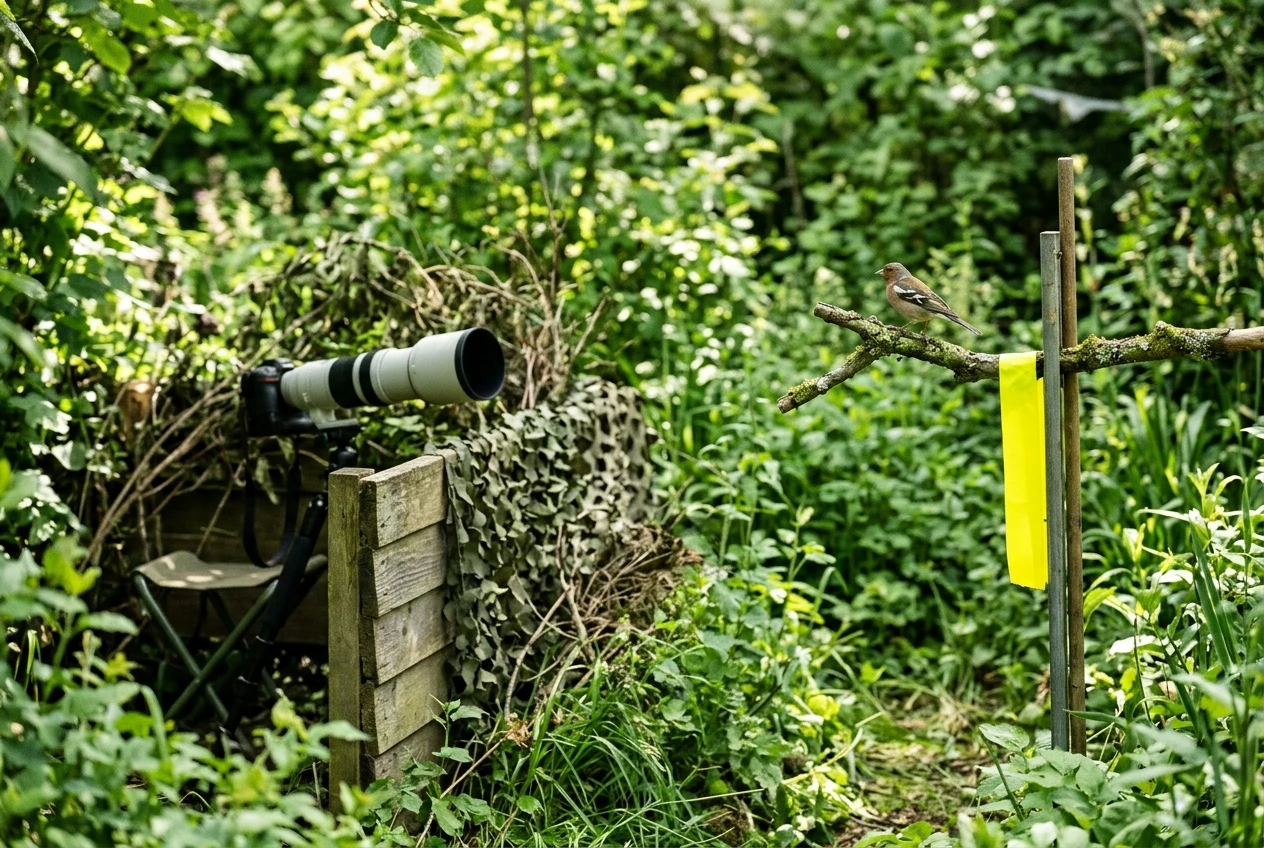
Cover, camouflage and quiet the blind
Birds notice new objects, but they also get used to them. What alarms them is a new shape, sudden movement, noise and a visible human outline.
- Colour and finish. Use matte, dark or natural-toned fabric or paint. Shiny fabric, bright zips and reflective tape stand out. Natural browns, greens and dark greys blend with a typical garden.
- Interior. Line the inside with dark cloth or paint it black. A dark interior means that even when the port is open, no light shines through your silhouette.
- Noise. Replace metal zips with Velcro or toggles only if you can open them slowly, or use fabric ties. Secure loose fabric so that wind does not make it flap. Use rubber feet or foam pads under the tripod and the stool.
- Shape. Break up the box shape with branches, netting or plants against the walls. Check that they do not obstruct the port or cast moving shadows on it.
- Introduction. Put the blind in place well before you use it and leave it there. A few days is a minimum for tolerant birds, and wary species may need longer. A tube of matching diameter poking through the port during this period helps accustom birds to a lens-like object.
Keep the entrance on the side facing away from the perch so you can come and go with the blind between you and the birds.
Place perches, water and feeders to fit your focal length and depth of field
Your focal length and aperture decide where the perch should sit. At long distances the area covered by the frame is approximately the sensor height multiplied by the subject distance, divided by the focal length.
On a full-frame body, the frame height is about 24 mm × distance ÷ focal length. With a 600 mm lens, a perch 6 m away gives a frame about 24 cm tall, which suits a songbird about 13 cm long.
With a 400 mm lens, a distance of 3 m gives an 18 cm frame. If you use a crop-sensor camera, the frame is smaller, so a greater distance suits the same bird.
Check your lens’s minimum focus distance before you fix the perch position. The perch must be farther than that distance, with a margin.
Depth of field is thin at these distances. A 600 mm lens at f/6.3 with a subject at 6 m has a depth of field of roughly 4 cm on full frame (using a 0.03 mm circle of confusion).
At 4 m it falls to about 1.7 cm. This matters because a bird sitting at an angle to the lens will have its tail and head at different distances, and one end will be soft.
To get the whole bird sharp:
- Rotate the perch so that the bird sits side-on, with its body parallel to the sensor plane.
- Stop down one or two stops if there is enough light and you can keep the shutter speed up.
- Focus on the eye and accept that the far end of the body will drop off.
For composition, our guide to composition rules for bird portraits covers where to place the eye and the space in front of the beak.
Leave room around the perch so you can frame loose and crop later.
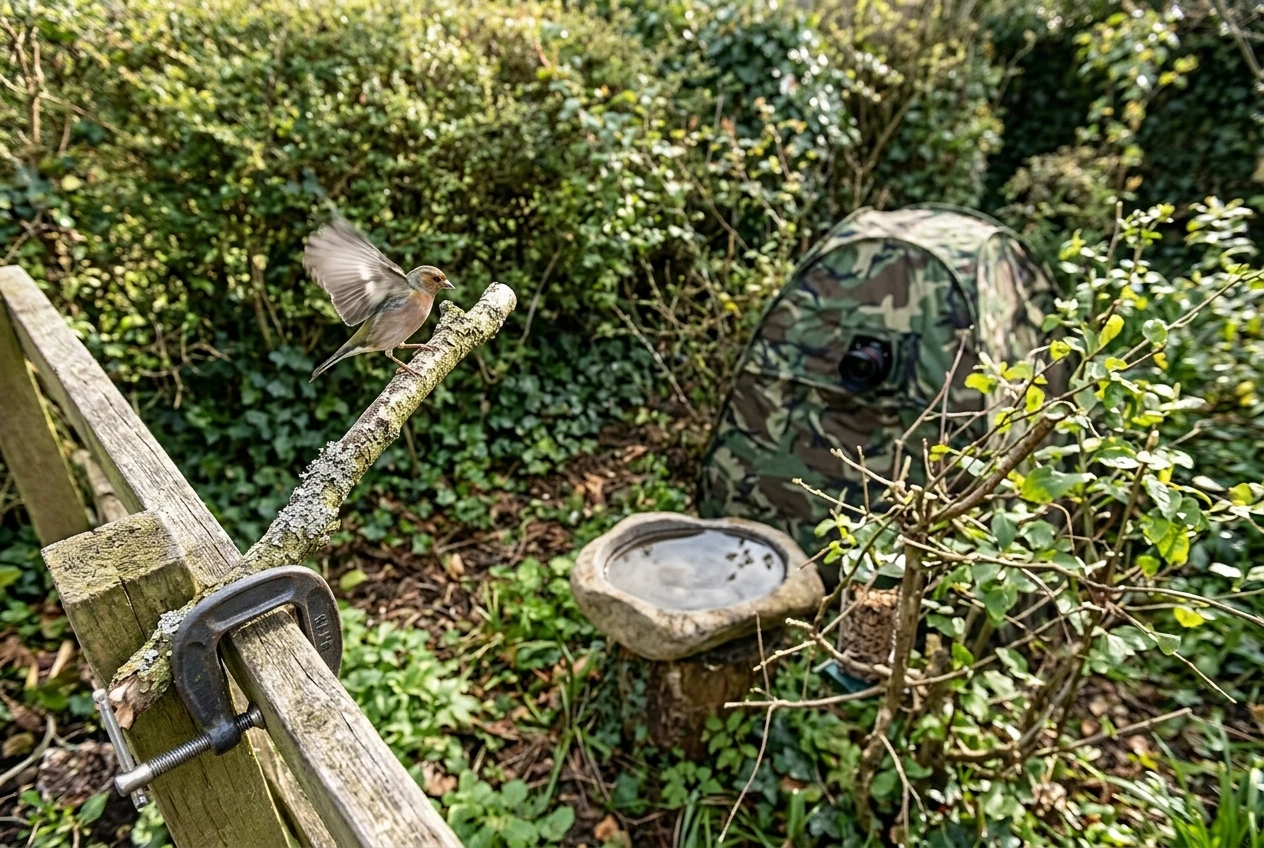
Practical placement points:
- Perch. Use a natural branch with a clean, simple shape, clamped to a stand or pushed into the ground. Make it a little thicker than the birds’ feet and remove side twigs that cross the bird’s body in the frame.
- Feeder. Hide the feeder from view, either behind the perch or outside the frame, and place the perch where birds land before going to the food. Birds that land on a perch before approaching a feeder give you the unobstructed frames, while birds on the feeder itself give you a feeder in the picture.
- Water. A shallow dish or small drip bath near the perch draws birds that do not visit feeders. Keep it clean and refill it often, and set it within the same plane of focus as the perch if you want shots of birds drinking.
- Distance between items. Keep the perch, the water and the feeder at similar distances from the lens so that you do not have to refocus or accept soft frames when birds move between them.
Shooting from inside: support, silent shutter, auto-focus setup and entry and exit routine
Do the setup before the birds are around. Mount the lens on the head, point it at the perch, and lock the tripod height so that the lens sits level with the port.
Keep spare batteries, memory cards, a lens cloth, and a drink inside the blind so you do not need to go in and out.
Camera settings
For perched birds, the following are good starting points:
- Shutter speed. Aim for 1/1000 s or faster to freeze head turns and small movements. Wing flicks and take-offs need 1/2000 s or faster.
- Aperture. Use the lens’s widest or one stop down. Choose a smaller aperture only if the bird is angled or you need more depth.
- ISO. Use auto ISO with a ceiling that your camera handles well, so the shutter speed holds when clouds pass.
- Silent shutter. Switching to the electronic or silent shutter removes the shutter noise that can startle close birds. It can distort fast-moving subjects such as beating wings (rolling shutter), so use it for perched birds and switch to the mechanical shutter for flight.
- Autofocus. Use a single point or a small zone on perched birds, since twigs and leaves near the perch confuse wide-area tracking. If your camera has animal or bird eye detection, test whether it holds on the eye through the foliage in your garden. For still birds on a fixed perch, manual focus with magnification is also an option; see our article on manual focus for perched birds.
- Memory cards. For burst shooting at the moment of take-off, a card that clears the buffer quickly helps, as our article on memory cards for burst shooting explains.
Entry and exit routine
Enter before first light or at a time when the birds are away, walking directly and quietly to the blind and closing the door behind you.
Do not stand at the port, and keep your face back from the opening so that no pale shape shows through the gap.
Open the port curtain slowly and only as far as needed.
When you leave, wait until the garden is quiet.
Close the port flaps first, and then leave quickly and without lingering. Birds learn the pattern of the blind quickly, so a regular entry and exit routine makes it part of the garden.
Once the blind is up, shoot from it regularly and keep notes on what time, light and perch worked best for each session.
After a few weeks you will know which adjustments to make: raising the perch, moving the port, changing the background.
Those small adjustments to a structure you have built around your own lens are what bring the closer, lower frames.
Choosing a lens for shooting from a blind? Read our guide to the best lenses for bird photography.