
Most editing software comparisons rank programs by overall power.
A bird edit does not use overall power evenly. It loads four specific jobs onto your computer and your time: culling hundreds of burst frames, converting raw files, cleaning up high ISO noise, and isolating the bird from the background.
Each of the six programs below is strong at some of those jobs and mediocre at others.
This guide covers Lightroom Classic, Capture One, DxO PureRAW, Topaz Photo AI, Darktable and Photo Mechanic, job by job, and finishes with three stacks built from them.
Software changes quickly, so version-specific features should be checked against the current release before you pay for anything.
The differences in workflow design, which matter most for the best photo editing software for bird photography, change much more slowly.
Why a bird edit is a different job from a landscape or portrait edit
A landscape photographer might bring home thirty frames from a morning.
A birder with a long lens and a fast burst can bring home several hundred from one perched bird, or a thousand from a single flight sequence.
The difference between frame 212 and frame 213 is often one wingbeat or a blink, so the selection stage is a real task, and software that opens each raw slowly makes it a long one.
The second difference is the crop.
Birds are small in the frame even with a 400mm or 600mm lens, so many final images use a fraction of the sensor.
Cropping enlarges everything: noise, softness, chromatic aberration and demosaicing artifacts.
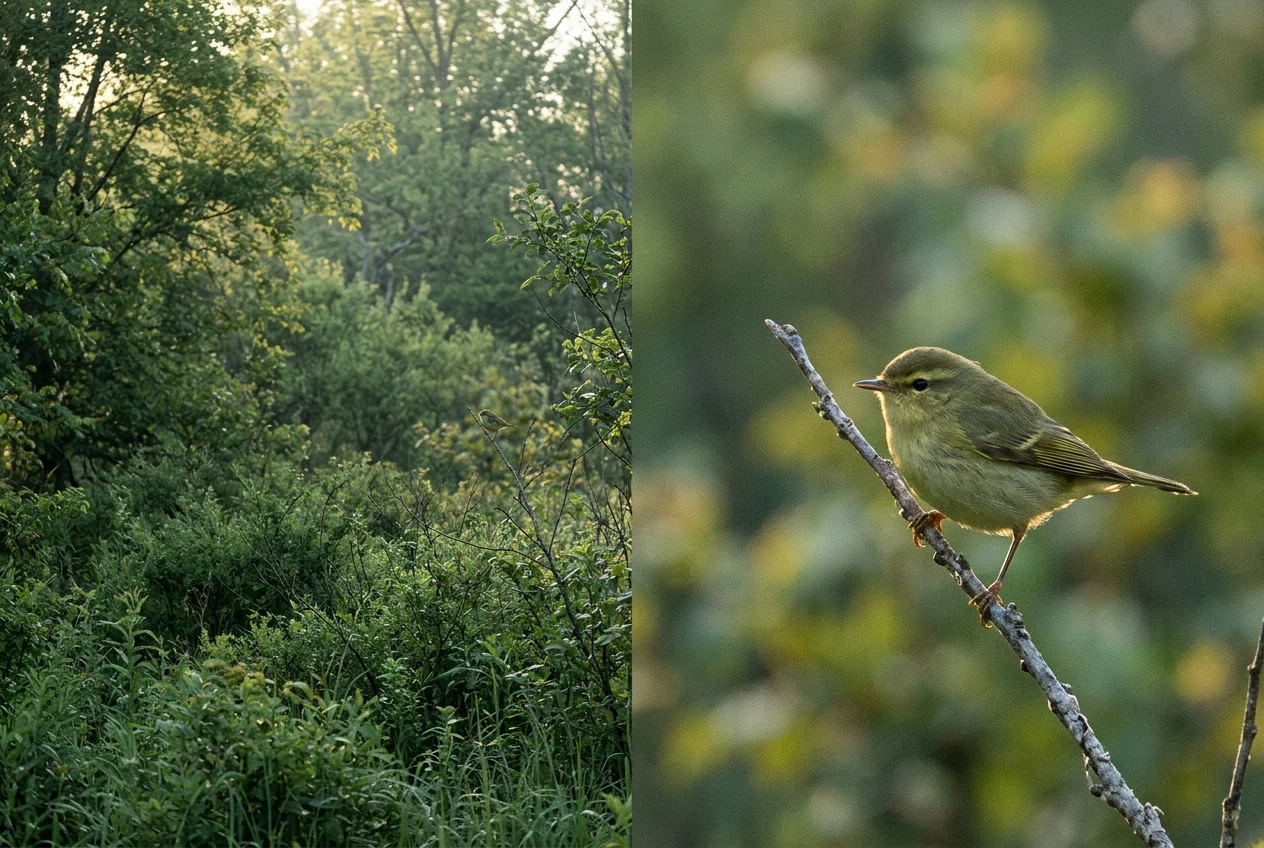
Software that looks equivalent on a full frame landscape can look different on a heavy crop of a warbler at ISO 6400.
Three more factors shape the choice:
- High ISO is routine. Fast shutter speeds for flight or small songbirds, combined with dawn and dusk activity, push ISO into the thousands.
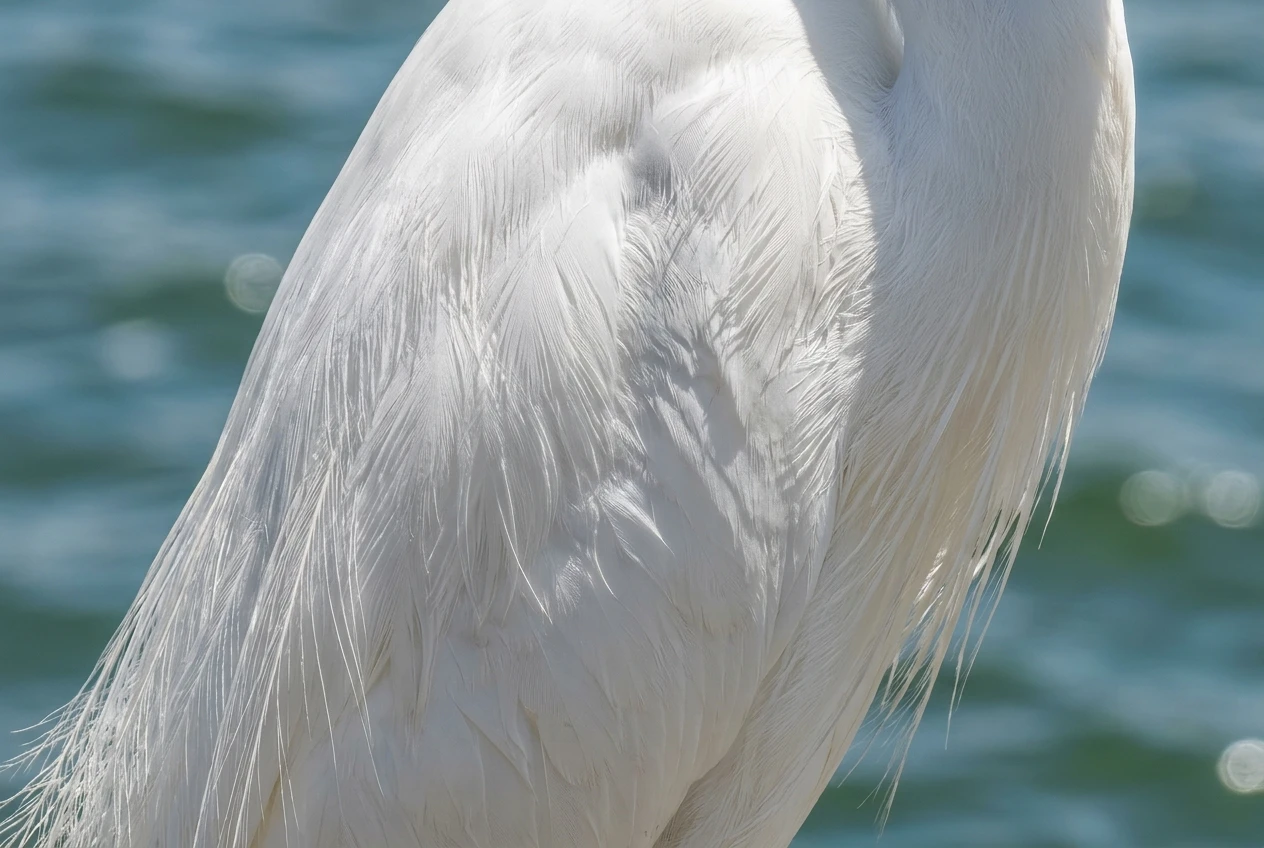
- Plumage stresses the raw file. White gulls, egrets and swans hold fine texture in highlights that clip easily, while black plumage hides detail in shadows that fills with noise when lifted.
- The background is a separate edit. A bird is usually lit and processed differently from the out-of-focus foliage or water behind it, so masking is a daily task and not an occasional one.
Those four pressures (volume, crop, ISO and selective edits) are the criteria used for the rest of this comparison.
Culling burst sequences: which tools get you from 800 frames to 20 keepers fastest
Culling speed depends mostly on one thing: whether the program has to render each raw file or can show the JPEG preview embedded in it.
Every raw file from a modern camera carries an embedded JPEG.
Programs that read that preview display frames almost instantly. Programs that build a full preview from the raw data are slower on the first pass through a card.
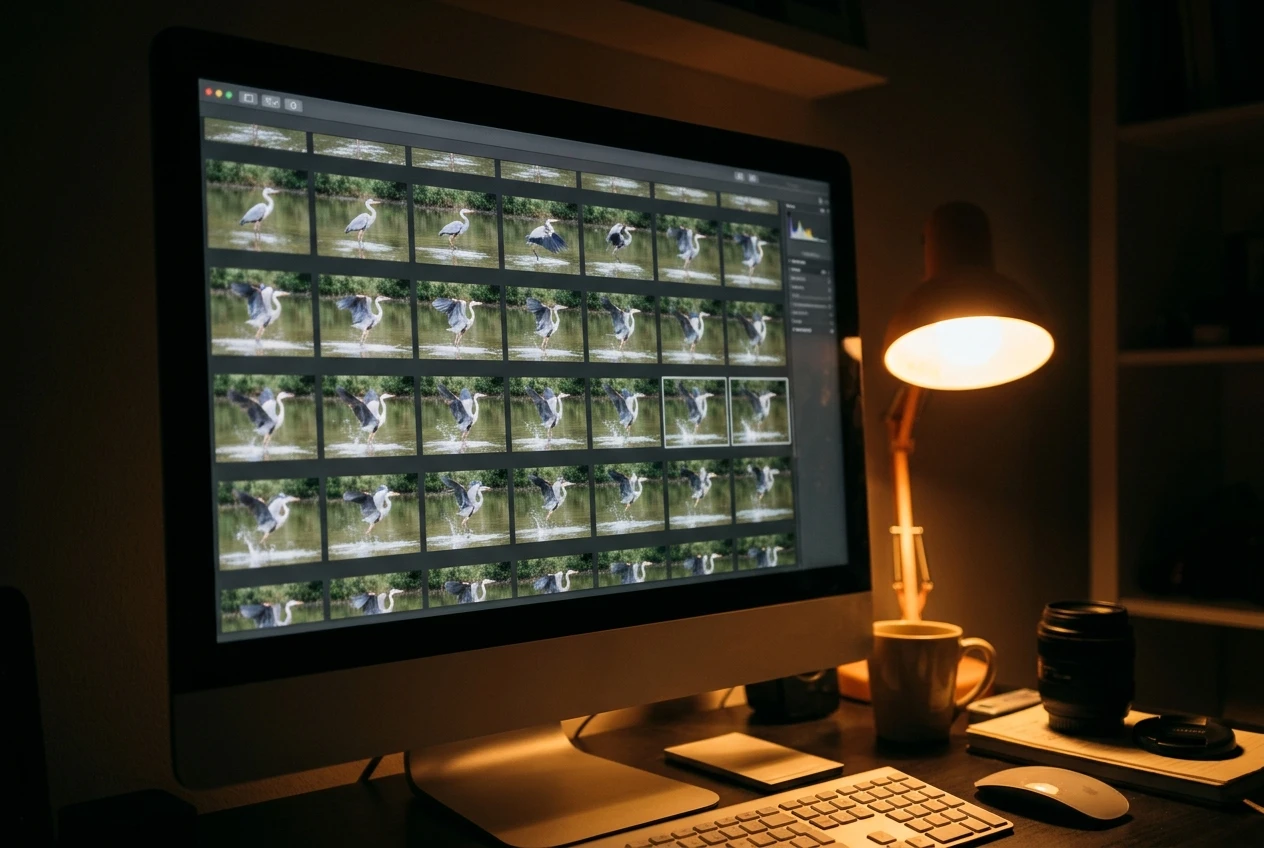
Photo Mechanic
Photo Mechanic is built around this idea. It reads embedded previews, so you can move through a full card at the speed you can press the arrow key.
Tagging, star ratings and color classes are quick, and it handles ingest, renaming and metadata at the same point.
It is a culling and organizing tool, not a raw editor, so you pass the keepers on to another program for development.
For birders who routinely return with more than a few hundred frames, the time saved on the first pass is the main reason to add it.
Lightroom Classic
Lightroom Classic can cull competently if you set it up for speed
. In the Import dialog, choose to build minimal or embedded and sidecar previews instead of standard or 1:1 previews, so the first pass is not waiting on rendering.
Then use the flags (P to pick, X to reject), auto-advance, Survey view and Compare view. Auto-stacking by capture time groups a burst into a single stack, which lets you pick the best frame in each sequence and collapse the rest.
Adobe has also been adding automated culling assistance, so check what your version includes.
The weakness is checking focus. Lightroom’s Library module does not show a focus overlay, so confirming that the eye is sharp means zooming to 100% on each candidate.
Capture One
Capture One’s Focus Mask overlays the areas that are in focus on the image, which helps when you are comparing two near-identical frames and one has the eye a fraction off.
Its sessions and catalogs both work for large shoots. Browsing raw files is slower than in Photo Mechanic, since it renders previews from the raw data, but the Focus Mask can make up the time when the decision between two frames is hard.
Darktable
Darktable’s lighttable has a culling mode that shows several images side by side with synchronized zoom, which suits comparing consecutive burst frames at 100%.
Ratings, color labels and filters are all present.
Opening raw files can be slower than the commercial options on modest hardware, so test it on your own computer with a real card of images before relying on it.
A culling method that works with any of them
Whatever the program, three passes keep the work manageable:
- Reject pass. Go through every frame quickly and reject anything where the eye is clearly soft, the bird is cut by the frame edge, or a branch crosses the face. This usually removes most of a sequence.
- Compare pass. Within each burst, compare the survivors at 100% on the eye and pick the best one or two.
- Rank pass. Among the winners from different sequences, rate the best 20 or so for development.
If your camera writes buffer-limited bursts slowly, the card matters as well as the software.
Our comparison of SD UHS-II and CFexpress cards for bird burst shooting covers that side, and a fast card also speeds up import.
Raw conversion: how the main raw engines handle feather detail, color and highlights on white plumage
A raw converter does two things that matter for feathers: it demosaics the sensor data into pixels, and it applies a tone and color rendering.
Different engines make different choices at both steps, and the differences show up in fine feather barbs, in the color of rufous or iridescent plumage, and in how much texture survives in white feathers.
The main engines in this group are:
- Adobe’s raw engine (Lightroom Classic). It has broad camera support, and its Adobe Color profile gives a neutral starting rendering. Highlight and White sliders can recover a reasonable amount from slightly overexposed whites.
- Capture One. It uses camera-specific profiles for supported bodies, which many shooters find gives a clean starting point for color. Its High Dynamic Range controls (Highlight and Shadow) are separate from exposure and handle white plumage well in many cases.
- Darktable. It offers a choice of demosaicing algorithms and a scene-referred workflow with filmic or sigmoid tone mapping, which compresses highlights smoothly and is useful for white birds against bright skies. It takes the most learning of the group.
- DxO PureRAW. It performs its own demosaicing with a neural network (DeepPRIME and DeepPRIME XD) and applies optical corrections for supported camera and lens combinations. Its output is a demosaiced DNG, so you then edit that file in another program. Keep the original raw as well.
Protecting white plumage starts at capture
No raw engine rebuilds detail that was never recorded.
The histogram on the back of the camera is drawn from the JPEG preview, which is more conservative than the raw data, so a histogram touching the right edge does not always mean clipped raw highlights.
Still, exposing a white bird so the brightest feather is close to but not over the limit gives every converter the most information.
A frame underexposed to protect highlights has to be lifted later, and that lift raises noise in the shadows of the bird and background.
How to compare engines fairly
Do not rely on reviews, including this one, for color and feather rendering.
Pick three raw files that represent your work, such as a white bird in bright light, a dark bird in shade and a high ISO frame.
Process each in the engines you are considering with matching exposure, white balance and no sharpening, then view them at 100% on the eye and the feather edges.
Most of these programs have a free trial or, in Darktable’s case, are free, so the comparison costs nothing.
Noise reduction for high ISO bird shots: stand-alone AI denoisers versus built-in tools
For high ISO bird work, the choice is between the denoising built into your editor and a standalone AI product.
Both categories have improved considerably, and the differences now come down to detail retention, speed and where in the workflow the tool sits.
Built-in tools
Lightroom Classic’s Denoise works on raw files and writes a new DNG next to the original.
The new file is noticeably larger than the source, and processing time depends heavily on your graphics hardware, so use it on selected keepers rather than a whole shoot.
Capture One and Darktable have conventional noise reduction controls (luminance and color sliders, and in Darktable’s case profiled denoising based on camera noise measurements).
Conventional tools work well at moderate ISO and become a trade between smooth backgrounds and lost feather texture as ISO rises.
Stand-alone AI tools
DxO PureRAW processes raw files before you edit them, combining demosaicing and denoising in one pass.
DeepPRIME XD is the more detail-oriented of its two modes. It runs as a stand-alone application or from within Lightroom Classic, and the result returns as a DNG.
Topaz Photo AI includes Denoise, Sharpen and Upscale tools, and can run as an application or plugin.
It also has an automatic mode that picks settings for you. It is aggressive and can produce a smooth, slightly artificial texture on fine feathers if pushed, so check the output at 100% on the plumage and not only the background.
It can help most on frames with small motion blur or a soft focus miss that you want to keep. Licensing terms for Topaz have changed in the past, so check the current model.
Practical rules for denoising birds
- Denoise first. Run denoising on the raw data, before sharpening, masking and heavy tone changes, because later edits amplify noise.
- Denoise only keepers. After culling to 20 frames, running a slow AI process on all of them is reasonable. Running it on 800 is not.
- Judge by the plumage. A clean background is easy. Whether barb structure and fine edges remain is what separates the tools.
- Use less on the bird than on the background. Out-of-focus areas hold no detail to lose, so they tolerate stronger noise reduction. Lightroom’s masks include a noise adjustment that makes this possible without a second program.
Subject masking and selective edits: isolating the bird, the eye and the background
Masking separates a bird edit from a generic one.
Brightening the eye, lowering background exposure, adding texture to the plumage and cooling a green background are all selective edits, and they need a precise selection.
Lightroom Classic
Lightroom Classic has the most automated set of tools of the group.
Select Subject picks the bird in one click, and Select Background inverts the idea.
The mask can be refined by adding or subtracting with a brush, with Auto Mask to follow edges. Range masks (luminance and color) are useful for isolating bright sky behind a dark bird.
The eye usually needs a small brush or radial mask, since automatic subject detection treats the bird as one object.
Capture One
Capture One uses layers for local adjustments, and its AI subject selection and brush refinement are capable.
Layers feel familiar to anyone who has used Photoshop and let you keep separate adjustments for the bird, eye and background in an organized stack.
The control over edge feathering on masks is detailed, which matters around fine wispy feathers.
Darktable
Darktable’s masks are drawn shapes, parametric masks based on color and luminance, and combinations of the two.
The tools are powerful and exact, but selecting an irregular bird takes longer than a one-click subject selection. For a handful of images that is acceptable.
For a large backlog, it adds up.
DxO PureRAW, Topaz Photo AI and Photo Mechanic
PureRAW and Photo Mechanic have no selective editing, because they are not designed for it.
Photo AI offers a limited set of selection options, and its main role is processing rather than layered edits.
In practice you do your masking in Lightroom Classic, Capture One or Darktable.
Edge quality matters more than speed
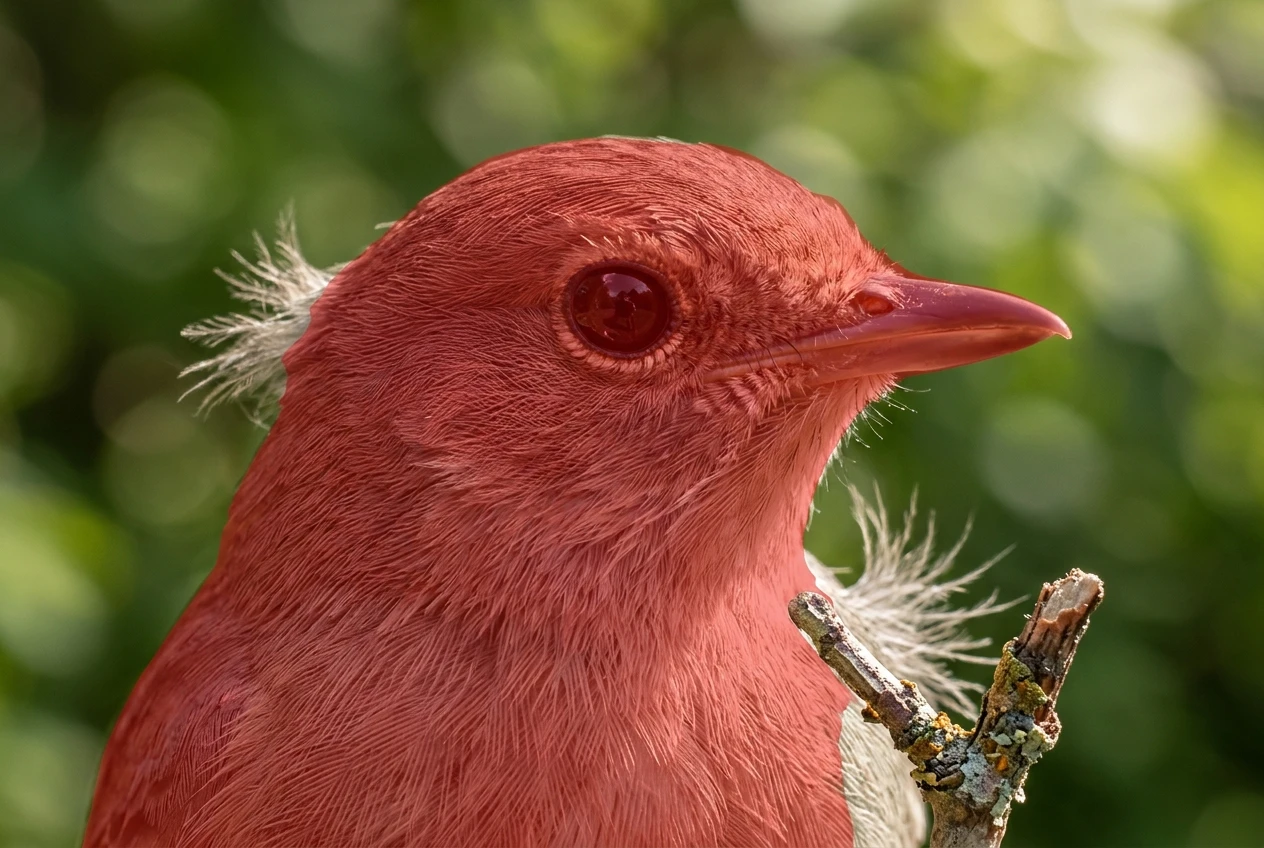
An automatic selection often misses fine feather edges, leaves halos on bright sky, or includes part of a twig.
Zoom to 100% and check the border before accepting any mask.
The edit applied through that mask, such as darkening a background, will make errors obvious if the edge is wrong.
Catalog, speed and cost of ownership: subscription versus perpetual licence versus free software
Costs here are about licence model more than price, because prices change and promotions come and go. Check current pricing on each company’s site.
Tool | Main role | Licence model (verify current terms) |
|---|---|---|
Lightroom Classic | Catalog, culling, raw development, masking | Subscription |
Capture One | Raw development, layers, tethering | Subscription or perpetual options have been offered |
DxO PureRAW | Raw denoise and demosaic | Perpetual licence with paid upgrades has been the model |
Topaz Photo AI | Denoise, sharpen, upscale | Terms have changed over time |
Darktable | Raw development, masking | Free, open source |
Photo Mechanic | Fast culling and metadata | Check Camera Bits for current model |
Licence model affects the total cost over several years.
A subscription spreads the cost but continues indefinitely, and you lose access to the editing features if you stop paying (though your files stay in standard formats).
A perpetual licence costs more up front and may need paid upgrades to support newer cameras. Free software costs nothing but takes the most time to learn.
Catalog design matters too.
Lightroom Classic keeps a single catalog database, which is convenient for searching and keywording a large archive.
Capture One offers catalogs and sessions, and sessions suit a project-by-project approach. Darktable keeps its own library database.
Photo Mechanic works on folders with sidecar metadata, which makes it light and portable.
Speed depends on the hardware at least as much as the program.
A faster graphics card shortens AI denoising and masking in most of these tools, and a fast drive shortens import.
Spending on a graphics card can improve your editing speed more than switching programs.
If part of your income plan involves selling prints, remember that the final export, including sharpening for the print size and a correct color profile, comes from whichever program holds your finished edit, so that program should be one you are comfortable using for many years.
Three recommended stacks: the minimal setup, the balanced setup and the maximum quality setup
Each stack below assigns a program to each of the four jobs. Choose by the volume you shoot and how much you crop.
The minimal setup: one program
Lightroom Classic alone handles culling (with embedded previews and stacking), raw conversion, Denoise and masking. It gives a single catalog and one place to export.
It suits birders who shoot a few hundred frames at a time and want the shortest learning curve.
Darktable is the free alternative, with the trade-offs of a steeper learning curve and slower masking.
The balanced setup: add a fast culling front end
Photo Mechanic for ingest and culling, then Lightroom Classic (or Capture One) for development, built-in denoising and masking.
This stack addresses the biggest time cost, which is going through frames, without adding a second raw converter.
It suits birders who regularly return with 500 or more frames from burst shooting and find the first pass slow.
The maximum quality setup: specialist tools for each stage
- Photo Mechanic for the first pass and metadata.
- DxO PureRAW on the final keepers for demosaicing and denoising, especially frames shot at high ISO or cropped heavily.
- Lightroom Classic or Capture One for tone, color and masking on the processed DNG.
- Topaz Photo AI only on selected frames where you need extra sharpening or upscaling for a print.
Keep the original raw file for every processed image. It costs only storage, and it lets you reprocess when the tools improve.
This stack costs the most and takes the most steps per image, so it only pays off if you crop deeply or print large.
Whichever stack you choose, test it on the same three raw files described earlier, at 100%, before committing.
Your own cameras, lenses and shooting conditions matter more than any review.
Put your stack to work
Pick the stack that fits your workflow, then put it to work with our guide to editing bird photos for dramatic high contrast without crushing the feathers.