
The prime vs zoom lens for bird photography question comes down to three measurable things:
- how much light the lens gathers at the focal length you shoot,
- how reliably it holds focus on a moving bird, and
- how sharp it is across the frame at its widest aperture.
A long fixed lens usually wins on all three, and it loses on framing flexibility and often on weight and price. A telephoto zoom wins when the distance to the bird keeps changing and you cannot move to compensate.
This article takes each factor in turn, then applies them to four common subjects. For a ranked list of specific models, see the lens buyer’s guide linked at the end.
What a zoom costs you at the long end: aperture, weight and optical compromise
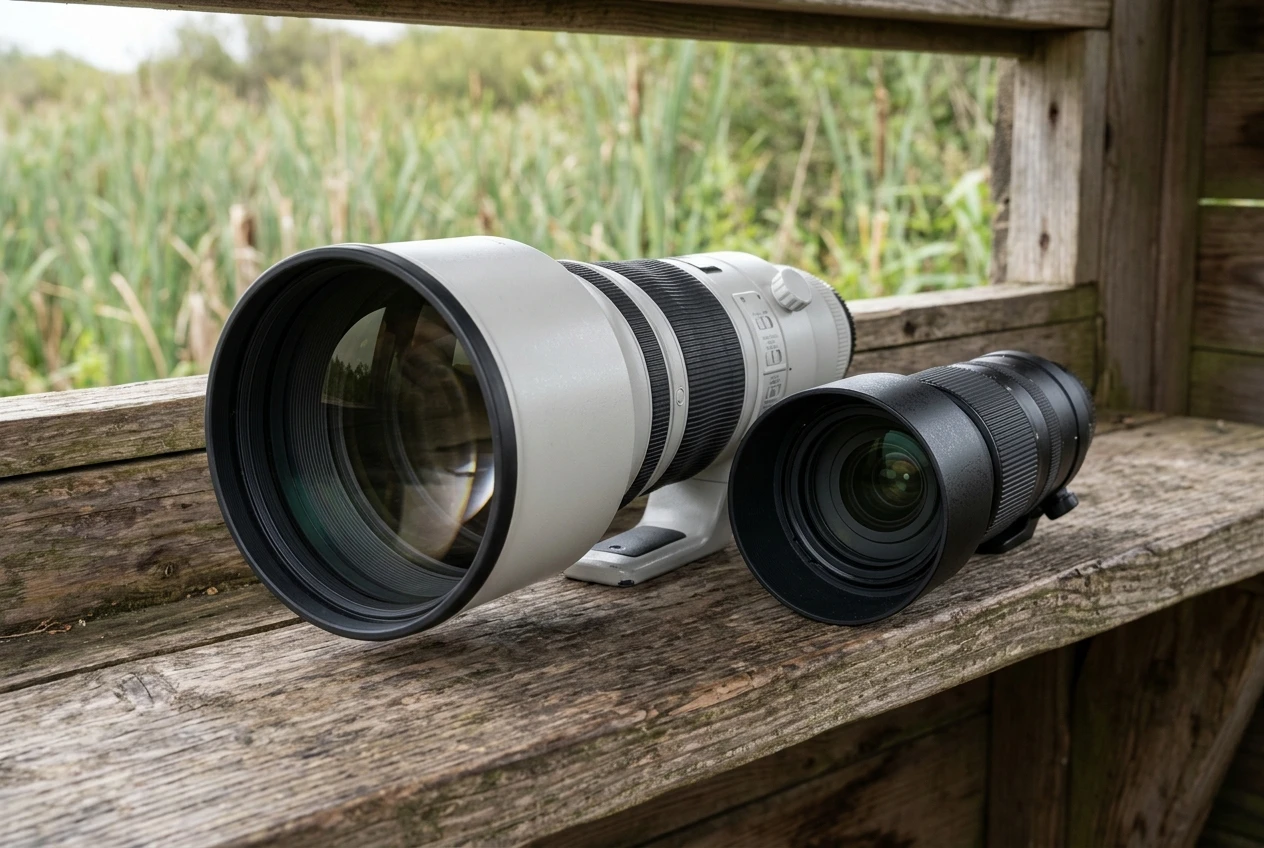
Most super-telephoto zooms in the 150-600mm or 100-500mm class have a variable maximum aperture.
They open to around f/5 or f/5.6 at the short end and narrow to f/6.3 or f/7.1 at the long end. A fixed 600mm prime can open to f/4 and holds that aperture at the only focal length it has.
The gap is measured in stops.
Going from f/4 to f/6.3 is about 1.3 stops, and from f/4 to f/7.1 it is about 1.7.
Every stop halves the light reaching the sensor, so a prime at f/4 collects roughly two and a half times the light of a zoom at f/6.3 over the same exposure time.
Optical design adds a second cost.
A zoom must correct aberrations across a whole range of focal lengths, and that is a harder problem than correcting them at one.
Designers of zooms balance sharpness, distortion, focus breathing and weight, so the long end is rarely the sharpest point in the range.
A prime is tuned for one focal length, and its glass can be arranged for that alone.
Weight and cost follow from aperture.
A 600mm f/4 needs a very large front element, which is why those lenses are heavy and expensive. The zoom’s slower aperture is what makes it light enough to carry and affordable enough to buy, so the compromise has a clear cause.
Modern slower primes, such as 500mm f/5.6 and 600mm f/6.3 designs, sit between the two groups on aperture, size and price.
Maximum aperture in the field: what a wider opening does to shutter speed, ISO and background separation
Aperture is useful to a bird photographer because of what it lets you do with the other two exposure settings.
Birds in flight, small birds hopping through branches, and head turns on a perched bird all need fast shutter speeds.
Common starting points are 1/2000s or faster for flight and 1/1000s for active songbirds. Slower speeds suit a still bird on a stable support if you are using good technique.
When light is fixed, the aperture decides how you pay for that shutter speed.
Say a prime at f/4 needs ISO 1600 for 1/2000s in overcast conditions. A zoom at f/6.3 needs about ISO 4000 for the same shutter speed and the same exposure.
Modern sensors handle that noise better than older ones, but noise still costs detail in fine feather texture, and heavy noise reduction smooths it away.
Dawn, dusk, forest shade and overcast winter days are where the stop and a third matters most.
Background separation is the other benefit.
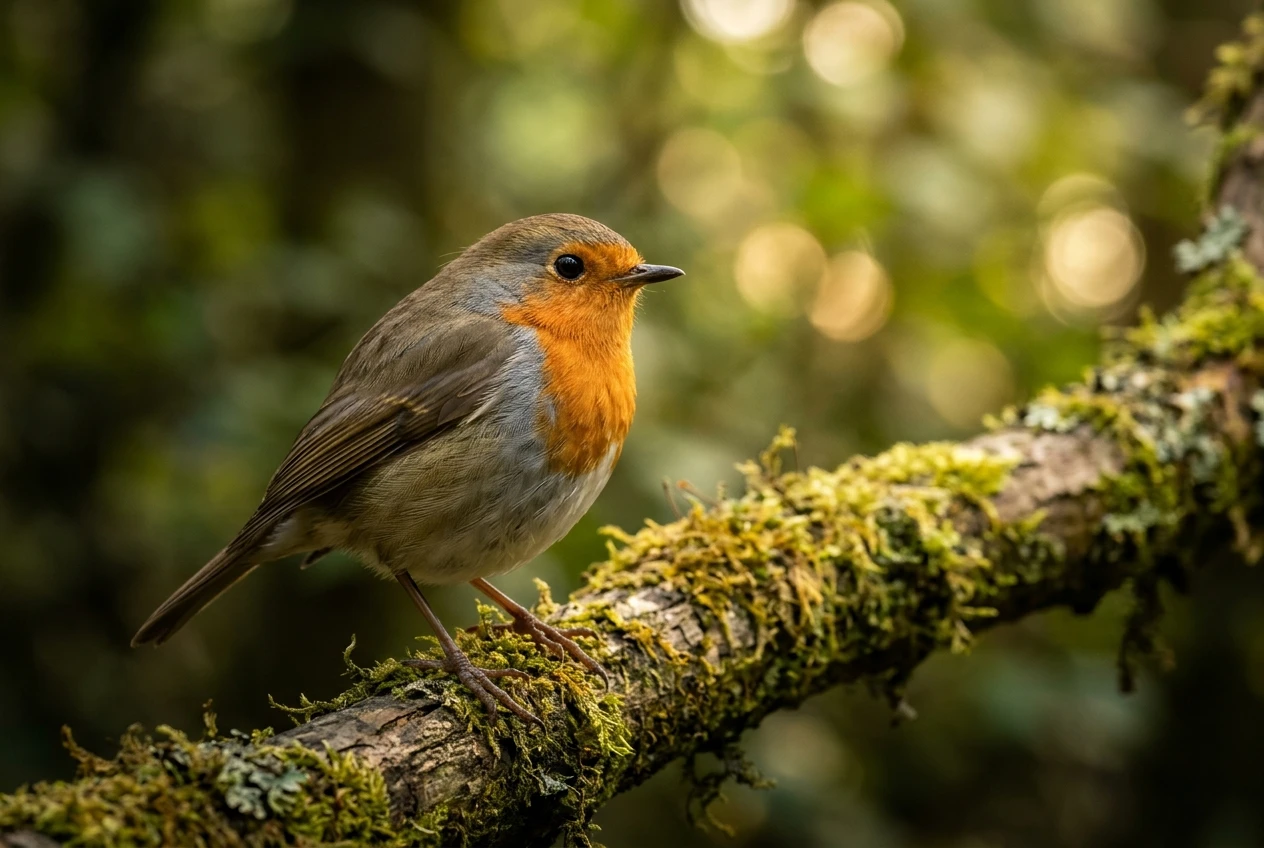
At the same focal length and the same distance, a wider aperture gives a shallower depth of field. The physical opening of a 600mm lens at f/4 is 150mm across, against about 95mm at f/6.3.
The result is a softer, more even background and a bird that stands out more cleanly, particularly when the background is close behind the perch.
The zoom has one real advantage here.
At f/5.6 or f/6.3 you still get a usable amount of background blur at 500-600mm, because the compression of a long lens does a lot of the work.
If the background is already far from the bird, the extra stop changes the look less than people expect.
Check the distance between bird and background before you spend on aperture.
Autofocus speed and tracking: what the lens contributes and what the camera body decides
Tracking performance comes from two places, and buyers often credit the wrong one.
The camera body decides the subject detection, the tracking algorithm, the number of autofocus points in use and the burst rate.
The lens decides how quickly and precisely the focus group moves, which depends on the motor type, the mass of the elements being moved, and the focus limiter.
A fixed telephoto often has an advantage on the lens side.
Its autofocus motor is designed for one optical arrangement, and flagship primes tend to have fast, high-torque drives.
Zooms usually have to move a different group at each focal length, and many compromise speed for cost.
A body with strong subject detection narrows the difference, but a faster lens still gives it a better tool to work with.
Aperture matters for autofocus in a second way.
Many bodies need a minimum amount of light at the autofocus sensor, and some limit the points available when the lens narrows past a certain f-number.
A zoom at f/7.1 with a teleconverter attached can hit that limit. Read your camera’s documentation for the narrowest aperture it supports for autofocus before you buy a slower lens or plan to extend it.
The comparison of a teleconverter and a longer prime covers what extension does to autofocus in more detail.
Two lens features help every bird shooter.
A focus limiter switch stops the lens hunting through close distances when a bird is far away. Custom function buttons let you switch between tracking modes quickly.
Both are present on most good prime and zoom lenses in this class, so check for them on any specific model.
Sharpness wide open: how to test edge-to-edge and center resolution on your own copy
Published charts show how a design performs. They do not show how your particular copy performs, and copy variation is real, especially with zooms that have more moving parts to misalign.
A test costs an afternoon and tells you whether a lens is worth keeping within a return window.
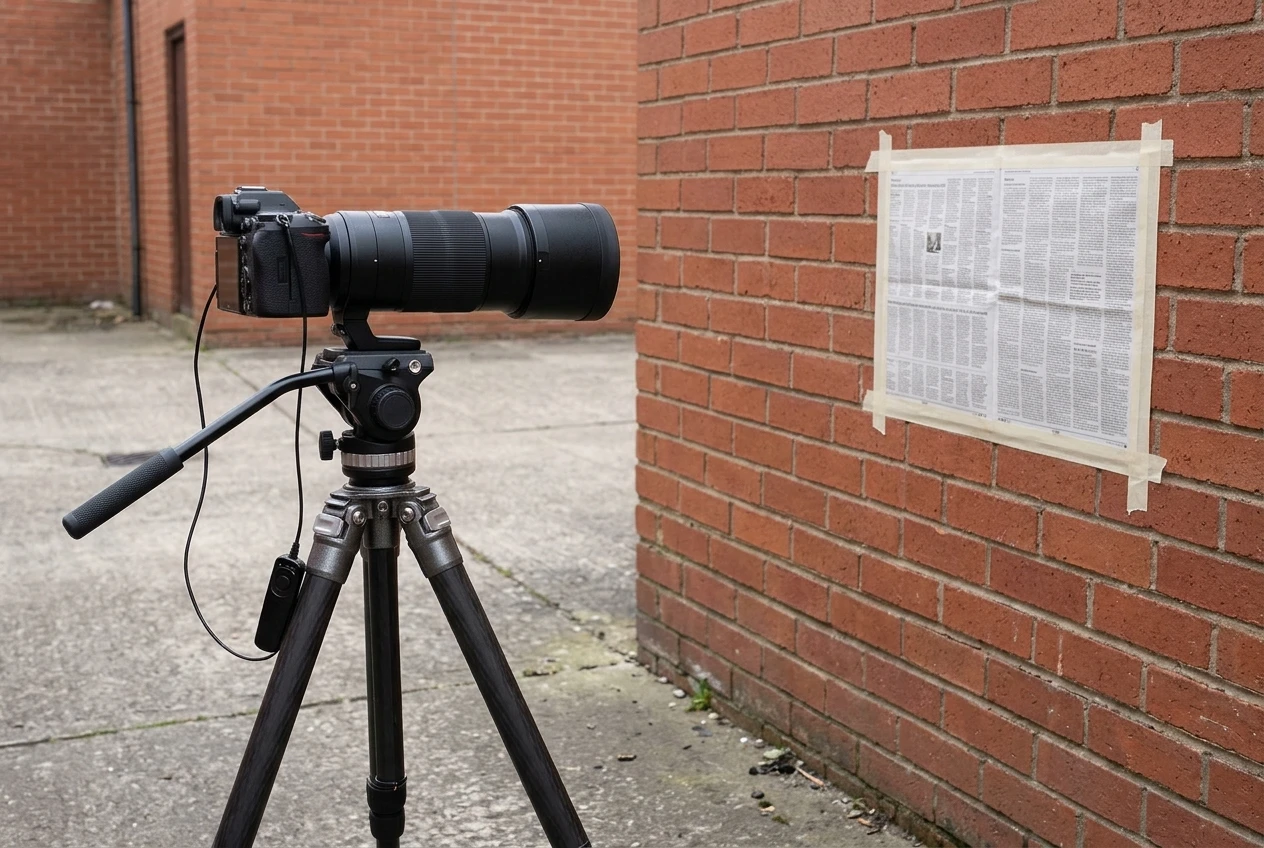
Use a flat, detailed target such as a page of newsprint taped to a wall, a brick wall or a tiled surface.
Place the camera on a tripod, with the sensor plane parallel to the target.
Work at a distance that suits the lens, and use the same distance for every test so results compare fairly.
- Focus using live view with magnification on the center of the frame, not with the phase-detect system.
- Use a two-second timer or a remote release, and turn off image stabilization on the tripod unless the lens manual says to leave it on.
- Shoot at the widest aperture, then one stop down, then two stops down.
- Open the files at 100 percent and compare the center, the mid-frame and each corner.
- Refocus on a corner and repeat, because field curvature can make a corner look soft only because the focal plane is not flat.
If one side of the frame is clearly softer than the opposite side, the lens may be decentered. That is a defect rather than a design limit, and it is grounds for an exchange.
For a zoom, repeat the test at the focal lengths you actually use.
A simple way to find them is to filter your existing photo library by focal length and see where your shots cluster.
Many hobbyists find they spend most of their time near one end of a zoom. If that is the case, test there.
A zoom that is soft at 600mm and sharp at 450mm is a different purchase from one that is sharp at both.
A prime needs only one set of tests.
A common finding is that a prime is sharp across the frame at its widest aperture, while a zoom needs to be stopped down a third to a full stop at the long end to match it.
Stopping down costs light, which brings back the exposure trade covered above.
Reach and framing: when a fixed focal length forces you to move and when a zoom saves the frame
A prime fixes the field of view, so framing is controlled by your position. That works well for patient stalking, for birds at a known perch and for any situation where you can walk a few steps.
It works badly for a bird that arrives closer than expected, because a 600mm lens at close range gives a tight crop that may cut off the wings or tail.
Minimum focus distance then limits how close you can go, which matters for tame birds at feeders and visitors to a hide.
A zoom handles those moments by letting you pull back. It also helps when the subject changes size within a few seconds, such as a raptor approaching from the far end of a field, a flock lifting off, or a bird that perches near and then flies to a distant branch.
You can change the frame without moving your feet or losing the bird.
Pixel count changes the calculation.
A high-resolution body lets you crop a frame from a shorter lens and still print a good image, which gives a prime user some of the zoom’s flexibility after the fact.
If you are weighing crop factor and sensor size as part of the decision, the article on full frame vs APS-C for birding covers what that does to reach and noise.
Atmospheric conditions also limit reach.
Heat shimmer over water or open ground softens the image at long distances no matter which lens is used, and more focal length does not fix it.
In those conditions a closer approach with a shorter lens often produces a sharper result than a longer lens from farther away.
Handholding, support and fatigue: what the weight difference means over a full day in the field
Weight affects image quality as well as comfort. A heavy lens held for an hour makes your arms shake, and shaking costs sharpness at slow shutter speeds.
It also leads to missed shots, because tired shooters raise the camera later and less steadily.
A 600mm f/4 prime is generally too heavy to handhold for long and is designed for use on a tripod or monopod.
Lighter primes in the 500mm f/5.6 and 600mm f/6.3 class are practical to handhold for short periods.
Many telephoto zooms are light enough to carry and use handheld all day, which is a large part of their appeal.
Check the manufacturer’s stated weight for any specific lens, and add your body and any accessories to get the working weight.
Balance matters as much as total mass. Some zooms extend the barrel as you zoom, which moves the center of gravity forward and changes how the setup feels on a gimbal head. Internal-zoom designs keep the length constant.
If you plan to use a support, the articles on monopod vs tripod for bird photography and fluid vs gimbal heads cover how each support handles a heavy lens.
Fatigue also changes how you shoot over a long day. If you leave a heavy prime in the bag because carrying it is a chore, its aperture advantage counts for nothing.
The better lens is the one you will have in your hands when the bird appears, and for some hobbyists that is the lighter zoom.
Matching lens type to the bird: perched songbirds, shorebirds, raptors in flight and backyard feeders
Perched songbirds
Songbirds are small, active and often in shade, which favors the prime.
The wider aperture keeps ISO lower in leafy light, and the cleaner background separation helps when branches sit behind the bird.
A fixed focal length is workable because you can approach slowly and wait for the bird to settle.
A zoom still works well in good light, particularly when the birds are active at varying distances in spring migration.
Shorebirds
Shorebirds sit on open, flat ground, and shooting from a low angle is how you get a clean, soft background.
A prime provides good separation from a low position and good performance in the soft light of early morning.
A zoom helps because birds move toward and away from you along the tideline, which changes the framing continuously.
The guides on how to photograph sandpipers and on shorebird fieldcraft cover the settings and approach for each.
Raptors in flight
Flight work puts the most demand on autofocus and shutter speed, and both favor the prime.
A fast aperture gives more light for the 1/2000s or faster shutter speed, and a fast focus motor holds a tracked subject better.
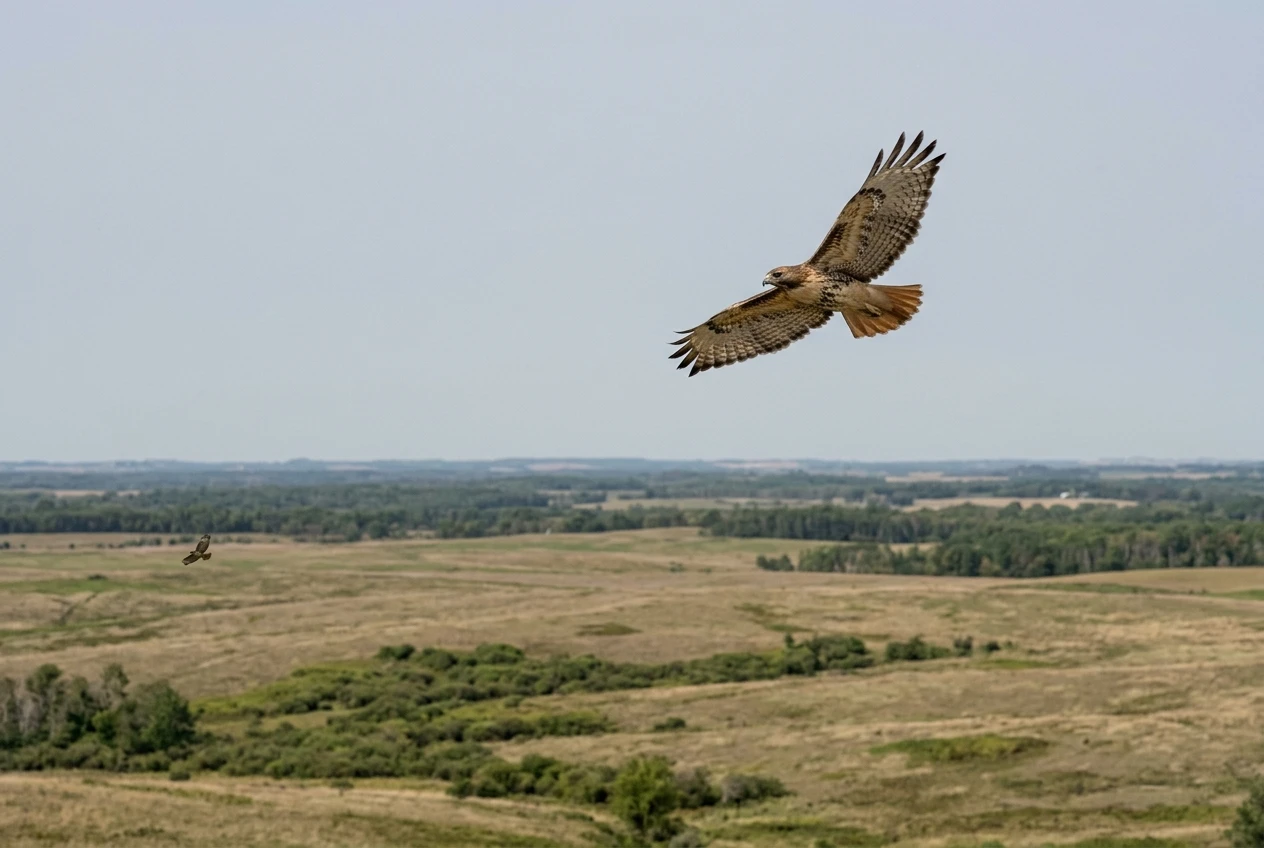
A large bird against open sky is also the situation where framing varies most, because a raptor can go from a distant dot to filling the frame in seconds.
A zoom is therefore a sound choice if you are learning to track, since it forgives positioning errors. The guide to photographing birds of prey in action covers technique in detail.
Backyard feeders
At a feeder you control the distance to the perch, and the light is usually predictable.
That reduces the need for zoom flexibility and makes a fixed focal length easy to use, provided you place the perch at the lens’s comfortable working distance.
The shortest focus distance matters here, because a 600mm lens may need a lot of space between you and the feeder.
A shorter lens, a zoom, or a longer working distance may be the more practical answer for a small garden.
The article on building a bird photography blind shows how to arrange the distance and light around your lens.
The decision comes down to the situation you shoot most. Choose the prime if you work in dim light, track fast birds, or can control your position.
Choose the zoom if the distance to your subjects varies, you carry the lens for long periods, or your budget rules out a fast prime.
To compare specific prime and zoom models, and to check current prices through the affiliate links, see the Best Lenses for Bird Photography guide.