
Most comparisons of full frame vs APS-C for bird photography stop at “1.5x reach” and leave out what that number does to your files.
The sensor’s physical size does not decide the result.
Three things do: how many pixels land on the bird, how many pixels remain after you crop to your final framing, and how much light the bird’s image collected when you took the shot.
This article works through one hypothetical bird at one distance on both formats, so you can judge each body against your own subject distance and lens.
Crop factor and reach: what it changes and what it leaves alone
Crop factor is the ratio between the diagonal of a full frame sensor (36 x 24 mm) and the diagonal of a smaller one.
For most APS-C bodies it is about 1.5, and for Canon’s APS-C bodies about 1.6. Those sensors measure roughly 23.5 x 15.6 mm and 22.3 x 14.9 mm respectively.
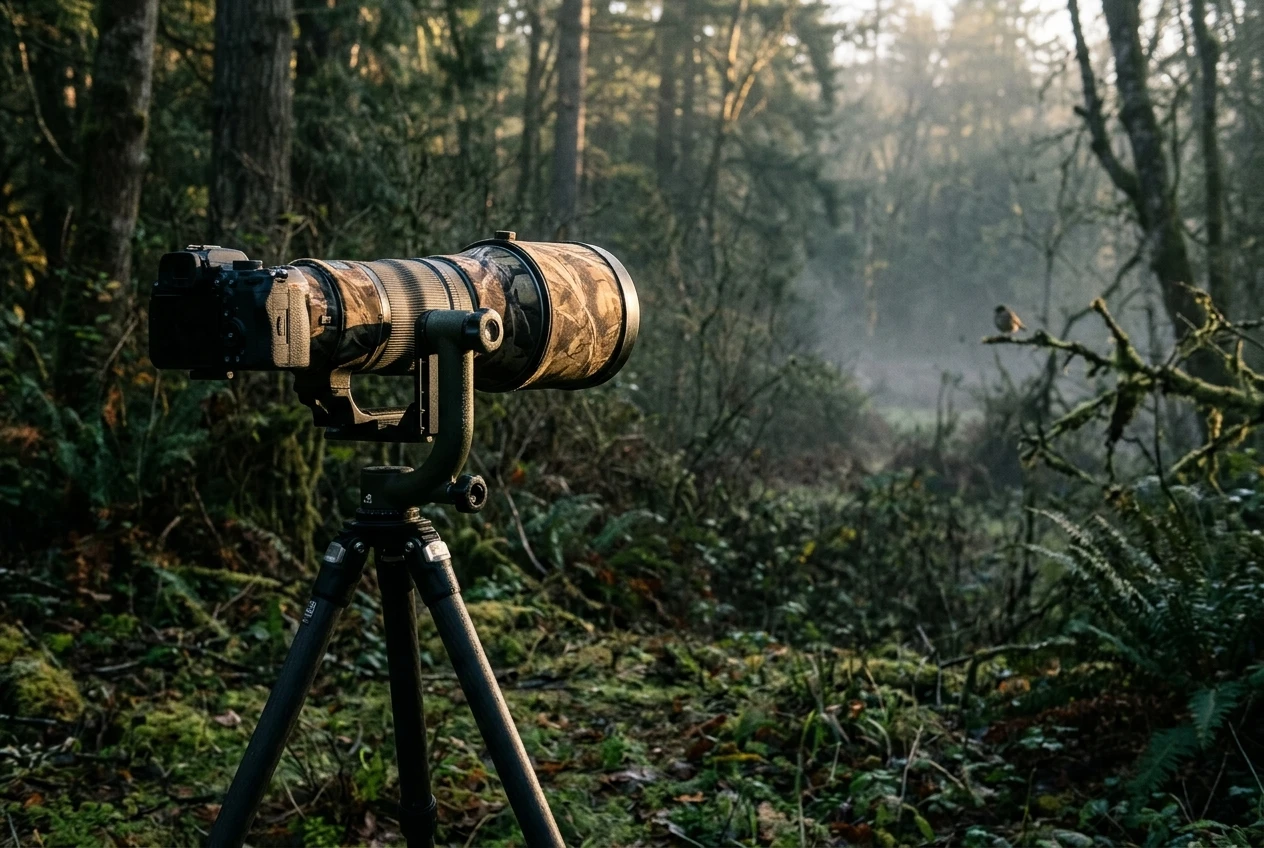
A 600mm lens projects the same image of a bird on either sensor.
The bird is the same size in millimetres, the magnification is the same, and the exposure at f/6.3 is the same.
The APS-C sensor records a smaller central area of that image, so the field of view is narrower. That is what “900mm equivalent” means: a framing statement, not extra magnification.
Two practical points follow:
- The lens does not resolve more detail on APS-C. It projects the same image, and the smaller sensor samples a smaller piece of it.
- Focal length labels still matter for lens handling, because a 600mm lens weighs the same, balances the same and has the same minimum focus distance on either body.
If the bird is the same size on the sensor, any difference in the final photo comes from how that sensor samples the image and how much light it collected.
That puts pixel pitch first.
Pixels on target: why pixel pitch matters more than sensor size
Pixel pitch is the distance between the centres of adjacent pixels. You can estimate how many pixels cover a bird with one formula:
Pixels on bird = (focal length x bird size ÷ distance) ÷ pixel pitch
The part in brackets gives the bird’s image size on the sensor.
This is a thin-lens approximation that ignores the small change in effective focal length at close focus, which is fine at typical birding distances.
Here are four illustrative sensors. The pixel counts are representative figures, not specific models:
Sensor | Resolution | Approx. pixel pitch |
|---|---|---|
APS-C, 24 MP | 6000 x 4000 | 3.9 µm |
APS-C, 40 MP | 7728 x 5152 | 3.0 µm |
Full frame, 24 MP | 6000 x 4000 | 6.0 µm |
Full frame, 45 MP | 8192 x 5464 | 4.4 µm |
Pitch, not format, decides how finely a sensor samples the image. A 45 MP full frame sensor has smaller pixels than a 24 MP full frame sensor.
A 24 MP APS-C sensor has smaller pixels than either full frame sensor in the table. Pixel density drives how much a distant bird gets magnified in pixel terms.
Smaller pixels only pay off if the rest of the system keeps up.
The lens has to resolve at that pitch, your shutter speed has to freeze subject and camera movement, and the air between you and the bird has to be clear.
Heat shimmer over water or warm ground limits detail long before pixel pitch does. At f/8 the diffraction blur (Airy disk) is about 10 µm wide, which is already larger than any pixel in the table, so stopping down hurts fine detail on dense sensors earlier than on coarse ones.
Most bird work happens wide open or close to it, so this rarely bites, but it is a reason not to expect every extra megapixel to show.
Same bird, same distance: APS-C framing versus a cropped full frame file
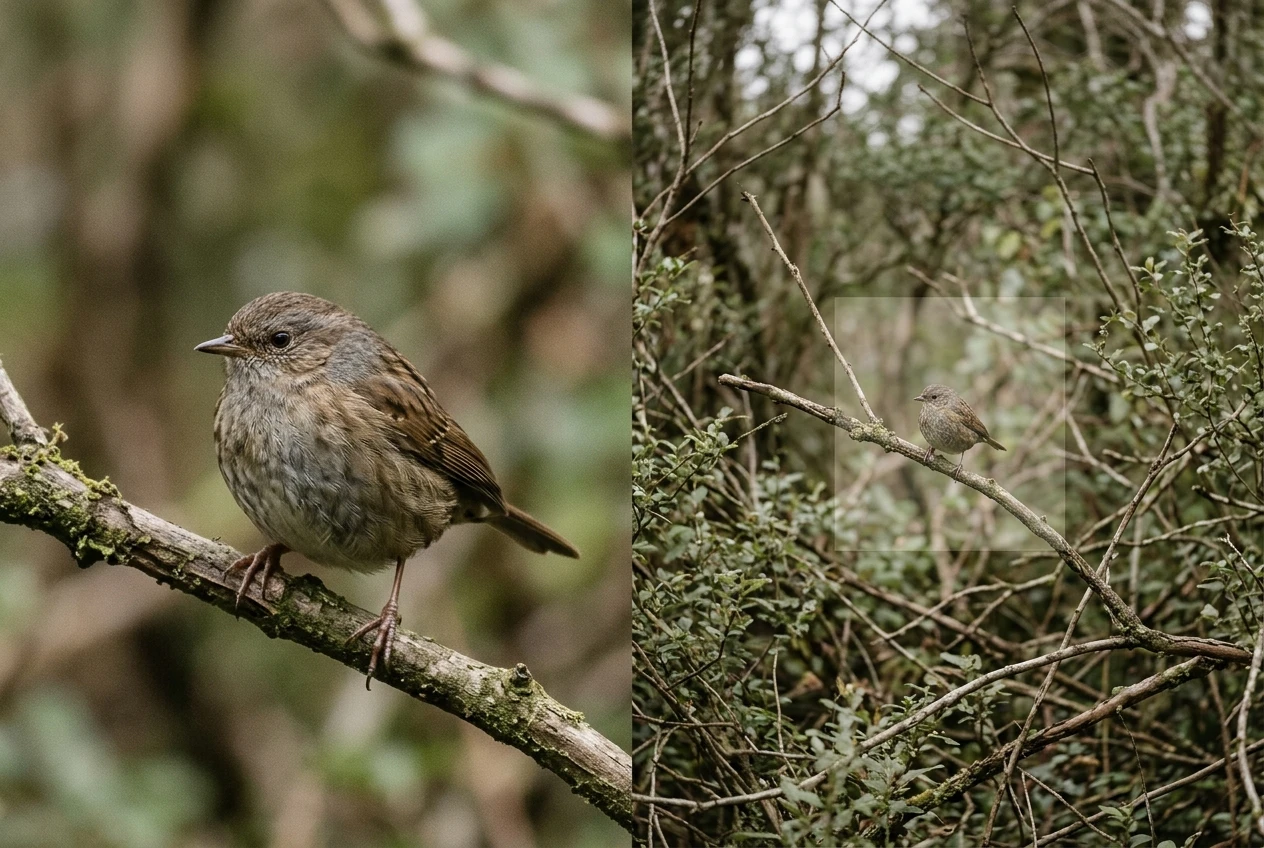
Take a 15 cm songbird at 20 m with a 600mm lens. The bird’s image on the sensor is 600 mm x 0.15 m ÷ 20 m, which is 4.5 mm long. That is the same on every body in the table.
Sensor | Bird length in pixels | Bird as share of frame width | Pixels left after cropping to APS-C framing |
|---|---|---|---|
APS-C, 24 MP | about 1150 | 19% | 24 MP (no crop needed) |
APS-C, 40 MP | about 1480 | 19% | 40 MP |
Full frame, 24 MP | about 750 | 12.5% | about 10.7 MP |
Full frame, 45 MP | about 1025 | 12.5% | about 20 MP |
Cropping a full frame file to match APS-C framing divides the pixel count by about 2.25, since you keep roughly 1/1.5 of each dimension.
A 24 MP full frame file cropped that way is about 10.7 MP, against a full 24 MP from the APS-C body.
The 45 MP full frame body closes most of the gap, at about 20 MP after the crop, which is still below the 24 MP APS-C file.
For a bird that is small in the frame, the high-density APS-C sensor gives the most pixels on target at that distance.
A high-resolution full frame sensor gets close and keeps its flexibility. A low-resolution full frame sensor loses the most.
The comparison also has an upside for full frame.
A wider framing leaves room to track a bird, and you can crop in afterwards or leave the extra space for composition.
APS-C also uses only the centre of the lens’s image circle, where most lenses are sharpest and show the least vignetting.
A cropped full frame file discards the edges in the same way, so that advantage disappears once you crop.
What you pay for the tighter frame: noise, dynamic range and high ISO at dawn and dusk
This is where the usual advice goes wrong.
Noise follows the total light collected by the part of the image you care about. Compare the two cases separately.
Same lens, same distance, same aperture, shutter speed and ISO. The bird’s image is the same size and receives the same light per unit area on both sensors.
Crop the full frame file to the APS-C framing and the bird has the same total light on both. Within a given sensor generation, noise at the same output size is very similar.
The extra light the full frame sensor collected was from the background you cropped away.
Same framing achieved differently. Suppose full frame fills the frame the way APS-C does, by getting closer or by using a longer lens.
The full frame sensor now collects light from the bird over 2.25 times the area, which is about 1.17 stops.
That is the real advantage: roughly a stop of headroom at high ISO and in shadow recovery, provided you can fill the frame without the lens costing more light.
That condition matters.
A longer lens at the same f-number is a bigger, heavier and usually more expensive lens. When you cannot get closer, the stop of extra light is often unreachable, and the two formats perform much alike on the bird.
Other differences exist but come from the sensor design rather than the format:
- Base-ISO dynamic range. Bright sky and dark plumage in one frame favour sensors with lower read noise, and generation matters more than size.
- Raw shadow lifting. Lifting a backlit bird’s shadows exposes read noise, so expect cleaner results from newer sensors regardless of format.
- Noise reduction in post. Modern raw converters clean up high-ISO files well, which narrows the gap further. The editing software stack covers which tools handle noise and masking.
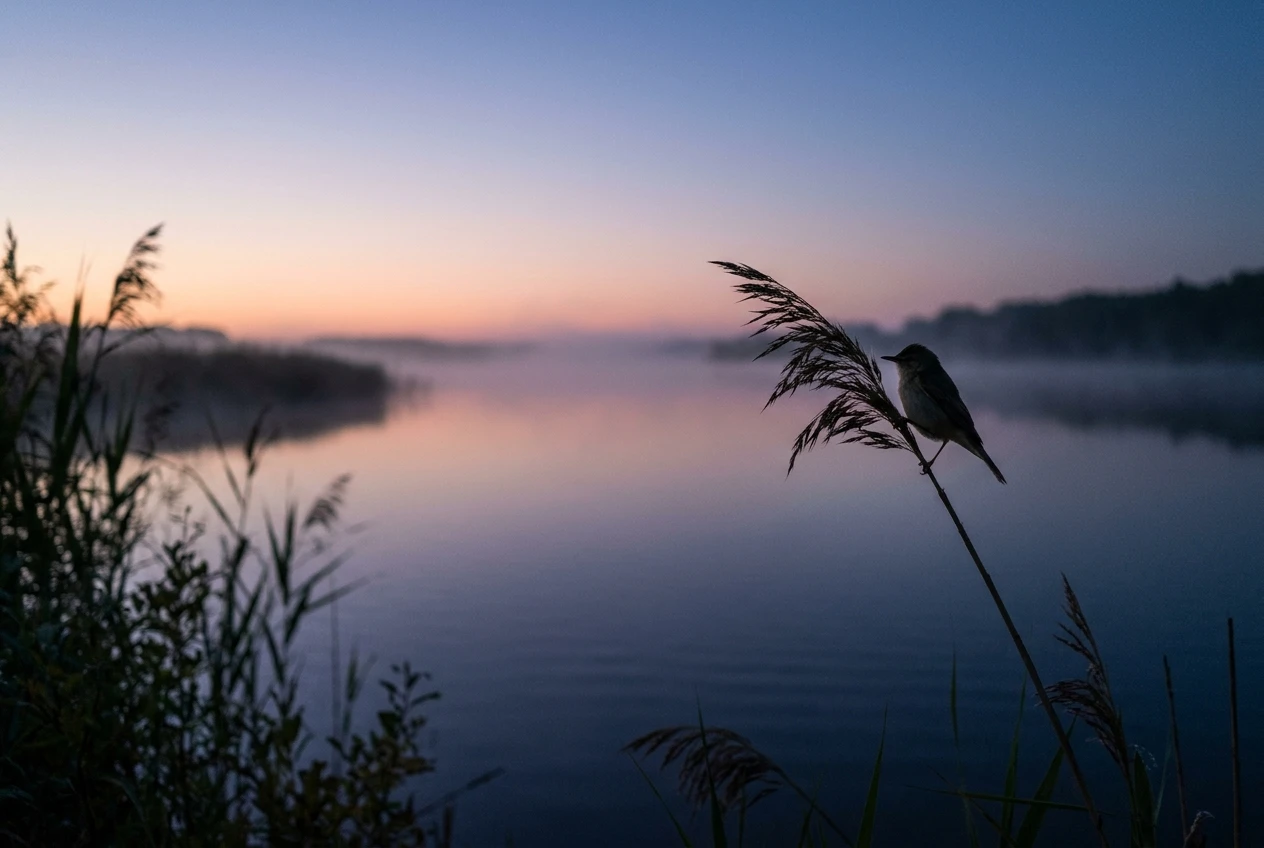
At dawn and dusk, where you are pushing ISO to hold a fast shutter speed, a current-generation APS-C body stays usable.
A full frame body of the same era gives you perhaps a stop more latitude, and that margin is worth most when you cannot cheaply add light or reach.
Lens cost, weight and size: where APS-C saves money and where it does not
APS-C saves money and weight when a shorter focal length gives you the framing you need.
A 400mm lens on APS-C frames like a 600mm lens on full frame. A 400mm lens is smaller, lighter and cheaper than a 600mm lens of comparable speed.
That saving is largest if you carry the kit on long walks or hold it for hours.
The saving shrinks when:
- You buy a full-size lens for the longer reach. A 600mm lens weighs the same on both bodies, so APS-C only adds framing.
- The system has few native APS-C telephotos. Many mounts offer more long glass for full frame, so check whether the lens you want exists for your mount before choosing the body.
- You use a teleconverter to gain reach. It costs light and autofocus performance, and the teleconverter vs longer prime comparison shows when it helps and when it does not.
Weight and size also affect support.
A lighter outfit may be workable on a monopod, while a heavy supertelephoto often needs a tripod and gimbal head.
Choose the lens for the distances you shoot, then decide which body suits it.
Autofocus, burst rate and buffer: how body class changes the comparison
Comparing a flagship APS-C body with an entry full frame body, or the reverse, tells you about body class rather than format.
Autofocus tracking, subject detection for birds, burst rate, blackout behaviour and buffer depth are decided by the camera’s tier and age.
For flight and fast-moving birds, check these on the specific body:
- Subject detection. Eye or bird detection that holds the eye through branches matters more than sensor size.
- Burst rate and shutter type. Electronic shutters give the fastest rates, but some sensors read out slowly and distort fast wing movement. Check the reviews for the body you are considering.
- Buffer depth. Higher resolution produces bigger files, so a 45 MP body fills its buffer faster than a 24 MP body at the same burst rate.
- Card write speed. A fast card keeps the buffer clearing, and the memory card comparison shows which cards matter for bursts.
High pixel density helps with distant birds.
Burst speed and buffer help with birds in flight, and a 24 MP sensor can serve a flight shooter better than a 45 MP one.
Rank these by the subject you shoot most, and do not let sensor size make the choice.
Which sensor fits which birder: songbirds, waders, raptors and feeders
Small songbirds in the field. Birds this small are often at 15 to 25 m, so pixels on target decide the result. A high-density APS-C body gives the most pixels at a given lens length.
A high-resolution full frame body cropped in comes close and has better high-ISO headroom in the shaded woodland where songbirds are often found.
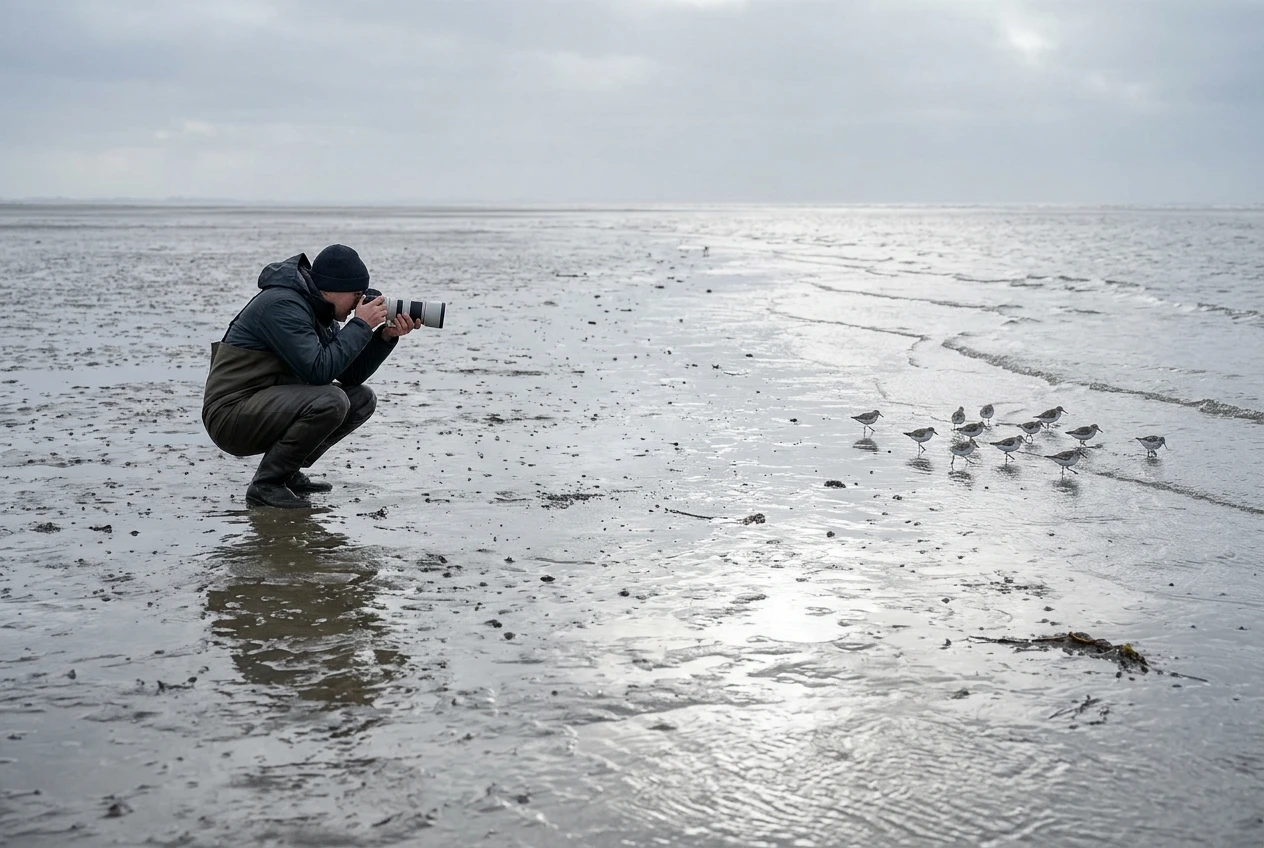
Waders and shorebirds. Shorebirds can often be approached slowly, but the distance is rarely controllable and they move constantly.
Reach matters, and so does the speed of the autofocus when the birds move through the frame.
See the sandpiper guide for shutter speed and fieldcraft. APS-C with a 400 to 500mm lens makes a light kit for walking the tideline, and full frame is the better choice if you work at low light on mudflats.
Raptors. Large birds fill the frame at moderate distance, so pixel density matters less. Autofocus tracking, a deep buffer and framing room around a fast bird matter more.
A full frame body with a wider framing is easy to track with, and plenty of megapixels let you crop afterwards.
A flagship APS-C body also works well here, because the lens needed is shorter.
Backyard feeders. You control distance, perches and light, so reach is rarely the limit. A full frame body at close range gives you the cleanest files and the most dynamic range.
APS-C at a short distance with a shorter lens is perfectly sufficient.
If you want to control the setup, building a bird photography blind around the lens you own lets you get close without disturbing birds.
Choosing a body without regretting it: a decision checklist
Work through these points in order, using your own typical conditions:
- Measure your usual distance. Estimate how far away your subjects are most of the time, and use the pixels-on-bird formula with your lens and the pixel pitch of each body you are considering.
- Decide your final framing. If you routinely crop to fill the frame, count the pixels left after the crop. If it falls below about 10 MP and you print or display large, a denser sensor deserves a look.
- Check the light you shoot in. If much of your shooting is at dawn, dusk or in shade, give weight to the sensor generation and the full frame headroom.
- Price the lens, not just the body. Check which lens gives you the framing you need and what it costs, weighs and balances like. Include the support you would use with it.
- Rank autofocus, burst and buffer for your subject. Flight shooters should check subject tracking and buffer depth first, while perched-bird shooters can accept slower bursts for more resolution.
- Check upgrade reasons. If you own a body from several generations ago, a newer body of the same format may improve autofocus and noise more than moving to a larger sensor would.
- Confirm the mount. Check that the lenses you want exist natively for the system, and what adapting costs in autofocus performance.
If two bodies come out close on these points, pick the one with the lens you will carry on most outings, because that is the one you will use.
To compare current models against your subject distance and lens, see the Best Cameras guide and the Best Lenses guide.
Both include affiliate links for the models that fit your subject distance, so you can check current options before you buy.