
Shooting sharp, detailed images of birds is a goal many nature photographers chase.
Birds move quickly, often unpredictably, so getting that crisp shot is a real challenge.
After plenty of trial and error out in the field, I’ve found that using a high-speed shutter is the easiest way to freeze their movement and end up with images that really show off all their eye-catching details.
I’m sharing everything you need to know about picking the right shutter speed for birds, making sense of your camera’s autofocus settings, and dialing in extra tips that will have your bird photos looking sharper in no time.
Why High-Speed Shutter Matters in Bird Photography
Photographing birds is exciting, but their fast and unpredictable movement is a big obstacle for sharp images.
Even the smallest hesitation or wingbeat can turn your potential masterpiece into a blurry mess.
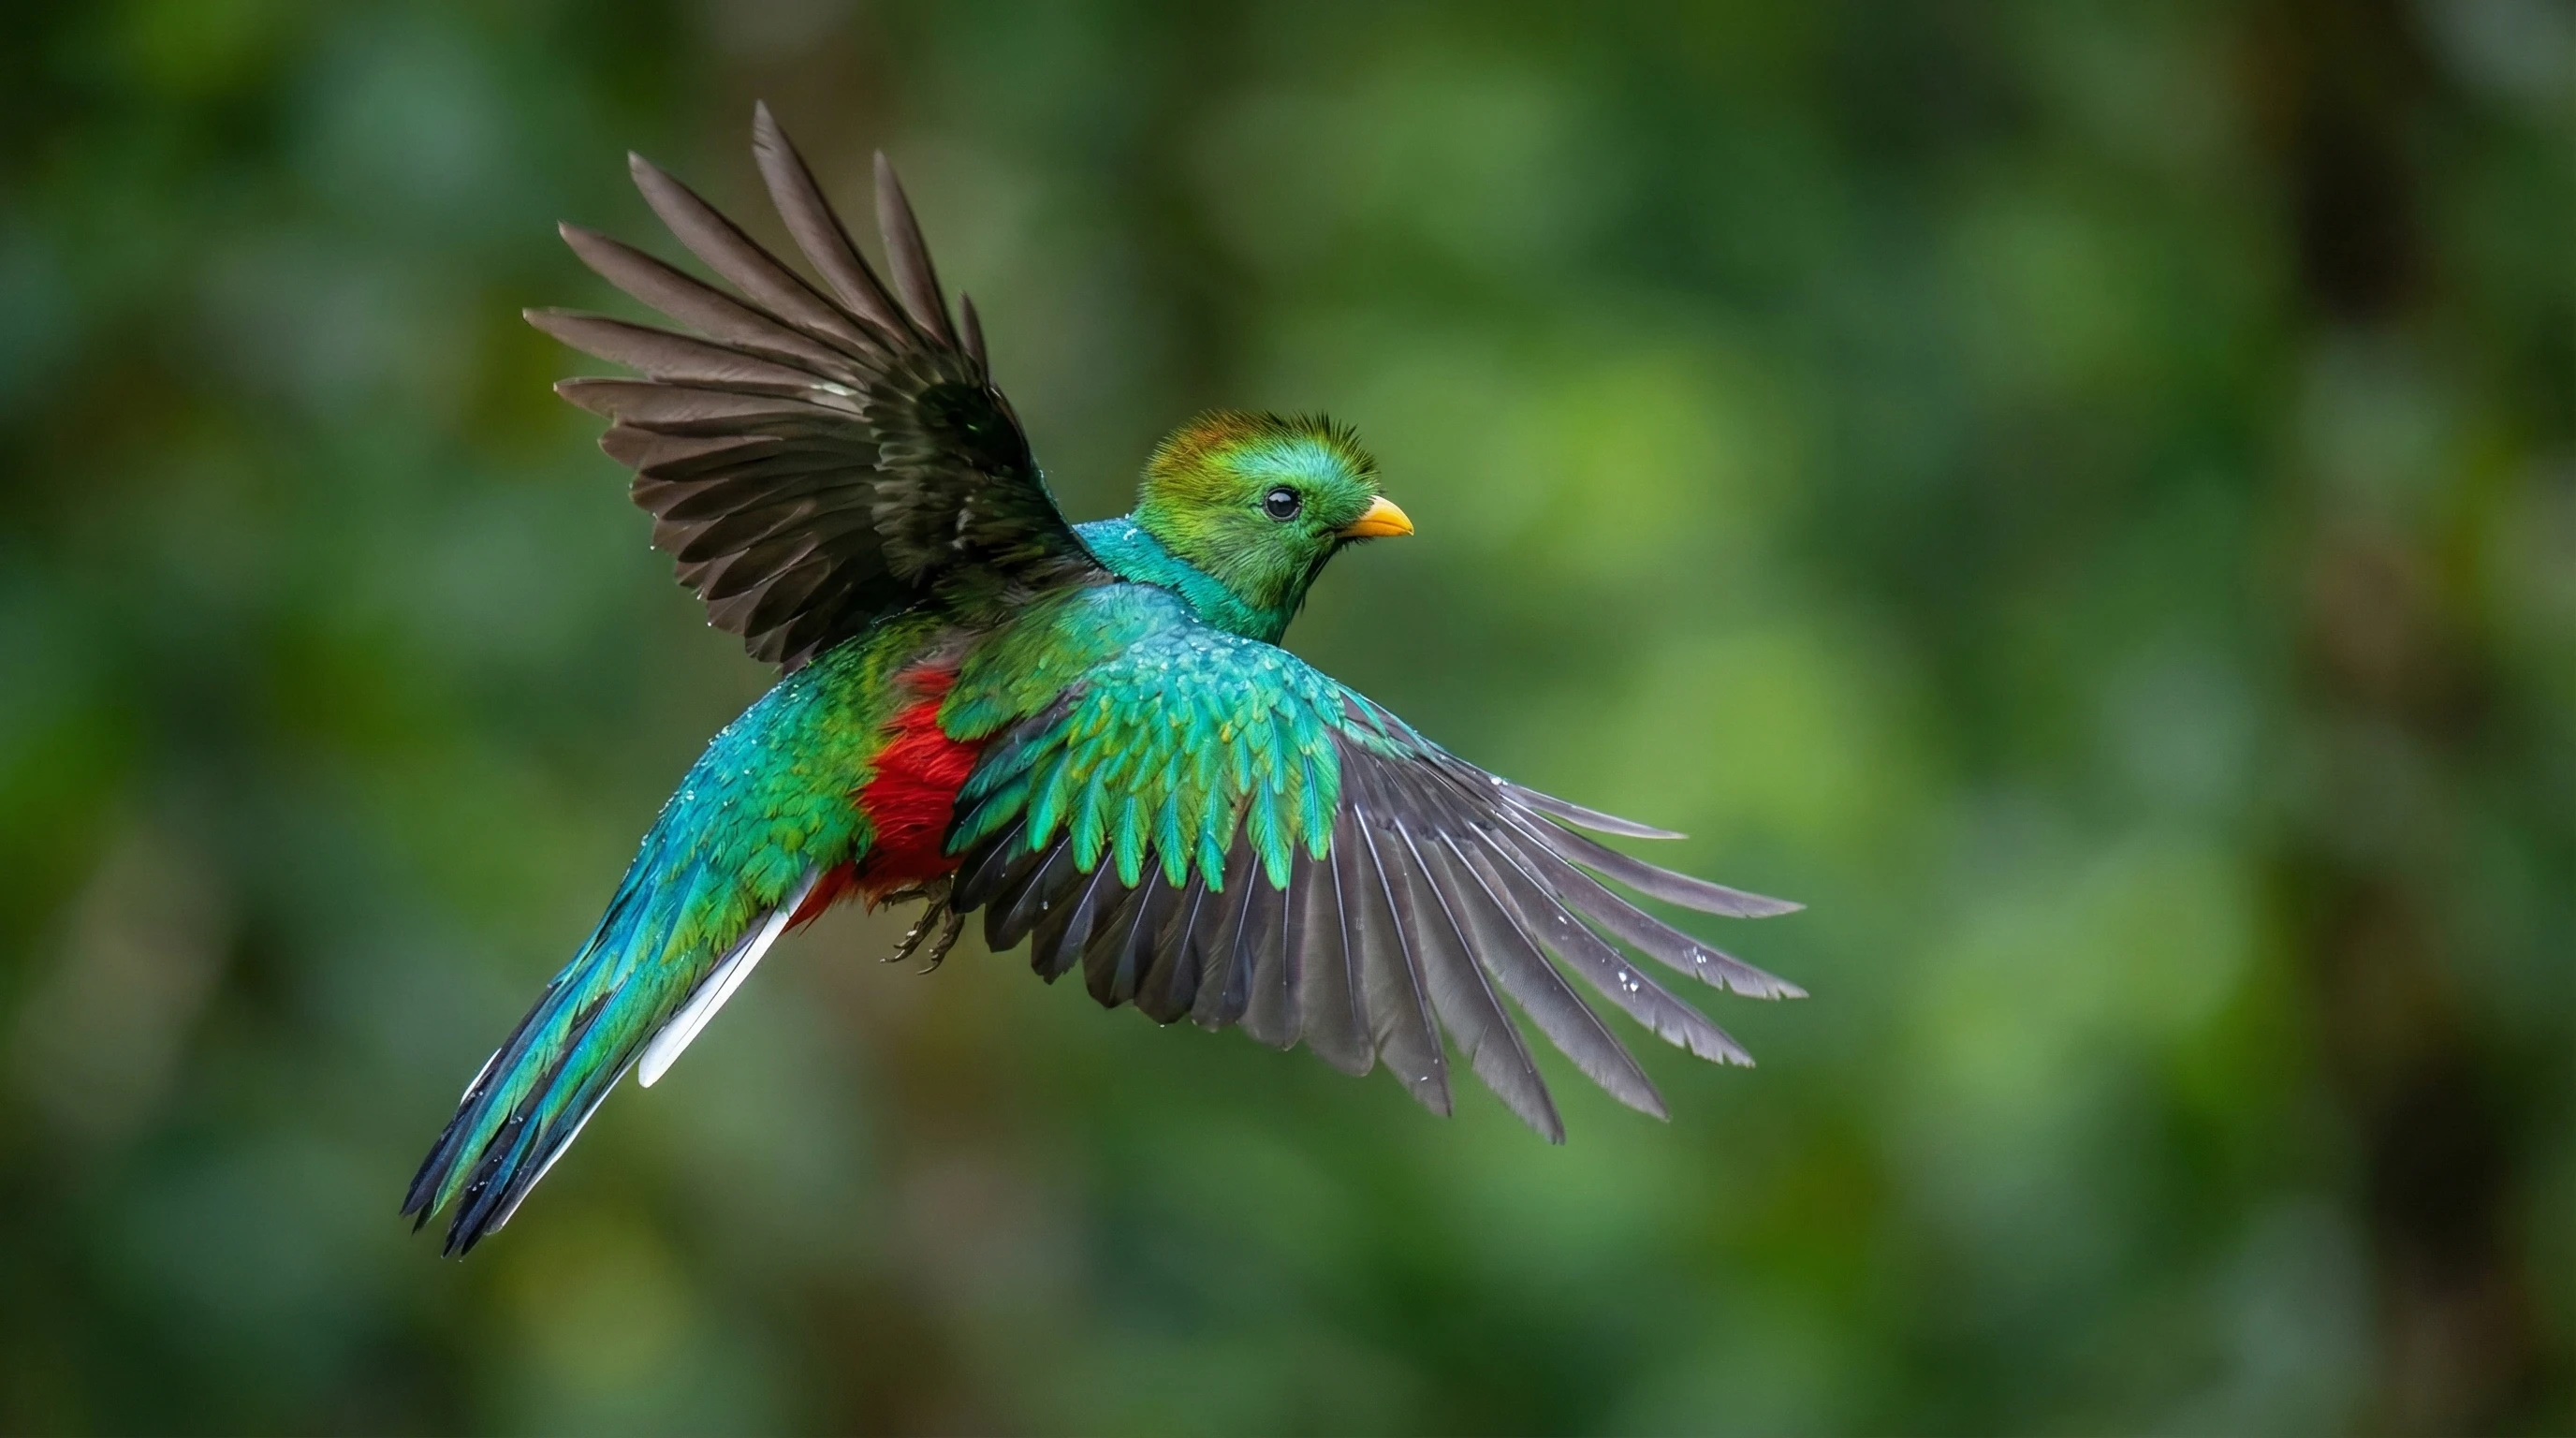
High-speed shutter acts as your secret weapon; it helps you freeze motion at exactly the right moment, stopping fast wings or a hopping robin in their tracks.
Most photographers shooting birds in flight don’t go below 1/1000s, and if I’m in bright daylight with a particularly speedy subject, I’ll bump up higher, sometimes even as high as 1/3200s or 1/4000s.
It’s not just about stopping the action.
Using a speedy shutter helps deal with small shakes in your hands or from long telephoto lenses.
Birds are typically perched high or surrounded by branches, so having that shutter speed cushion keeps my shots tacksharp, even if things get a little wild or unexpected.
Getting Started With Sharp Bird Images
Nail the basics, and you’ll see a big jump in the quality of your shots.
Here are some reliable pointers that have made a difference for me when working with birds and highspeed shutter:
- Stabilize Your Camera: Some folks swear by tripods, but I often go handheld with lightweight telephoto lenses. Just remember to brace your elbows or lean against something sturdy. For long sessions, a monopod is handy and helps give a steady base.
- Pick the Right Shutter Speed: For perched birds, 1/800s works well. For flight shots or rapid movements, 1/1600–1/3200s is safer. I’ve learned from my mistakes and don’t risk slower speeds when the light is good.
- Enable Continuous Autofocus: If your camera offers AFC (Nikon/Sony) or AI Servo (Canon), activate it. This keeps your camera focusing even as birds move, so you’re not stuck with blurry shots as soon as something changes.
Quick Walkthrough: Settings for Sharp Bird Photos
Every setup is a little different, but here’s the basic approach I use with my DSLR and mirrorless cameras:
- Mode Selection: I shoot in Manual mode most of the time so I can lock in my shutter speed. Aperture Priority with Auto ISO is a great fallback if the light keeps switching up.
- Auto ISO: Auto ISO keeps exposure correct when the light changes. Just set your minimum shutter and max ISO to avoid super noisy images. I usually cap my ISO at 3200–6400, depending on the camera body.
- Aperture: For telephoto lenses, going wide open (like f/5.6 or f/6.3) lets in more light, keeping your shutter speed high. This also helps isolate birds with soft backgrounds, making them pop.
- Burst Mode: Birds don’t give much warning before flying off. Put your camera in high burst mode (hold the shutter button), and you’ll grab several frames per second; usually one will nail the focus and pose.
- Back Button Focus: Assigning focus to a button on the back of the camera, different from the shutter button, helps prevent accidental refocus as you take the shot. It takes a little practice, but it’s a genuine boost for working with moving birds.
Things to Think About Before Relying on High-speed Shutter
Just cranking up the shutter isn’t always the answer. You’ll want to balance other key settings and understand the tradeoffs for the best results.
- Lighting Conditions: The faster your shutter, the more light you need. Overcast days or woodland shoots can force you to boost ISO, which can bring more noise. Sometimes, I’ll settle for 1/1000s and a higher aperture to get more in focus if the light is tough.
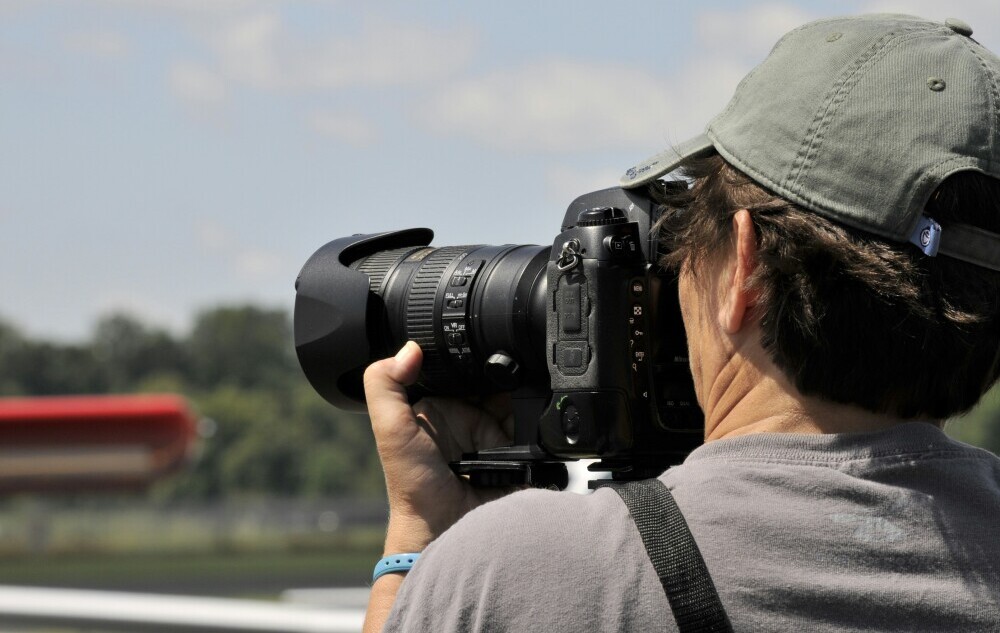
- Lens Choice: Telephoto lenses are a total gamechanger for bird photography. Anything in the 300mm–600mm range keeps birds big in the frame and cuts out distractions. Make sure your lens has image stabilization. It really helps when shooting handheld at high speeds.
- Camera Body Performance: Cameras with fast burst rates (think 7–20 fps) and reliable autofocus tracking make sharp bird images far easier to get. If you’re picking a camera, pay special attention to buffer depth and focus systems.
- Battery Life and Memory: High burst shooting fills memory cards and drains batteries fast. Keeping extras handy ensures you won’t miss any great moments when birds are active.
Autofocus Settings Explained
For birds, autofocus setup can make or break your results. Here’s my quick guide:
- GroupArea Autofocus: Uses multiple points to lock focus on the nearest subject. I’ve found this excellent for birds in flight or perched among branches.
- Dynamic Point/Zone: Follows your selected point plus a small area around it. Best for slower-moving birds or those perched with less cluttered backgrounds.
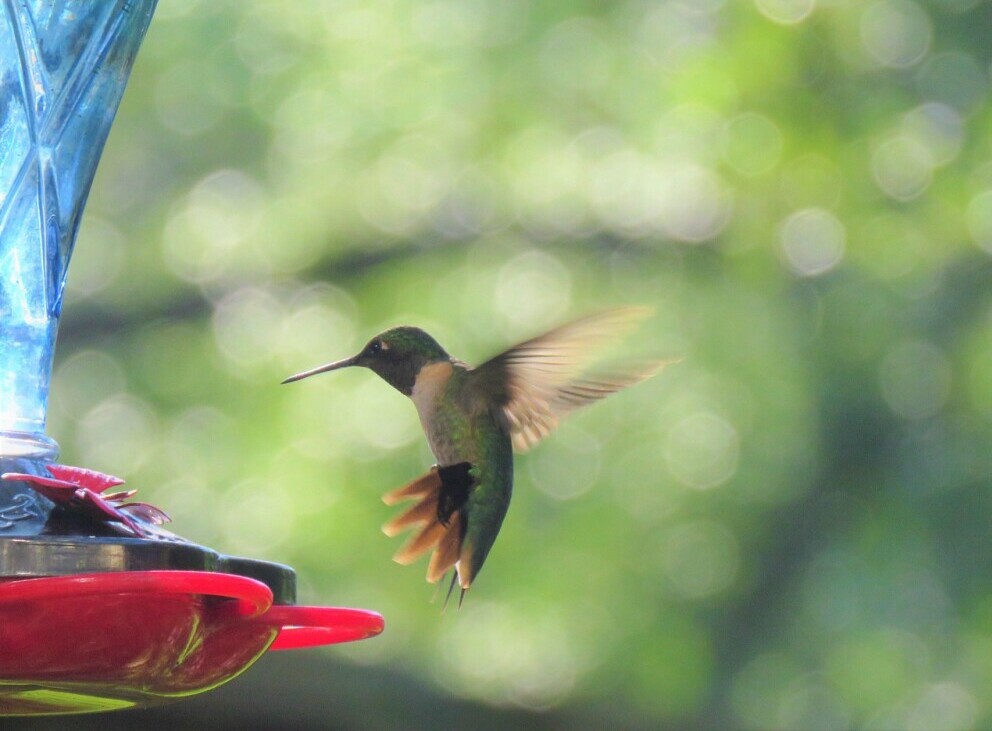
- Single Point: Perfect for really precise focusing, like birds on feeders or when there are lots of branches to compete with.
Metering and Exposure
Birds are often lighter or darker than their backgrounds.
Metering directly on the bird (spot metering) helps you set the perfect exposure, especially for dark birds against bright skies or white birds against shady trees.
Checking your histogram is one of my best habits; it’s a surefire way to catch overexposed or underexposed shots right away.
Practice, Patience And Getting Creative
The best way to master these settings is simple: keep shooting.
Birds aren’t predictable and the weather can change fast, but the more you practice, the more these camera choices will become second nature.
I always make room to experiment in every outing: trying slower shutter speeds, attempting dramatic backlighting, or seeing how low I can take ISO before I start losing detail.
Once you’re satisfied with your sharp bird images, try mixing things up for creative results.
Panning with a flying bird while lowering shutter speed to around 1/125s–1/250s creates eye-catching motion blur backgrounds.
You can experiment by waiting for unique behaviors or fresh poses, using perches in unusual locations, or changing up your viewpoint with a step ladder or bench for a new angle.
Unique style comes from pushing the limits of your camera and lighting.
Camera Gear That Works for Bird Photography
Not all cameras and lenses handle birds the same way.
Personally, I rely on a fullframe DSLR for its solid autofocus and great low-light performance, but cropsensor cameras help you fill the frame since they provide extra reach.
The Nikon D500, Canon 90D, and Sony a6600 are a few popular options that don’t break the bank for enthusiasts.
Pair them with a 300mm or 400mm telephoto zoom, and you’ll have a setup that covers nearly any bird scenario.
Current mirrorless systems from Canon, Nikon, and Sony now match or beat DSLRs for autofocus and burst speed, making them excellent choices as well.
- DSLRs and Mirrorless: Fast burst rates and tracking, sturdy for tough outdoor conditions.
- Telephoto Zoom Lenses: Get closer to the birds, with image stabilization on the lens giving you a sharp edge.
- Weather Sealing: Birds are often most active in early morning or when weather gets wild. Weathersealed gear is a great investment for peace of mind and camera protection.
If you’re on a budget, even entrylevel cameras with basic autofocus and a 70300mm lens can produce amazing images; lighting and timing just matter even more if you can’t bump those settings as much as with pricier gear.
Frequently Asked Questions
Here are answers to a few common questions from friends and readers looking to step up their bird photography:
What shutter speed should I use for birds in flight?
Most of the time, 1/1600s–1/2500s is a solid range. Tiny, fastwinged birds might need 1/3200s or higher for razor sharp results.
Why do my bird photos look blurry, even with a fast shutter speed?
This can be caused by camera shake, focus not sticking, or tracking problems. Sometimes a high ISO introduces noise that looks like blur, too. Practice steady handholding, continuous focus, and always check your focus point after a burst of shots.
Does highspeed shutter always give sharper images?
It’s a big help, but you also need to balance ISO and aperture to avoid excessive noise and to manage enough depth of field. Very high shutter in low light can make for noisy, softer images. The sweet spot is raising shutter as high as you can while keeping ISO in check.
Is burst mode necessary for sharp bird images?
It’s super useful. Birds are unpredictable, and firing off several shots almost always boosts your odds of one perfectly sharp photo.
Should I use image stabilization with fast shutter speeds?
Absolutely, especially with long lenses or when handheld. Even with fast shutter, a tiny bit of movement can still dampen sharpness. Keeping stabilization on is always a smart call.
What camera mode works best for high-speed bird photography?
Many photographers prefer Shutter Priority (Tv/S) or Manual Mode with Auto ISO. These modes give you control over shutter speed while allowing flexibility with exposure.
How does high-speed shutter work with burst mode?
High-speed shutter pairs perfectly with burst or continuous shooting. Shooting multiple frames per second increases your chances of capturing sharp wing positions, eye focus, and natural motion.
Does lighting matter when using fast shutter speeds?
Absolutely. Bright conditions like early morning or late afternoon light make it easier to use high shutter speeds without pushing ISO too high. Low light conditions may require compromises.
Can high-speed shutter help with drone bird photography?
Yes. Drones introduce additional movement from wind and vibration. Using 1/1000s or faster helps reduce motion blur and improves image sharpness when shooting birds from the air.
What’s the biggest mistake beginners make with shutter speed?
Relying on slow shutter speeds for fast-moving birds. Many beginners underestimate how quickly birds move, leading to soft or blurry images even when focus seems correct.
Conclusion: Freeze the Moment and Elevate Your Bird Photography
Mastering high-speed shutter settings is one of the biggest breakthroughs you can make in bird photography.
Once you understand how fast birds truly move—and how your camera captures that motion—you’ll see an immediate improvement in sharpness, detail, and overall image quality.
You don’t need the most expensive camera or lens to capture stunning bird images.
What you need is the right shutter speed, good light, and consistent practice.
Start by experimenting with faster settings, reviewing your results, and gradually fine-tuning your balance between shutter speed, ISO, and aperture.
Now it’s time to put theory into action.
📸 Your next step:
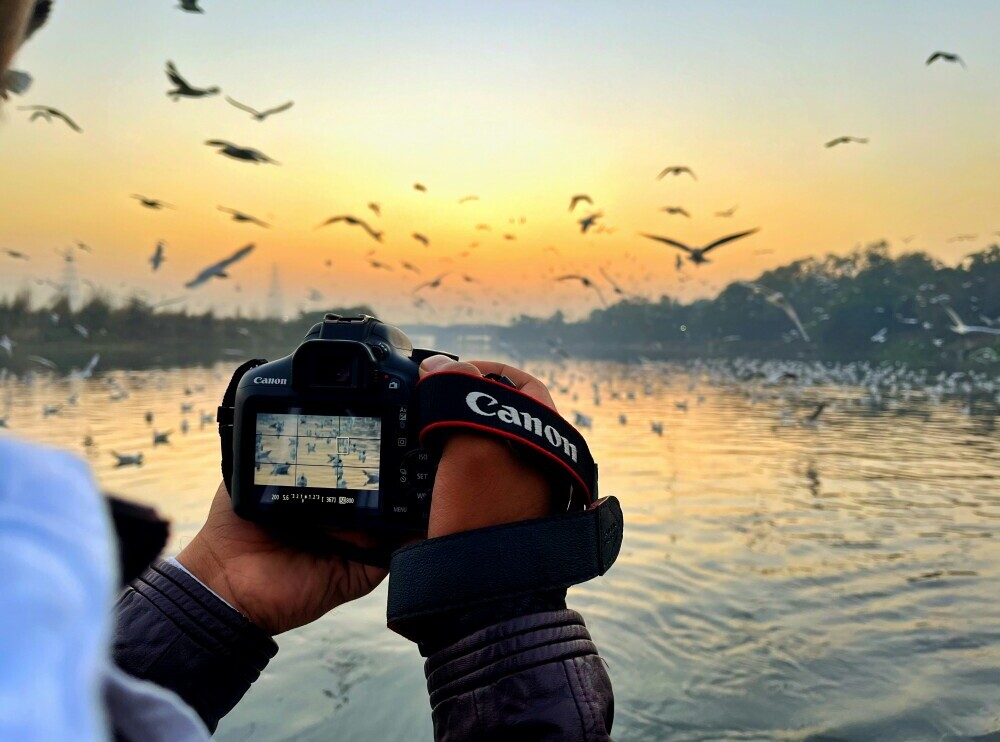
Take your camera (or drone) out during golden hour, set a fast shutter speed, enable burst mode, and practice capturing birds in motion. Review your images, adjust, and repeat.
If this guide helped you:
- Share it with fellow bird photography enthusiasts
- Leave a comment with the shutter speed you use most often
- Explore more bird photography tips and techniques on this blog
Sharp images aren’t about luck—they’re about timing, technique, and knowing when to press the shutter.