
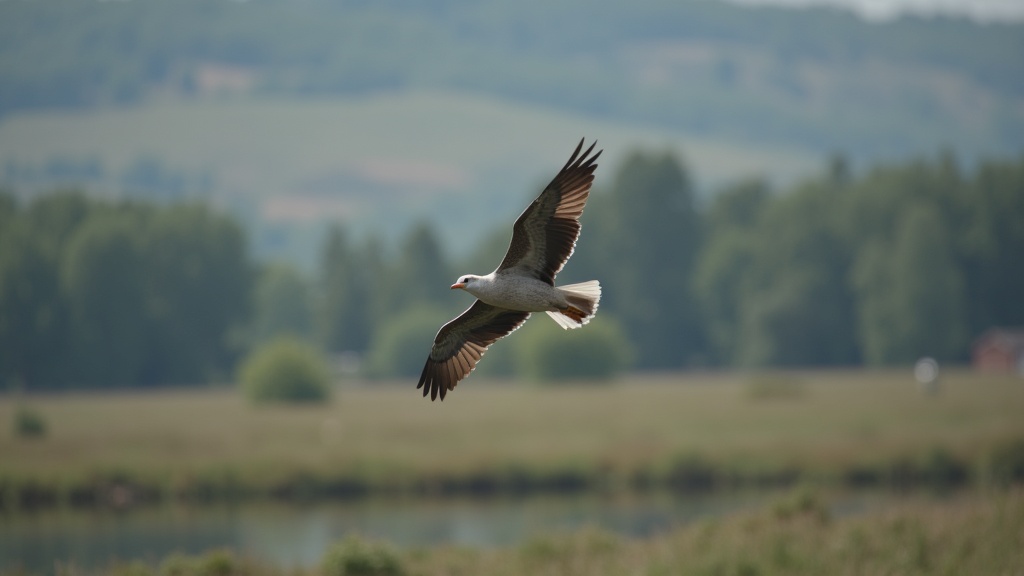
Photographing birds in flight is both challenging and thrilling.
There’s something seriously rewarding about catching that perfect shot of a bird soaring through the air or gliding across the sky.
With the right approach and gear, capturing these fastmoving subjects becomes a lot more doable.
If you’re new to wildlife photography or just looking to sharpen your skills, these tips will help set you up for success when it comes to snapping sharp, lively images of birds on the wing.
Understanding the Basics of Birds in Flight Photography
Bird in flight photography has picked up steam recently, especially as more folks want to get closer to nature.
Unlike stationary bird photography, this type involves working with action, unpredictability, and speed.
Mastering it combines patience, good timing, and technical knowhow.
Getting solid results in this genre relies on being ready with your camera and having a basic understanding of how birds behave.
The surge in high-speed cameras and telephoto lenses makes it a lot more accessible, but knowing what to expect as a beginner is really helpful for setting expectations and setting up for progress.
Bird`s flight paths are often sporadic. They might dip, climb, or veer in ways that make framing a good shot pretty tricky.
Still, that’s part of the fun. Learning what equipment you need, plus how to use it, helps a ton.
Getting Started: First Steps Toward Photographing Birds in Flight
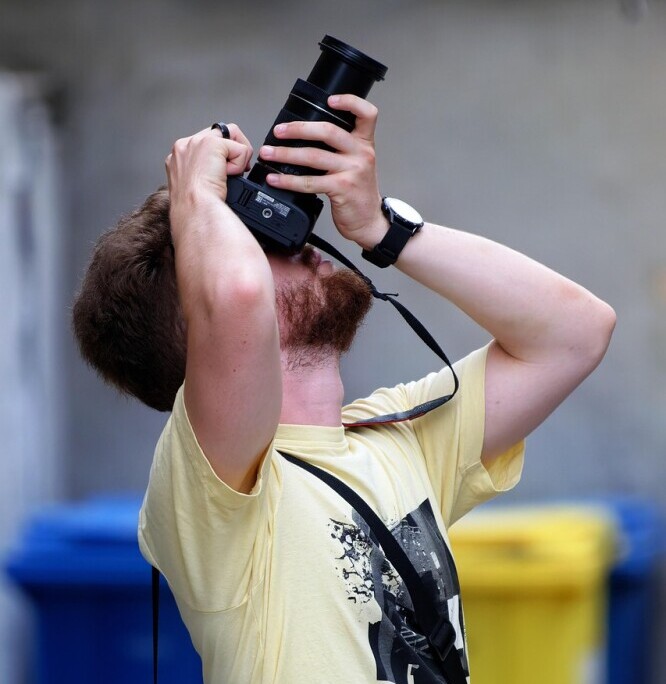
Jumping into bird in flight photography means dialing in your camera settings and being ready for quick action.
Even simple gear can work, but knowing its limits gives you a better chance of getting crisp images.
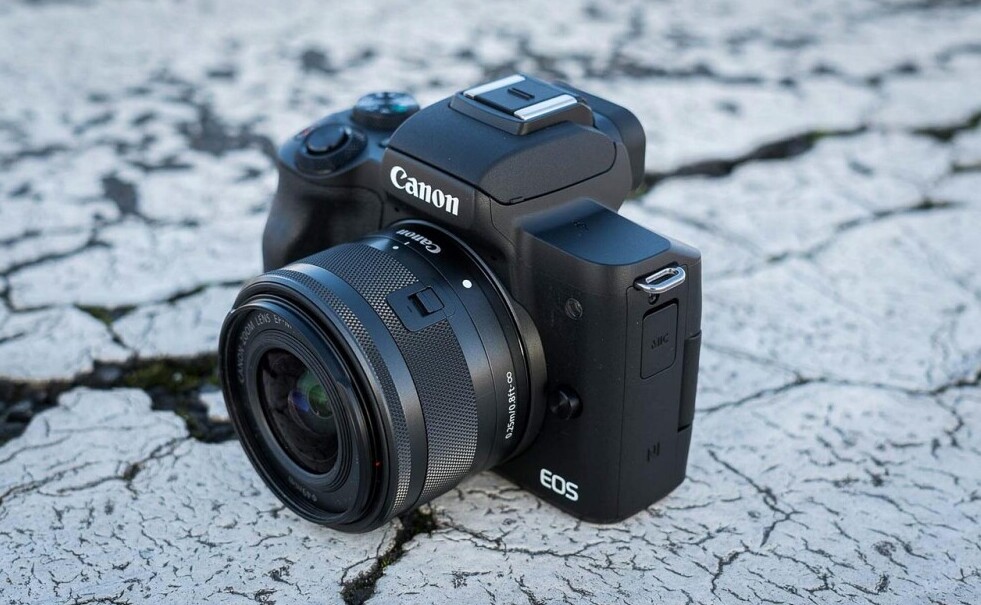
Newcomers often wonder about camera types and lenses. Entry level DSLRs or mirrorless cameras with a fast burst mode and a lens that can zoom at least 300mm can get you started.
Here are a few terms and concepts you’ll want to lock down:
- Shutter Speed: A fast shutter speed (like 1/2000s or higher) really helps freeze motion and avoid that blurry look.
- Autofocus Modes: AI Servo (Canon) or AFC (Nikon/Sony) continually tracks and focuses on moving birds, keeping them sharp in your frame.
- Continuous Shooting: A fast burst or continuous mode can grab multiple frames in quick sequence, upping your odds of landing a keeper.
If you’re feeling uncertain with these concepts, try looking up quick tutorials online or checking your camera manual for custom setup options.
Spending even a little time exploring these settings at home makes things easier once you’re out in the field.
Quick Guide to Nabbing Sharp Photos of Birds on the Wing
There’s no single “right” way to take great photos of birds in flight, but some common strategies can make the learning curve feel a bit smoother.
Approaching the process step-by-step can help you feel more confident in the field.
- Pick the Right Location: Open spaces like wetlands, lakesides, or even parks with bird activity work well because it’s easier to spot and follow the action.
- Know Your Subject: Understanding which birds are around and when they’re most active helps you anticipate flight patterns and behavior.
- Adjust Camera Settings: Set your camera to manual or shutter priority, use a fast shutter speed (at least 1/2000s is a good starting point), and adjust ISO based on available light.
- Use Proper Stance: Plant your feet solidly, hold the camera close to stabilize, and use your elbows for extra support. This helps with tracking birds as they move.
- Practice Panning: Moving the camera smoothly along with the bird’s direction keeps the bird sharp and the background blurred, a look that often highlights movement nicely.
Mixing these strategies improves your odds of snapping the type of bird in flight photos you’ll actually want to share.
Remember, even pros miss shots, so enjoy the learning process and take lots of pictures to improve.
Things To Think About Before Heading Out
Some unique challenges make bird in flight photography tricky, especially if you’re just starting. Here’s what I’ve found helpful for overcoming common hurdles:
- Fast Movement: Birds can twist and turn midair, sometimes changing direction out of nowhere. Use burst mode and a fast shutter speed to catch split second moments.
- Lighting: Early morning or late afternoon (the “golden hour”) gives softer, warmer light for more flattering images. Shooting midday often leads to harsh shadows and less appealing photos.
- Distance: Birds flying overhead may be far from you. Telephoto lenses (300mm or more) help fill your frame and capture detail without disturbing the birds.
- Autofocus Hassles: Autofocus might “hunt” or miss fastmoving subjects. Pre focusing on a spot you know birds will fly through can sometimes save the shot.
Fast Movement and Autofocus
One of the trickiest aspects of bird in flight work is keeping a fast bird in focus.
Continuous autofocus and single point tracking are really handy for giving your camera the best shot at keeping up with movement.
I found that boosting the number of autofocus points can help in tracking, just be sure you’re not catching too much of the background.
Telephoto Lenses
Telephoto lenses don’t have to break the bank.
Options like the 70300mm range are already very versatile.
As you get more into bird photography, you may want to consider a 400mm or 500mm lens, but plenty of people get solid photos with what they already have, especially with good technique and patience.
Lighting and Timing
Lighting makes or breaks most wildlife photos.
Birds are often most active during dawn and dusk, which is also when the light’s softest.
If you have to shoot midday, try to place the sun behind you and avoid strong backlight, since it usually makes birds look like dark silhouettes.
Planning Your Shot
Doing a little research about local birds, their routines, and the best spots to find them helps a lot.
I often check out birding resources (All About Birds is pretty handy) or chat with other photographers at known birding locations.
These hurdles are common. After dealing with them a few times, you’ll notice your photos getting clean and sharp more often.
It’s worth reminding yourself that every outing is practice, and even missed shots are lessons for next time.
Try to jot down what worked and what didn’t right after each session so you can track your improvement over time.
Advanced Tips and Tricks For Creative Photos
Solid results are nice, but you can also take your images up a notch with a few extra tricks.
Here’s a handful of ideas to push your bird in flight work a little further and bring out your creative side:
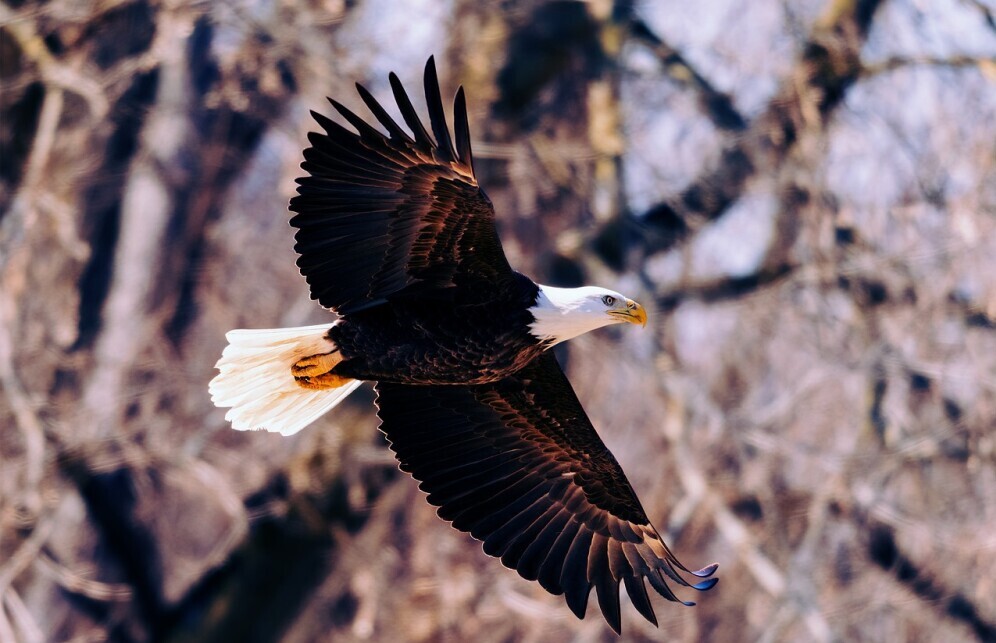
Play With Framing and Composition: Birds look awesome when given space to “fly into” in the frame.
If a bird is moving left to right, leaving space on the right side gives the photo energy and a sense of motion.
Watch for interesting light or backgrounds that set off the bird without too much distraction.
Pay Attention to Backgrounds: Clean, uncluttered backgrounds help birds “pop.” Water, sky, and leafy backdrops usually look best.
Just try to avoid anything too busy or contrast heavy.
Experiment With Lower Shutter Speeds: Sometimes dropping your shutter speed a little (like 1/1000s or lower) and panning with the bird will blur the background and make your subject stand out.
It takes practice, but can create really dramatic results.
Edit With Purpose: Post processing tools like Lightroom let you crop, brighten shadows, and sharpen the bird just a touch.
Careful edits can save shots that looked “meh” in camera and make them come alive.
Don’t be afraid to tweak exposure and color balance if it improves the story of your photo.
These tweaks add creative flair.
Trying them can separate your shots from every other bird photo out there.
As you get comfortable with the basics, jump into more creative techniques, like multiple exposures or intentionally blurred backgrounds, to see what you can cook up in your own style.
What Equipment Do I Actually Need For Bird In Flight Shots?
Getting into bird in flight photography is way easier with the right gear, but that doesn’t mean you need to max out your credit card. Key gear includes:
- Fast Camera: Look for something with a good autofocus system and 6 frames per second or faster burst mode.
- Telephoto Lens: At least 300mm reach helps a lot, especially if you’re shooting smaller birds or ones that rarely fly low.
- Comfortable Strap or Harness: You’ll likely hold your camera up for long periods, so a padded strap or chest harness can make outings more comfortable.
- Memory Cards and Spare Batteries: Birds rarely hold still, so shooting bursts can fill up memory cards quickly. Bring extras along to keep shooting without interruption.
I started with a basic 70300mm lens and a midrange body and landed shots that made me proud.
As your skills and passion grow, you might find it worth upgrading to faster lenses or camera bodies, but starting simple shouldn’t hold you back.
Remember, no fancy setup can replace understanding the birds and practicing your timing, so focus on what you have and grow from there.
Frequently Asked Questions
These are questions lots of beginners ask about birds in flight photography:
Question: What’s the best shutter speed for birds in flight?
Answer: I aim for 1/2000s or faster to freeze motion, but in bright light, you can go even higher if needed. For creative blur, try a slower speed and pan with the bird.
Question: How do I get the autofocus to keep up with moving birds?
Answer: Use continuous autofocus (AI Servo, AFC, or similar), and if your camera supports it, select a group or zone focus mode that covers the bird. Tracking works better with practice and anticipation. Try switching up your focus settings for different types of birds or lighting to see what gives the sharpest results.
Question: Is it possible to shoot birds in flight without a huge telephoto lens?
Answer: Yes, settings and technique matter more than gear when starting out.
Try working with larger birds or ones that fly closer to land, like geese or gulls, until you get the hang of focusing and timing.
Don’t let gear limitations keep you from improving your eye for detail. Even with basic equipment, you can get striking shots if you practice consistently and learn your subjects’ habits.
Final Thoughts
Photographing birds in flight is really rewarding, and with patience, good prep, and a bit of luck, anyone can snag beautiful images that show off a bird’s grace.
From tracking down where birds hang out to dialing in camera settings for action, it’s all about building skills over time.
Keep practicing, tweak your approach as you learn, and enjoy the process; each outing brings new chances to catch that dream shot.
With every click, you’ll spot new opportunities, gain more confidence, and maybe even inspire others to get into this amazing hobby.
Happy shooting!!!!
I recently got into bird photography, specifically focusing on birds in flight, and it has quickly become my new favorite (and most challenging!) hobby. I totally agree that the unpredictability and speed are what make it both frustrating and incredibly rewarding when you finally nail a sharp shot.
The point about Shutter Speed (1/2000s or higher) and Continuous Autofocus (AI Servo/AFC) is exactly the wall I hit when I first started, so I’m glad you highlighted them as essential basics. Just switching to a faster shutter speed instantly improved my keeper rate, though I’m still learning to predict the flight path better!
By the way, when shooting with mirrorless cameras, do you find it more helpful to use the Electronic Shutter for a faster burst rate, or stick to the Mechanical Shutter to avoid any potential rolling shutter issues with very fast movement?
Thanks for such an encouraging and practical guide!
Hi Alyssa, thanks for sharing your enthusiasm for bird photography.
I’m thrilled to hear that the tips resonated with you.
When it comes to mirrorless cameras, both Electronic and Mechanical Shutters have their pros and cons.
For birds in flight, I usually stick to the Mechanical Shutter to minimize potential rolling shutter issues, but some mirrorless cameras have improved Electronic Shutters that work well.
It might be worth experimenting with both options to see what works best for your specific camera and style. Keep practicing, and don’t get discouraged – predicting flight paths gets easier with time.