
Photographing birds at dawn and dusk is a real game changer for anyone hoping to capture stunning wildlife shots.
Early mornings and late evenings do more than set the mood; they actually give you better chances at catching birds when they’re most lively.
The softer light, rich colors, and often dramatic skies help your photos pop in ways you won’t get mid-day.
But these hours are tricky, especially if you’re new to bird photography.
Low light brings its own set of challenges—motion blur, noisy images, and constant changes in exposure can throw you off.
In this guide, I’ll walk you through some tried-and-true techniques so you can master bird photography even when the sun is barely up or already slipping behind the horizon.
Understanding the Special Light at Dawn and Dusk
Sunrise and sunset offer very different types of light, which plays a big role in how your bird photos will look.
Dawn usually brings cooler blue and purple tones.
The light is soft, and everything changes fast as the sun rises.
At dusk, warmer orange and red tones start to show, and shadows grow long and deep.
The angle of the sun at these times means you get beautiful side light or even backlighting.
This is perfect for pulling out feather detail or creating silhouettes. The speed at which the light changes is something to keep in mind, since your exposures may switch up dramatically within a few minutes.
Birds act differently at dawn compared to dusk.
Many species are out feeding, defending their territory, or starting migration as the day begins, making them more active.
In the evening, activity can pick up as the birds prepare for night.
Patience definitely matters more at these hours, as sometimes you’ll have to wait a bit for the best action.
Camera Settings for Low Light Bird Photography
Camera settings make a big difference when you’re chasing birds in the blue hours.
Getting that balance between a sharp subject and well exposed images can take some practice. Here’s how I approach it:
- Shutter Speed: For perched birds, I often go with 1/250 to 1/500 second, enough to stop subtle movements. For birds in flight or fast feeding, 1/1000 and up works if enough light is available. If it’s really dark, I’ll slow down the shutter and accept some motion for creative blur or bump up my ISO.
- ISO: It’s tempting to keep ISO low for noise reasons, but a sharp, slightly noisy photo beats a clean but blurry one. I regularly shoot at ISO 1600-3200 or even higher at dawn and dusk. Modern cameras handle it pretty well. Using Auto ISO paired with a minimum shutter speed makes it easy, removing the stress of constantly fiddling with the dials.
- Aperture: Shooting wide open (f/2.8 to f/5.6, depending on the lens) brings in more light and gets you that dreamy background blur. I try to keep the bird’s eye and head sharp, so I avoid going too wide if it risks losing depth of field when several birds are close together.
- Metering & Exposure Compensation: I stay with evaluative or matrix metering for mixed lighting. If birds are backlit or near bright skies, I often dial in +0.3 or +0.7 exposure compensation to keep the bird from turning into a total shadow.
It’s super important to check your settings every few minutes as the light shifts fast at these hours.
Don’t be afraid to test and make small tweaks as you go.
Getting White Balance Right at Sunrise and Sunset
Sunrise and sunset can throw some wild color casts on your photos.
I mostly trust Auto White Balance to keep up, since birds move quickly between different types of light.
If I want a specific vibe, like a warm or cool scene, I’ll lock in a setting such as “Shade” or “Cloudy.”
Most of the time though, I just shoot RAW.
That way, I can adjust the color temperature and tint later during editing without ruining the quality.
Correcting blue shadows or orange highlights afterward makes a huge difference.
Just watch that you don’t crank the sliders so much that the image starts looking fake.
Keeping an eye on natural feather colors helps you avoid making your subject look unnatural.
Positioning Yourself for the Best Light and Bird Behavior
Where you set up really matters for bird photography at dawn and dusk.
I usually try to get light coming from the side or behind me for the most detail.
Front lighting brings out feather texture best, while backlighting is perfect for capturing silhouettes against glowing skies.
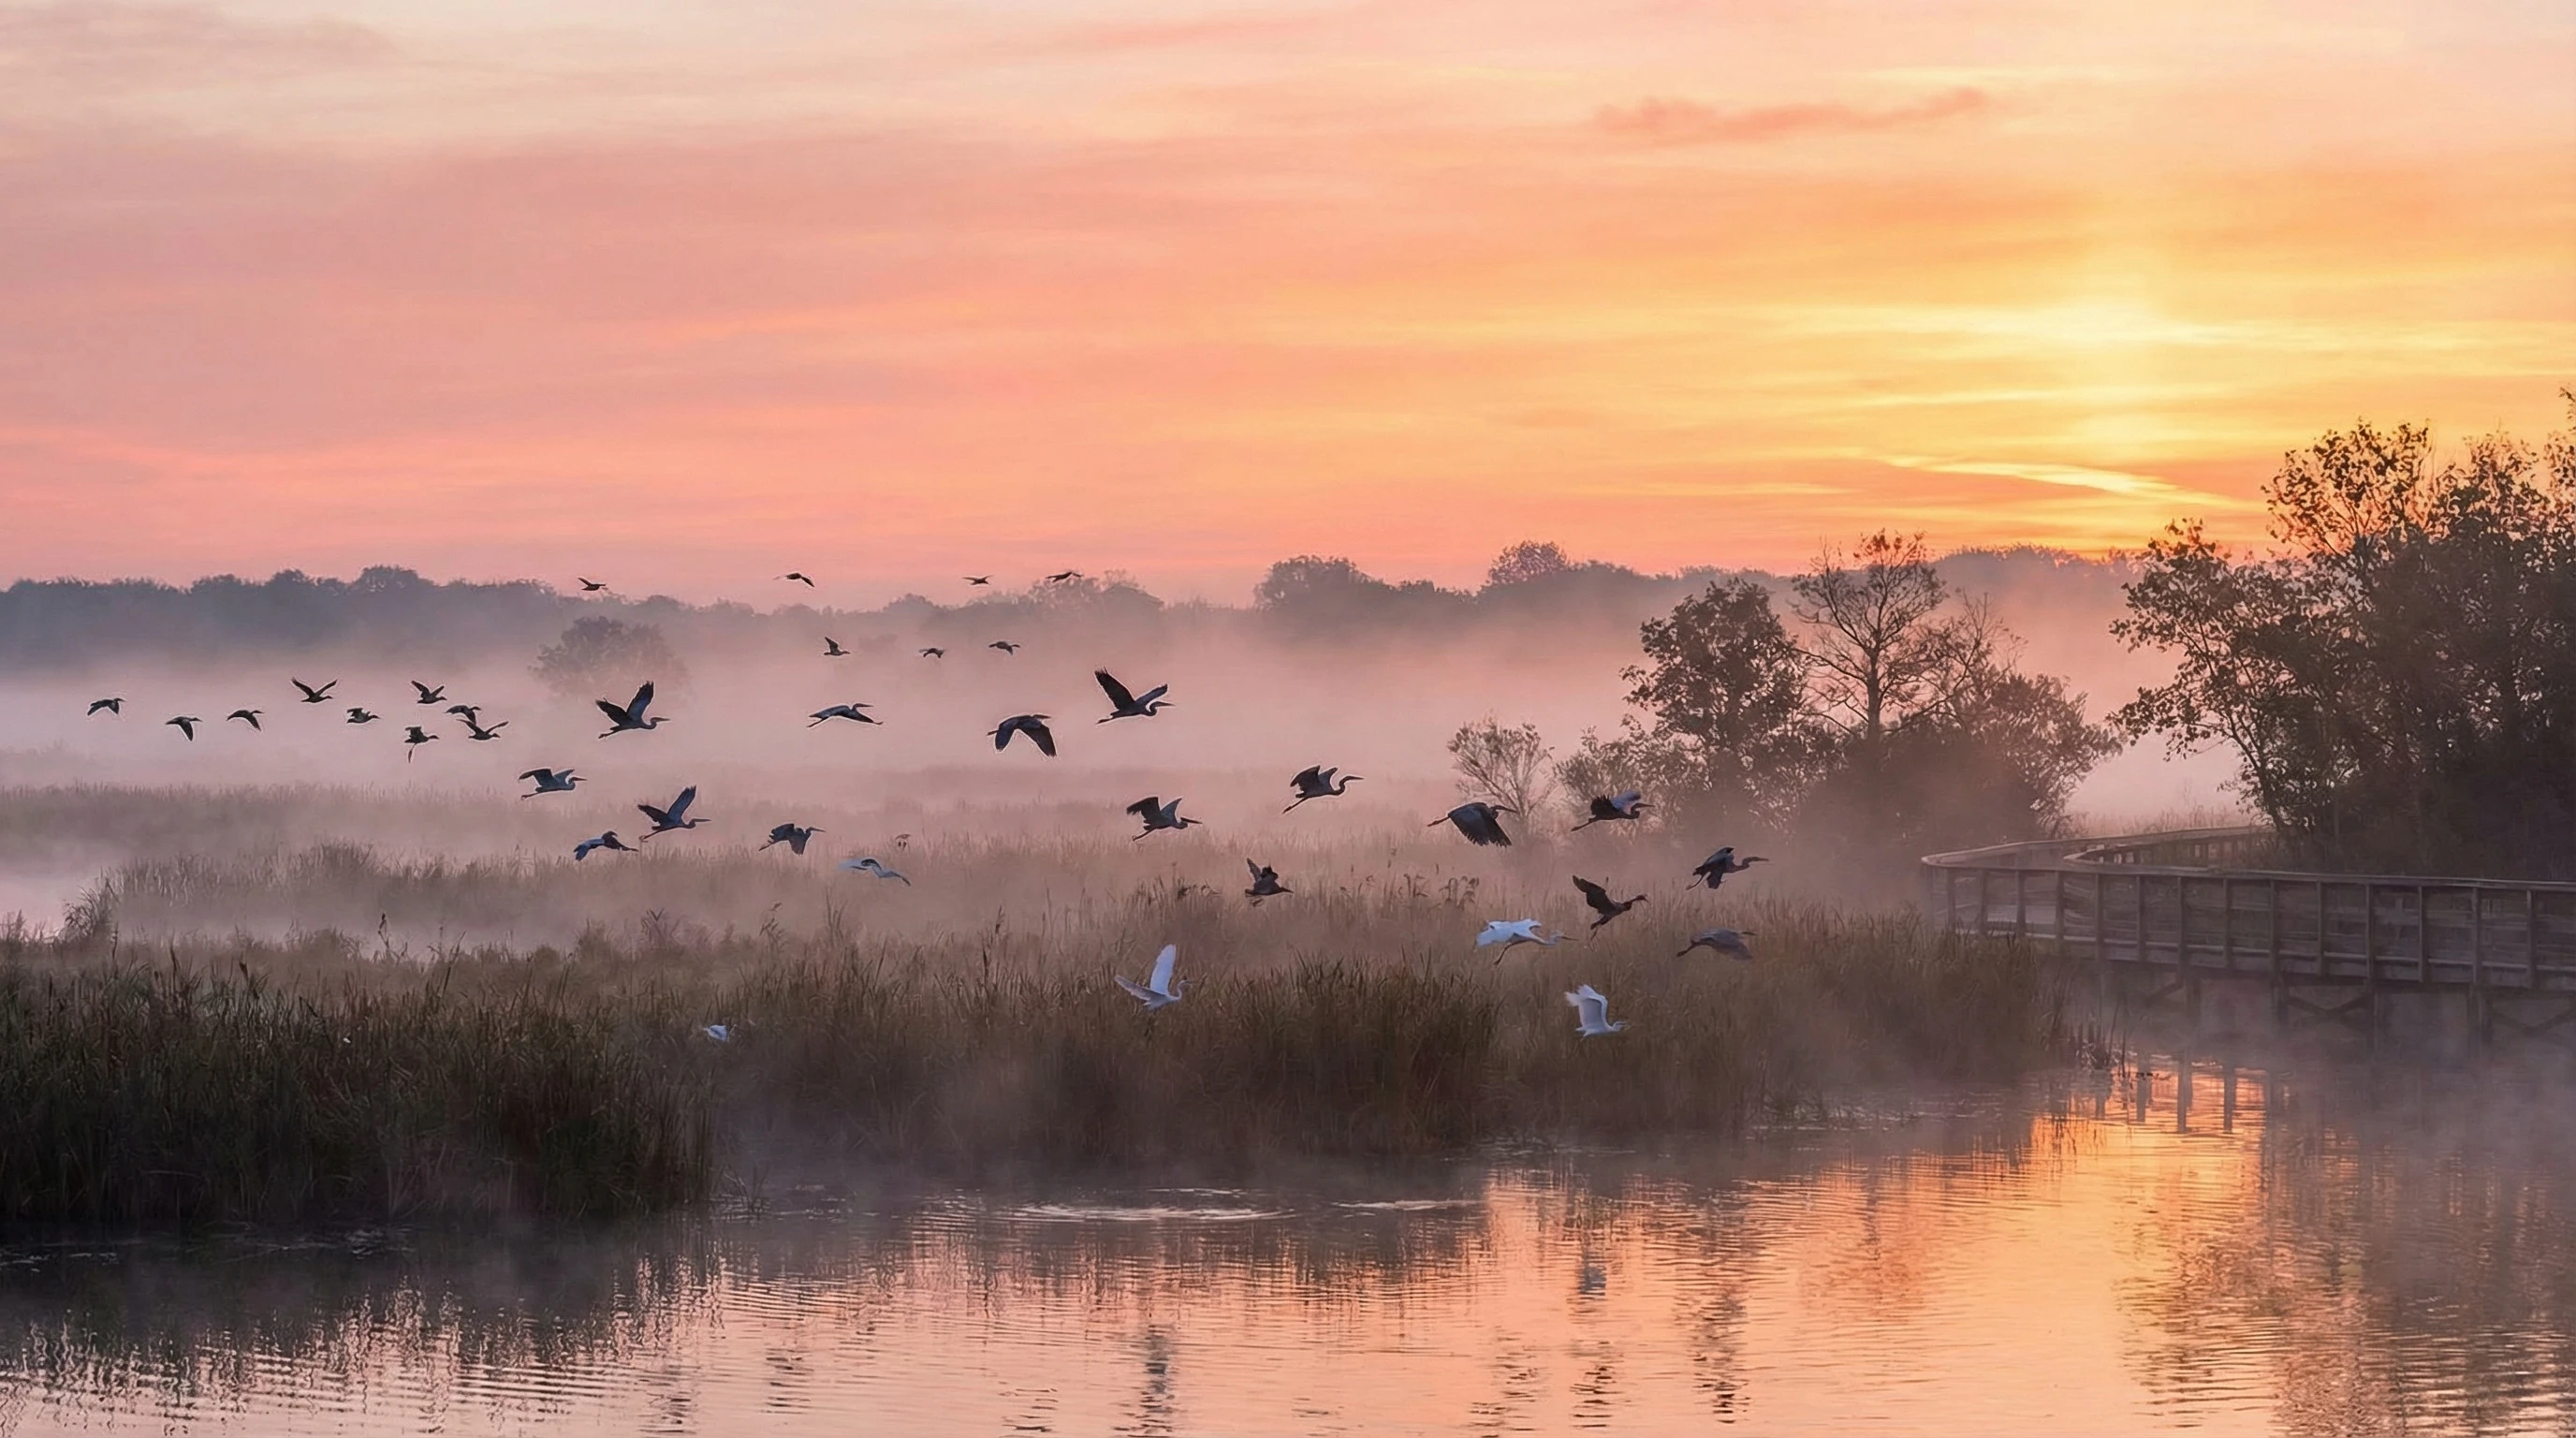
Open areas like wetlands, beaches, and grasslands are my go to spots.
They give you clean backgrounds and longer shooting windows, with no trees or buildings blocking those beautiful rays.
Cluttered environments make it harder to isolate the bird, especially when the light is low.
Taking Advantage of Golden Hour for Birds
The hour after sunrise and the hour before sunset (the famous golden hour) brings out warm, saturated tones.
Bird feathers look silkier and details stand out because of the low angle of the sun.
Paying attention to how the light falls on your subject helps tell a better story; maybe the glow on a heron’s back or the way long shadows cut across a field.
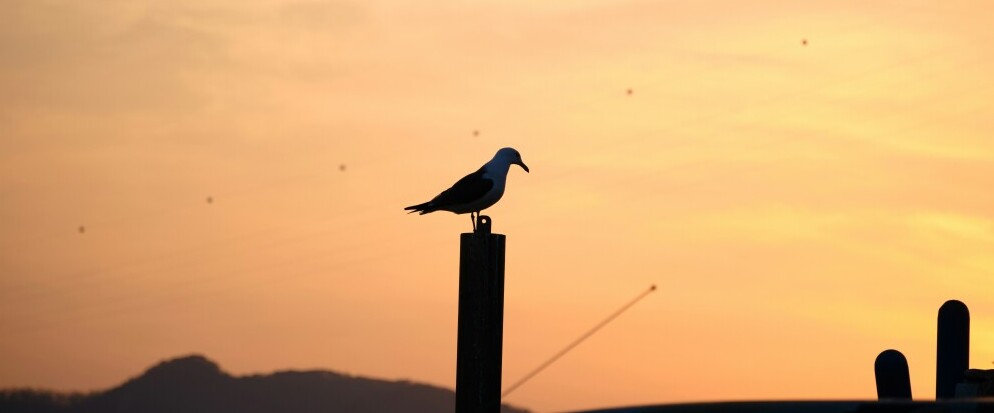
I also love going for artistic shots like silhouettes.
With the sun behind the bird and the sky glowing bright, you can get super clean shapes that stand out from the background.
The trick is to avoid messy branches or distractions, so try to shoot from a low angle to get just sky behind your subject.
Tactics for The Blue Hour and Almost No Light
Just before sunrise or after sunset, it sometimes gets so dark that freezing movement just isn’t possible.
That’s when I accept a little blur and focus on mood. Bird photos with a hint of motion can look artistic, especially if the bird’s eye is sharp but the wings blur.
- Panning:Tracking birds in flight with shutter speeds between 1/30 and 1/125 can create classic panning shots. The trick is to follow the bird smoothly at the same speed, snapping as you go. Picking up the bird’s head sharply while letting the background and wings blur makes for dynamic photos.
- Creative Blur:Embracing blur isn’t just a last resort; it can be a creative effect. Sometimes, a blur from slow shutter speeds adds energy or an abstract quality. I look for patterns in flock movements or the spread of wings for these types of shots.
Stabilization options like imagestabilized lenses, sensorbased IBIS, or even a monopod help if your hands aren’t super steady. I usually still handhold unless I’m waiting for a specific spot where a tripod makes sense.
Composition Tips For Bird Photos In Low Light
Focus is even trickier when there’s not much light, so I put extra attention on getting the bird’s eye sharp.
Using negative space (plenty of clean sky or water) gives a peaceful feeling and puts the bird front and center.
If the setting is interesting, pulling back to include more environment can add context and mood.
Changing up where you stand or getting low to the ground makes a big difference in how your final photo looks.
Editing and Post Processing For Dawn and Dusk Images
I shoot RAW to grab the most detail during editing.
Lifting shadows or pulling down highlights can reveal detail lost in tricky light.
It’s tempting to overedit, but too much noise reduction can make a bird’s feathers look like plastic.
I use tools like Lightroom for gentle tweaks: selective sharpening for the eyes and head, plus a little noise reduction only where it’s needed.
Cropping is a lifesaver if you couldn’t fill the frame in the field, but I try not to crop so much that the image quality dives.
Avoiding Common Mistakes in Dawn And Dusk Bird Photography
- Shooting with a shutter speed that’s too slow for movement. Always prioritize sharpness for birds in action.
- Being afraid to raise the ISO; modern cameras are pretty good with noise these days.
- Deleting photos in the field. Wait until you’re back at your computer to judge sharpness and composition.
- Getting stuck fighting the light. Sometimes working with blurry or moody conditions produces more interesting results.
- Overediting in hopes of saving a bad shot. Instead, try different approaches next time you’re in the field.
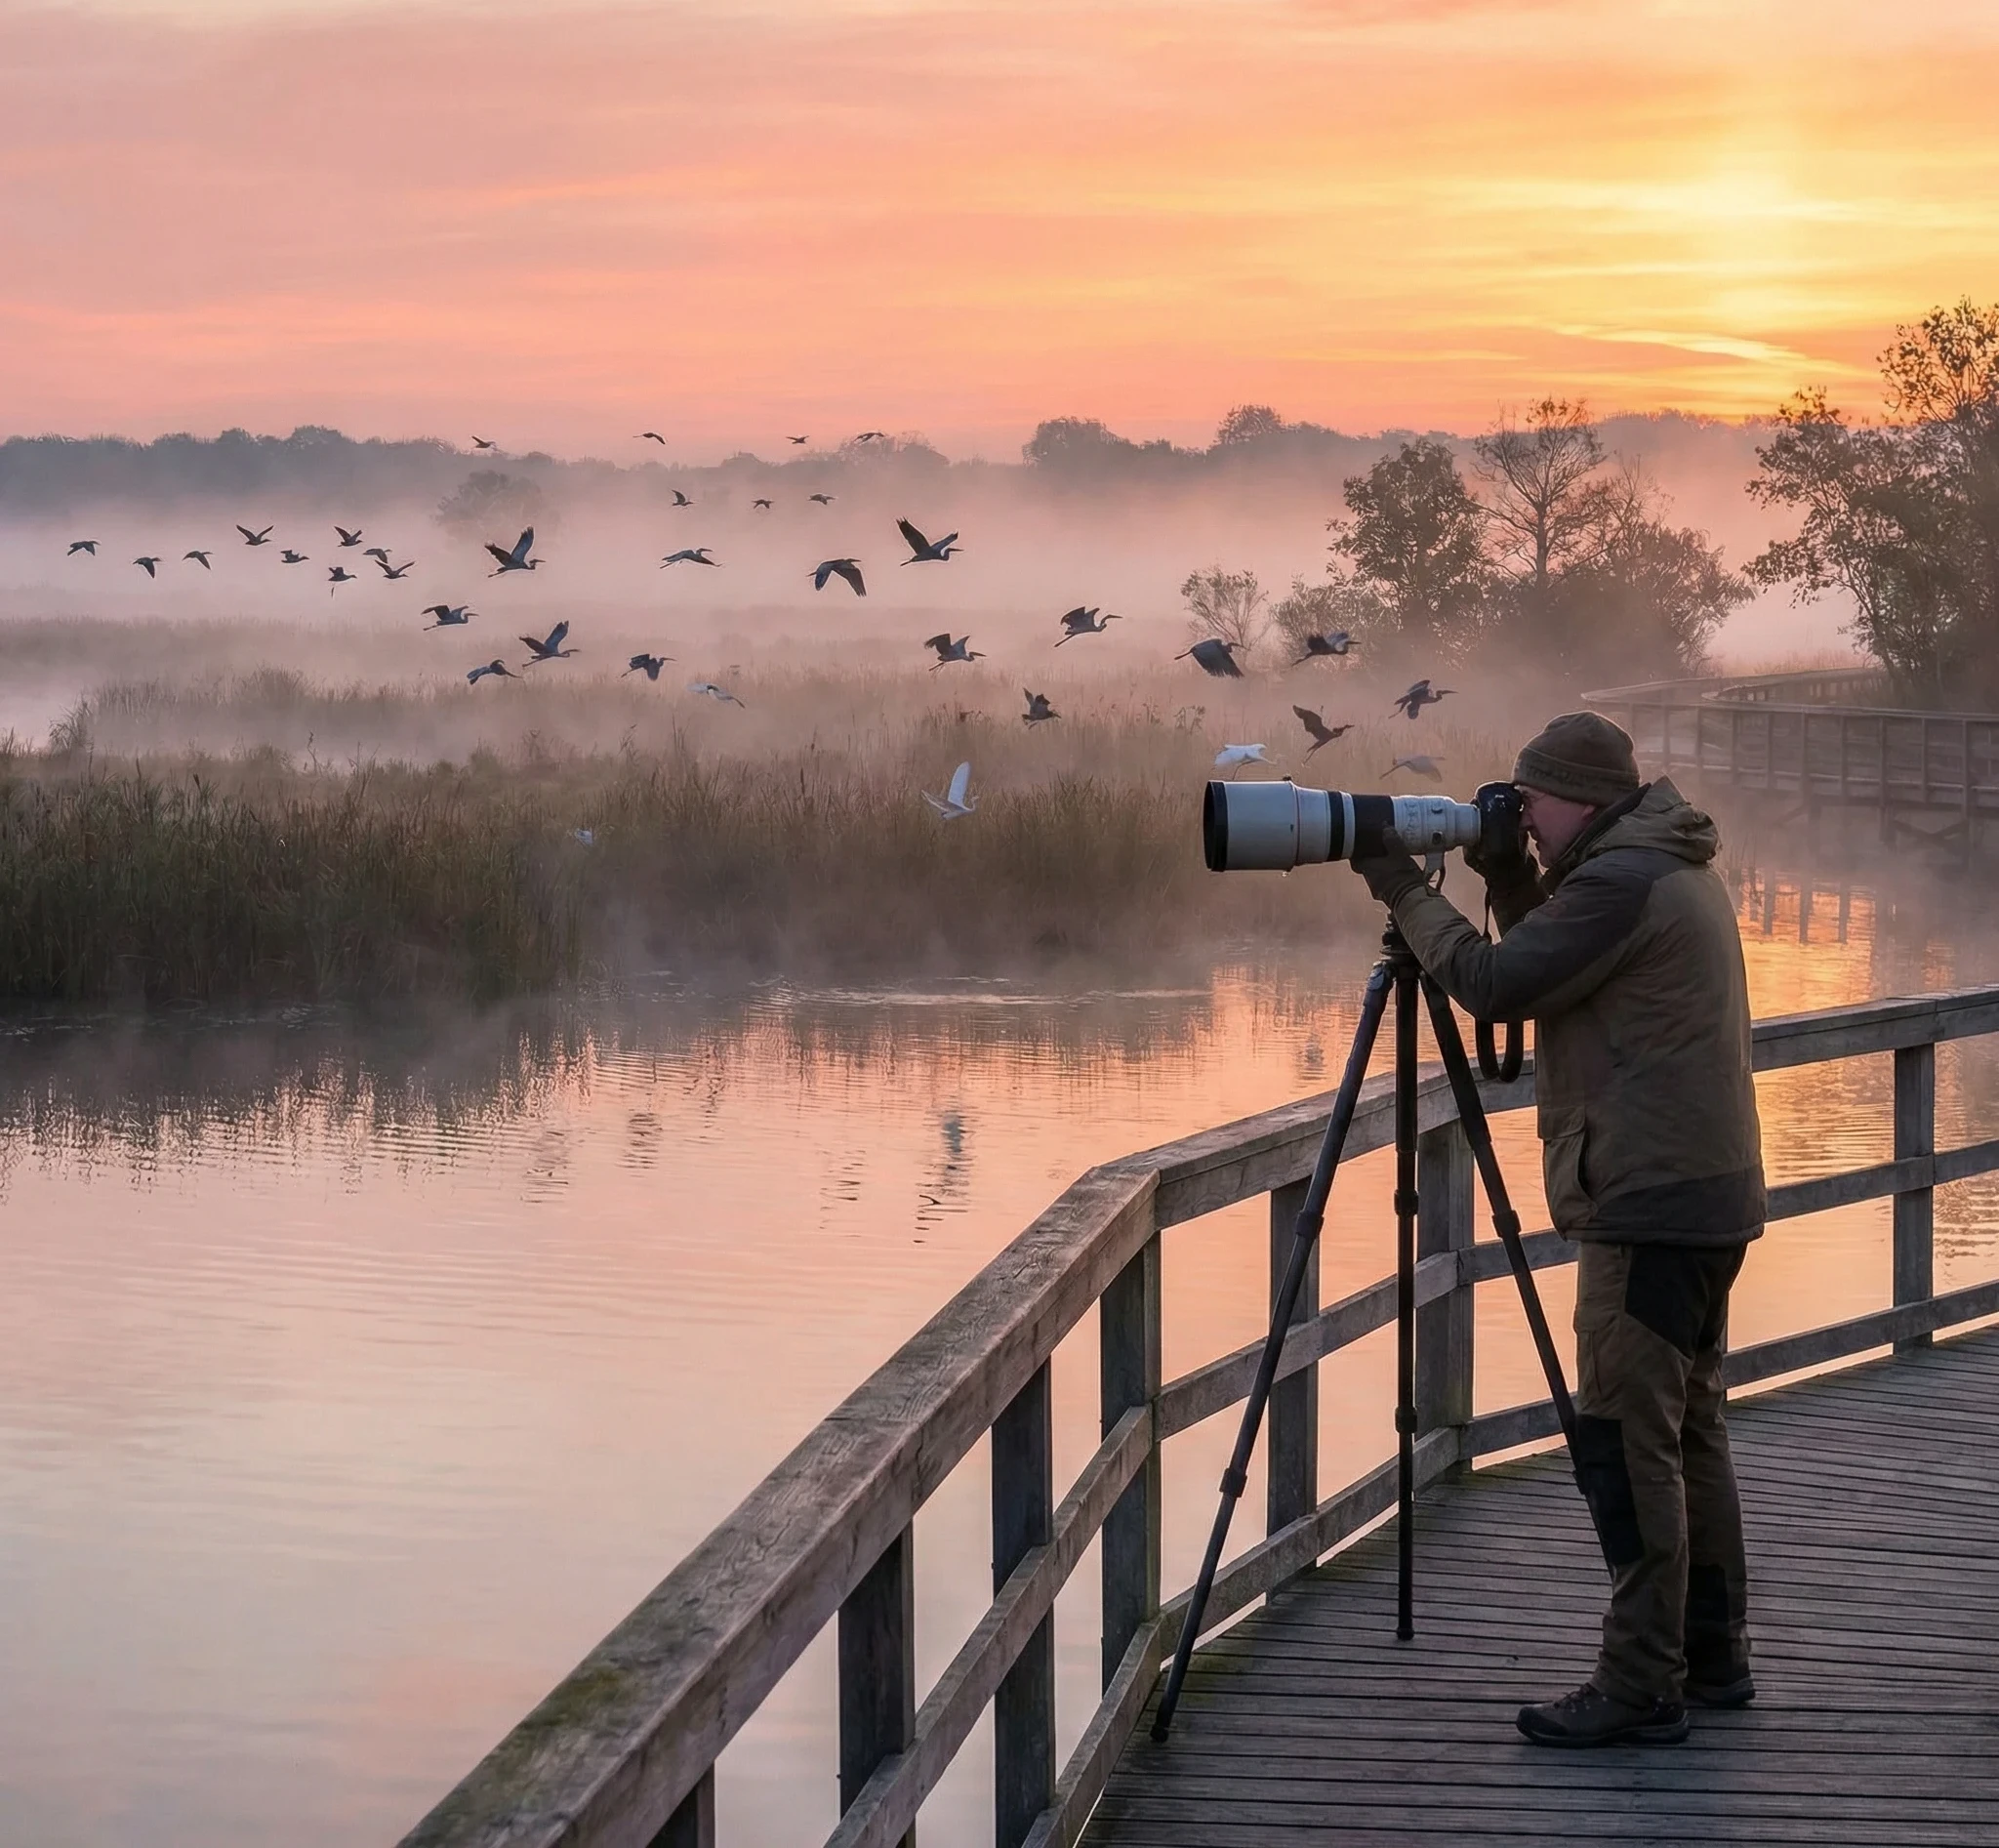
Field Tips for Dawn and Dusk Success
- Arrive well before sunrise and stay out past sunset. This is when birds are most active and the light changes fastest.
- Spend time watching the birds instead of just chasing them with your camera. Noticing patterns in their behavior gives you better chances for action shots.
- Keep checking your camera’s settings as the light switches up. Tiny adjustments every few minutes can save a whole series of images from being under or overexposed.
- Patience is really important. Sometimes the best shot comes after waiting quietly while everyone else leaves.
Frequently Asked Questions (FAQs) : Techniques for Photographing Birds at Dawn and Dusk
Do I need expensive gear to get good bird shots at dawn and dusk?
Nope! While cameras with good highISO performance help, solid technique and understanding light do most of the work. Any DSLR or mirrorless body made in the last few years paired with a telephoto lens will get you started.
How do I keep birds sharp when they won’t sit still?
Focus on the eye, use continuous autofocus, keep your shutter speed up, and raise ISO as needed. Most importantly, practice tracking and anticipating movement.
Is there a best season for dawn and dusk bird photography?
Spring and fall migrations are fantastic, but any season is good as long as you know what birds are in your area and what they’re doing. Dawn and dusk are always worth checking, no matter the time of year.
Why are dawn and dusk the best times for bird photography?
Dawn and dusk coincide with peak bird activity, particularly feeding, movement, and territorial behavior. These times also offer softer, directional light that enhances feather detail, color depth, and atmospheric backgrounds—elements that are difficult to achieve during harsh midday light.
Is low-light bird photography suitable for beginners?
Yes, although it requires patience and practice. Beginners benefit greatly from shooting at dawn and dusk because slower-paced bird behavior, softer light, and fewer distractions help develop core skills such as exposure control, composition, and anticipation.
What is the most important camera setting for bird photography in low light?
Shutter speed is the most critical setting. Freezing motion—especially for birds in flight—matters more than avoiding noise. It is generally better to raise ISO than to risk motion blur from a shutter speed that is too slow.
How high can I safely push ISO when photographing birds at dawn or dusk?
Modern cameras handle high ISO remarkably well. ISO values between 1600 and 6400 are commonly usable, especially when shooting in RAW. Slight noise can be corrected in post-processing, while motion blur cannot be fixed.
Should I use Auto ISO or Manual ISO in low light?
Auto ISO paired with Manual or Shutter Priority mode works well in rapidly changing light conditions at sunrise and sunset. It allows you to maintain a consistent shutter speed while the camera adjusts ISO as light levels change.
What aperture is best for bird photography during golden hour?
Wide apertures (f/4 to f/6.3) are ideal at dawn and dusk. They allow more light into the sensor while creating background separation that helps birds stand out against soft, uncluttered skies or landscapes.
Is shooting in RAW necessary for dawn and dusk bird photography?
Yes. Shooting in RAW preserves maximum dynamic range, allowing you to recover shadows, correct white balance, and fine-tune highlights without degrading image quality—critical in high-contrast sunrise and sunset conditions.
How do I avoid blue or overly orange color casts in sunrise and sunset photos?
Use Auto White Balance while shooting and fine-tune color temperature during post-processing. Avoid aggressive white balance adjustments in-camera, as light color changes rapidly during these times.
What backgrounds work best for birds at dawn and dusk?
Open environments such as wetlands, lakeshores, beaches, and grasslands provide clean, even light and uncluttered backgrounds. These locations also increase opportunities for silhouettes and environmental storytelling.
Is it okay if my images are not perfectly sharp in very low light?
Yes. As light fades, creative interpretation becomes more important than technical perfection. Motion blur, panning shots, and abstract movement can produce compelling artistic images when sharpness is no longer achievable.
Should I delete photos in the field if they look noisy or soft?
No. Images that appear unusable in the field often recover surprisingly well in post-processing. Evaluate files later on a calibrated screen before deciding which images to discard.
Can image stabilization replace a tripod in low-light bird photography?
Image stabilization helps reduce camera shake but does not freeze subject movement. It is effective for perched birds or static scenes but should not replace proper shutter speed for moving subjects.
How can I improve my results over time when shooting in low light?
Improvement comes from consistency and observation. Arrive early, stay late, watch bird behavior, review your images critically, and adjust settings frequently as light changes. Mastery develops through repetition, not shortcuts.
Conclusion: Embrace Low Light and Elevate Your Bird Photography
Dawn and dusk present undeniable challenges—but they also offer the most rewarding opportunities in bird photography.
The combination of heightened bird activity, soft directional light, dramatic skies, and emotional atmosphere allows photographers to create images with depth, mood, and storytelling power.

Success during these hours is not about fighting the light—it is about adapting to it.
By understanding how light behaves, making smart exposure decisions, and accepting creative imperfections when necessary, you move beyond technical limitations and into intentional image-making.
The photographers who grow fastest are those who show up early, stay late, and continue experimenting when conditions are less than perfect.
Smart CTA (Call to Action)
If you want to consistently improve your bird photography, start applying these techniques on your very next shoot—one adjustment at a time.
Then, explore our related guides on:
- Camera settings for wildlife photography
- Understanding bird behavior for better timing
- Composition techniques for storytelling wildlife images
Bookmark this guide, return to it often, and most importantly—get into the field at first light and last glow. That is where unforgettable bird photographs are made.