
If you are hoping to photograph birds using a beginner drone, you are in for an exciting time.
Snapping both slow and fast birds from above is totally doable with entry-level gear, but youwill want to fine-tune a few things as you go.
Getting those crisp, detailed shots comes down to using the right camera settings, nailing your drone maneuvers, and knowing how to approach each style of bird—some take it slow, others zip through the sky so fast it makes your head spin.
Beginner Drone Bird Photography: Can You Really Do It?
A lot of folks think you need a pro drone to catch sharp images of birds in the wild, but technique comes first.
I have gotten surprisingly sharp action shots with pretty basic gear just by knowing what to tweak.
With some practice (and patience; bird photography always needs some of that), you will start seeing big improvements.
I will walk you through what actually matters: the right settings, simple but smart flight moves, and ways to avoid the mistakes I made at the start.
You will also find a quick-reference guide and answers to the common questions that tend to pop up.
Understanding Slow Vs Fast Birds
Every bird acts a little differently around drones, but for this guide, it helps to group them as slow birds or fast birds.
How they move changes what settings and drone moves youwill want to use.
Slow Birds
- Perched birds: These are birds like songbirds or doves resting on branches, fences, or rocks. Movements are subtle; they might preen, look around, or shift a bit.
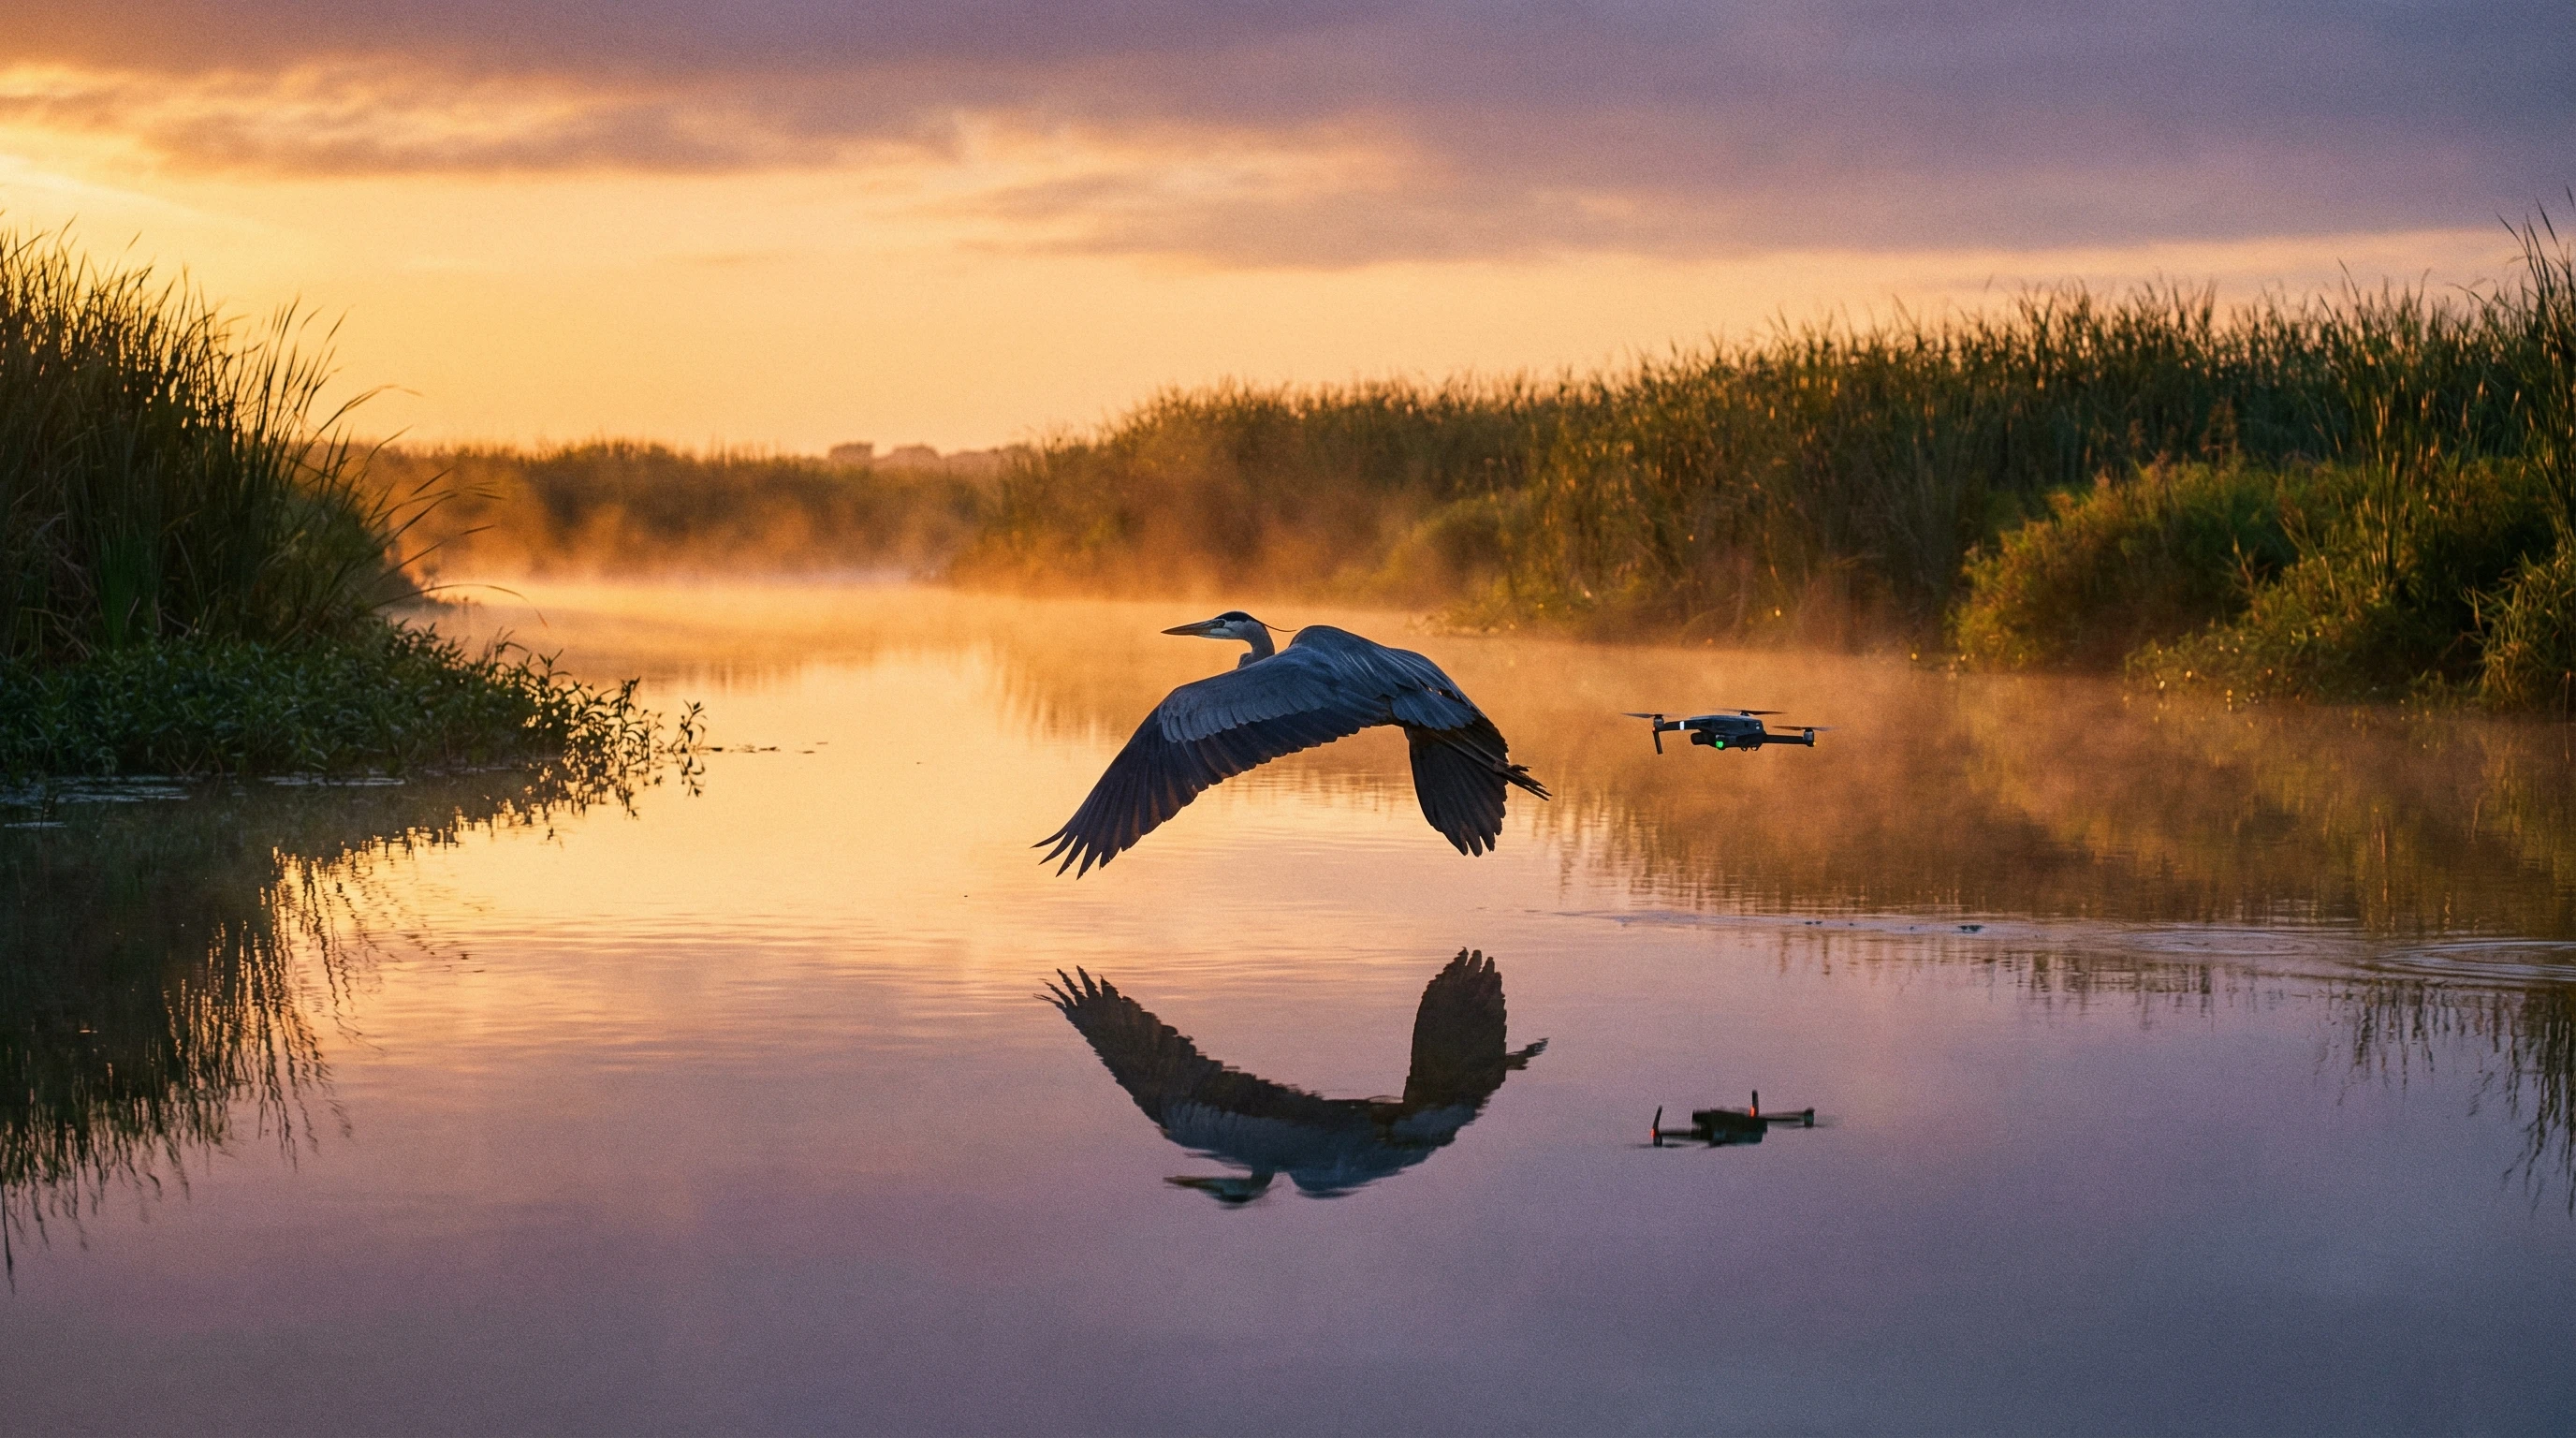
- Gliding birds: Think herons soaring smoothly over water or eagles cruising on a breeze. Wing beats are slow and movement is pretty predictable.
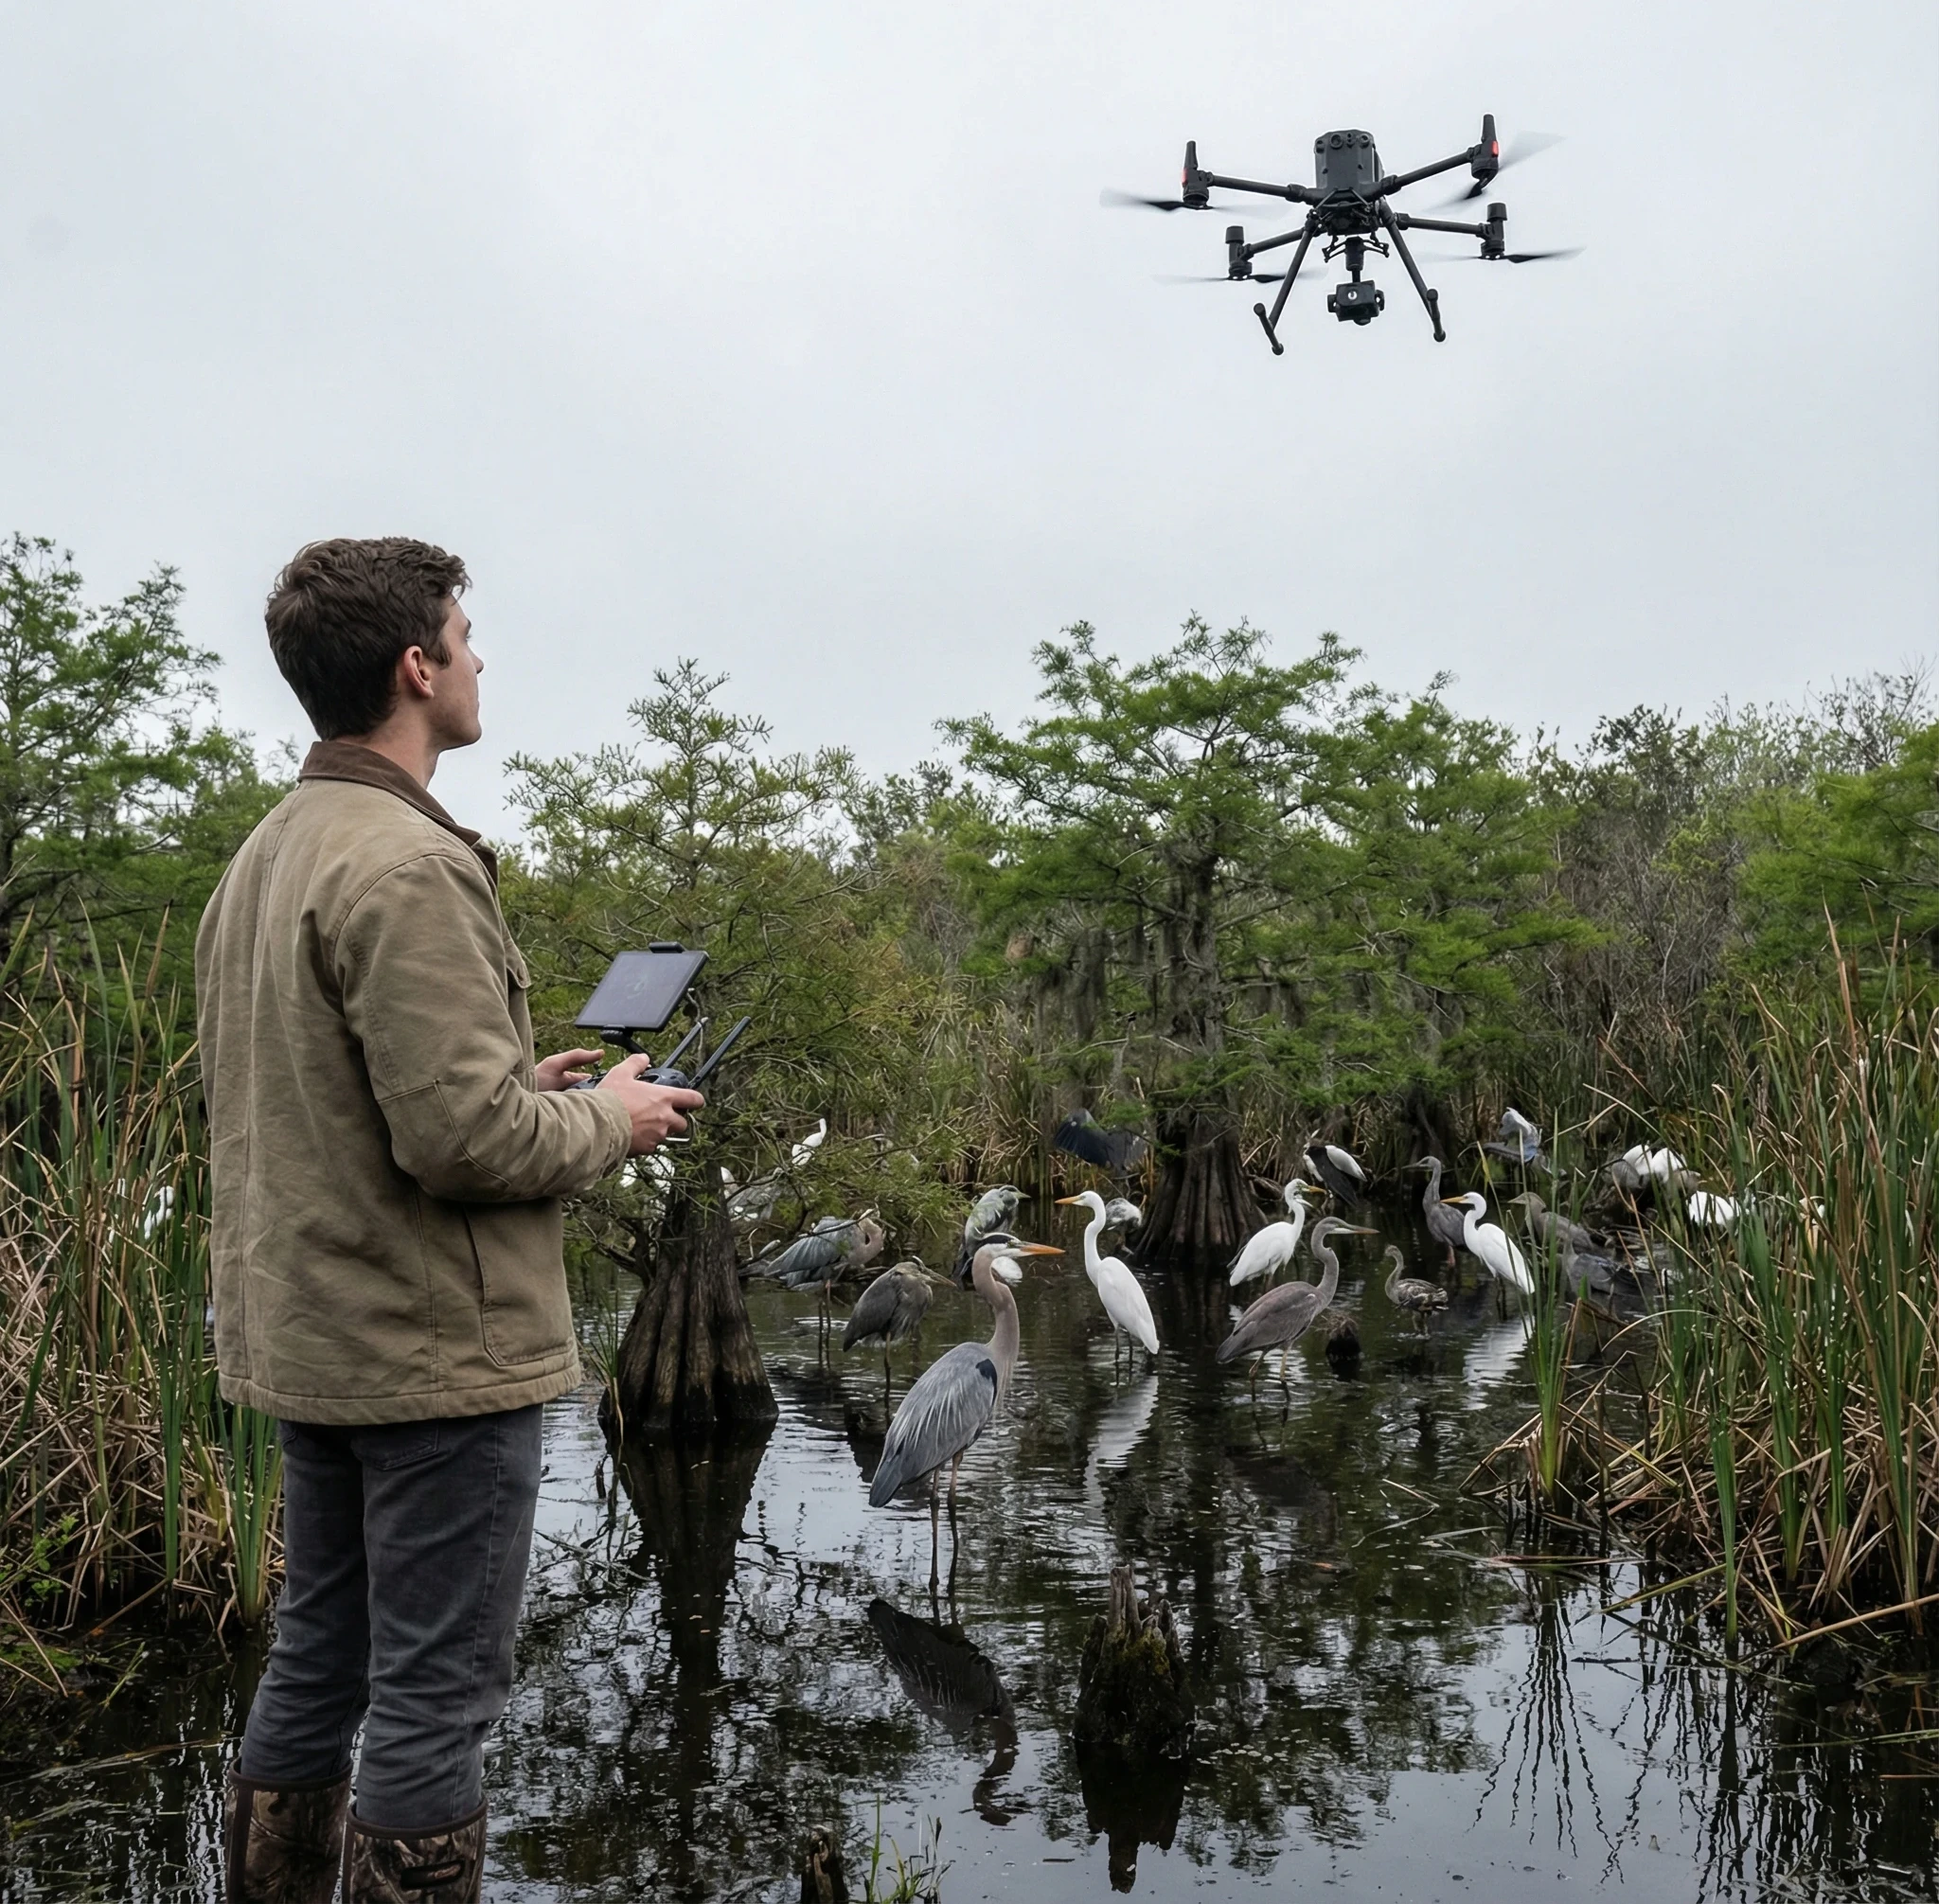
- Feeding waterbirds: Ducks, geese, and waders busy with meals do not usually move quickly unless alarmed. They might wade, dip, or poke at the surface.
- Birds preening: They will stick in one place for a while as they work their feathers; great for practicing composition and patience.
Fast Birds
- Swallows: Lightning fast and acrobatic flyers. They twist and turn to hunt flying insects.
- Terns: Known for quick dives and rapid movement as they hunt over water.
- Raptors diving: Falcons or hawks in pursuit drop at astonishing speeds and can change direction in an instant.
- Flocking shorebirds: Groups of sandpipers or plovers can take off and switch up in coordinated, chaotic patterns.
Bird behavior totally changes how you fly your drone and set up your camera.
Slow birds let you focus on creative framing and detail, while fast birds demand quick reflexes and high-speed settings.
Beginner Drone Settings for Slow Birds
Slow moving or perched birds give you the chance to slow things down and focus on sharpness and detail.
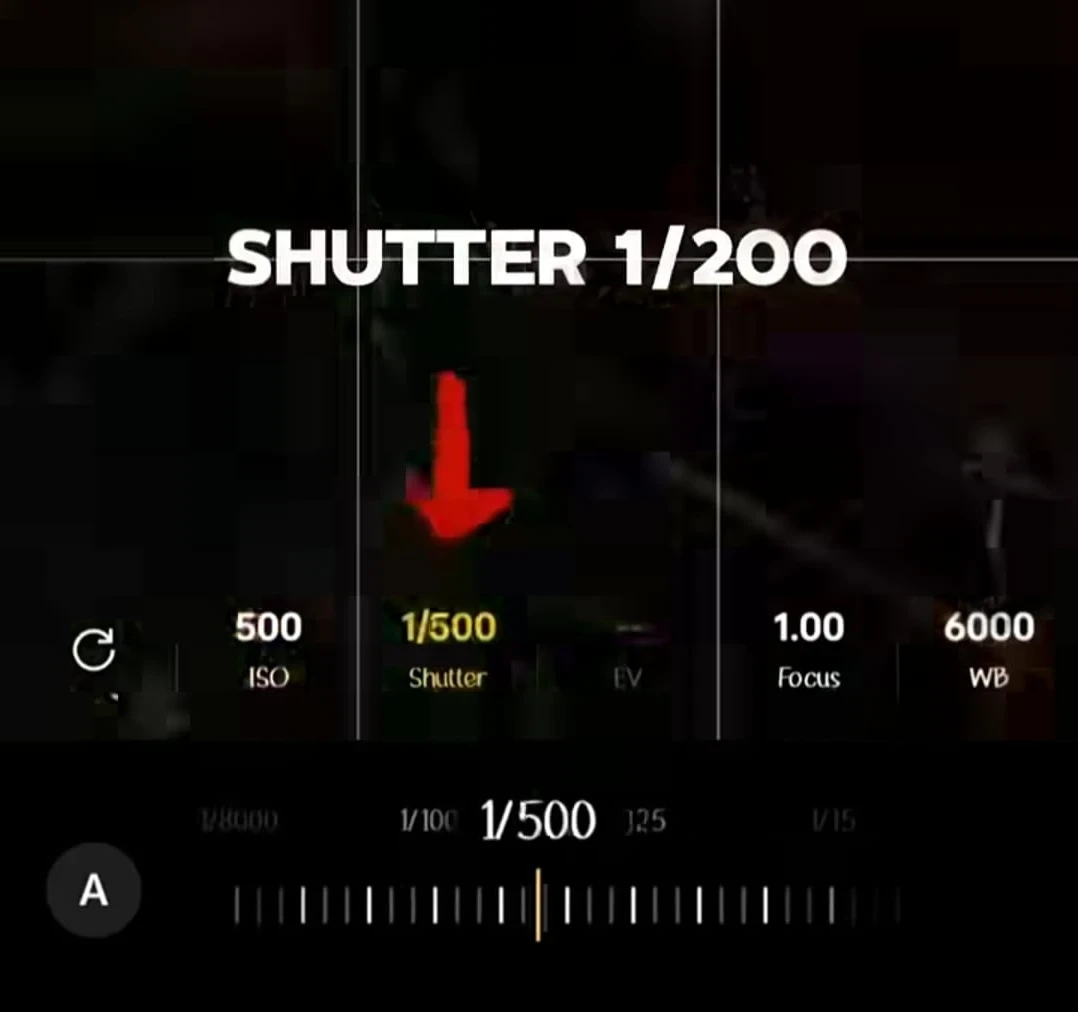
Shutter Speed
I usually set the shutter to 1/800–1/1200 for perched or gliding birds.
This is fast enough to freeze subtle movement (like a twitch or a slow wingbeat) without inviting too much noise from raising ISO.
ISO
It’s best to stay at ISO 100–400 in good light to keep your image clean and sharp.
Most beginner drone cameras start to show more grain above ISO 400, so only go higher if needed in low light.
Aperture
Most entry level drones have a fixed aperture lens.
That means you will control exposure using shutter speed and ISO, so check your drone’s app for the exposure meter and keep exposures balanced to avoid highlights blowing out or deep shadows.
Burst Mode
Not essential for motionless birds, but I like it for birds that fidget or start moving.
Three to five shots per sequence is enough to catch a blink or a turn.
Focus
I always tap to focus on the bird’s eye if possible.
Some basic drones offer continuous autofocus, which helps if the bird is moving around a bit.
If not, at least pre-focus before taking images, and check the preview zoomed in.
Beginner Drone Settings for Fast Birds
Capturing fast flyers means you need extra speed in every sense; camera and reflexes both.
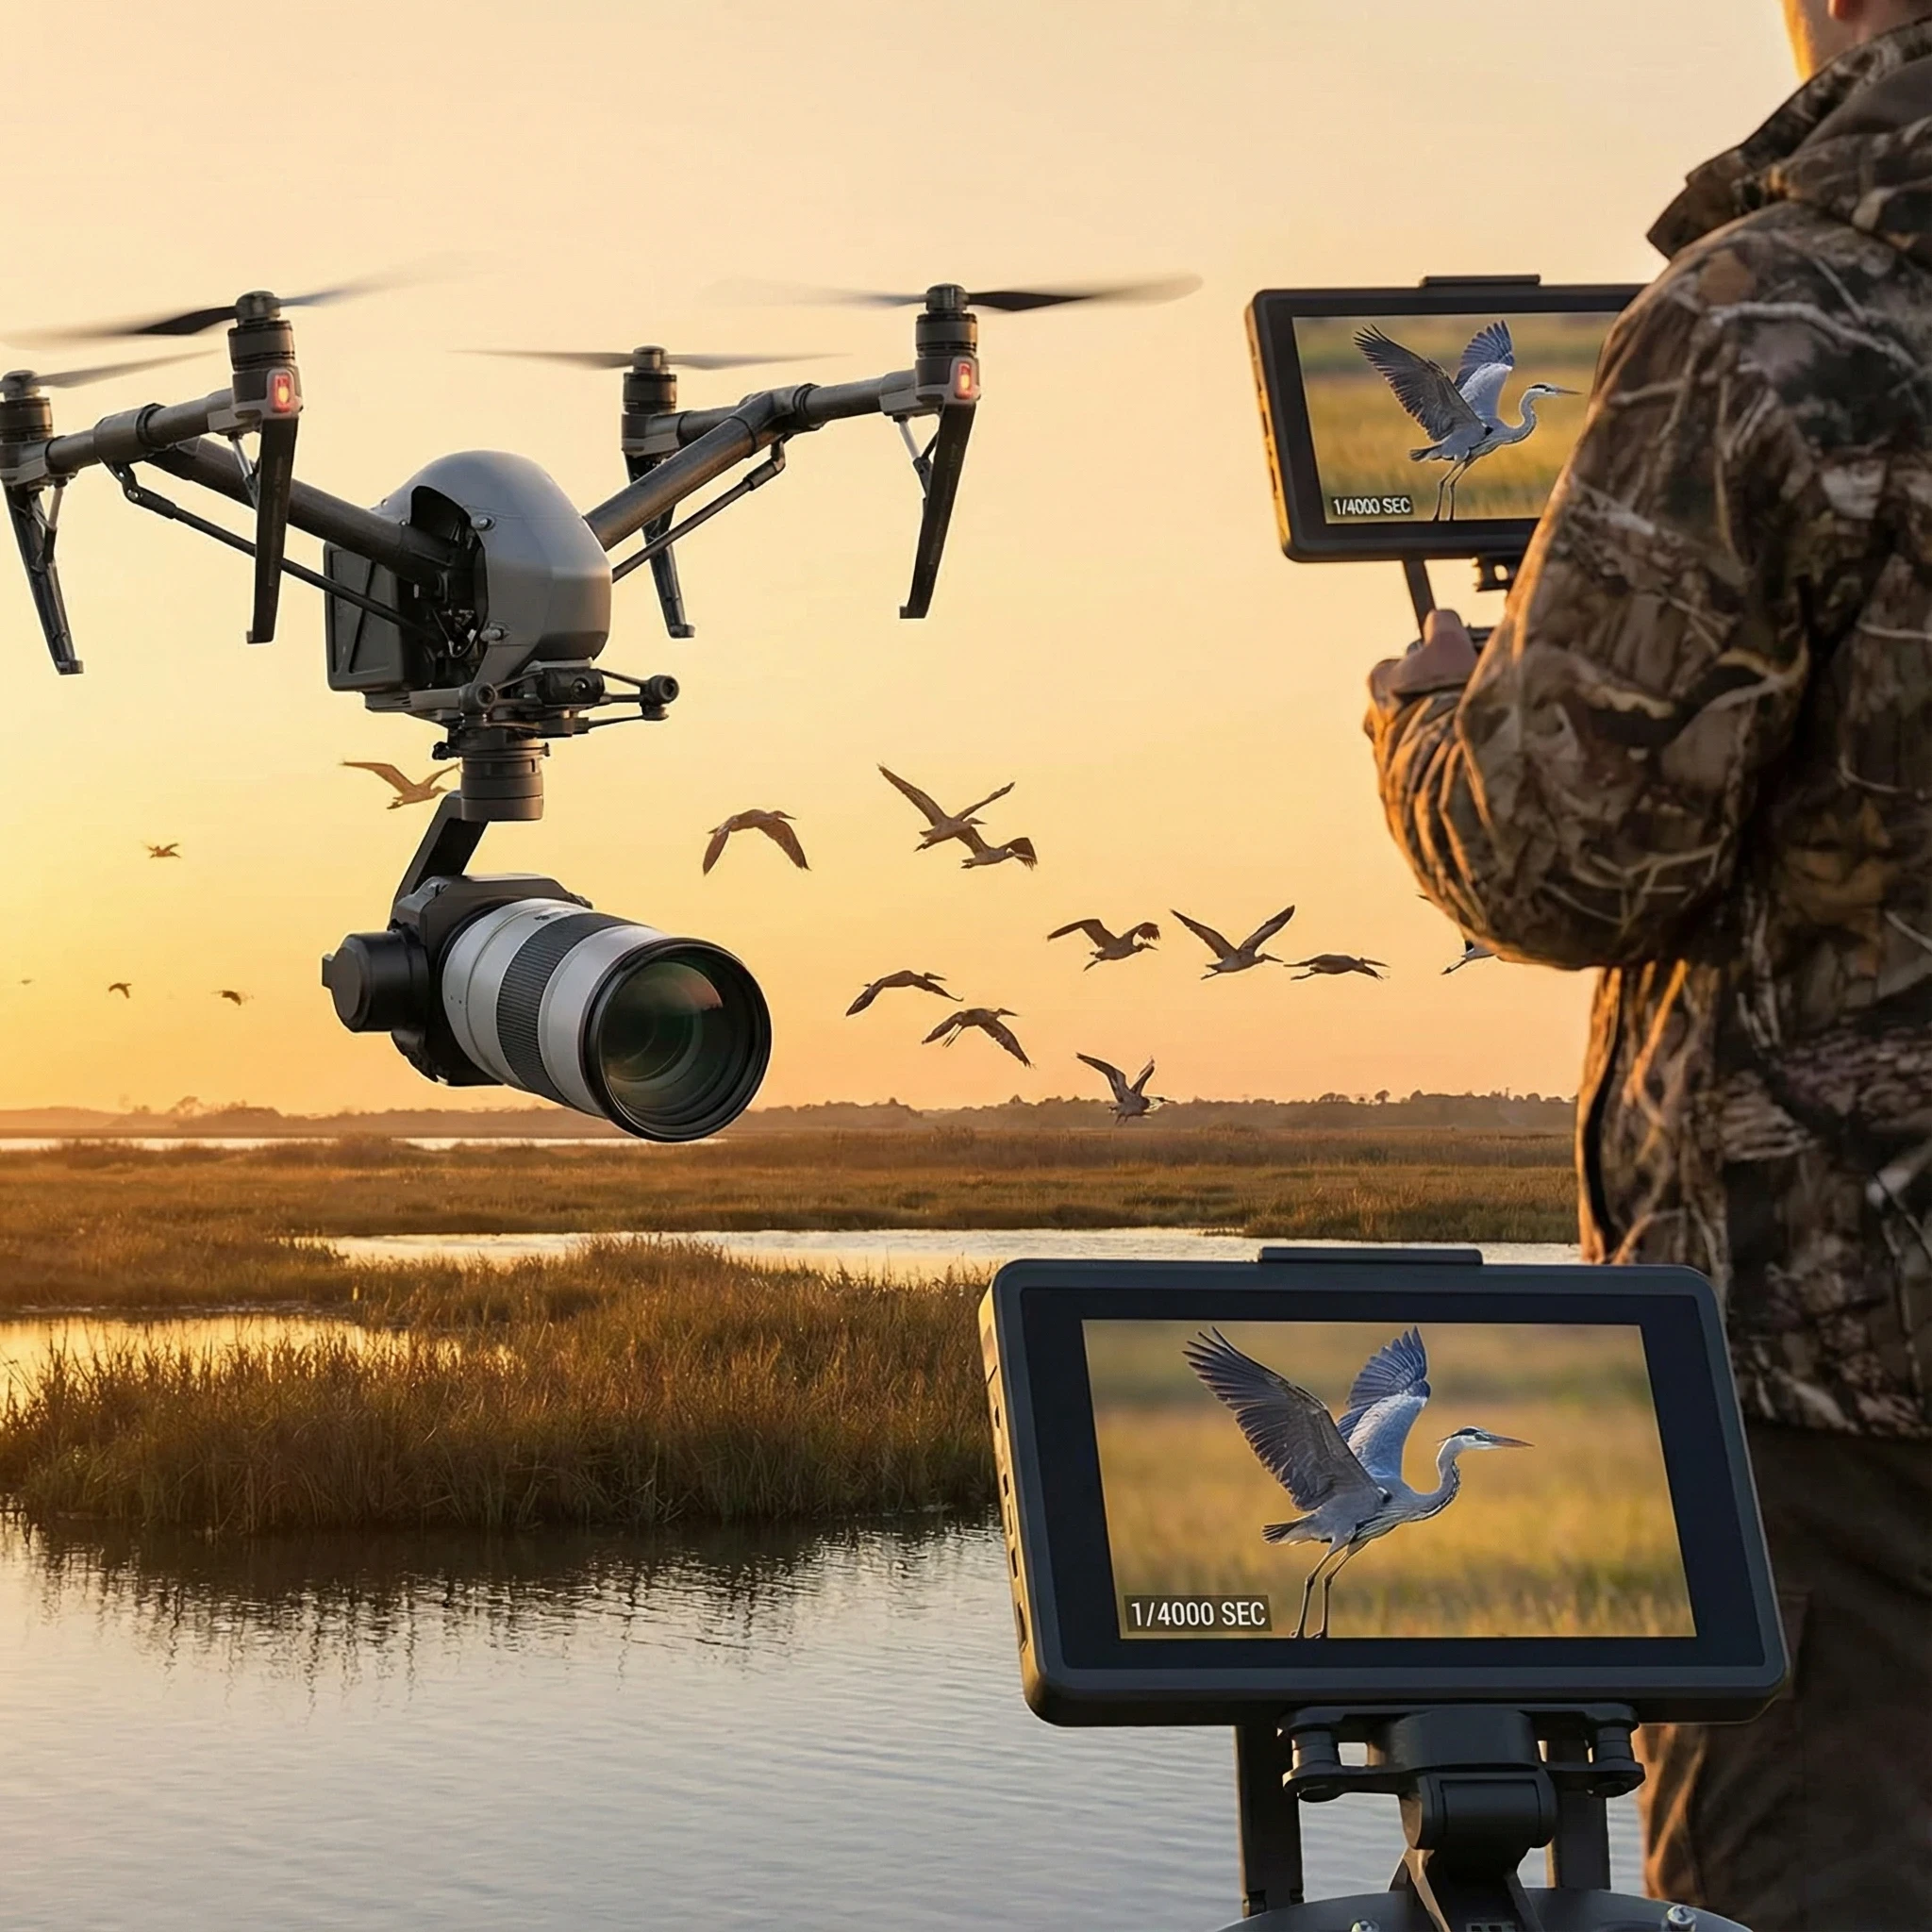
Shutter Speed
You’ll want to jump up to at least 1/2000 and sometimes even go as high as 1/4000 if you want to freeze wingbeats and quick changes in flight.
I go for the highest speed I can while keeping exposure right.
ISO
Do not be afraid to let ISO climb to 800, 1200 or beyond if sunlight is low.
A slightly grainier, sharp image is better than a clean but blurred shot.
There is usually a sweet spot somewhere around ISO 800 for beginner drones.
Burst Mode
This is where burst mode shines.
I use the highest burst setting my drone will handle.
It is super useful for catching different wing positions or movement peaks, especially with swallows and terns.
Tracking Techniques
I keep the bird a little ahead in my frame, not centered; this leaves room for movement and helps avoid cutting off wings or tails.
Instead of chasing, I will drift the drone laterally (sideways or moving parallel) so the bird enters and exits the frame naturally.
Head-on pursuits usually just spook the bird or make it impossible to keep focus.
Flight Techniques for Slow Birds
High to Low Approach
It is usually best to start your drone high and descend gradually.
Slow birds are less likely to flush if you lower the drone gently into position rather than zipping across at eye level.
From above, you can line up habitat shots or get directly overhead frames, but keep movement steady and smooth.
Hover and Let the Bird Move
Once lined up, letting the drone hover and waiting for the bird to shift by itself usually gets more natural photos.
This “set and wait” method is way less stressful for the bird and you will notice little moments, like a stretch or a feather shake, happen when you are patient.
Composition Focus
Framing is a big deal with slow birds.
Show off their feathers, or pull back to include habitat like tree branches, water textures, or morning mist.
When you can, aim for eye-level alignment for a more personal image, which sometimes means finding a perch or tree at drone height and getting parallel with your subject.
Flight Techniques for Fast Birds
Do NOT Chase Birds
Resist the urge to chase after fast movers.
It is stressful for the bird and all you usually get is blurry tail feathers.
Instead, find an altitude where the birds are flying and let them come into your frame.
Sometimes just hovering where you see lots of aerial action will do the trick.
Side Tracking
Moving the drone sideways, parallel to the bird’s flight path, keeps the bird in frame longer and gives you more chances for great shots.
Do not try to catch up from behind or meet headon; it rarely works.
Anticipation
Watch body language: if a bird crouches, shifts, or looks like it’s about to take off, get ready.
Same thing with landing; the direction of flight is usually easy to predict if you study their approach a bit.
Lighting Considerations for Both Slow and Fast Bird Photos
Golden Hour
Sunrise and sunset hours bring softer light, deep colors, and cool reflections; perfect for bird photos.
It’s also when many birds are most active, so it’s a win-win.
Avoid Harsh Midday Light
Bright sunlight around noon creates harsh shadows and quick highlights, especially tough for fast birds where detail matters.
If you have no choice, at least angle your drone to use the light to your advantage, avoiding topdown glare.
Backlighting for Drama
For dramatic flight photos, try backlighting, having the sun behind your subject.
You’ll get rim lighting along the wings and feathers or even beautiful silhouettes.
Just be ready to bump your exposure up so the bird isn’t lost in shadow.
Composition Differences: Slow Vs Fast Birds
Slow Birds
- Focus on fine feather details, the eyes, and subtle color shifts. Clean, soft backgrounds work well (think water, sky, or blurred grass below).
- Give the bird space in the frame so it isn’t cramped; this makes the shot look more natural and peaceful.
Fast Birds
- Capturing movement tells a big part of the story. Decide whether you want to freeze a perfect wing position or show some blur for energy.
- Try to time burst shots for moments when the wings are stretched out or at the peak of a dive; this is when flight looks the most dramatic.
- Leaving space in the frame ahead of the bird’s movement helps lead the viewer’s eye through the shot.
Common Beginner Mistakes
- Using too slow a shutter speed for fastflying birds; ends in blurry, unusable shots. Always go faster than you think you need.
- Flying too close; birds flush or get spooked, and you miss the shot altogether.
- Chasing birds; this just ends up stressful for wildlife and for you.
- Ignoring wind; gusty conditions upset both stable hovering and your subject.
- Missing burst mode; leads to missed actions, especially with quickmoving birds.
- Overusing digital zoom; this often makes images soft and pixelated. Get closer by flying carefully, not by zooming in too much.
Best Beginner Drones for Capturing Slow and Fast Birds
- Drones with solid autofocus: Taptofocus models or those offering continuous AF help heaps with moving birds. DJI Mini 3 and Mini 4 Pro, for example, are great starting points.
- Good 4K cameras: Even with small sensors, 4K helps preserve detail and makes cropping easier during editing.
- Higher frame rate options: If your drone can shoot 60 fps (frames per second), that’s handy for bursts and video frame grabs.
- Quiet operation: Quieter drones keep birds calm and reduce the chance of scaring them off while you frame your shot.
If you’re looking for more beginner drone recommendations, check out my related guide on best drones for bird photography.
Ethical Considerations
- Avoid nesting zones; never fly close to active nests. Disturbing nesting birds can lead to stress or even nest abandonment.
- Observe bird stress signals; if birds start alarm-calling, fidgeting nervously, or fly away, pull back immediately.
- Respect feeding grounds; don’t disrupt birds while they gather food, especially during migration months when energy is low.
- Maintain a safe distance; use your camera’s reach or fly up high, then gently descend for photos, monitoring behavior constantly.
- Bird wellbeing always comes first; even over that once-in-a-lifetime shot.
Practice Plan for Bird Photography Fans
- Start with slow birds: Practice on perched or feeding species since they’re less tricky and let you work on focus and framing.
- Move on to gliding birds: Herons, pelicans, or gulls in steady flight help you learn to track smoothly without rushing.
- Try some moderatespeed birds: Ducks taking off or cormorants in low flight offer steady but quicker movements for nextlevel practice.
- Try your hand at fast flyers: Once you’re comfy, target swallows or terns in good light with your fastest settings and burst mode maxed.
- Stick with the same locations: Repeated visits help you learn flight patterns and improve timing for the best shots.
Quick Settings Cheat Sheet
Slow Birds:
- Shutter: 1/1000
- ISO: 100–400
- Use hover/descend approach
Fast Birds:
- Shutter: 1/2500 or faster
- Burst mode ON
- Track sideways, use higher ISO if needed
Frequently Asked Questions
Can beginner drones capture birds in flight?
Yes!
Even entrylevel drones can catch birds in action; getting sharp results depends more on using the right shutter speeds, focus, and anticipation than the price of your drone.
What shutter speed is best for fast birds?
For fast flyers like swallows or terns, aim for 1/2000 at minimum; faster (up to 1/4000) if your lighting allows it.
This helps freeze those rapid wingbeats or sudden dives.
How do I photograph perched birds with a drone?
Ascend slowly and keep your movements gentle.
Use a moderate shutter speed (about 1/1000), tap to focus on the eye, and compose with the background in mind.
Hovering above or at bird level gives the best shot without startling them.
Should I use burst mode for slow birds?
Burst mode isn’t always needed for stationary birds but comes in handy for those little moments; turns, feather ruffles, sudden movement.
It’s not going to hurt, and you can always delete the extras.
Why are my bird photos blurry?
Usually, it’s a slow shutter speed or missed focus.
Bumping up shutter speed and ensuring you’ve tapped to focus on the bird helps.
If you’re chasing instead of tracking from the side, you might also get blur from movement.
Final Thoughts
Getting great bird photos with a beginner drone takes patience, practice, and an eye for bird behavior.
Start slow, focus on the basics, and build up your skills with each new flight. Slow birds set the stage for learning, while fast birds keep your reflexes sharp.
With the right approach, your next sharp, breathtaking shot could be just around the corner.
For more beginner drone tips and gear guides, check out my full drone photography series.