
Getting three dimensional drama in black and white bird photos comes down to a few specific techniques:
– using directional lighting such as side or backlight, maximizing tonal contrast, separating your subject from foreground and background,
– layering elements in the frame, carefully choosing your aperture,
– isolating the bird within its environment,
– and using thoughtful dodging and burning in post-processing.
Black and white images strip out color, so everything depends on how you control light, shade, texture, and contrast to give your bird photos a real sense of depth.
How Monochrome Can Look Flat, and Why Depth Matters
Without careful tonal separation and lighting, black and white bird photos can end up looking flat.
Colors are gone, so you are not getting that easy pop between green leaves and a red cardinal.
The way you place light on your subject, how you blur your background, and even how you choose to frame your shot are what make it all work.
Both in camera and in editing, your main goals will be to highlight what helps the bird pop out while guiding the viewer’s eye around the scene.
If you skip these steps, the photo just looks two dimensional, and a lot of detail gets lost.
So, paying attention to things like light direction and what’s in and out of focus really makes all the difference.
Why Black and White Bird Photos Sometimes Look Flat
I have seen a lot of monochrome bird shots where the bird kind of melts into a messy background.
This happens for a few reasons: there’s no color contrast to separate subject from background, the light is coming straight down from above, which squashes the textures, and the dynamic range is not broad, so everything sits in the gray middle.
Busy branches or distracting backgrounds in the same tone as the bird also make it tricky to create depth.
Toss in a lack of strong highlights or shadows, and you have an image with nowhere for your eyes to rest.
Using Directional Lighting to Sculpt Your Subject
Where your light comes from is super important in black and white.
Unlike color photos that can get away with softer, more diffuse lighting, monochrome shots often look best with harder, more pronounced shadows and highlights.
Getting this right is foundational. Let’s look at how different lighting directions can shape your images.
Side Lighting
When the light hits the bird from the side, feathers and textures stand out in a big way.
Side lighting helps sculpt the shape of your subject, adding clear gradations between light and shadow.
This not only emphasizes details in plumage but also gives a three dimensional sense to the entire scene. You will spot subtleties in the feathers that just do not pop with flat, overhead light.
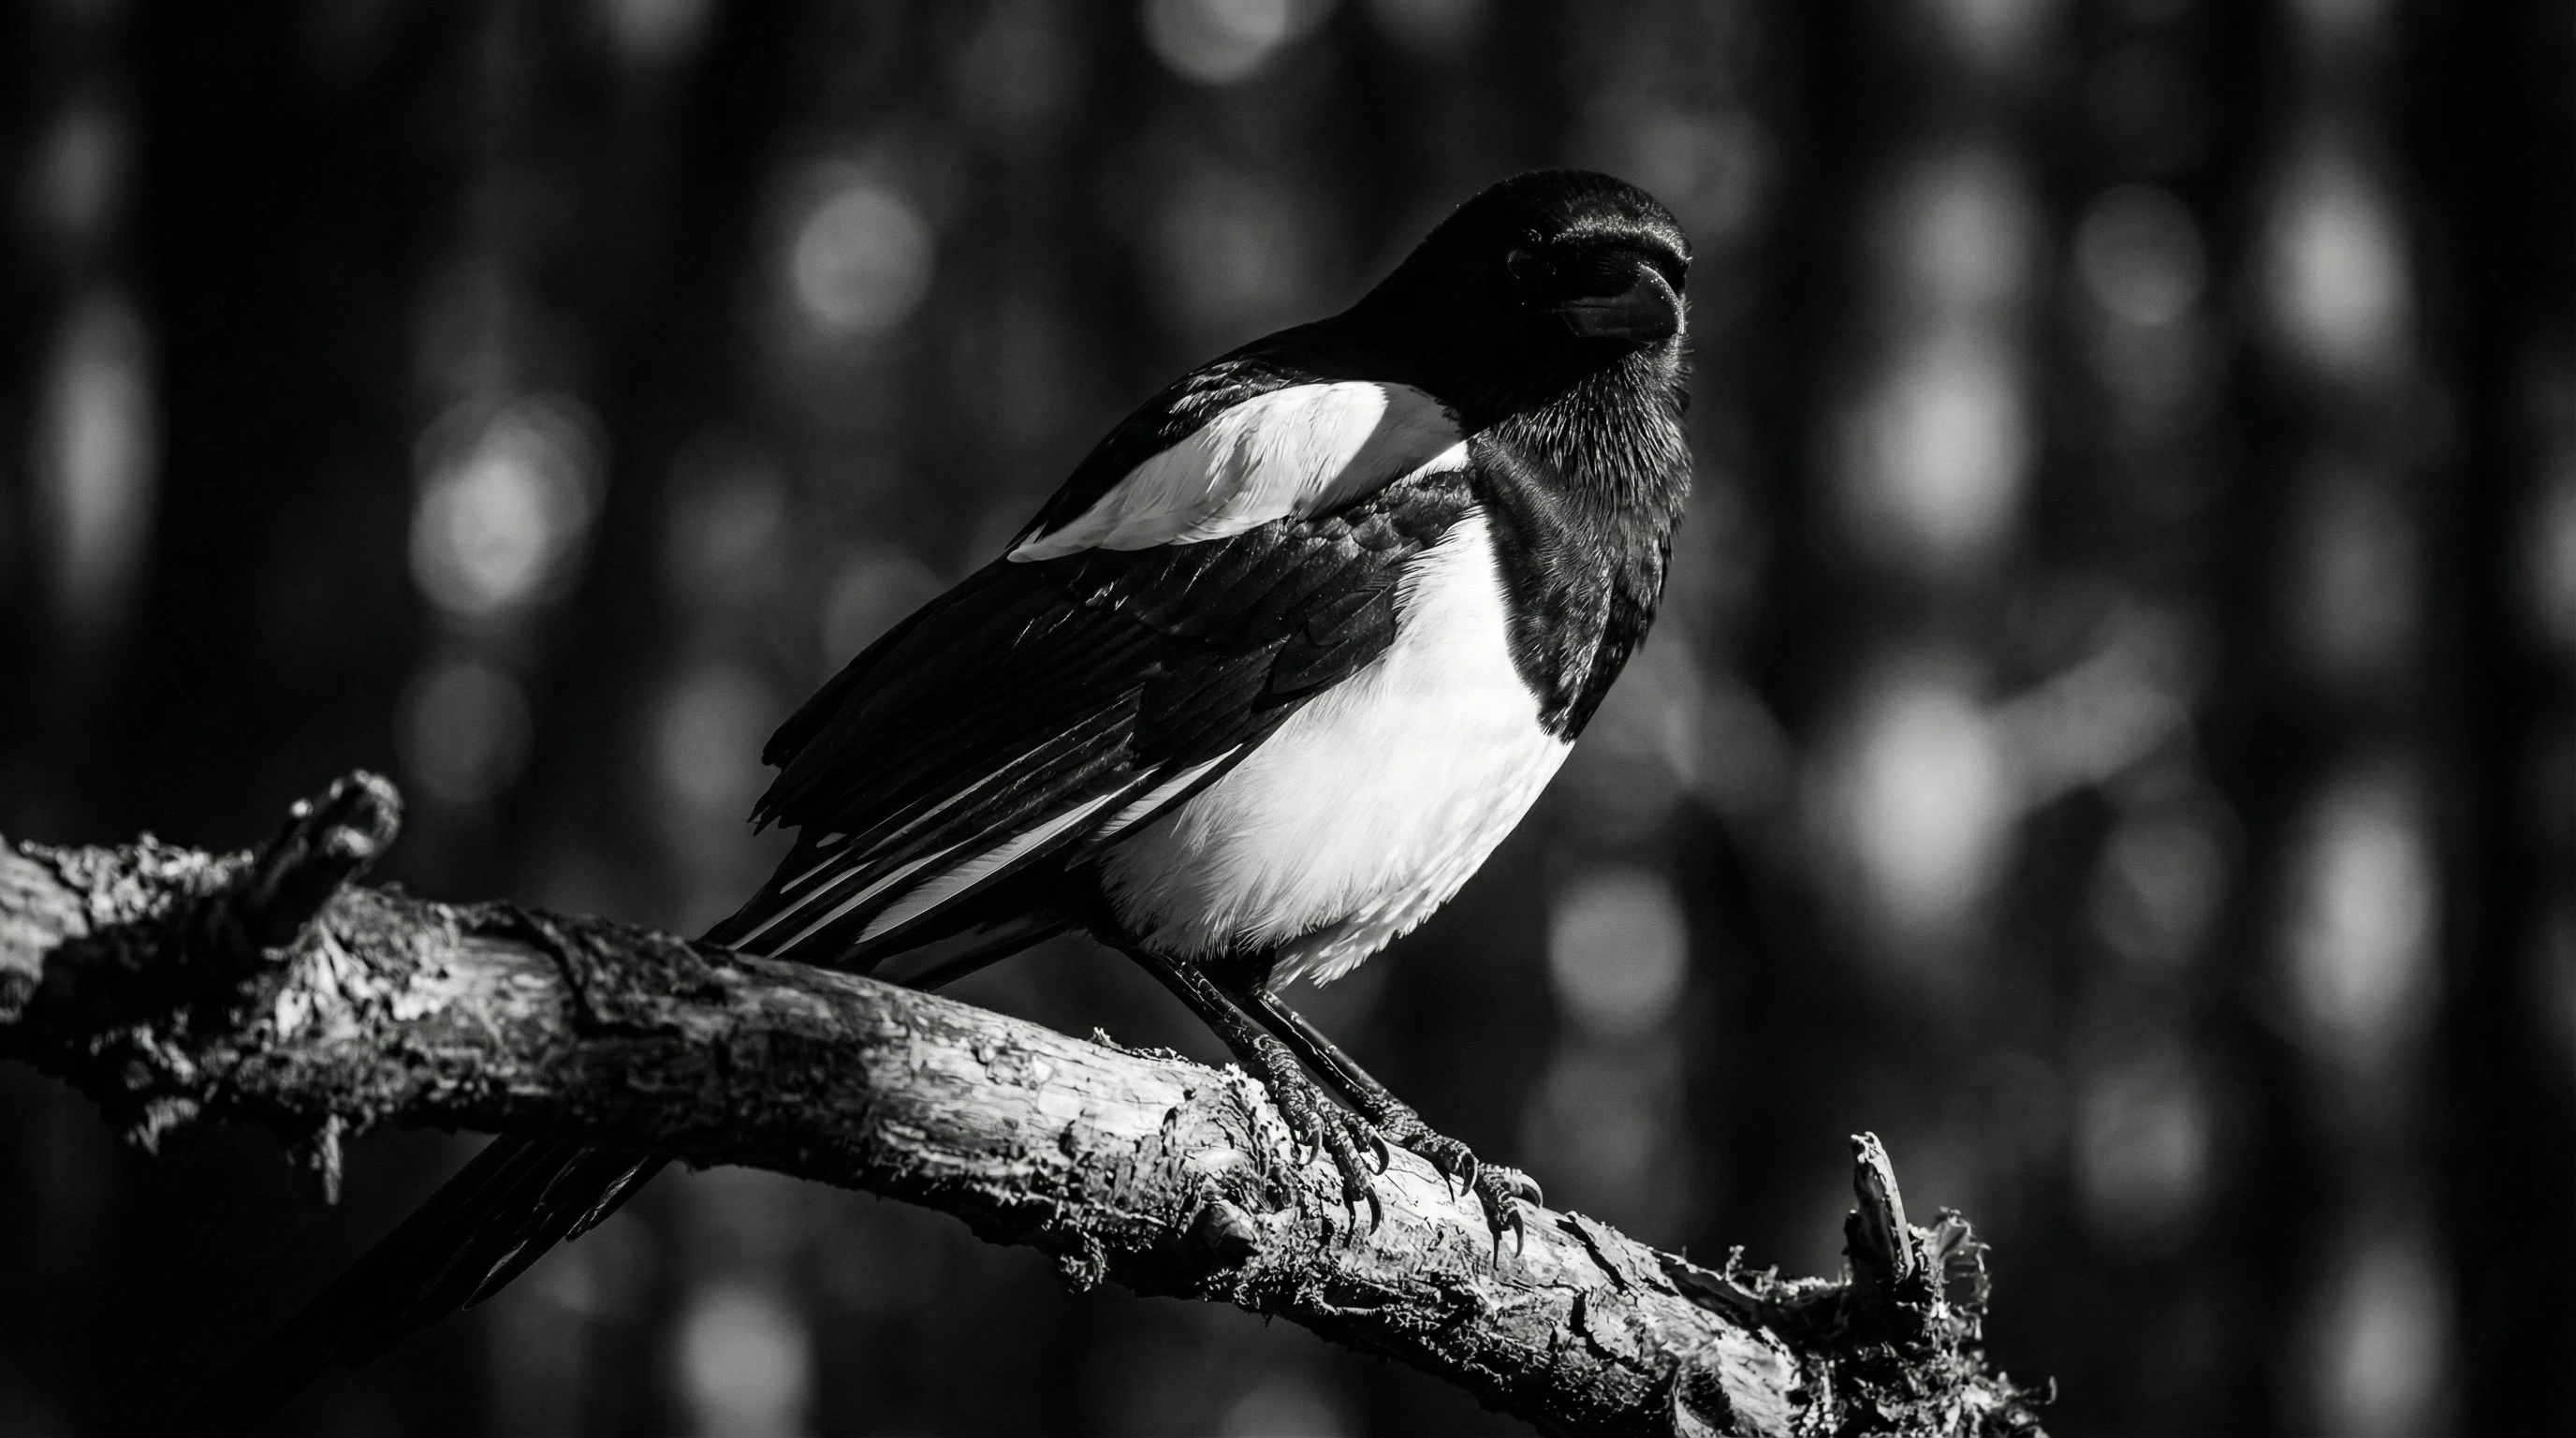
Backlighting
When you shoot with the light behind your bird, you get a glowing outline, sometimes called rim lighting, that really separates it from whatever is in the background.
Sometimes it even creates dramatic silhouettes, especially in early morning or at sunset, when those halos are strongest.
The glowing edge around your subject gives extra definition and impact, particularly for birds with lighter outlines or distinctive shapes.
Low Angle Light (Golden Hour)
Shooting when the sun is low creates soft yet directional light.
You will see gradual transitions from bright to shadowed areas, which builds roundness and realism in your subjects.
This light adds a gentle three dimensional vibe, making your photos feel more lifelike.
Golden hour is a favorite time to hunt for subtle textures that come alive in monochrome.
Creating Tonal Separation Between Bird and Background
One of the best ways to add depth is to make sure your bird is not blending in with what is behind it.
Try to find scenes where you have either a dark bird on a light background, or flip it, with a pale bird against darker tones.
This contrast helps lift the subject visually.
If your camera has exposure compensation, do not be afraid to dial it up or down to keep the highlights from blowing out or the shadows from getting crushed.
Checking your histogram while you shoot helps you keep all those details right where you want them.
Tonal separation not only helps make your subject stand out but also invites the viewer’s eyes to stay in the frame longer, exploring texture and detail.
In some cases, you might want to wait for the bird to move into a better spot or even change your angle slightly.
Adjusting your position just a bit can swap out a distracting background for something much more pleasing.
It is often easier to fix this in the field than later in editing.
Using Aperture to Control Depth of Field
Wide Aperture (f/4–f/5.6)
Shooting with a wider aperture throws the background way out of focus.
The bird stays razor sharp, but everything else turns into pleasing blur photographers call bokeh.
This blur only isolates your main subject but also pushes distracting elements far enough away that your eye would not get snagged on them.
The shallower your depth of field, the easier it is to create a sense of spatial layering in a black and white photo.
Balanced Aperture (f/8)
If you want some of the bird’s habitat to come through, closing down a bit (maybe to f/8) can be a smart move.
The bird will still be tack sharp, but the environment will stay just in focus enough to give context without becoming a distraction.
Getting this balance is pretty handy when you want to show a bird’s relationship with its surroundings but still want it to stand out clearly.
Do not be afraid to experiment with different apertures depending on how busy your background is and how much detail you want to include.
Even small adjustments can have a big effect on the perception of depth.
Adding Foreground and Background Layers
Including foreground (things closer to you than the bird) or background (things further away) inside your frame does loads for depth.
Even a few blurred leaves or some out of focus branches can work like magic to create a feeling of visual layering.
Sometimes I will position myself so I am shooting through grass, letting a couple blades blur into the edges for more depth.
Using natural framing, like an arching branch or a tangle of reeds, brings the viewer’s eye deep into the shot and helps reinforce a three dimensional look.
Placing objects closer and further away in your scene, even subtly, forces the viewer’s eye to explore the different visual planes.
Layers also add context to the environment and can set the scene or mood for your shot.
Choosing the Right Perspective
Eye Level Perspective
Getting at eye level with the bird, literally lying down sometimes, always makes images feel more immersive.
It adds to the sense that you are sharing the bird’s world rather than peering down from above or looking up from below.
This perspective invites the viewer into the bird’s space instead of just observing from a distance.
Low Angle
Shooting from a very low angle ups the drama, letting the bird dominate its space.
This is especially effective for ground feeding birds or waders where the background can be a soft gradient of earth or water, setting the bird apart and building depth at the same time.
Getting low often requires patience, but the effect on the dimensionality of your photo can be striking.
Elevated Angle
Shooting from above might be handy for certain storytelling shots, like nest scenes for example, but flattens out the sense of depth.
I usually save high perspectives for moments when showing patterns or context is more important than pure dimensionality.
Keep this perspective as a conscious choice rather than your default.
Getting Contrast Right
Popping the contrast is tempting, but too much will actually flatten your image.
Instead, I work to add midtone contrast and use local adjustments in post-processing.
Boost feather textures without making the bird look like it is cut out and pasted on top.
Preserving those soft transitions in tones, especially in shadowy and highlight rich areas, keeps things lively and three dimensional.
Use contrast selectively.
Focus on boosting the areas that provide structure and dimension while letting the softer gradients stay subtle.
That balance helps surfaces feel round and dynamic.
Dodging and Burning for a 3D Effect
Dodging and burning, selectively brightening and darkening specific areas, is a big part of my editing process.
Brightening the bird’s eye slightly can add life, while carefully darkening background distraction helps pull focus to important details.
Adding a bit more shadow under wings or around the edges can subtly guide the viewer’s attention where you want it.
These tweaks do not have to be obvious; subtlety usually comes across best in black and white.
Try small dodges and burns to “sculpt” light around your subject, making textures and shapes stand out for that illusion of depth.
This method works especially well when combined with tonal separation and smart use of contrast.
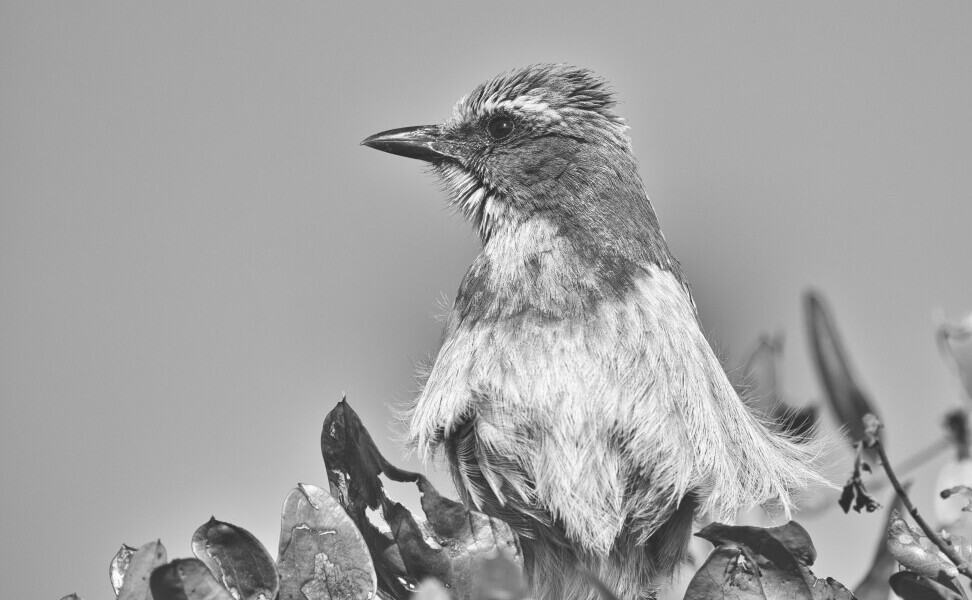
Texture: The Secret Weapon for Depth
If there is one thing black and white does really well, it is handling texture.
Stepping up feather detail using clarity, texture, or structure sliders in editing software draws viewers in.
Side lighting brings out even more micro detail, so each barb and ridge catches the light differently for serious 3D vibes.
Even a little boost in clarity can help accent sharp lines without wrecking the softness of the softer feather areas.
Paying attention to textures in both camera and post opens up a world of possibility for making a simple photo feel life like and layered.
Texture is often what differentiates a dramatic monochrome bird image from a flat one.
Background Management
Clean backgrounds with smooth gradients, like open sky, fog, or distant trees, work wonders for helping the bird stand out in black and white.
Busy or cluttered backgrounds full of twigs and grass in similar tones as your subject sap all your depth.
I always look for simple scenes where the main tones either fade softly or contrast cleanly with the bird.
If I can’t get this in camera, sometimes a touch of background blur or darkening in editing makes things much smoother.
If you want to create truly eye catching black and white images, remember simplicity is often your friend.
The more negative space or uniform the background, the stronger the sense of depth around your subject.
The Best Situations for Three Dimensional Monochrome Bird Photos
Some birds and scenarios are especially good candidates for black and white depth.
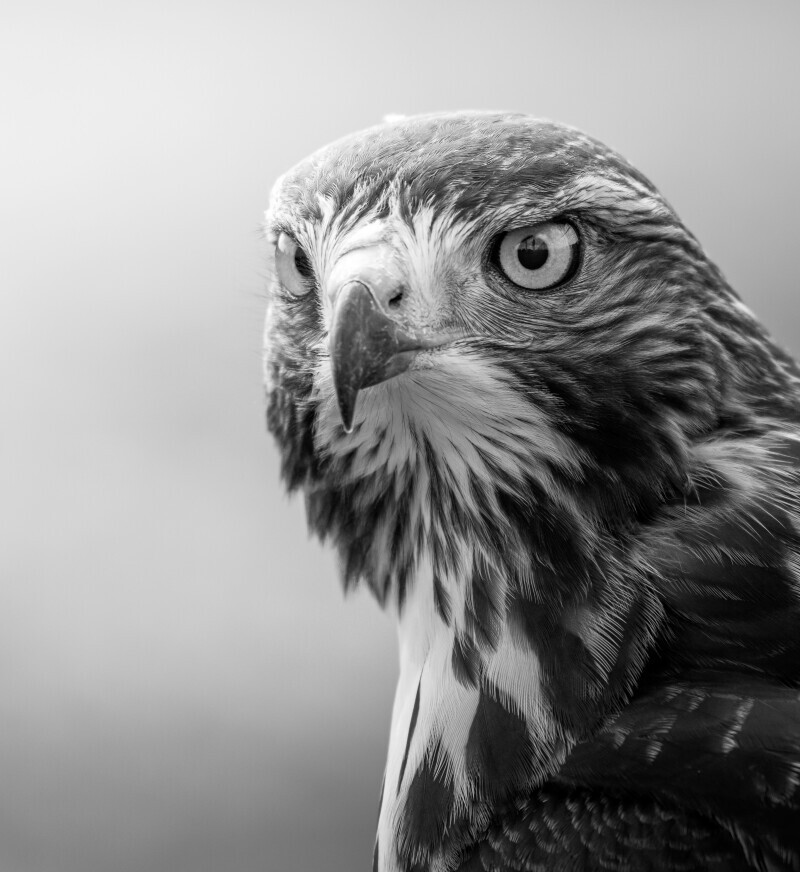
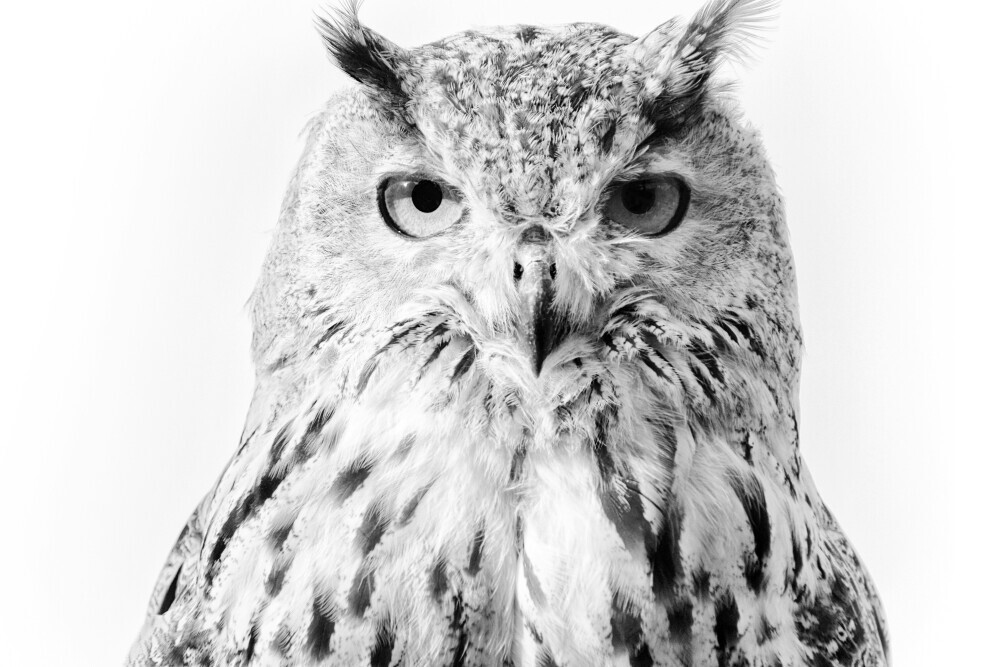
Raptors (hawks, owls, eagles) often look incredible in low, raking light with dramatic backdrops.
Herons wading through misty wetlands turn into dreamy, layered scenes.
Foggy mornings give you built in background separation.
Backlit gulls at the beach or perched birds framed with lots of foliage also work beautifully since these all offer full control over contrast, layering, and light direction.
Look to photograph birds at times of day and places where you can tap into natural gradients and strong lighting.
Pay attention to your weather—mist, haze, or fog can be your best friend for clean tonal layers in the background.
Think of each scene not just in terms of what is there, but how the light interacts with surfaces, shapes, and textures to give a sense of depth.
Common Mistakes That Flatten Depth
- Shooting at midday in flat, overhead sun
- Converting color images to black and white if they were poorly lit and lack tonal contrast
- Pushing editing so hard you lose all details in darks or lights
- Letting highlights overexpose or shadows turn into pure black
- Not paying attention to background separation, so the bird blends in
It’s easy to make these mistakes, especially when you’re learning.
Watch out for these pitfalls, and your monochrome bird photos will instantly step up in quality.
Quick Checklist for Creating Depth in Black and White Bird Photos
- Look for directional light (side or backlight is best)
- Set up strong tonal contrast between bird and background
- Use a wide or medium aperture for shallow depth of field
- Include some foreground layers, like grass, branches, or rocks
- Make sure the bird’s eye is sharp and well lit
- Apply subtle dodge and burn to guide attention
Running through this mental checklist as you shoot ensures your images have the kind of drama and dimensionality that stand out.
Related Reading You Might Like
- Techniques for Black and White Bird Photography
- Choosing the Right Lens for Monochrome Bird Photography
- Creative Use of Depth of Field in Bird Photos
These articles will help you dig into more details around techniques and gear for taking your bird photography to the next level.
Frequently Asked Questions
Why do my black and white bird photos look flat?
If your black and white bird photos look flat, it’s often because there isn’t enough separation in tones between your subject and background, or you’re working with soft, flat lighting instead of something more directional. Too much or too little contrast in editing can also flatten the look.
How do I add depth in monochrome photography?
To add depth, use directional light, work with shallow depth of field, and place elements in the foreground and background. Layer your composition and use dodge and burn in editing to create separation and guide focus.
What lighting is best for black and white bird photography?
Side lighting and backlighting are great for building dramatic shadows and separating the bird from the background. Low angle, early, or late day light is often the easiest to work with.
Does depth of field matter more in black and white?
Depth of field is pretty important in both color and black and white, but it’s especially useful for monochrome shots because blurring the background makes the bird stand out when you can’t rely on color contrast. Shallow depth of field helps with visual layering and creates more dimension.
Wrapping up
Remember that black and white bird photography is all about working with light, texture, and thoughtful composition.
With practice and a sharp eye for tonal differences, you’ll be able to make striking, three dimensional monochrome images that feel full of life and energy.
Each small adjustment in lighting, angle, or editing can help your subject truly stand out and take up a notch your vision as a photographer.
Got any interesting from this article ?
Drop them in the comments below. And don’t forget to subscribe for regular tips.
If you need some starter equipment, check out my gear recommendations too.
Happy photographing !!!!!!