
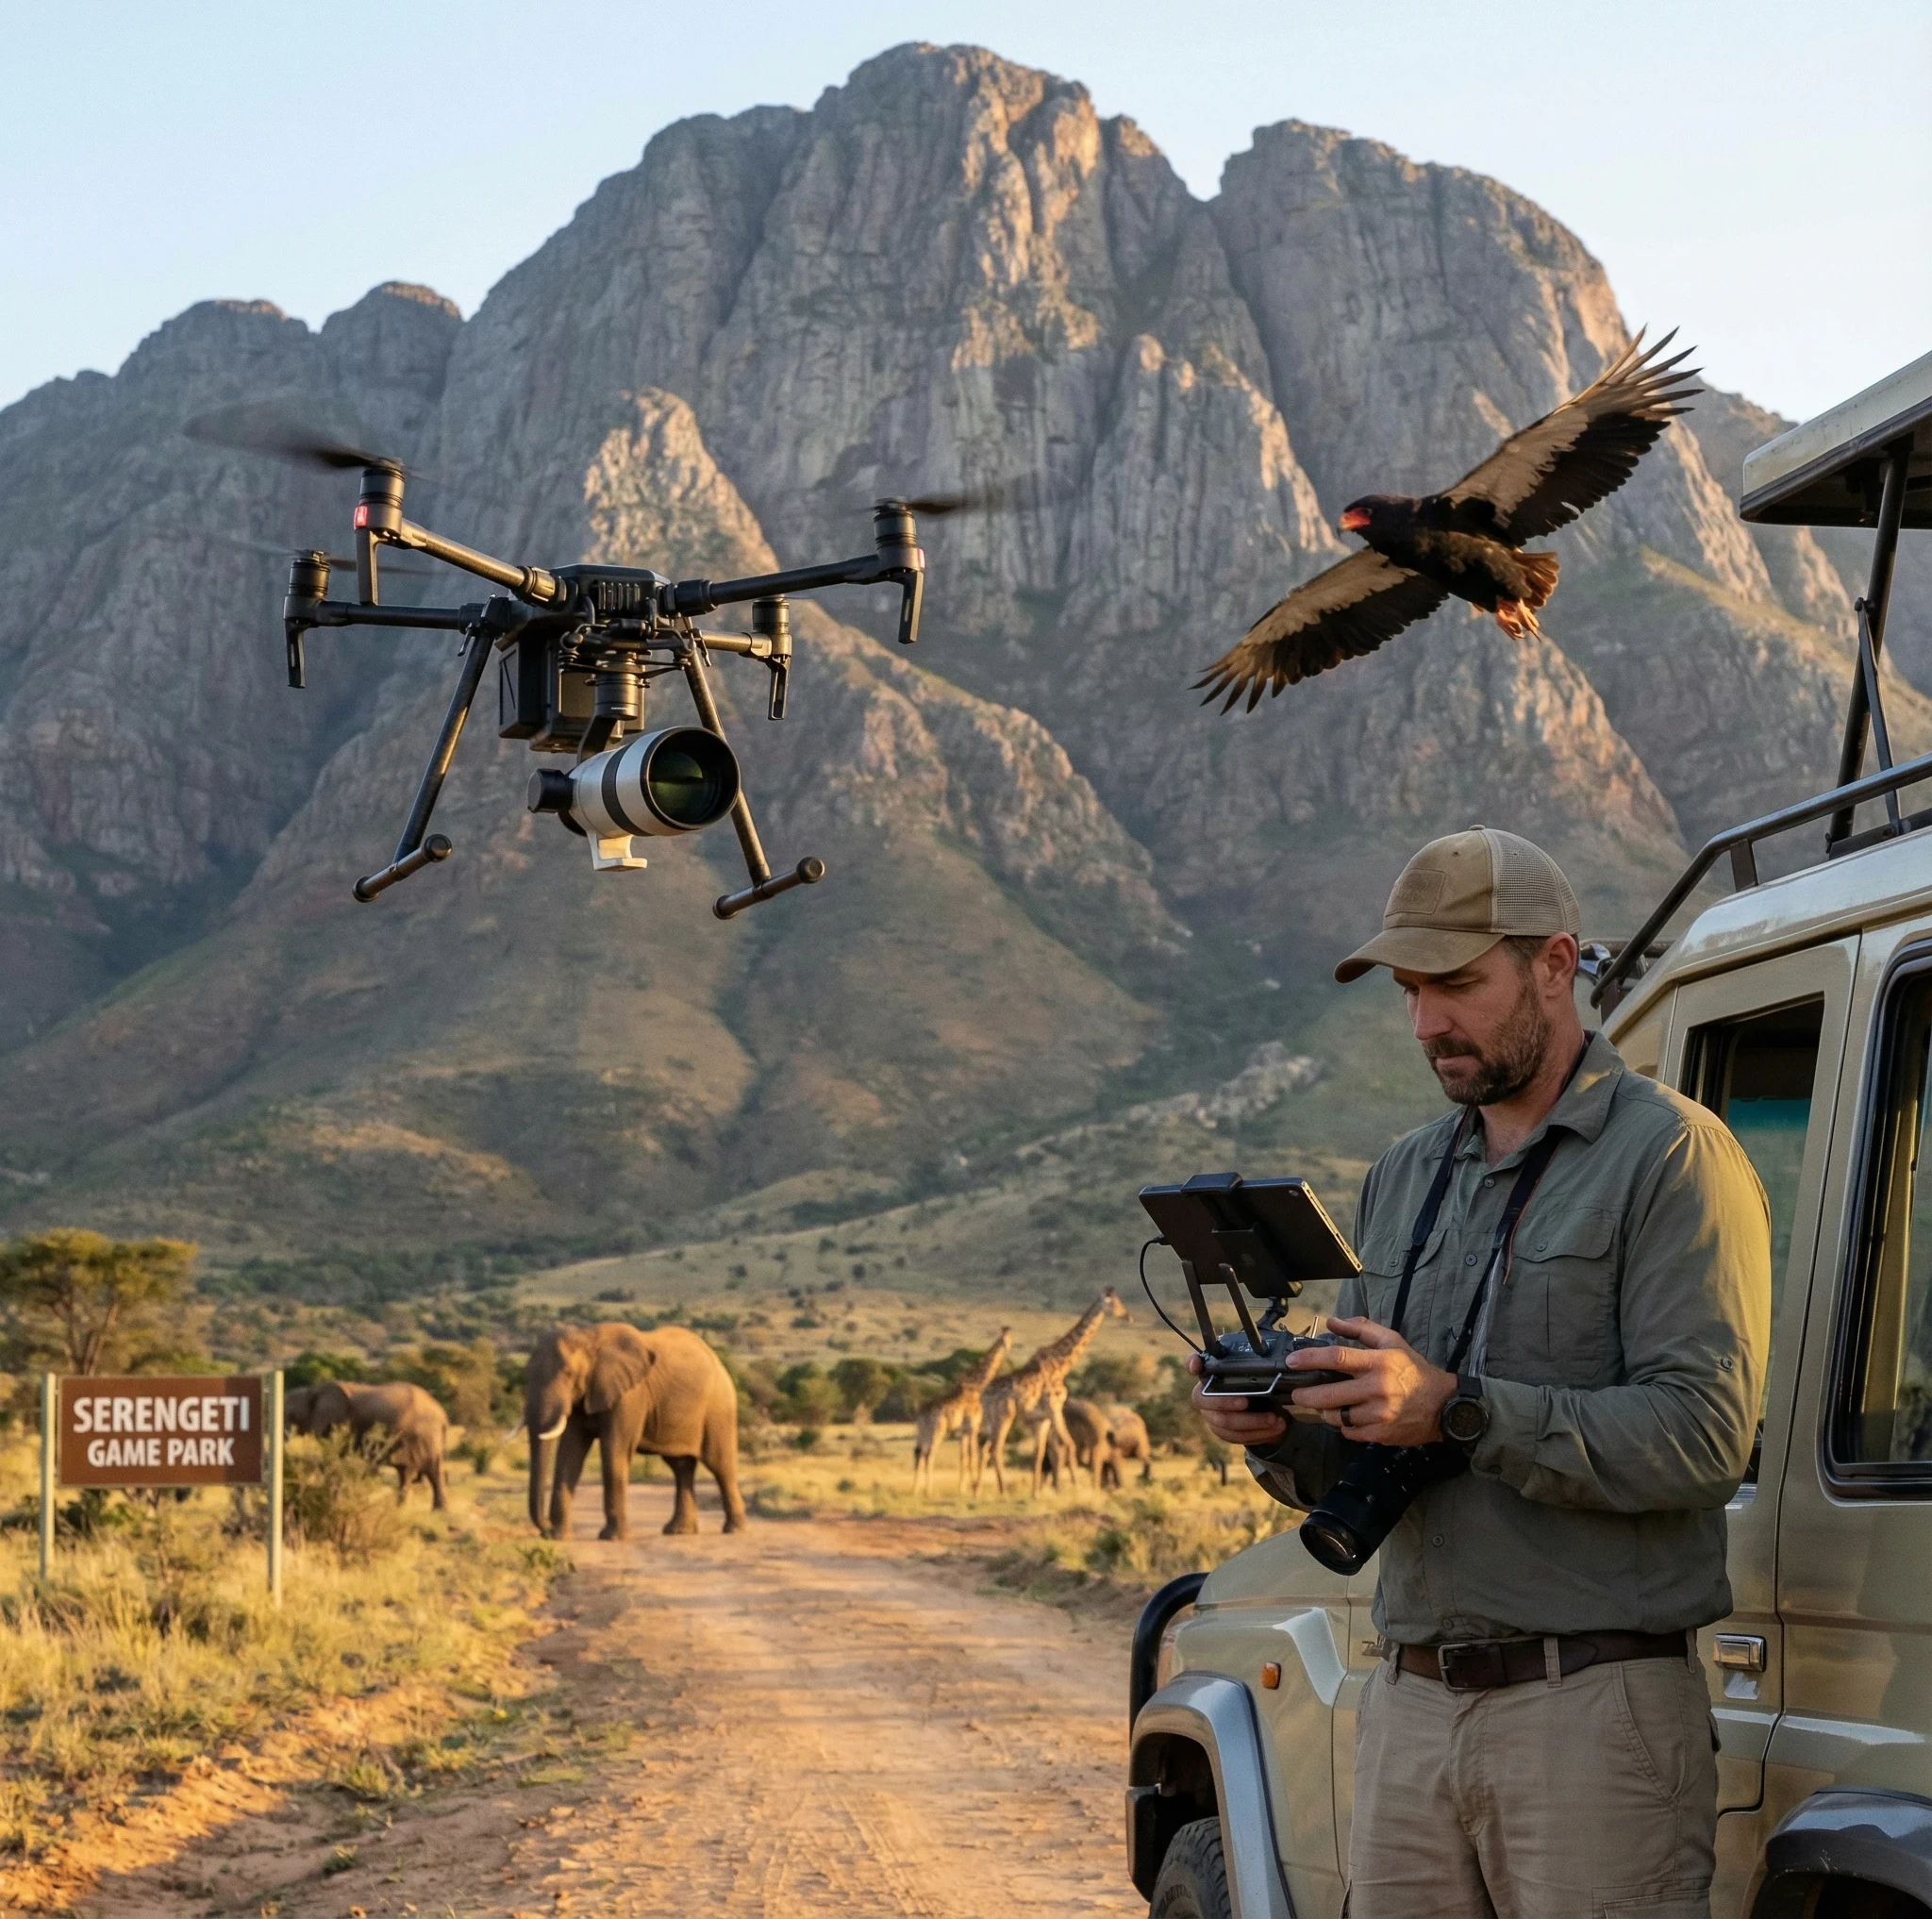
Capturing birds in flight with a drone sounds exciting, but as a beginner, I quickly learned it’s tougher than it looks.
Birds spook easily, controlling a flying camera takes practice, and keeping shots sharp can feel close to impossible if you haven’t mastered a few simple techniques.
When I first started, I made all the rookie mistakes: startled flocks, blurry photos, and lots of empty frames.
But with a few straightforward approaches, I began seeing dramatic improvements in my bird photos from above.
Here’s what really made a difference for me: practicing steady flying before worrying about photos, keeping my drone up high at first, locking in smooth movement, picking the right shooting angles, and using camera settings that work for fast wildlife.
I’ll also mention safety, easy composition tips, and editing basics that make beginner drone bird photography a lot more rewarding and much less frustrating.
Start with the Basics: Practice Flying Before Shooting
Why Flight Skill Matters
It’s easy to grab a drone, launch it, and get focused on the camera. But after a few botched flights, I realized stable flying is super important.
Smooth movement means sharp photos because birds don’t startle as much, and there’s less blur from sudden drone shifts.
If you’re calm and steady, birds are much more likely to sit tight, giving you better opportunities for natural photos.
Beginner Practice Exercises
Here are the flying drills I relied on to get comfortable before pointing my camera at wildlife:
- Hovering Steadily: Stay in one spot for at least 20 seconds, minor wind bumps aside.
- Slow Ascents and Descents: Practice going up and down gently, avoiding any abrupt thrusts.
- Smooth directional turns: Rotate the drone slowly around in circles, making sure each movement is controlled and even.
- Stop and hold maneuvers: Move forward or sideways, then stop and hold that spot without drifting.
Spending enough time practicing these basics will give you confidence and a feel for how your drone reacts to small stick inputs.
Over time, you’ll be able to get those smooth cinematic movements that are stunning in bird photography.
Use the High Altitude Method
Start High, Then Descend Slowly
Getting close to birds can spook them if you come in too fast or from the wrong direction.
What worked best for me is starting well above the flock or perched bird and slowly descending after they’ve noticed the drone but haven’t reacted.
Coming from above means you’re less in their danger zone, so they stay calmer, and you get more time for good shots.
Ideal Beginner Altitudes
If you’re new, start your bird photography between 30–60 meters (about 100–200 feet).
That’s high enough for basic safety, especially over wetlands or lakes, and most birds won’t care about a tiny shape high above.
For bigger flocks or larger birds, going even higher works better while you practice flying.
Once you can keep your drone steady at lower levels without fast, jerky movements, you can try lower shots. But remember, flying low needs more confidence and skill, so save it for later.
Fly Slow, Smooth, and Predictably
The Slow-Motion Mindset
If you treat every movement like it’s happening in slow motion, you’ll notice birds react less, and your photos stay sharper.
Fast or jerky movements cause vibration blur in your images and make birds nervous, especially those sitting close to water.
How to Fly Smoothly
- Use Cine Mode or Slow Modes: Many drones (like DJI) have a “Cine” or “Tripod” mode. These slow down stick sensitivity so you can’t change directions too quickly.
- Ease on the Sticks: Don’t jam the control sticks to the side. Gently nudge them so the drone responds gradually.
- Practice Micro Adjustments: The secret to steady flight is making tiny (almost invisible) corrections, instead of big swings or stops.
Take your time learning these techniques. It helps you predict how the drone and birds will act, reducing surprises and frustrations.
Position the Drone for the Right Angles
Above Bird (Top Down) Angle
I like top down shots for birds on water or in open fields.
Most birds don’t notice drones right above them, and this angle captures their environment really well, from ducks gliding on ponds to longlegged waders on the shoreline.
For a beginner, this angle is easier since you don’t have to bring the drone close to eye level.
Side Angle
For perched birds or groups on a branch or ledge, hover the drone at the same height but keep a safe distance.
A side angle shows their plumage and shape and helps avoid harsh shadows over their faces.
Plus, it’s simpler to pull back or freeze if a bird starts looking uneasy.
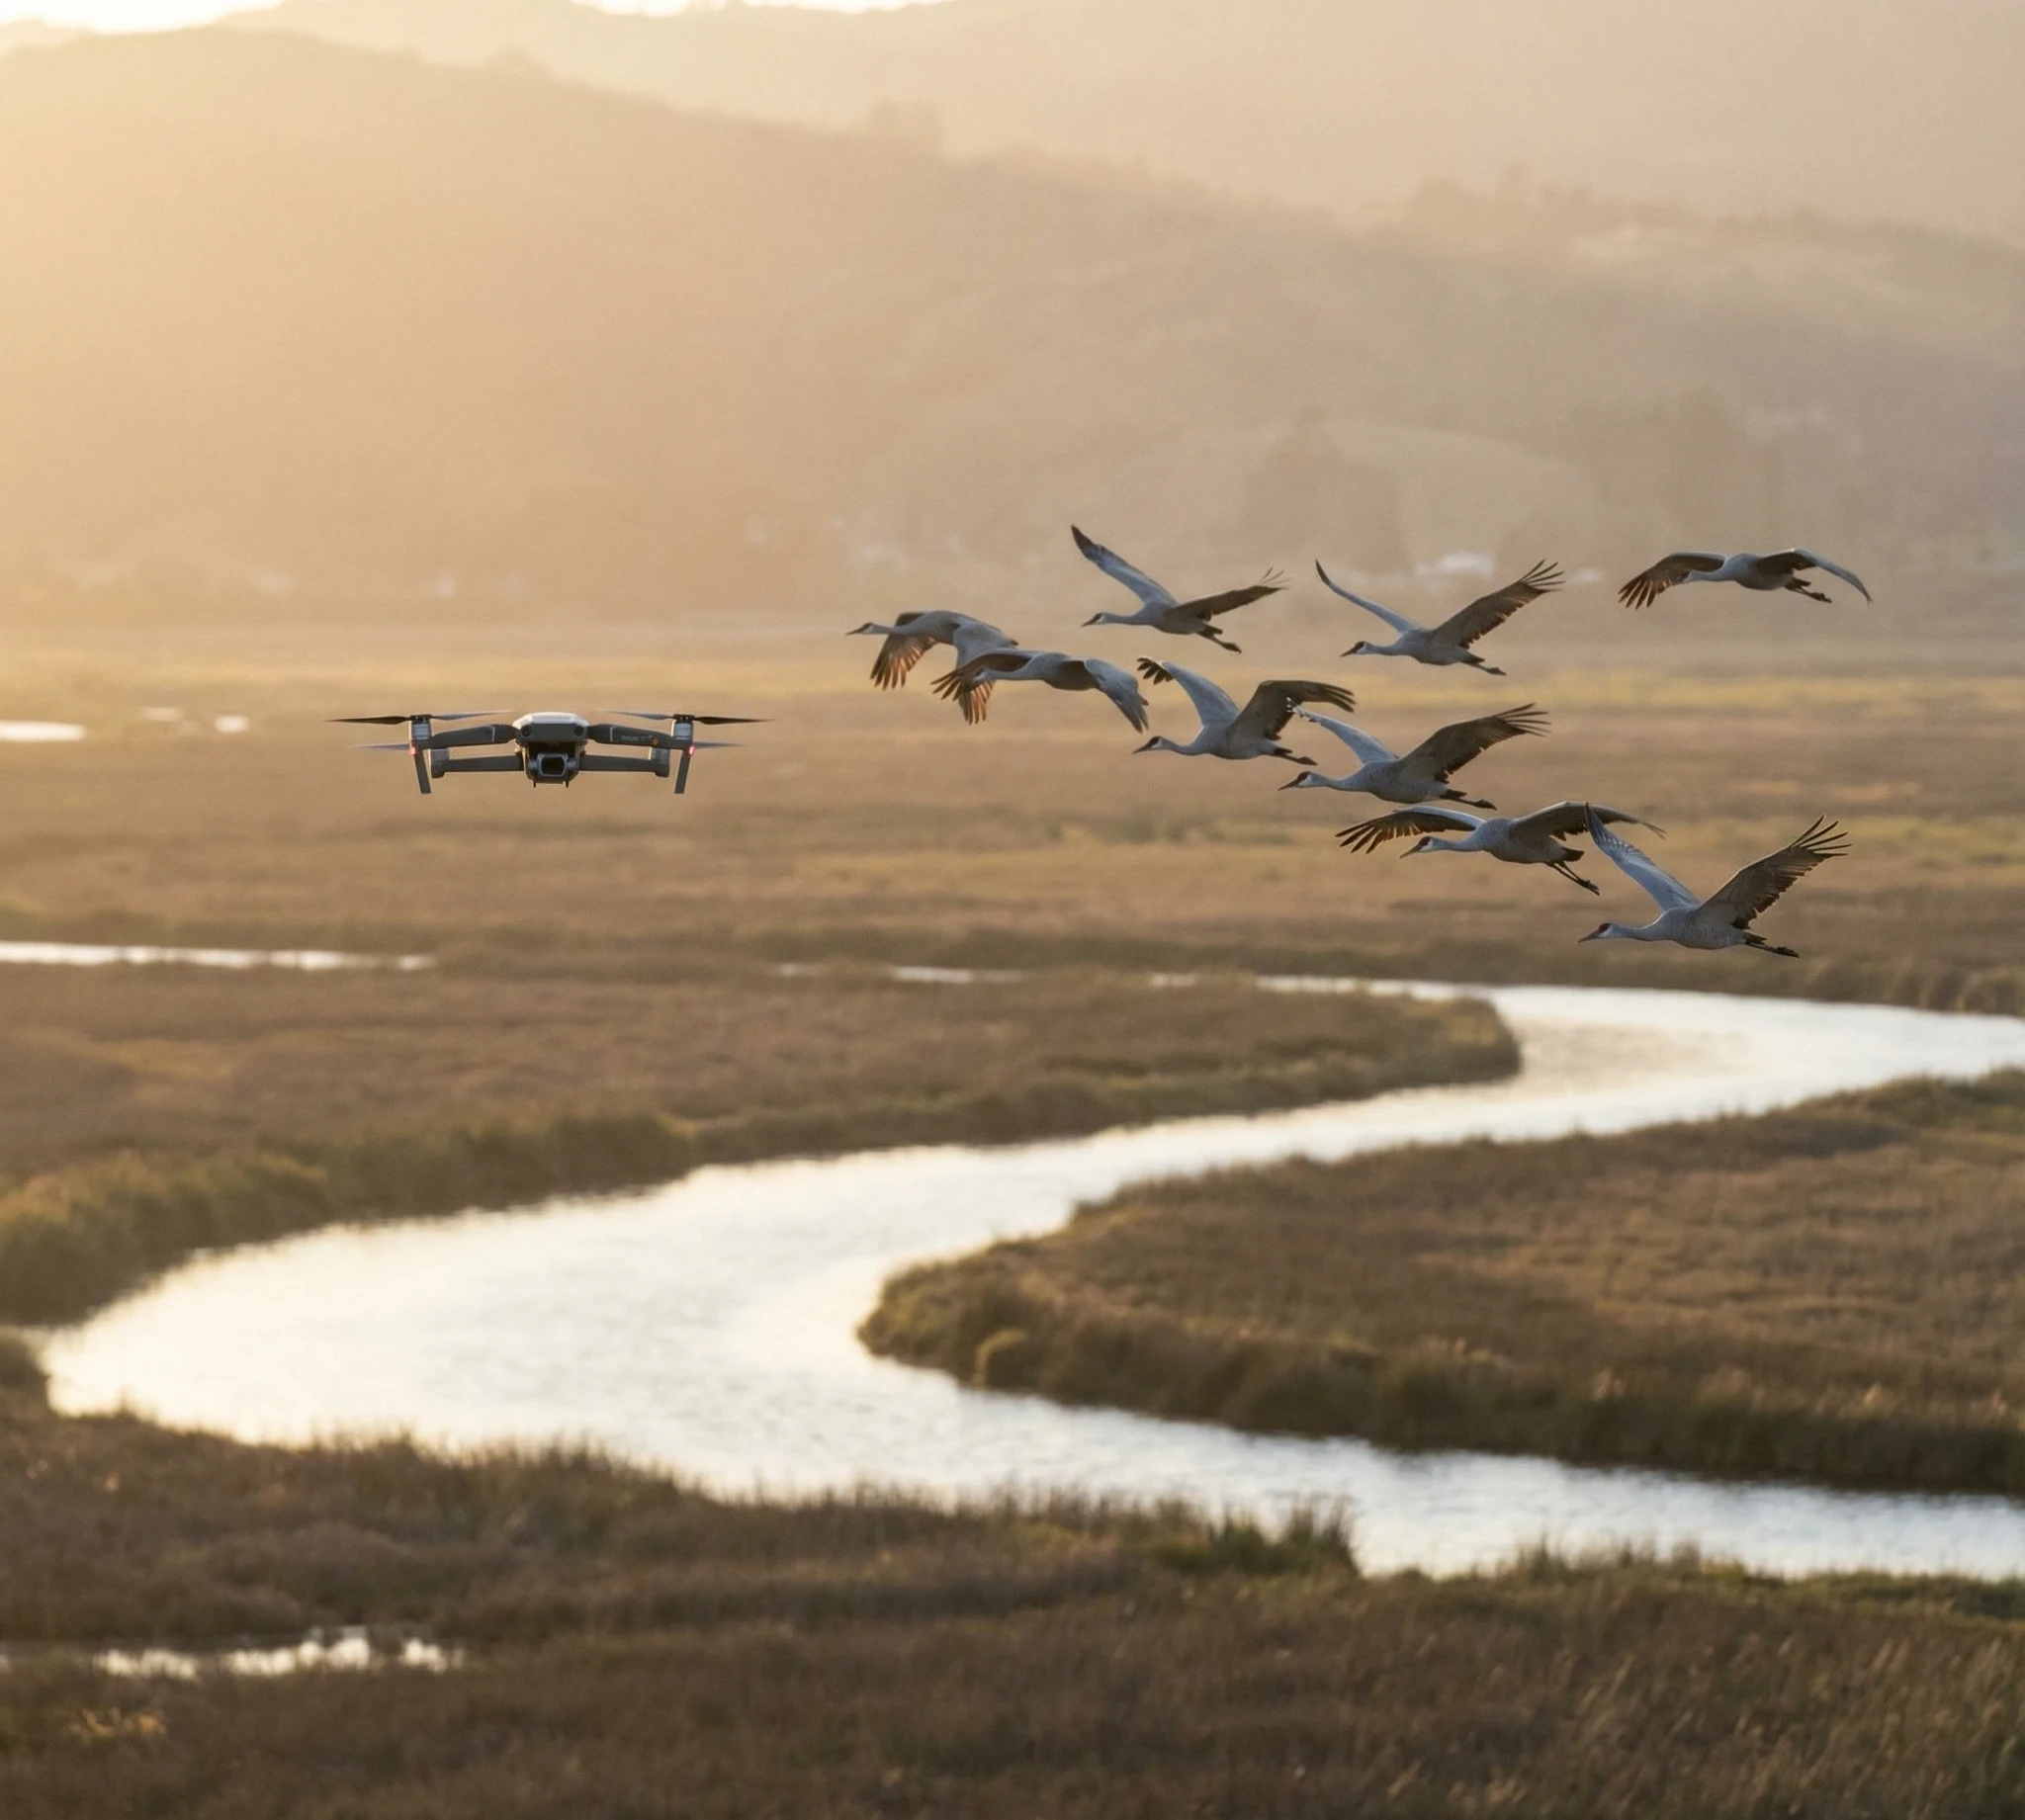
Forward Angle for Flocks
Capturing a flock on the move?
I find it’s best to fly parallel or slightly ahead of where they’re going, rather than following directly behind.
This lets you get a sweeping aerial perspective and shows movement. Stay far enough away that the birds hardly look at the drone at all.
Use Easy Beginner Camera Techniques
Auto Mode with Adjustments
Manual settings are great, but if you’re new, start with auto exposure and tweak as needed. I get good results by bumping exposure compensation up to +0.3 or even +1, especially when shooting bright sky or water, so birds don’t turn out too dark.
Simple Settings That Work
- Shutter Speed: Stick with 1/800–1/2000 for birds in flight. This stops blur from movement.
- ISO: Keep ISO as low as the light will allow for cleanest images.
- Burst Mode: Use this for action shots. Just hold down the shutter or use your drone’s burst function, giving you more chances for a sharp frame.
- RAW Format: Shoot RAW if possible. It’s forgiving when you mess up exposure or need to fix shadows later.
Gimbal Control Tips
- Move the gimbal (the camera angle) slowly using the wheel on your controller. Sudden movements result in weird tilts and can ruin the shot.
- Lock the horizon if your drone allows it, so your backgrounds look level and professional.
Choose Beginner Friendly Lighting
Golden Hour is Best
Soft sunrise or sunset light works wonders for bird photos. Shadows are mild, colors look richer, and most birds are more active. I’ve had way better luck getting flocks to cooperate first thing in the morning or in the late afternoon.
Avoid Harsh Midday Sun
Bright midday sunlight usually leads to glare, especially over water, and harsh shadows that make it tough to see feather detail. Unless you find a cloudy day, I’d skip noon flights for bird shoots whenever possible.
Keep a Safe Distance to Avoid Scaring Birds
Simple Safety Rules
- Never Fly Directly At Birds: Always approach at an angle or from the side.
- Avoid Direct Vertical Approaches: Coming down from directly above can panic some birds.
- Follow Local Rules: Many parks and wildlife reserves set specific minimum distances. I always check these and then add a few extra meters to play it safe.
Signs a Bird Is Uncomfortable
- If a bird suddenly takes flight or starts making loud, repetitive alarm calls, I back off right away.
- Repeatedly looking upwards or fidgeting means it’s aware and may spook, so I pause for a bit or move back to a higher altitude.
Pick the Right Locations for Easy Shots
Not every spot is created equal for beginner drone bird photography. Here’s where I’ve found it easiest to get good results:
- Wide Open Wetlands: Great views of waterbirds like ducks, swans, and herons, plus less clutter and more sky to work with.
- Beaches: Plenty of space, lots of bird species, and few trees to avoid.
- Grasslands and Open Parks: As long as drones are allowed, these spots are less crowded and you can practice without worrying about hitting obstacles.
I skip dense forests and tight urban spaces until my flying is rock steady. Those places need more skill and fast reflexes.
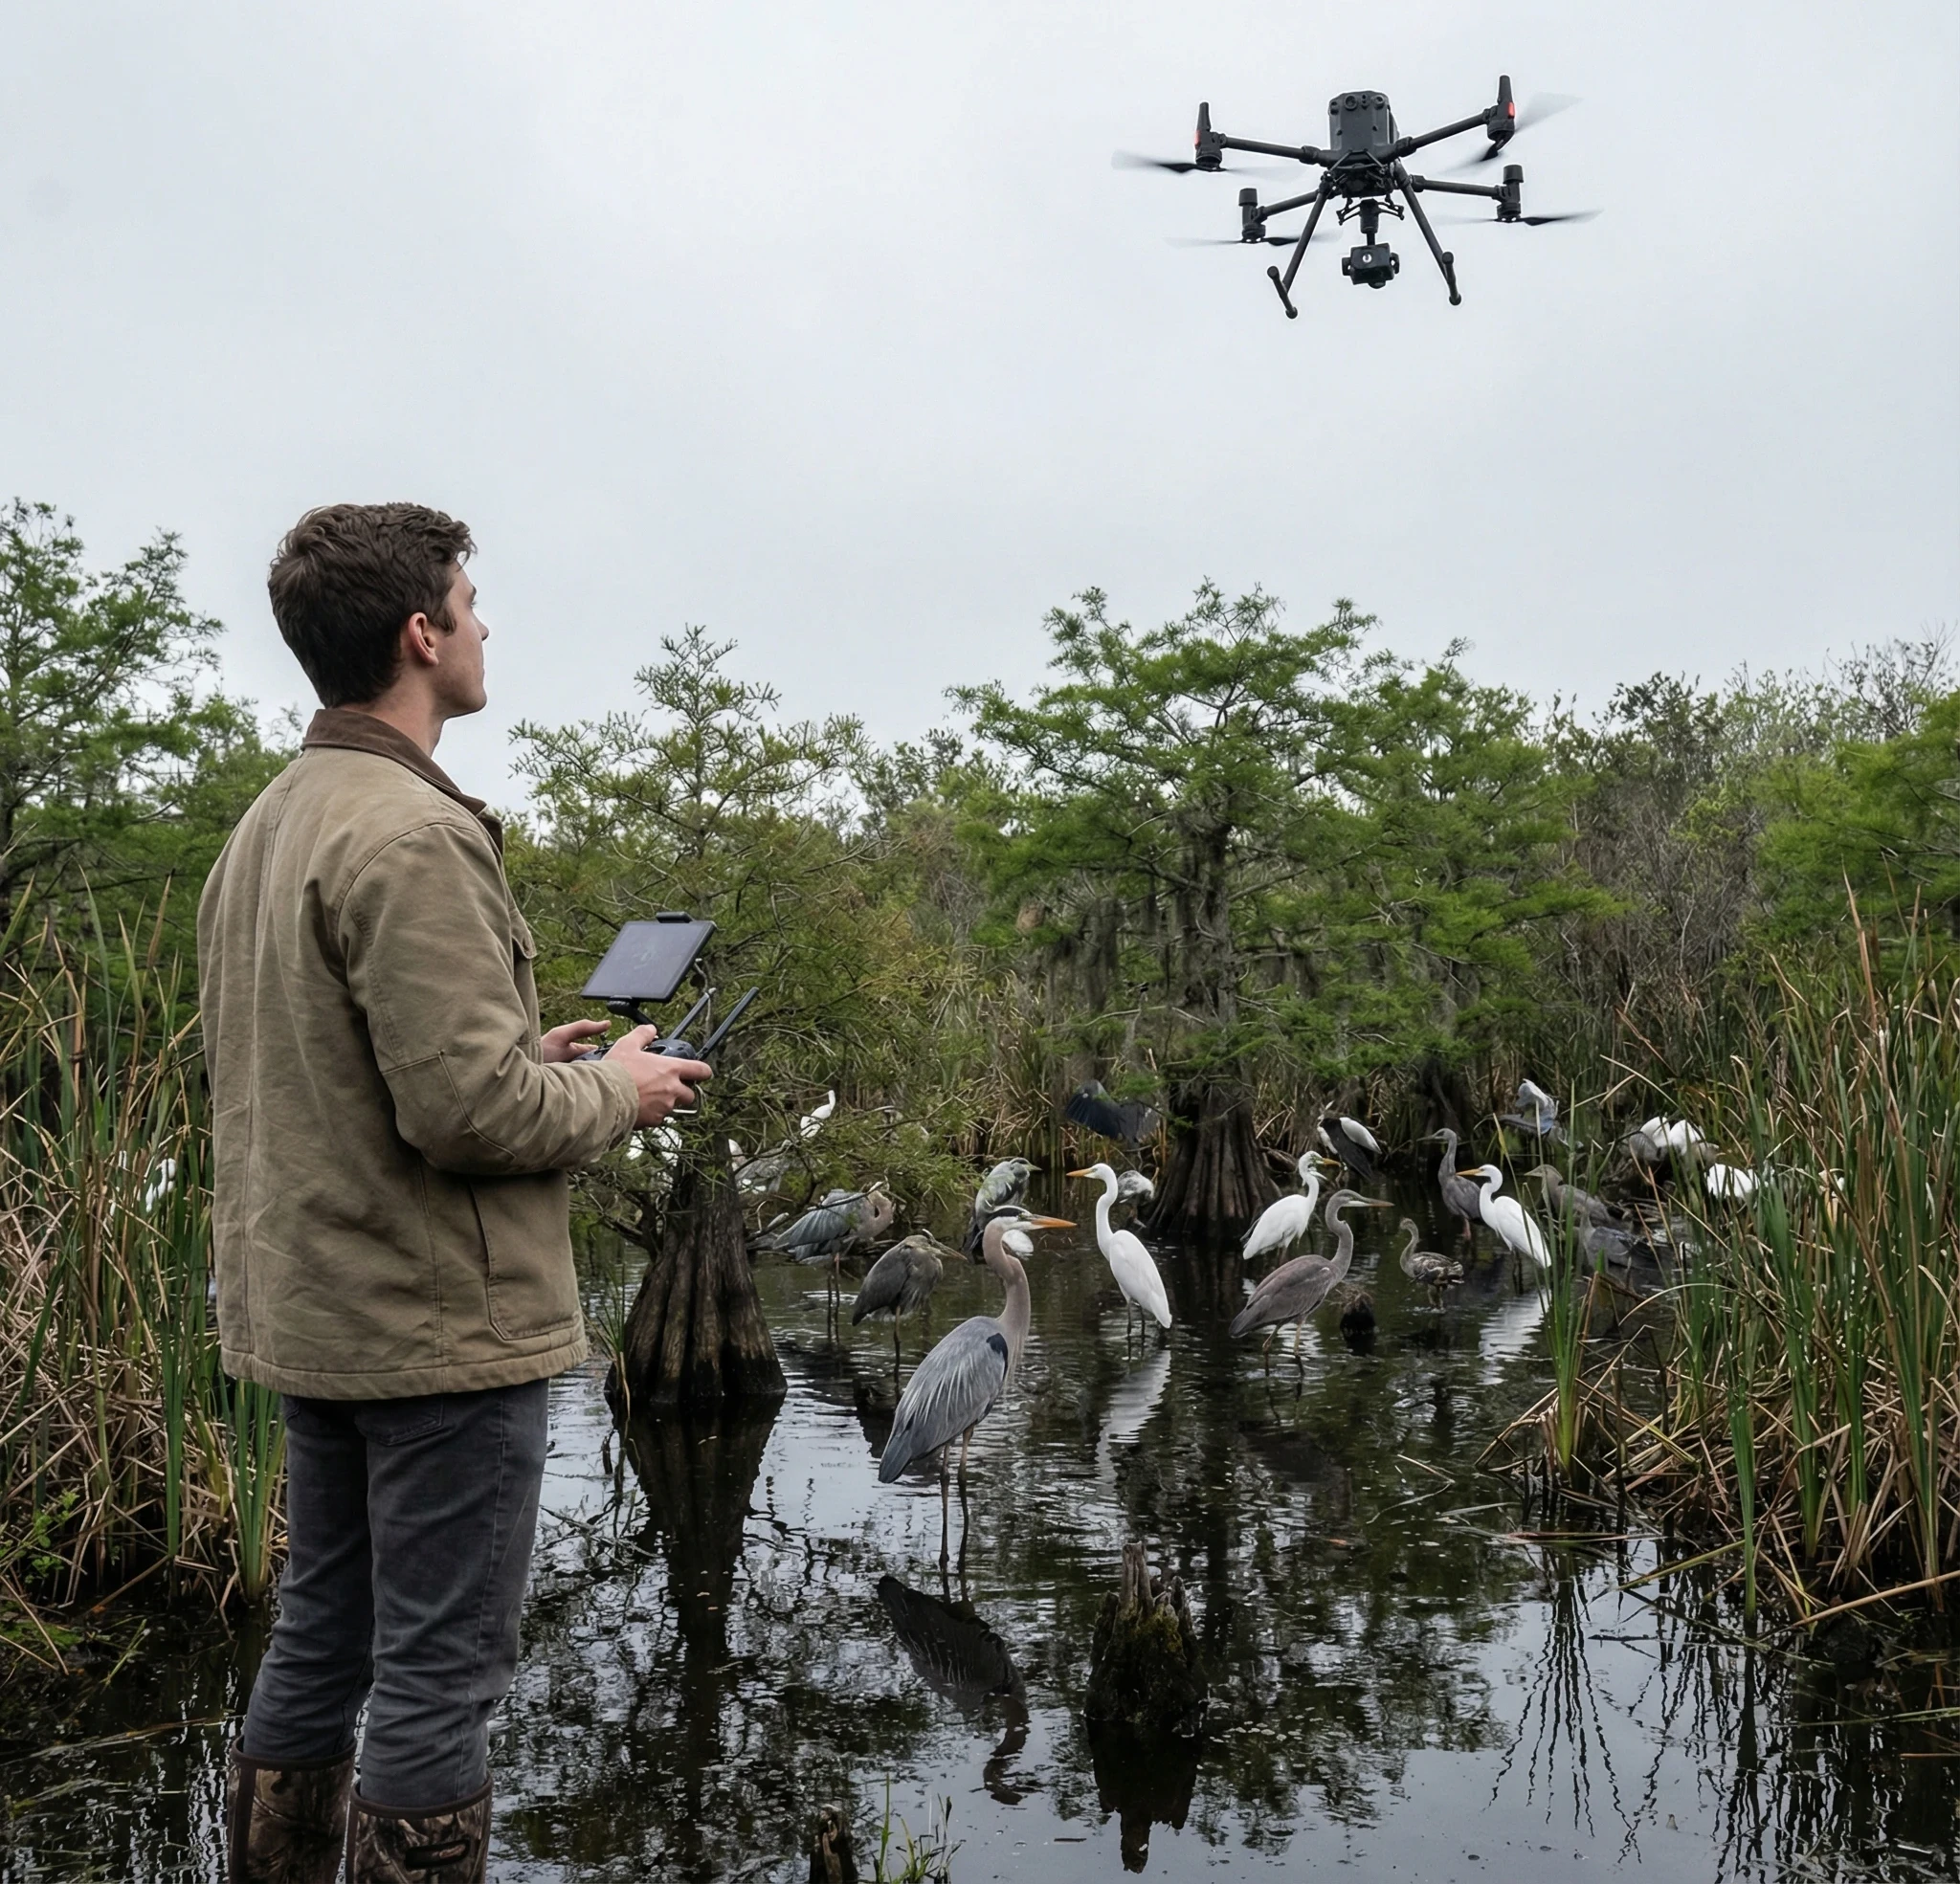
Use “Set and Hover” Technique
This trick saved me tons of frustration: pick a spot where birds are likely to land, then just hover in place and wait.
Eventually, the birds do their thing and walk or fly into your shot. No need to chase or move around, as this approach is safe, easy on your nerves, and captures really natural bird behavior.
Patience pays off big time for these candid shots.
Easy Tracking Tips for Moving Birds
- Fly at Slow Speed: Don’t try to keep up with fastflying birds at full tilt; a slow panning shot often works better.
- Keep Birds Centered, But Leave Room: Give birds a little space in the frame so they have “room” to fly into and don’t get cut off.
- Use Sideways Tracking: Instead of following birds head on, track them from the side or at an angle. This usually keeps them calmer and it looks more dynamic in photos.
- Never Chase: I never chase after birds with my drone. It ruins the shot, bothers wildlife, and can get you in trouble with park rangers or other nature lovers.
Simple Editing Tips to Improve Your Shots
- Basic Lightroom Workflow: I always import my RAW files into Lightroom or another photo editor, where I can boost exposure, gently sharpen, and adjust color.
- Cropping: Use the crop tool to improve composition and focus on the most interesting part of the frame.
- Sharpening: A little goes a long way, especially for bird feathers and eyes.
- Reduce Haze: Especially for highup drone shots, a quick dehaze or contrast tweak can bring out more detail.
- Keep It Natural: Go easy—too much editing can make your bird photos look fake or overdone.
Common Beginner Mistakes to Avoid
- Flying Too Close to Birds: Even if they don’t react at first, birds often just wait you out and fly off when you get too near. Give them space.
- Using Overly Complex Settings: Stick with simple settings until you’re comfortable. You don’t need to shoot full manual mode right away.
- Shooting While Flying Fast: Grab still shots when hovering or moving very slowly to avoid major blur.
- Ignoring Wind Conditions: Blustery days make it much harder to fly steadily and avoid camera shake.
- Over Editing Photos: If your colors look unnatural or details turn to mush, you probably went too far.
- Forgetting to Check Drone Rules: Always check local regulations first. Not every park, refuge, or open space allows drones, especially near wildlife.
Focusing on Simple Techniques
When starting out, you’ll get the best bird photos by keeping things as simple and smooth as possible.
Consistent drone control makes more difference than having the fanciest camera.

As you lock in these beginner techniques, more creative possibilities open up. I’m always experimenting and picking up new tricks.
If you want to keep learning, stick around for my next drones and birds deep dives!
Frequently Asked Questions
What is the easiest drone technique for photographing birds?
The easiest and safest technique is the “set and hover” method. Just fly to a safe spot, hover, and wait for birds to come into your frame. It’s hands off, stress free, and perfect for natural looking shots.
What altitude should beginners fly at?
Start around 30–60 meters (100–200 feet) high. This keeps you safely above the birds while minimizing disturbance. Lower altitudes can work once you’ve mastered smooth flight
Can beginners photograph fastmoving birds?
It’s possible, but takes practice. Use burst mode, fast shutter speeds (1/2000 is a good target), and fly slowly to match their movement. Don’t chase birds; if they’re moving quickly, aim for side or topdown angles without getting too close.
Conclusion: Start Simple, Fly Smooth, and Watch Your Bird Photos Transform
Drone bird photography doesn’t have to feel overwhelming.
Once you learn to fly steadily, keep your movements slow, pick smart angles, and rely on simple camera settings, everything starts to click—literally and creatively.
These easy techniques are the same ones that helped me go from blurry, rushed shots to calm, controlled images that actually captured the beauty of birds in their natural spaces.
You don’t need fancy tricks or complicated gear to get better. You just need patience, practice, and a willingness to start with the basics.
Now it’s your turn to take the next step.
Ready to level up your drone bird photography?
Start applying one or two of these techniques on your very next flight. Practice hovering. Test the high-altitude method. Try golden-hour lighting. Every small improvement builds your skill—and your confidence.
If this guide helped you, don’t stop here!
✔️ Explore more beginner-friendly drone photography posts on this blog
✔️ Share this article with other drone enthusiasts
✔️ Leave a comment with the technique you’re most excited to try
Your best bird photos are still ahead of you, waiting in the open sky.
Go out, fly safe, and capture something amazing.