
Creative use of depth of field (DOF) can make bird photos way more visually interesting, whether you’re aiming for that dreamy pro look or just trying to make your favorite feathered subject stand out.
The trick with DOF is that you can use it for so much more than simply blurring the background.
I’ve found that treating it as a creative tool, rather than just a technical setting, lets you tell different stories, bring certain details into sharp focus, and even guide where a viewer’s eyes go first.
Understanding Depth of Field in Bird Photography
Depth of field refers to how much of your image is in sharp focus, from foreground to background.
In bird photography, it’s usually about making decisions.
Do you want tack-sharp focus on just your bird and silky soft blur everywhere else, or do you want the environment in focus too?
A shallow DOF (small part of the frame in focus) often puts all the attention on your subject, while a deeper DOF (much more in focus) can show the bird in its natural habitat.
Both styles have their place, and part of the fun is deciding which one fits your shot best.
If you’re just getting into bird photography, learning how to adjust DOF can give your photos a whole new vibe.
Key Factors That Control Depth of Field
- Aperture (f-stop): Lower f-number (like f/2.8 or f/4) gives shallower DOF with more background blur. Higher f-number (like f/8 or f/11) brings more of the scene into focus.
- Distance to Subject: The closer you are to the bird, the more blur you’ll get in the foreground and background.
- Focal Length: Using a longer telephoto lens (like 400mm or 600mm) gives you a shallower DOF at the same aperture and distance compared to a wider lens.
- Sensor Size: Bigger sensors (like those on full frame cameras) naturally create more background blur at the same settings compared to smaller sensors.
Creative Techniques for Using Depth of Field with Birds
Mastering DOF isn’t just about making backgrounds soft. I like to test different approaches, depending on the story I want to tell or the mood I’m after.
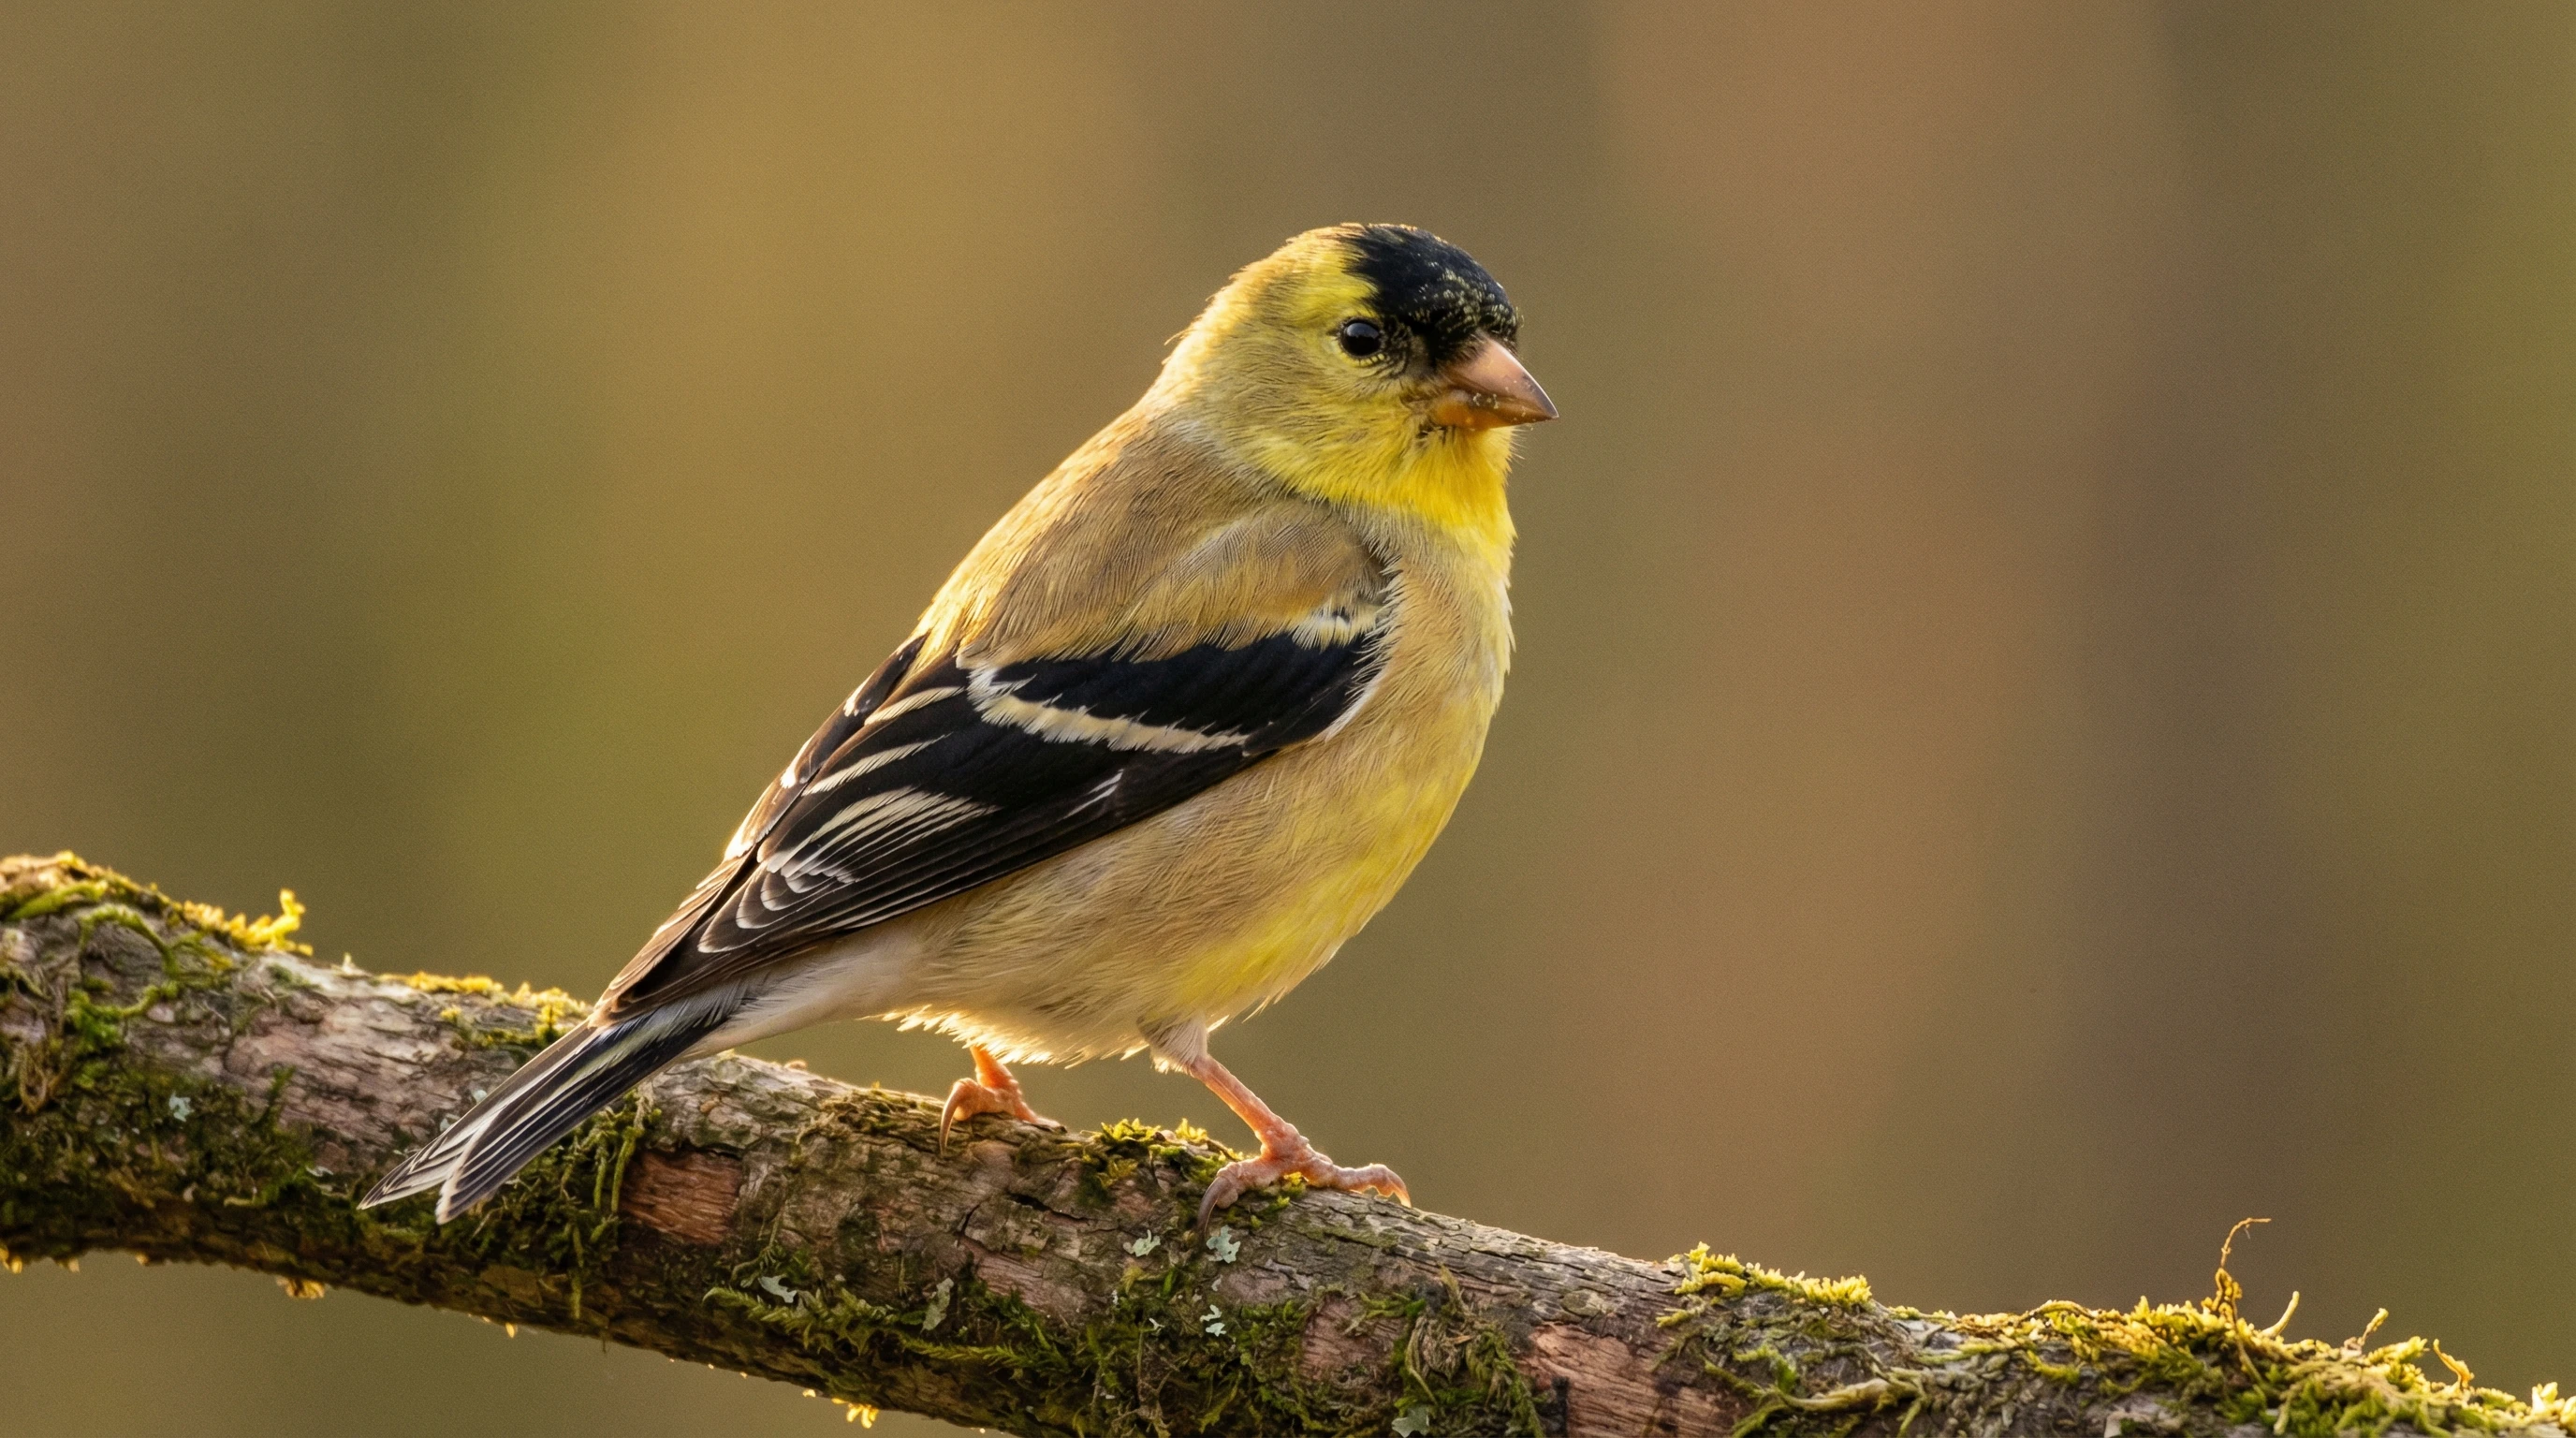
- Isolation with Shallow Depth of Field: Wide apertures (f/2.8 to f/5.6) are my go-to when the background is messy or distracting. The bird basically pops away from the clutter, making the viewer focus only on the subject. This especially saves the day if you’re shooting in a park or forest jam packed with branches and leaves.
- Showing Habitat with More Depth: Sometimes I care more about the story, like showing a duck surrounded by water lilies. Smaller apertures (f/8 to f/11) let you keep both the bird and key parts of its environment sharp, so viewers really get a sense of place.
- Create Foreground Blur for More Depth: Shooting at bird-eye level, with a branch or flowers between you and your subject, will give you a beautiful blurry foreground that frames your bird and adds a nice 3D feel. This works great for adding context or mood, and sometimes soft colors shape the background and foreground in a surprising way.
- Direct Attention in Busy Flocks: When a lot is happening, think flocks of shorebirds. A super shallow DOF can let you focus on one bird doing something unique, like calling or feeding a chick. The rest fades into creamy blur, so you’re telling a more focused story, not just showing chaos.
- Wideangle Environmental Portraits: Using a wideangle lens up close, you can have the bird small in the frame, but the background sharp and epic. This style is awesome for capturing a sense of scale or dramatic weather, though it usually needs patience and a very cooperative bird!
Real-World Examples
- Robin on a Garden Stake: Shooting a robin in a backyard with a 300mm lens at f/4, I move in as close as possible without spooking it. The background—a cluttered mess of flowerpots and fencing—melts away, and the robin is the clear star. Eye contact is strong, and nothing else distracts.
- Sandpiper on the Mudflats: At low tide, I want to show both the bird and the rippled textures in the mud. Stopping down to f/9 lets me keep the sandpiper and the patterns around it sharp, telling a story about where this bird feeds.
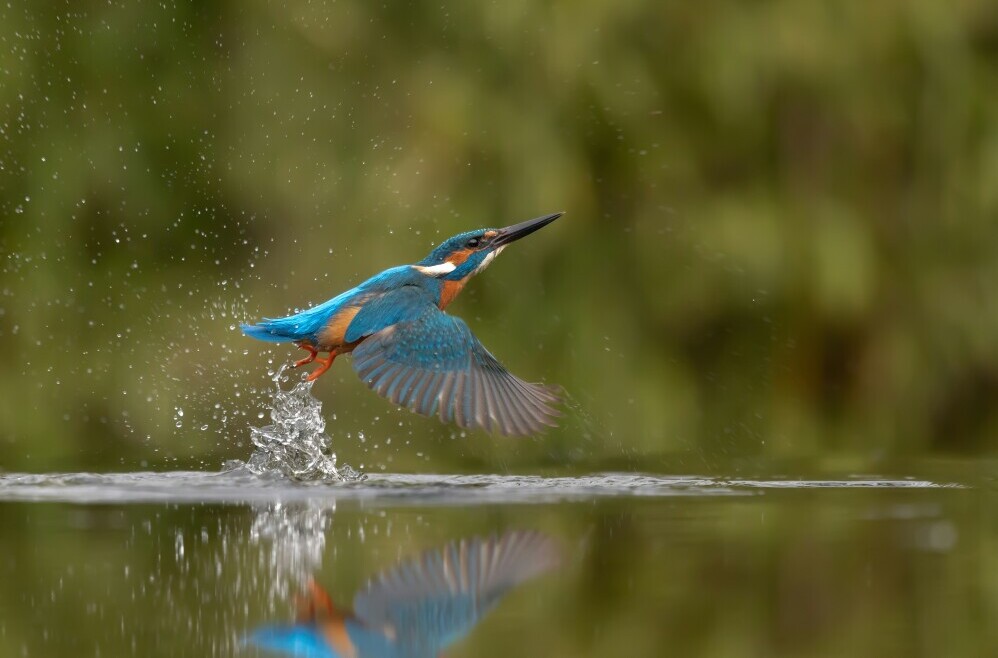
- Kingfisher and Water Reflection: I set up low by a pond, with tall grasses as foreground. At f/5.6, those grasses become soft, painterly cool green shapes that frame the kingfisher and its mirror reflection, making the image feel more immersive.
Tips for Nailing Depth of Field on Bird Shoots
- Focus on the Eyes: Especially with shallow DOF, sharp eyes bring your bird to life. If the eye is soft but the wing is sharp, the photo never quite connects with viewers.
- Check Backgrounds Before You Shoot: Move your angle or position slightly. Even a small move can swap a busy background for a cleaner one, making DOF work better in your favor.
- Pay Attention to Distance: If you want more or less blur, scoot forward or back, and watch how differently the photo feels.
- Combine DOF with Light: Soft, even light (like cloudy days or shade) gives backgrounds a buttery look, especially with wide apertures. Strong backlight or sunrise glow can add sparkle to blurred backgrounds, creating mood.
Common Challenges When Using Depth of Field
- Too Much Blur Hides Details: Sometimes I’ve gone too far with the blur and lost context that would have added interest. It’s all about balancing the focus on the bird with enough background hints to keep the story.
- Struggling with Telephoto Lenses: Big lenses exaggerate blur, but their narrow focus means you can easily get the eyes sharp but the beak or tail soft, especially with active birds. Continuous autofocus and a high frame rate help catch sharp moments.
- Birds in Movement: Chasing fast flyers with shallow DOF is hard. If you’re struggling, stopping down the aperture (to f/8 or f/9) can give you a little more margin for error, so the whole bird lands in sharp focus.
- Tiny Subjects in a Busy Setting: Colorful songbirds often perch somewhere chaotic. Look for moments when they step forward into cleaner gaps of background, or use foreground blur to hide distractions.
Advanced Tips for Creative Impact
Once you’re confident with the basics, there’s a lot of fun in experimenting with what DOF can do in unusual conditions. Here’s what’s worked well for me:
- Play with Layers: Position yourself to frame your bird with both foreground and background elements. Shooting through wildflowers, grasses, or reeds, you use shallow DOF to turn those into dreamy splashes of color that echo the bird’s habitat.
- Use Bokeh for Atmosphere: Some lenses render background highlights as beautiful round or oval shapes, known as bokeh. You can look for sunlit water droplets, twinkling leaves, or even holiday lights to create these effects around your subject. Certain telephoto lenses are famous for their creamy bokeh character.
- Change Perspective: Get on your belly or shoot from higher ground. A lower angle often isolates the subject more, removing ground clutter and bringing the viewer right into the bird’s world.
- Intentional Blur for Art: For a really creative look, slow your shutter speed and pan with flying birds, intentionally blurring the entire scene except where you nail focus. Mixed with shallow DOF, you get striking, almost painterly images.
Things to Consider Before Relying on Shallow Depth of Field
- Lens Choice: Fast telephoto lenses (like f/2.8 or f/4) are great but can be expensive and heavy. There are lighter, more budgetfriendly primes and zooms (e.g., f/5.6 or f/6.3) that still give nice blur at longer focal lengths.
- Weather and Lighting: Overcast days can actually be perfect for soft backgrounds, while bright sun might add harsh shadows you don’t want. Always adapt your DOF approach to the light you get.
- Stability: Shooting wide open means you have less room for focus errors. Use a tripod or monopod if you can, and if handheld, keep your shutter speed high to avoid motion blur.
- Bird Behavior: Some birds let you get closer than others. The closer you get, the shallower the depth of field, even at higher f-numbers. Let the bird’s comfort level guide your approach.
Lens Choice
Telephoto primes and zooms are the bread and butter for bird photography, and most deliver great background blur if you get close.
Don’t feel limited by kit or budget. Practice with what you have and watch how distance and composition can help you out as much as expensive glass.
Lighting
The right light can make your DOF effects even stronger.
Early morning or late afternoon light is softer and more colorful, making any blur more pleasing.
Harsh midday sun flattens things out, but sometimes you can use explosive highlights for creative backgrounds.
I like to experiment and see which lighting supports the mood I want.
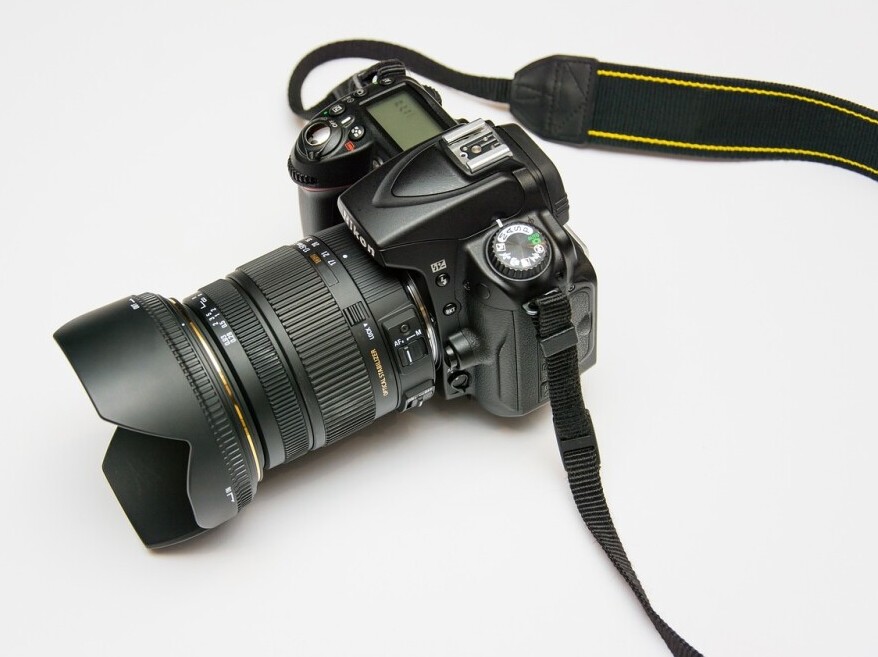
Gear That Helps Get Creative with DOF
You don’t need a powerhouse setup to get awesome bird photos with creative depth of field, but certain features help:
- Fast autofocus that locks onto small subjects
- Ability to control aperture manually
- Telephoto lens of 300mm or more
- Stable tripod or monopod for long sessions
- Camera body with responsive controls for quick adjustments
Frequently Asked Questions
Question: What’s the best way to blur backgrounds when photographing birds?
Answer: Get as close to the bird as possible, use a wide aperture (small f-number), and shoot with a long telephoto lens. Pay attention to where the bird is in relation to the background too; more separation means more blur.
Question: Do I always need a super expensive lens for dreamy DOF?
Answer: While faster primes can give smoothest background blur, you can still achieve really nice effects with budgetfriendly telezooms or even wideangle lenses, especially when working close to the subject and watching your backgrounds.
Question: How do I keep both the bird and its environment sharp?
Answer: Use a smaller aperture (higher f-number), increase the distance a bit, and adjust your focus point to include both subject and surroundings. Sometimes focus stacking helps if you’re working at very close range.
Using Depth of Field to Tell Better Bird Stories
Intentionally playing with DOF in bird photography shapes how people experience your images.
Whether you want the subject to stand out, set a mood with soft backgrounds, or show the gorgeous environment where the bird lives, knowing how to control DOF gives you loads of creative options.
The strongest bird photos are the ones where every technical choice matches the story you want to tell.
Next time you head out, try shooting the same bird with different depth of field choices.
Wide open for isolation, stopped down for more context. See which feels right to you.
There are plenty more ways to stretch your creativity too.
Check out my guides on bird composition, picking a lens for wildlife, and focusing fast moving birds if you want to keep stepping up your game.
Don’t be shy about experimenting: great bird photography is all about making those small choices that add up to a photo that sticks in people’s minds.