
Getting sharp and vibrant photos of birds with a drone often feels tough for beginners.
Maybe you’ve flown out to a lake or park, only to find all your shots turn out blurry or kind of lifeless.
The truth is, even with a good drone, it’s the camera settings—not the price tag—that make the biggest difference when you’re just starting out.
Getting the hang of simple, practical settings is the fastest way to make sure you actually walk away with photos you’re excited to share.
I’m going to show you the camera modes, photo and video settings, focus tweaks, and lighting tricks that new drone pilots can use to get sharper, brighter photos of birds.
You’ll also get some quick tips for fixing the most common setting mistakes, plus a cheat sheet you can bookmark for your next outing.
Why Camera Settings Matter in Drone Bird Photography
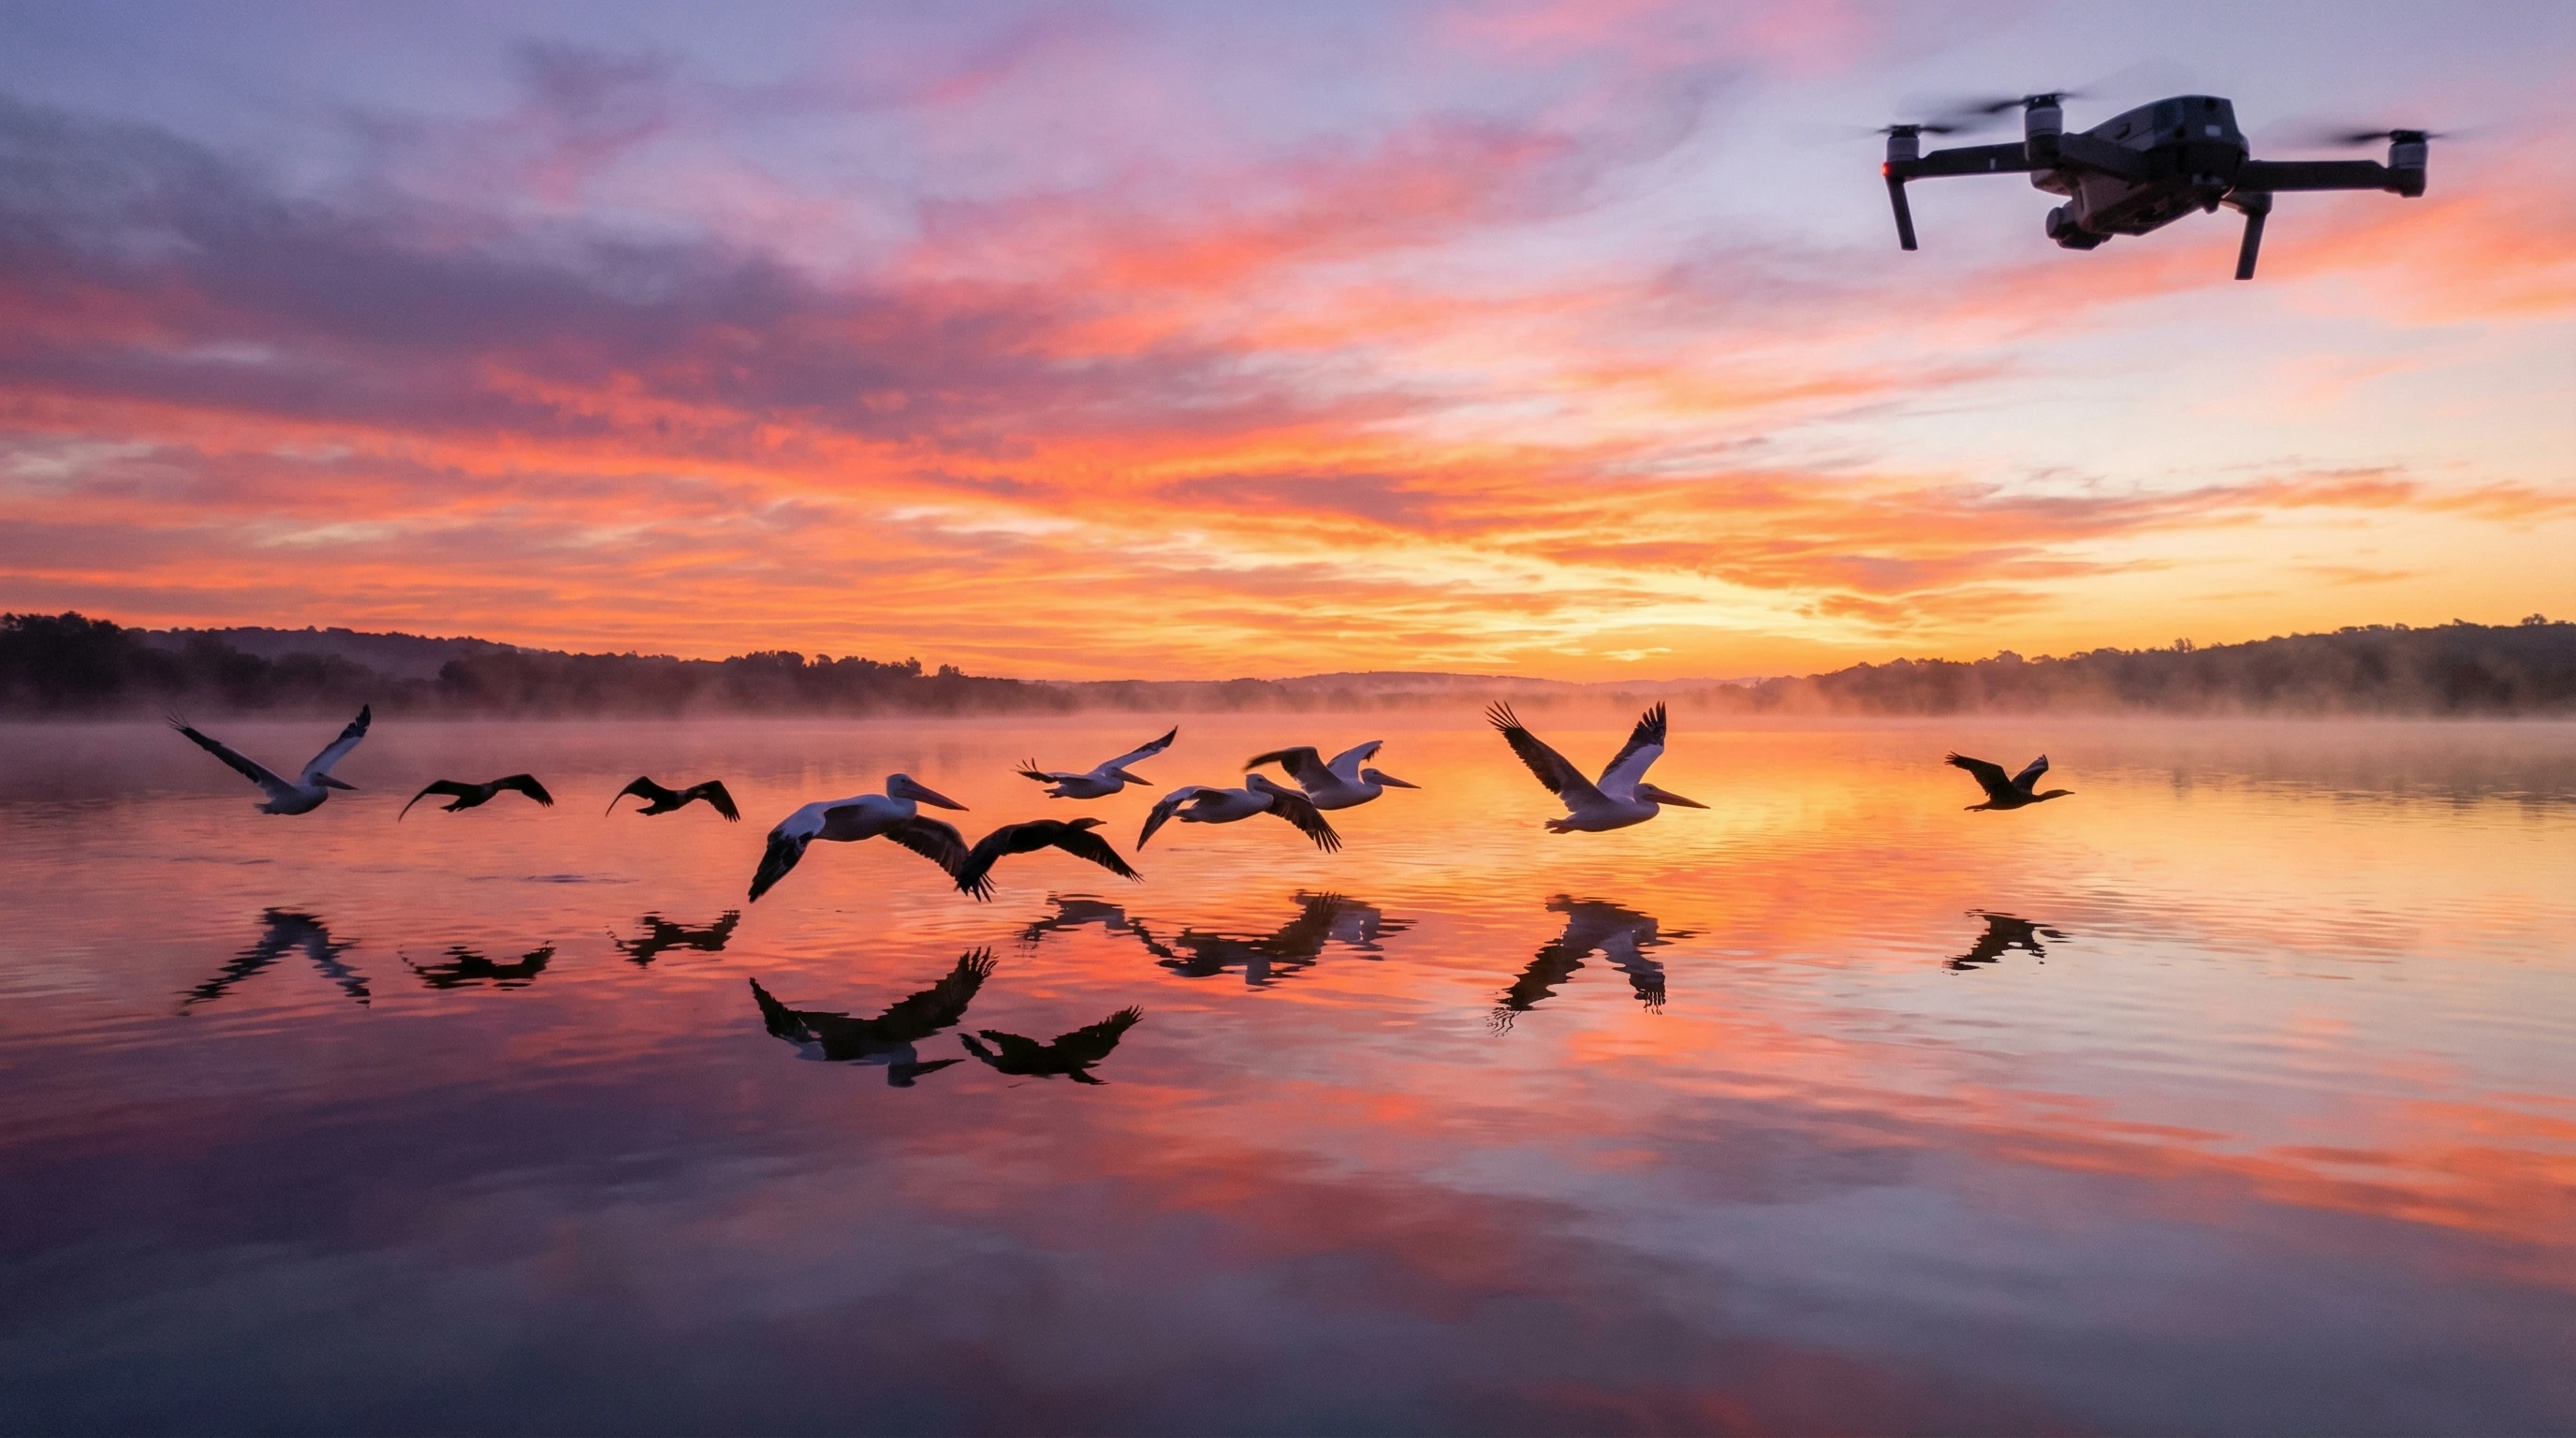
Photographing birds from a drone is a bit different than shooting landscapes or still objects.
Birds dart around quickly and unpredictably, and your drone can wobble from wind or vibrations.
You almost always need to keep some distance so you don’t disturb your subject, which means the risk of blurry or noisy images goes up if your settings are not dialed in.
Getting the settings right helps you freeze motion, keep everything sharp, and make the most out of every drone battery charge.
You don’t need fancy manual mode skills—just a few tweaks can mean your shots jump from “meh” to “wow” really fast.
Camera Mode Choices for Beginners
Auto Mode – When It Works
Auto mode is great when you’re first learning how to fly and take pictures at the same time.
The camera decides the exposure, so you can stay focused on piloting the drone and getting close enough without scaring birds away.
But auto mode often isn’t quick enough to freeze birds in motion, and it can pick slow shutter speeds that turn flapping wings into blurry smudges.
Aperture Priority (If Available)
Some drone cameras (usually midrange models and up) let you use aperture priority mode.
This is handy if you want to learn about exposure without juggling every setting at once, but most beginnerfriendly drones have a fixed aperture, so it’s not always an option.
If aperture control is available, set it between f/4 and f/5.6 for a good balance of sharpness and light.
Manual Mode (Simple Beginner Version)
Using manual (or “Pro”) mode might sound intimidating, but you don’t have to master everything at once.
Just getting comfortable with setting a fast shutter speed will help you get sharper shots, even if you leave everything else on auto.
Manual mode is also helpful for consistency; photos look more natural and less washed out or noisy from odd auto choices.
Best Beginner Photo Settings for Bird Photography
Shutter Speed (Most Important Setting)
Shutter speed is super important when it comes to birds. If it’s too slow, wings, heads, and even bodies will blur out.
For perched or slowmoving birds, a shutter speed of 1/800–1/1200 freezes little twitches and subtle movements. For birds in flight, use 1/1600–1/2500.
If the light drops and you can’t get more speed, prioritize shutter over ISO if possible; sharp with a bit of grain is way better than sharp backgrounds and blurry birds.
ISO Settings
Try to keep ISO as low as possible.
Bright, sunny days are your friend—ISO 100–200 is perfect.
On gloomy or overcast days, ISO up to 400 or 800 is usually okay, but higher ISO adds visible noise, especially since drones have small sensors.
Some noise is better than a blurry shot, but avoid going over ISO 800 whenever possible.
Aperture (If Adjustable)
Most beginner drones don’t let you change aperture, but if yours does, stick with f/4–f/5.6.
Drone sensors are small and you’re far from your subject, so depth of field matters a lot less than just letting in enough light.
Don’t worry about fancy “bokeh”—just focus on getting everything sharp and well-lit.
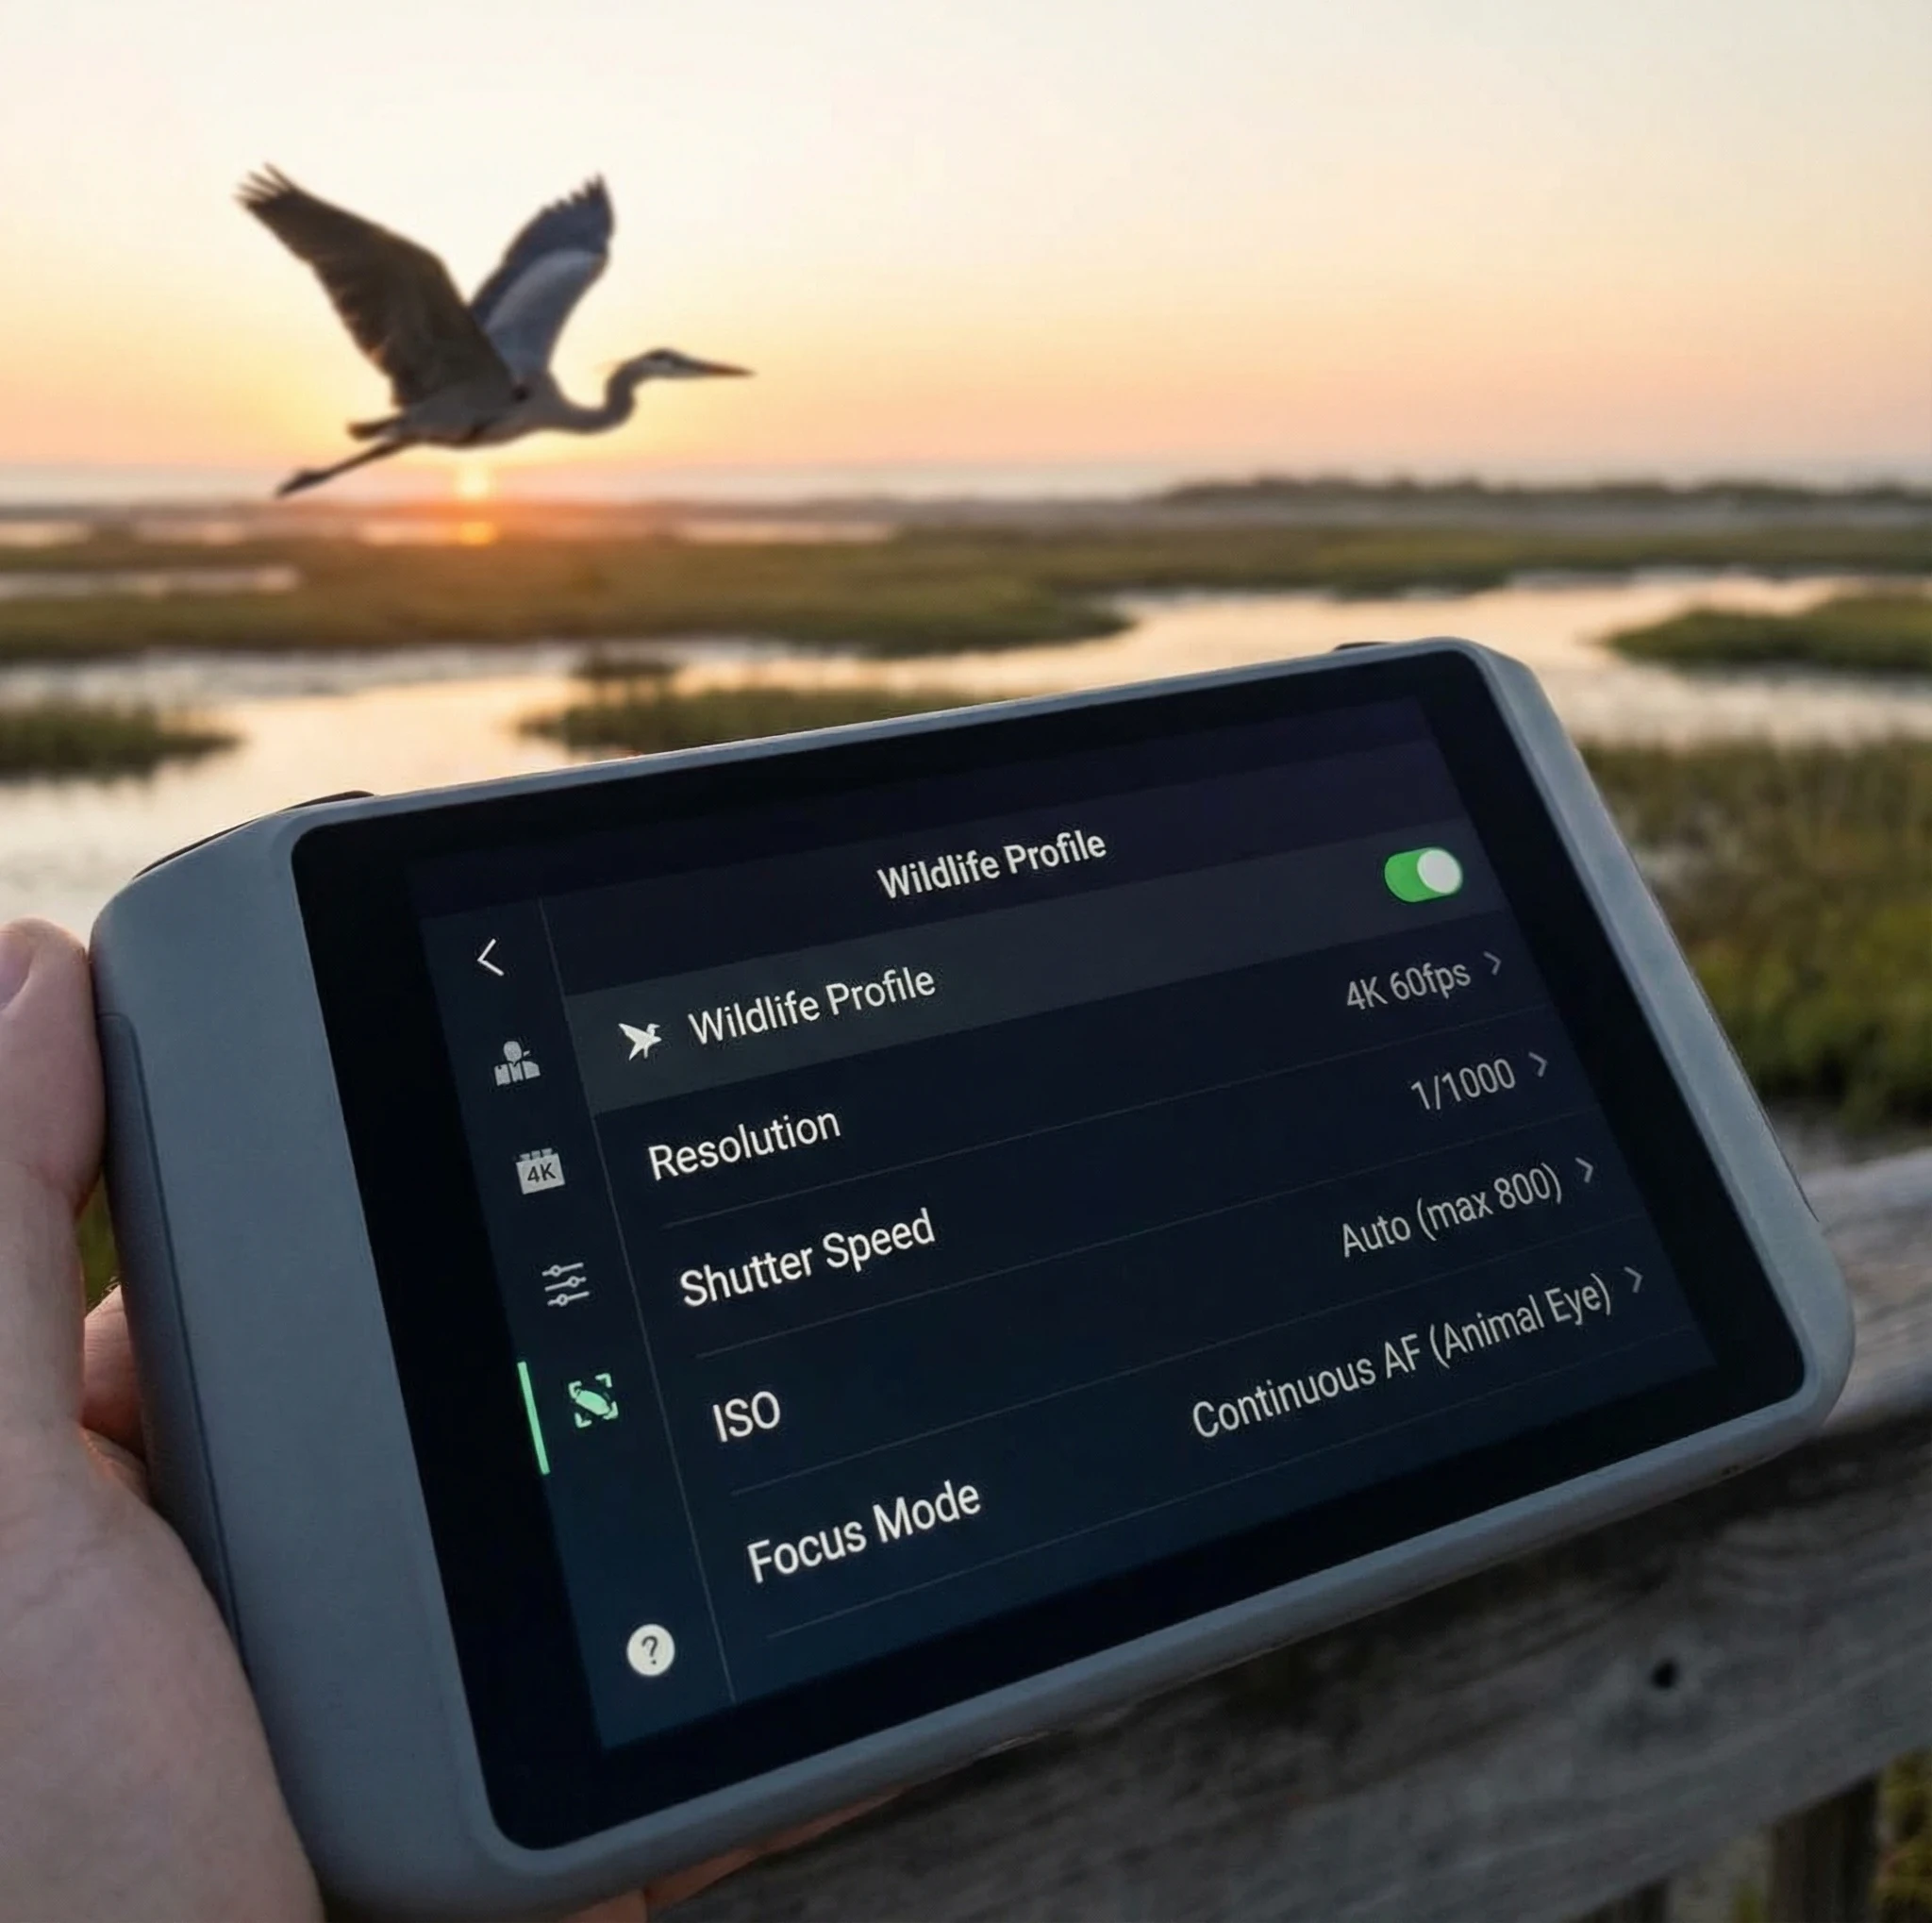
Focus Settings for Beginner Drone Bird Photography
Autofocus and continuous focus are your new best friends with birds.
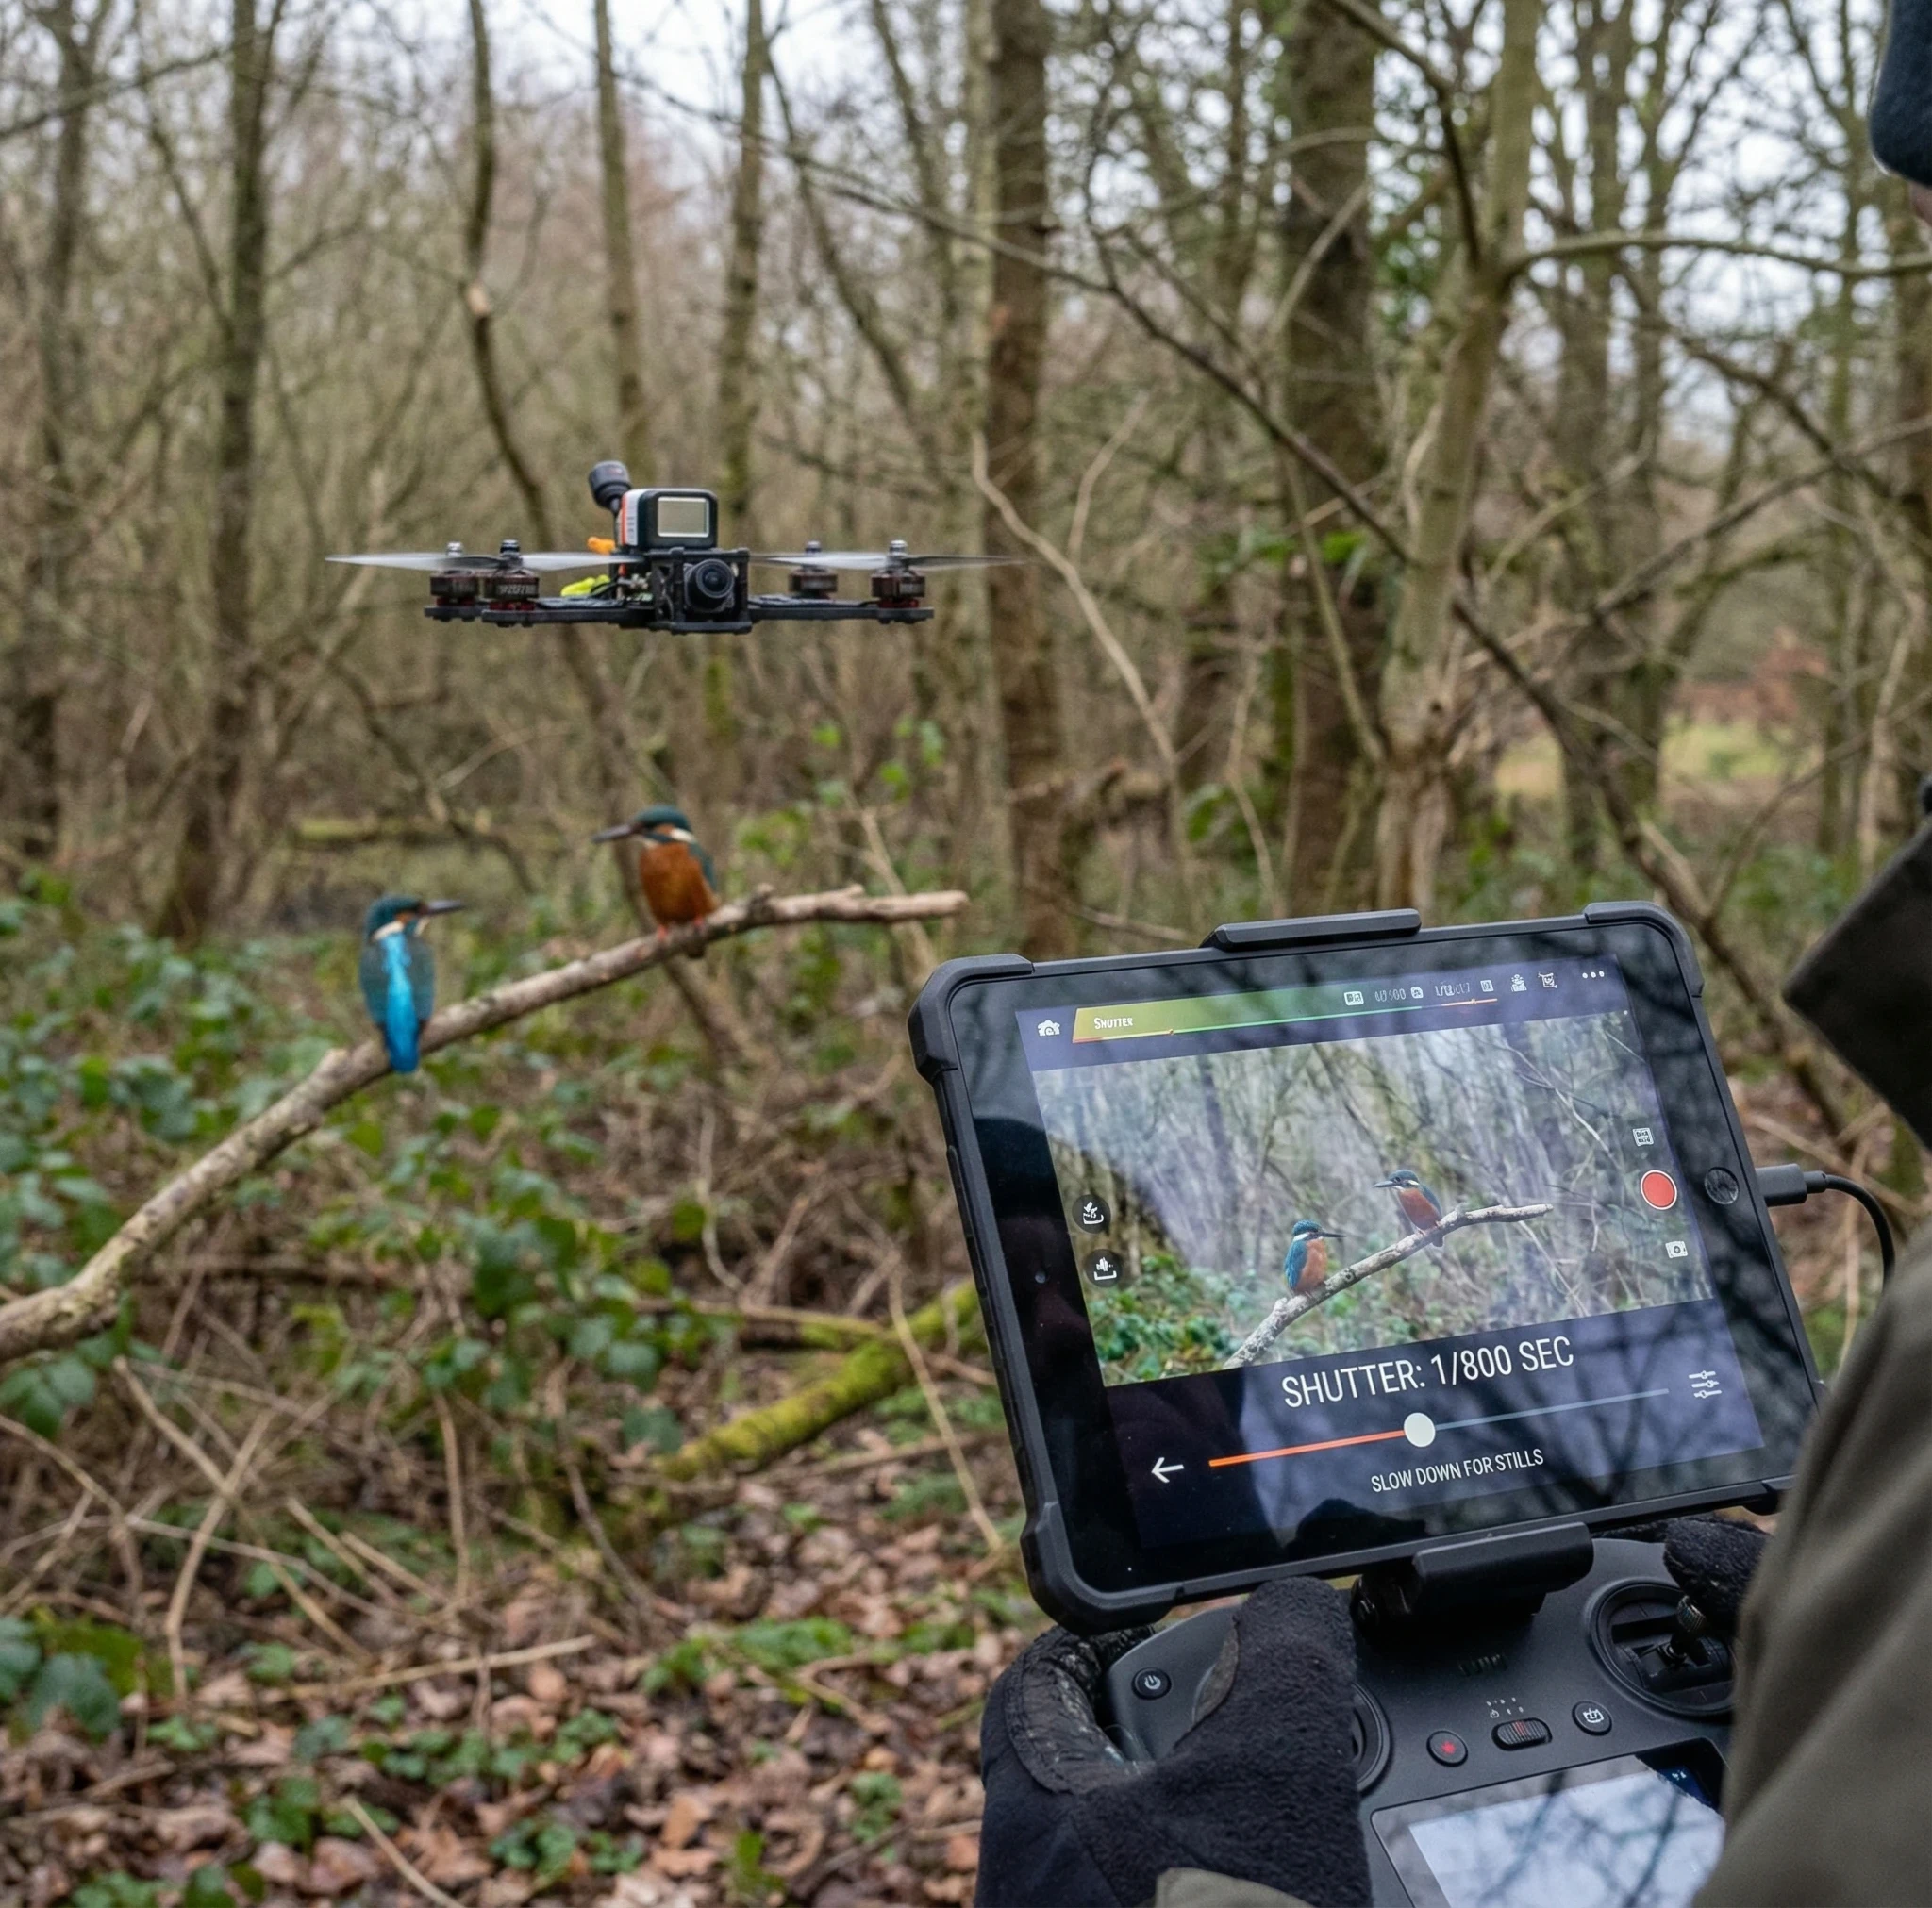
Drones often focus by tapping on the screen (tap to focus), which works well for perched or slow birds but is trickier for birds in flight.
If your drone offers touch focus, use it to lock onto the bird before you start your burst.
For flying birds, switch to continuous autofocus or tracking if available and let the camera adjust as the bird moves.
Avoid “focus hunting”; if you see the camera shifting in and out, it might miss your best shot.
Try focusing on a branch or water surface at the same distance as your target if the autofocus keeps missing.
Burst Mode: A Beginner’s Best Friend
Burst shooting is a lifesaver for action and unpredictable movement.
Even the best reflexes can’t time every shot perfectly when a bird suddenly takes off or lands.
Turning on burst (sometimes called “continuous” or “drive” mode) lets you capture a short series of images with one tap.
Use burst mode for birds that are about to take off or land, or when you see a group of birds flocking together.
Later, you can flip through your burst set and pick the sharpest moment; chances are at least one photo will be clear, even if the rest aren’t.
White Balance Settings for Natural Colors
Auto white balance actually does a pretty good job in most bird photography scenarios, especially outside.
Manual white balance is helpful if you notice weird color shifts. Some drones pull blue over water or green over grass.
If you want to lock your colors, set the white balance to “Daylight” or “Cloudy” based on the conditions, so you get consistent color from shot to shot.
Best Beginner Video Settings for Bird Photography
Lots of people forget that bird watching with a drone can mean great video, too.
These settings work for beginners and keep your footage usable, even if you want to pull still frames later.
Resolution and Frame Rate
Set resolution to 4K even if you just want to share clips online. This gives you the option to crop later.
For frame rate, 30fps works for natural motion, but 60fps is better if you want to slow things down or catch more detail in wingbeats.
Shutter Speed Rule for Video
The “180degree rule” says you want shutter speed at roughly double your frame rate (so, 1/60 for 30fps, 1/125 for 60fps).
In bright light, you’ll need to use an ND (neutral density) filter to keep shutter speed in check; otherwise you get choppy, harsh movement.
If you don’t have an ND filter yet, use auto and aim for a balance between smooth movement and clean exposure.
Gimbal Settings
Slow your gimbal speed down in the settings so movements look smooth when you follow a bird or pan over a scene.
Set horizon leveling to on, and avoid any jarring gimbal moves; the smoother, the better.
Using ND Filters for Beginner Drone Bird Photography
ND filters work like sunglasses for your drone’s camera, cutting down on extra light so you can use slower shutter speeds for video or avoid blownout highlights in photos.
They’re mostly needed in bright midday sun or over water and sand. Try an ND8–ND16 filter for mild sunlight, and ND32 for very strong noon rays.
If you’re just starting, it’s okay to skip ND filters but worth picking up a basic set when you start flying more often in strong sunlight.
Best Settings for Common Beginner Scenarios
Perched Birds
For still or perched birds, you can slow your shutter down a bit (1/800–1/1200), lower the ISO, and get away with less burst shooting.
Use tap to focus and try to hover steady; your stability matters just as much as your settings here.
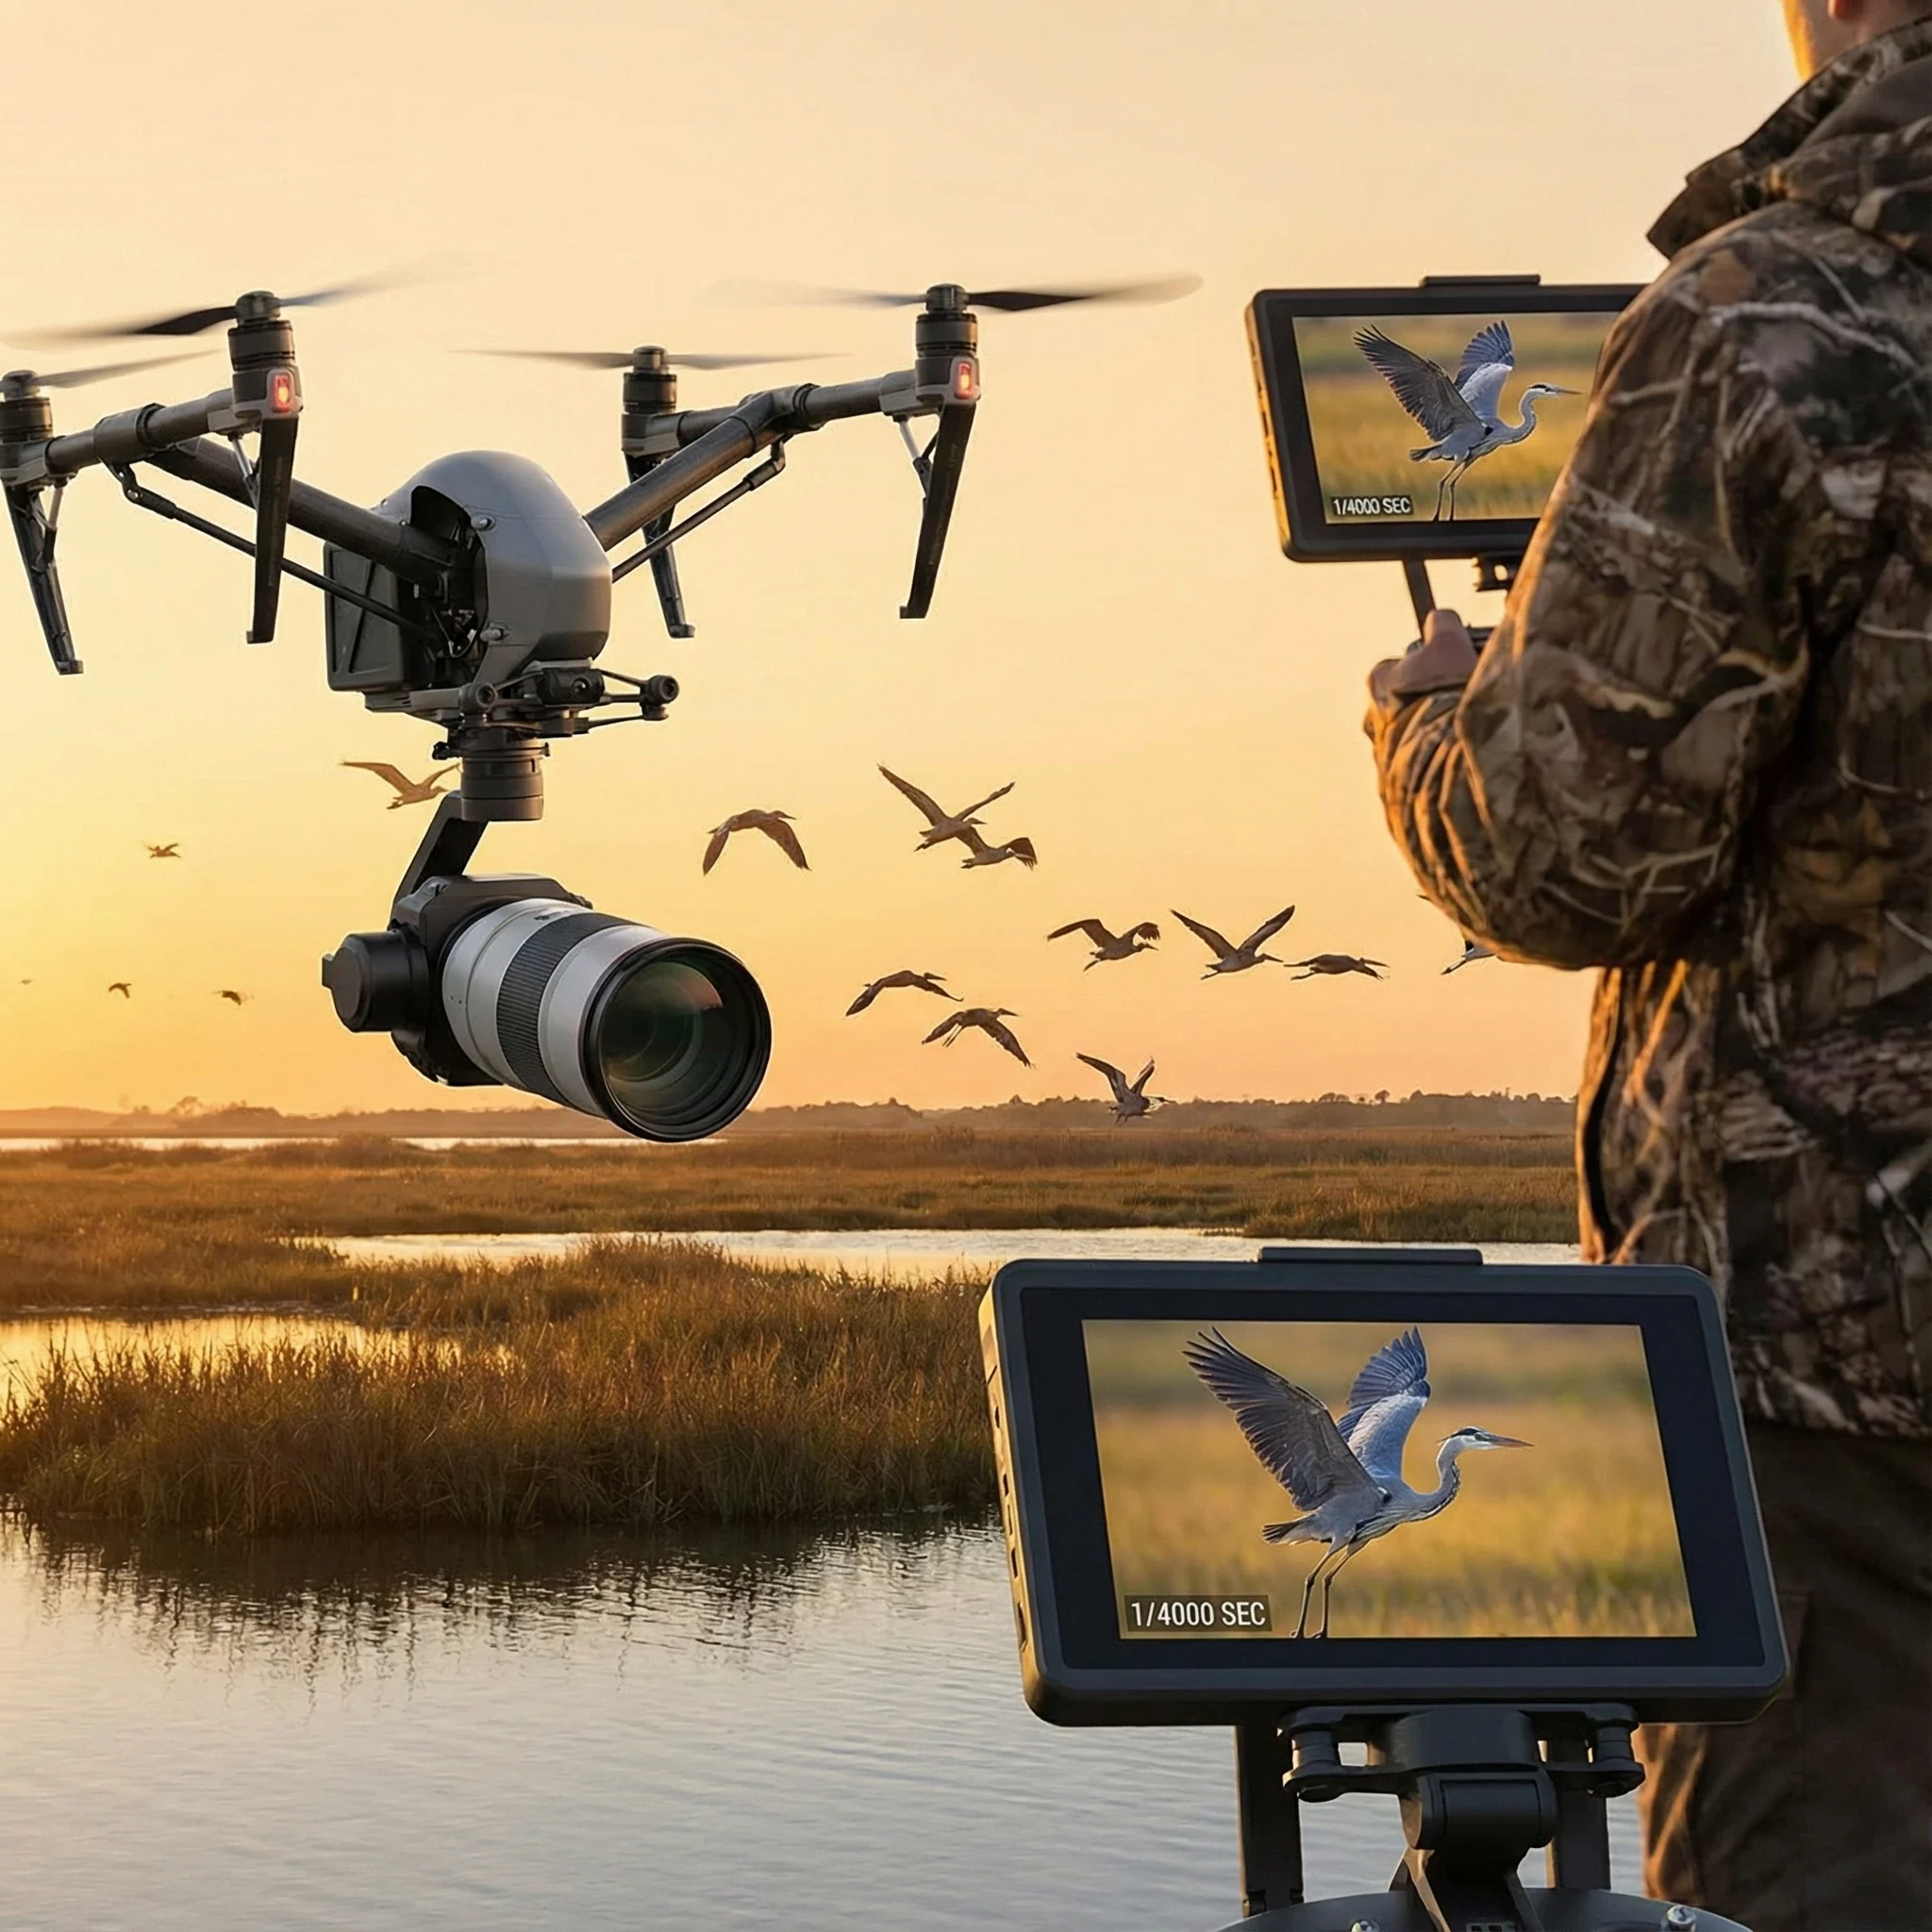
Birds in Flight
Pick the fastest shutter you can (1/1600–1/2500), keep burst shooting on, and nudge up the ISO if the shot turns dark or muddy.
Autofocus and tracking, if available, will help. Keep plenty of sky or open background for easy focusing.
Waterbirds and Wetlands
Scenes over water often confuse your exposure.
Try dialing down the exposure compensation to avoid blownout (too bright) highlights. Keep an eye on white birds, as these clip easily in harsh sun.
Common Beginner Camera Setting Mistakes
- Using shutter speeds that are too slow, which almost always leads to blurry wings or whole birds.
- Letting ISO climb automatically to very high values, making photos noisy and flat.
- Trusting auto mode for everything, which sometimes leads to unpredictable results in challenging light.
- Forgetting to use burst mode, missing your best action shots.
- Shooting only in JPEG rather than RAW (RAW gives you more editing flexibility, even if you’re a beginner).
- Ignoring wind, which can introduce motion blur if not compensated with fast shutter speed.
Quick Beginner Camera Settings Cheat Sheet
- Mode: Manual (or Shutter Priority / Pro Mode)
- Shutter: 1/1600 (1/1200 for still, 1/2000+ for fast flight)
- ISO: Auto, with a max of 800
- Format: RAW (if available, otherwise highestquality JPEG)
- Burst: On
- White Balance: Auto or Daylight
- Gimbal: Slow & smooth
How These Settings Work With Safe Flying Practices
Getting your settings right means you don’t need to fly as close to birds. This helps you respect their space and reduces the chance of disturbing them.
These simple adjustments help you get better photos from a distance with less risk, making it easier to practice ethical and safe bird photography.
If you want more details about flying around birds, check out my guide: How To Fly a Drone Safely Around Birds for Beginners.
Beginner Drone Bird Photography FAQ
What is the best shutter speed for bird photography with drones?
For perched birds, 1/800–1/1200 usually works well. For birds in flight, aim for 1/1600–1/2500 to freeze motion.
Should beginners shoot in RAW or JPEG?
RAW is best if your drone allows it; it keeps every bit of detail and color, making editing easier. If not, use the highestquality JPEG setting.
Can beginner drones capture sharp bird photos?
Yes, as long as your settings are dialed in and you keep your shots steady. The newest starter drones have surprisingly good cameras for their size.
Do I need ND filters as a beginner?
ND filters are helpful, mostly for shooting video or in very bright light. They’re not required for your first flights but worth investing in as you get more comfortable.
Wrapping Up
Getting better at drone bird photography is all about practice and small setting tweaks.
Every flight will teach you something new, and minor adjustments will have a noticeable effect on your results.
Start with these basic camera settings and experiment in open areas away from crowds and busy airspace, and you’ll start to notice steady improvement.
If you want more tips, check out my other beginner guides for picking drones and learning easy flying techniques.