
Welcome to an exciting new frontier in bird photography where you swap the quiet of lurking in the bushes for the hum of motors fluttering in the sky.
It’s the perfect blend of tech and nature, and hey, you don’t even need to leave the ground to catch a bird’s-eye view!
Drones open up a world of possibilities, taking you to sky-high vantage points that offer never-before-seen views of birds in their natural habitats.
You get to float in the air like you’re one of them!
And while birds have been spotting you from the sky for ages, now it’s your turn to catch them off-guard from above.
Wondering what we’re unpacking in this guide?
We’ve got it all!
From picking out the perfect beginner-friendly drone to nailing those flight basics to ensure everything’s smooth sailing when you’re up in the air.
We’ll dive into essential safety measures because, remember: keeping birds’ well-being front and center is a must.
We’ll touch on the most user-friendly settings to make sure you’re snapping shots like a pro, without all the complex dials and switches.
Plus, I’ll share techniques to help you get those awe-worthy shots while preserving peaceful encounters with your feathery subjects.
Buckle up because you’re on track to becoming a drone photography whiz, where the sky isn’t just the limit—it’s the beginning!
The Benefits of Using Drones for Bird Photography
Why stick to ground-level shots when there’s a whole sky out there?
With drones, you’re stepping into a new world of photography where altitude brings fresh perspectives.
Imagine capturing breathtaking scenes with birds spread across entire landscapes from viewpoints only a drone can provide.
Getting those epic wide shots of flocks in flight or nestled habitats is now totally doable.
Drones make it easier to reach places that are a hassle on foot, like those isolated, hard-to-reach locations that make for incredible photo backdrops.
Using drones means unlocking creative, cinematic angles that transform ordinary bird photos into something straight out of National Geographic.
Ever dreamt of weaving through trees or gliding along coastlines like a superhero? These magic machines make it happen, no cape needed.
Here’s the kicker: these high-flying gadgets are no longer a wallet-buster. Beginner drones are now affordable and come packed with features making them easy to control.
So, you’re not just spending less; you’re getting more bang for your buck with user-friendly tech that lets you focus on the shot, not the learning curve.
Selecting Your First Drone: Choosing Beginner-Friendly Equipment
When you’re picking out your first drone, you’re really setting the stage for your whole aerial adventure.
Ease of use should be top of mind. A good beginner drone doesn’t fight you every step of the way—it feels like an extension of your own skills.
Look for drones that come packed with automatic flight modes, like return-to-home or follow-me.
These features are lifesavers and let you focus on capturing that perfect shot without sweating the tech details.
Obstacle avoidance is another biggie.
This tech practically acts like a co-pilot, helping you steer clear of trees, buildings, or any sneaky obstacles that could cut your flight short, not to mention a potential photo shoot.
Lightweight and quiet motors are your friend, too.
They help with stability and keep those precious birds from being spooked before you even get the shot.
Solid stabilization and camera quality are non-negotiables. If you’re aiming to hang your prints on the wall, you need crisp images, not shaky, pixelated versions.
Ready to shop?
Here are some winners in the beginner category:
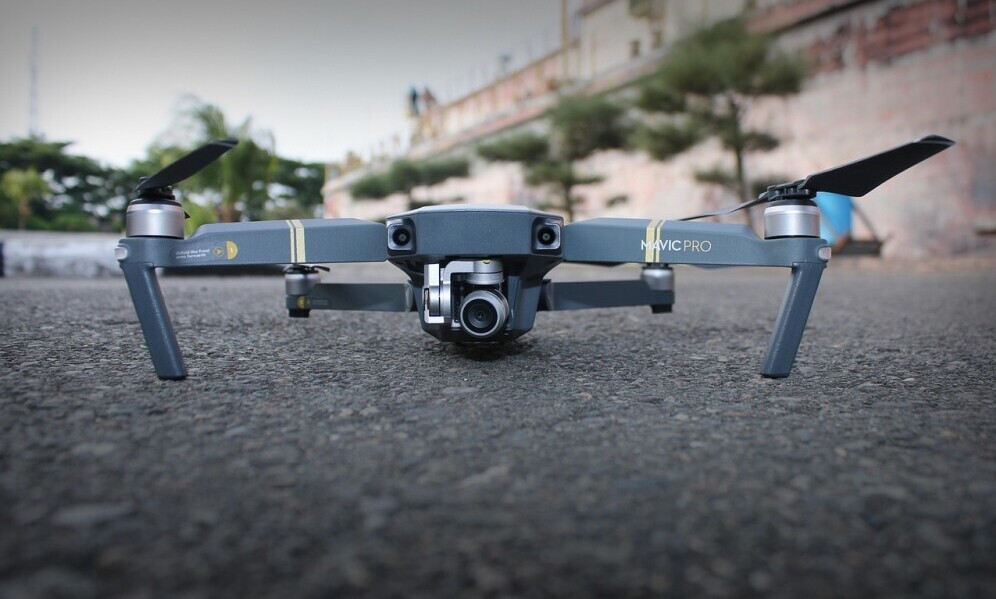
DJI Mini 4 Pro and DJI Mini 3 Pro come highly recommended for their balance of price and performance.
Autel EVO Nano+ also makes the cut, especially if you’re into cutting-edge tech.
Lastly, Skydio 2+ for those who value a drone that’s practically self-aware with its superior tracking and avoidance capabilities.
Investing in a good beginner drone opens up a world of possibilities without all the hurdles.
Plus, it’s a stepping stone to more advanced, thrilling adventures once you’re ready to up your game!
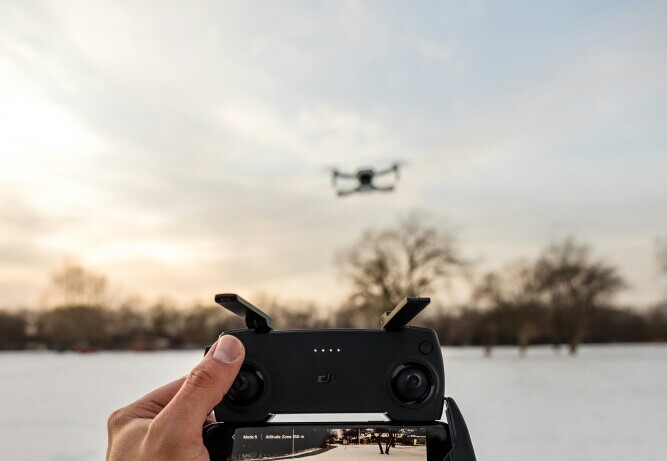
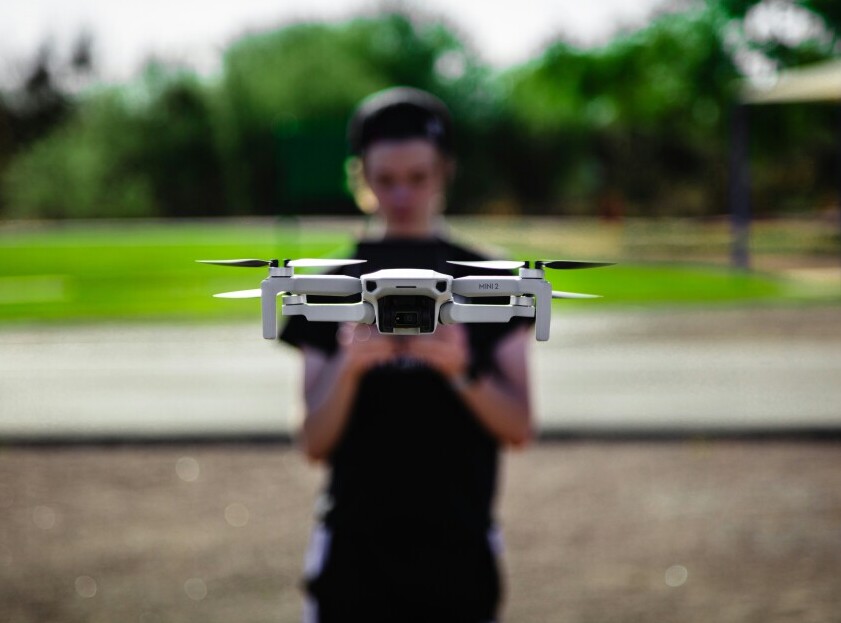
Mastering the Basics: Learning to Fly Drones Before Photographing Birds
Getting comfortable with flying is huge when you’re new to drones.
It’s the performer getting comfy with their instrument before hitting the stage.
Learning to fly smoothly pays off with stunningly crisp photos, plus it’s crucial for keeping the birds safe in their natural habitats.
Flight skills matter big time.
If you’re zig-zagging across the sky like a squirrel in traffic, those shots won’t come out right.
More importantly, smooth, controlled maneuvers are key to ensuring that you don’t disturb the birds.
Some easy flight drills can make a world of difference. Start with hovering in place—nail that, and everything else gets easier.
Practice ascending and descending slowly; this isn’t a race. Straight-line flying helps you handle the simple stuff, while smooth turns add finesse to your style.
Hit up an open field for fresh air practice sessions where you have tons of space to get comfy with your controls.
Mistakes here?
Safe as houses, and it’s all learning.
When you’re confident in the basics, you open the door to capturing awesome bird photos without worrying about bumping your drone into hazards or missing a snap because you fumbled with the controls.
Think of it as getting your ‘driver’s license’ before cruising down the advanced photography highway.
Bird Photography Camera Settings: Basics for Beginners
Camera settings might seem tricky at first, but tackling them one step at a time makes your photos pop.
Shutter speed is your best friend here for freezing those in-flight birds in crisp motion.
A faster speed lets you capture every feather detail without blur.
Keep ISO low to minimize noise and ensure your images stay clear, especially when snapping shots in lower light.
Auto exposure modes might help when you’re starting but exploring manual controls lets you fine-tune each shot once you’re more comfortable.

Burst mode is a game-changer. It captures multiple frames per second, increasing your chances of snagging the perfect shot while birds zip through the sky.
Which brings us to the age-old photo debate: RAW vs JPEG. For flexibility during post-editing, shooting in RAW offers more room to tweak and enhance your pics.
But if you’re aiming for straight-out-of-the-camera simplicity, JPEG’s your go-to.
For those just starting, here’s a simple, beginner-friendly setting list: fast shutter speed, low ISO, and give burst mode a whirl.
Adjust as you go—practice makes perfect, and these settings lay the groundwork for capturing dynamic, sharp photos.
Drone Etiquette: Approaching Birds Safely and Responsibly
While capturing stunning images is the goal, the birds’ well-being comes first. A higher altitude is often your best bet for minimizing stress on wildlife.
Birds are less likely to notice the drone way up there, so you can snap away without causing a panic.
Slow and smooth, that’s the key to keeping birds at ease.
Quick, jerky movements could send them scattering, which is not only bad for your photos but also stressful for them. Maintaining a gentle approach helps keep everything chill.
Respecting distance is crucial.
Different birds have different comfort zones, and it’s important to maintain those suggested safe ranges.
Whether you’re photographing waterbirds, raptors, or woodland species, knowing how close is too close keeps everybody happy.
Always follow ethical guidelines.
This means steering clear of nests, especially during breeding seasons when birds are more vulnerable.
Also, be mindful of protected areas where natural habitats are preserved and flying could be restricted.
Following these guidelines isn’t just about rules—it’s about ensuring that these mesmerizing creatures remain undisturbed, allowing future generations of photographers to enjoy them too.
Beginner Techniques and Tips for Stunning Drone Bird Photography
Getting those killer shots is all about mastering some simple techniques.
Start by positioning your drone to get the most flattering angle.
A slightly elevated position often provides that perspective that brings the scene to life.
For a sense of place, try shooting from above.
This adds habitat context, showing birds not just as isolated subjects but as part of a larger ecosystem. It’s storytelling from the sky!
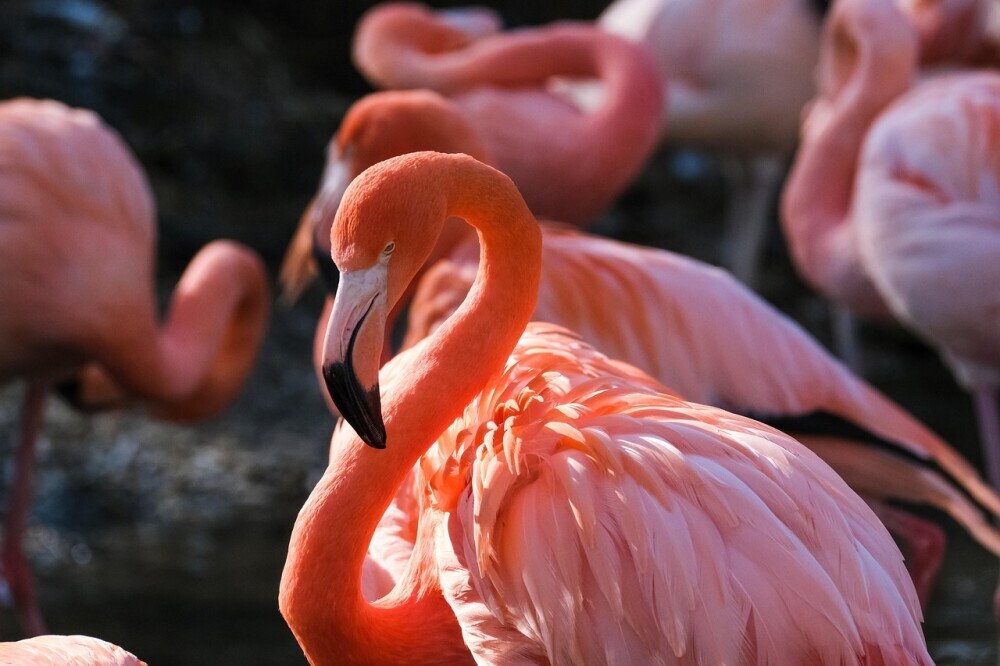
Side angles work beautifully for birds perched in trees.
They highlight the bird’s profile while keeping the background engaging. It’s all about showcasing them in their natural setting.
Capturing flocks requires patience and practice to ensure they remain undisturbed while you get your shot.
The golden hour—just after sunrise and before sunset—offers soft, warm lighting that’s perfect for adding a magical glow to your photos.
Look out for creative opportunities with shadows, silhouettes, and reflections.
These elements add depth and drama, turning simple shots into works of art.
Before you dive into dynamic photo sessions, start by practicing static shots.
They help you master control over your drone and camera before moving to more complex captures.
Frequently Asked Questions (FAQs)
i. Is it legal to use a drone for bird photography?
Yes—drone bird photography is legal in many places, but laws vary by country and region. Always check local drone regulations, wildlife protection rules, and protected-area restrictions before flying. Some parks or reserves may require permits, and flying near nesting sites is often prohibited.
ii. Will my drone disturb birds?
It can—if not flown responsibly. Keeping a safe distance, maintaining higher altitudes, and using slow, controlled maneuvers significantly reduce stress on birds. Avoid flying near nests, breeding areas, or large flocks that are easily startled.
iii. What is the best altitude for photographing birds with a drone?
Most beginners start around 25–60 meters (80–200 ft). This height gives a great vantage point without entering the birds’ comfort zone. Adjust based on bird species, behavior, and legal altitude limits in your area.
iv. Do I need a license to fly a drone for bird photography?
Many countries require at least a basic drone license or online test for recreational drone pilots. If you plan to use your drone commercially (e.g., selling photos), additional certification may be required. Check your local aviation authority’s guidelines.
v. What beginner drone should I buy for bird photography?
Great beginner-friendly options include:
- DJI Mini 4 Pro – best overall balance
- DJI Mini 3 Pro – affordable, excellent camera
- Autel EVO Nano+ – strong low-light performance
- Skydio 2+ – top-tier obstacle avoidance
Choose a lightweight, stable drone with strong camera capabilities and good battery life.
vi. What camera settings work best for birds in flight?
For sharp, crisp images:
- Shutter Speed: 1/1000s or faster
- ISO: Keep low when possible
- Mode: Burst mode for multiple frames
- Format: RAW for maximum editing flexibility
These settings help freeze motion and enhance detail in fast-moving birds.
vii. How do I keep my drone steady in windy conditions?
Fly a lightweight drone only in mild winds. For slightly breezy conditions:
- Use sport mode or higher propulsion strength when available
- Avoid flying too close to cliffs or coastlines where winds shift quickly
- Practice hovering to maintain control
If winds are strong—postpone the flight. Safety always comes first.
viii. Can I use a drone to photograph small birds or only large ones?
You can photograph both, but small birds are more easily startled. Maintain a greater distance and use your drone’s zoom function or crop images during editing. Larger birds like cranes, herons, storks, and raptors are easier to capture responsibly.
ix. What time of day is best for drone bird photography?
Golden hour—just after sunrise or before sunset—offers warm, soft lighting and often calmer bird activity. Morning is also ideal for clearer skies and less wind, which helps with stable flying.
x. How can I practice before photographing real birds?
Start with simple drills:
- Hover in one place
- Fly straight lines
- Practice smooth turns
- Try filming or photographing static subjects like rooftops or trees
Once your movements feel natural, progress to photographing birds at a distance before attempting close-up captures.
Conclusion: Take to the Skies—Your Drone Bird Photography Journey Starts Now!
Drone bird photography opens up a breathtaking new world where technology meets nature in the most spectacular way. With the right beginner equipment, simple flight practice, and ethical flying habits, you can capture angles and moments that were once impossible from the ground.
Remember: every great drone photographer started exactly where you are—curious, excited, and ready to learn.
Now it’s your turn to explore the skies.
Ready to take the next step?
Start practicing your drone skills, experiment with angles, and dive deeper into the world of aerial wildlife photography. Your first unforgettable bird photo is waiting—up there in the open sky.
If you found this guide helpful, don’t forget to:
✔️ Share it with other aspiring drone photographers
✔️ Leave a comment with your first drone-bird photography experience
✔️ Explore more beginner-friendly drone posts on this blog!
The sky isn’t the limit—it’s your playground. Go capture it.