
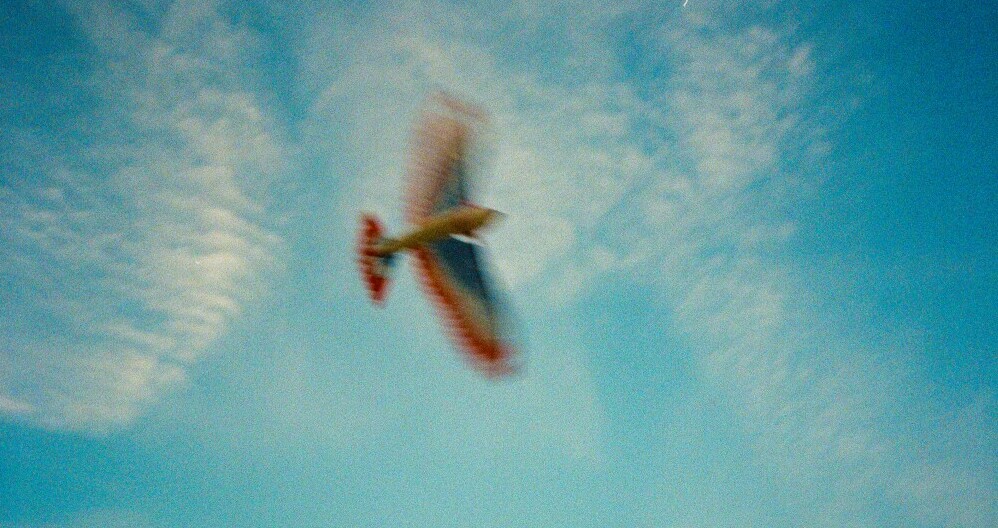
Capturing sharp photos of birds with a drone feels rewarding, but blurry images are one of the biggest headaches for beginners.
Blur sneaks in easily when you’re juggling fast bird movements and a floating camera platform.
While ground based bird photography brings its own set of challenges, photos taken from a drone seem extra prone to blur, partly because both your subject and your camera can be moving at the same time.
Why Bird Photos from Drones Often Turn Out Blurry
Blurry drone bird photos are frustratingly common.
On the ground, you control the movement and the camera’s stability much more easily.
In the air, your drone is battling wind gusts, small vibrations, and constant adjustments just to stay up.
Birds can launch off, flap their wings in the middle of a shot, or dart through the air, meaning you have several sources of unpredictability to manage.
Drone cameras, especially entry-level ones, tend to have smaller sensors and limited control over settings. Birds at a distance often look smaller in the frame, making any tiny bit of movement or focus error obvious in the final image.
In this guide, I’m sharing what I’ve learned about keeping your bird photos sharp, even if you’re just getting started.
You’ll learn the different types of blur, camera settings that actually work, practical flying tips, and the mistakes I made so you can avoid them.
Understanding the Different Types of Blur
Motion Blur (Bird Movement)
Birds rarely sit still for you. They twitch, flutter, hop, or launch into flight with little warning.
Even perched, their heads can move fast enough to streak in a photo.
Wings in motion, especially on takeoff or landing, are notorious for causing blur because they move so much faster than you expect.
A shutter speed that seems fast enough for a landscape is simply too slow for a moving bird.
Drone Movement Blur
Shooting with a tripod and shooting with a drone are miles apart.
Your drone can drift, hover shakily, or react to small bursts of wind. Even if it seems motionless to your eyes, it might be vibrating just enough to soften a photo.
Quick movements with your control sticks or flying in strong winds raise the odds of blur.
Drone stabilization does a lot, but it cannot completely remove the risk of camera shake, especially at slower shutter speeds.
Focus Blur
Focus blur happens when your camera locks onto the wrong thing.
Drone autofocus sometimes gets distracted by tricky backgrounds, especially if there are twigs, water reflections, or small birds against a landscape.
Focus hunting, where the camera keeps searching for focus, is common – especially in lower light or when birds are really small in the frame.
Combination Blur
Most beginner blur comes from a nasty stackup: the bird moves, the drone wobbles, and your focus struggles at the same time.
When more than one blur source hits, getting a truly sharp bird photo feels impossible.
That’s why simply fixing camera settings often isn’t enough. You’ll want to dial in your flying and camera habits too.
Why Drones Make Blur More Likely
- Small sensors: Most drones (except pricey pro models) have smaller sensors. This limits how much light you can gather and how wide your dynamic range is. That means you often use higher ISOs for faster shutter speeds, or risk getting blurry images in lower light.
- Wind effects: Wind at altitude often feels stronger than on the ground. Gusts can tilt or drift your drone even if you don’t touch the controls.
- Gimbal vs body movement: Gimbals do their best to keep the camera stable, but sometimes the drone itself shakes, shifting everything a little during exposure.
- Subject size and distance: Birds are usually small and far from the drone, exaggerating any blur. Even a bit of camera shake is enough to make a bird look fuzzy.
Camera Settings That Prevent Blur (Beginner Friendly)
Shutter Speed: Your Number 1 Blur Killer
Turning up your shutter speed fights both motion and drone movement blur.
For perched birds, shoot at 1/1000s if possible. For slow flying birds or ones gliding low over water, 1/1250s or 1/1600s gives you a safer margin. For fast action (like flocks in flight), 1/2000s is a good target.
It’s easy to want to lower your shutter speed just to keep ISO lower, but that’s how blur sneaks in.
My own drone bird photos tend to look sharper when I let a bit of noise in exchange for plenty of speed.
ISO: Why Noise Is Better Than Blur
It’s normal to want clean looking, low-ISO photos, but ISO noise is a lot easier to fix than motion blur.
Birds move unpredictably, and a sharp, noisy shot almost always beats a blurry, cleanone.
Using auto ISO makes things simpler, but if you like more control, don’t be afraid to go up to ISO 800 or 1600 if that’s what it takes for a quick shutter, especially in dim light.
Most editing software can handle moderate drone noise later on.
Aperture and Depth of Field
Many drones come with fixed apertures, usually in the f/2.8–f/4 range.
If your drone camera lets you choose, stick with wider apertures for faster shutter speeds, but watch out if you’re close: a shallow depth of field can leave parts of the bird out of focus.
For distant birds, using wide apertures isn’t usually a problem.
Burst Mode: Increasing Your Keeper Rate
Burst mode, which takes multiple shots quickly, can save the day with birds.
Birds blink, twitch, or move midshot, and your drone might jolt at the wrong moment.
Firing a burst bumps up your odds of nabbing a crisp frame. I almost always use burst mode when photographing birds with my drone, even if they’re perched.
Drone Flight Techniques to Reduce Blur
Hover Before Shooting
Stopping all movement before taking a photo gives your camera the best chance for a tack sharp shot.
Once you’re close enough and have your frame lined up, release the control sticks and let the drone settle.
That split-second pause can make a big difference, especially for smaller birds.
Fly Slow and Predictably
Use your drone’s slow or “tripod” mode (sometimes called Cine Mode) to fly smoothly.
Abrupt movements turn into blur fast.
Slow, controlled stick inputs help your drone stay stable, giving your gimbal the best opportunity.
Even minor stick jerks can spoil a well composed shot.
Start High, Then Descend Slowly
Birds easily get spooked, so start at a higher altitude and carefully work your way down to your preferred shooting spot.
That slow approach helps birds relax and buys you time to hover and carefully compose.
Coming in low from the start usually scares birds away, leading to missed chances and blur.
Gimbal and Camera Control Tips
- Move the gimbal (camera tilt) in small increments, not sudden jumps. Quick flicks can blur a photo or upset your framing completely.
- If your drone software has it, try horizon lock or stabilization modes to keep the camera steady.
- Avoid making camera or control changes while you’re firing a burst. Try to keep everything steady for your burst sequence.
Positioning the Drone for Sharper Images
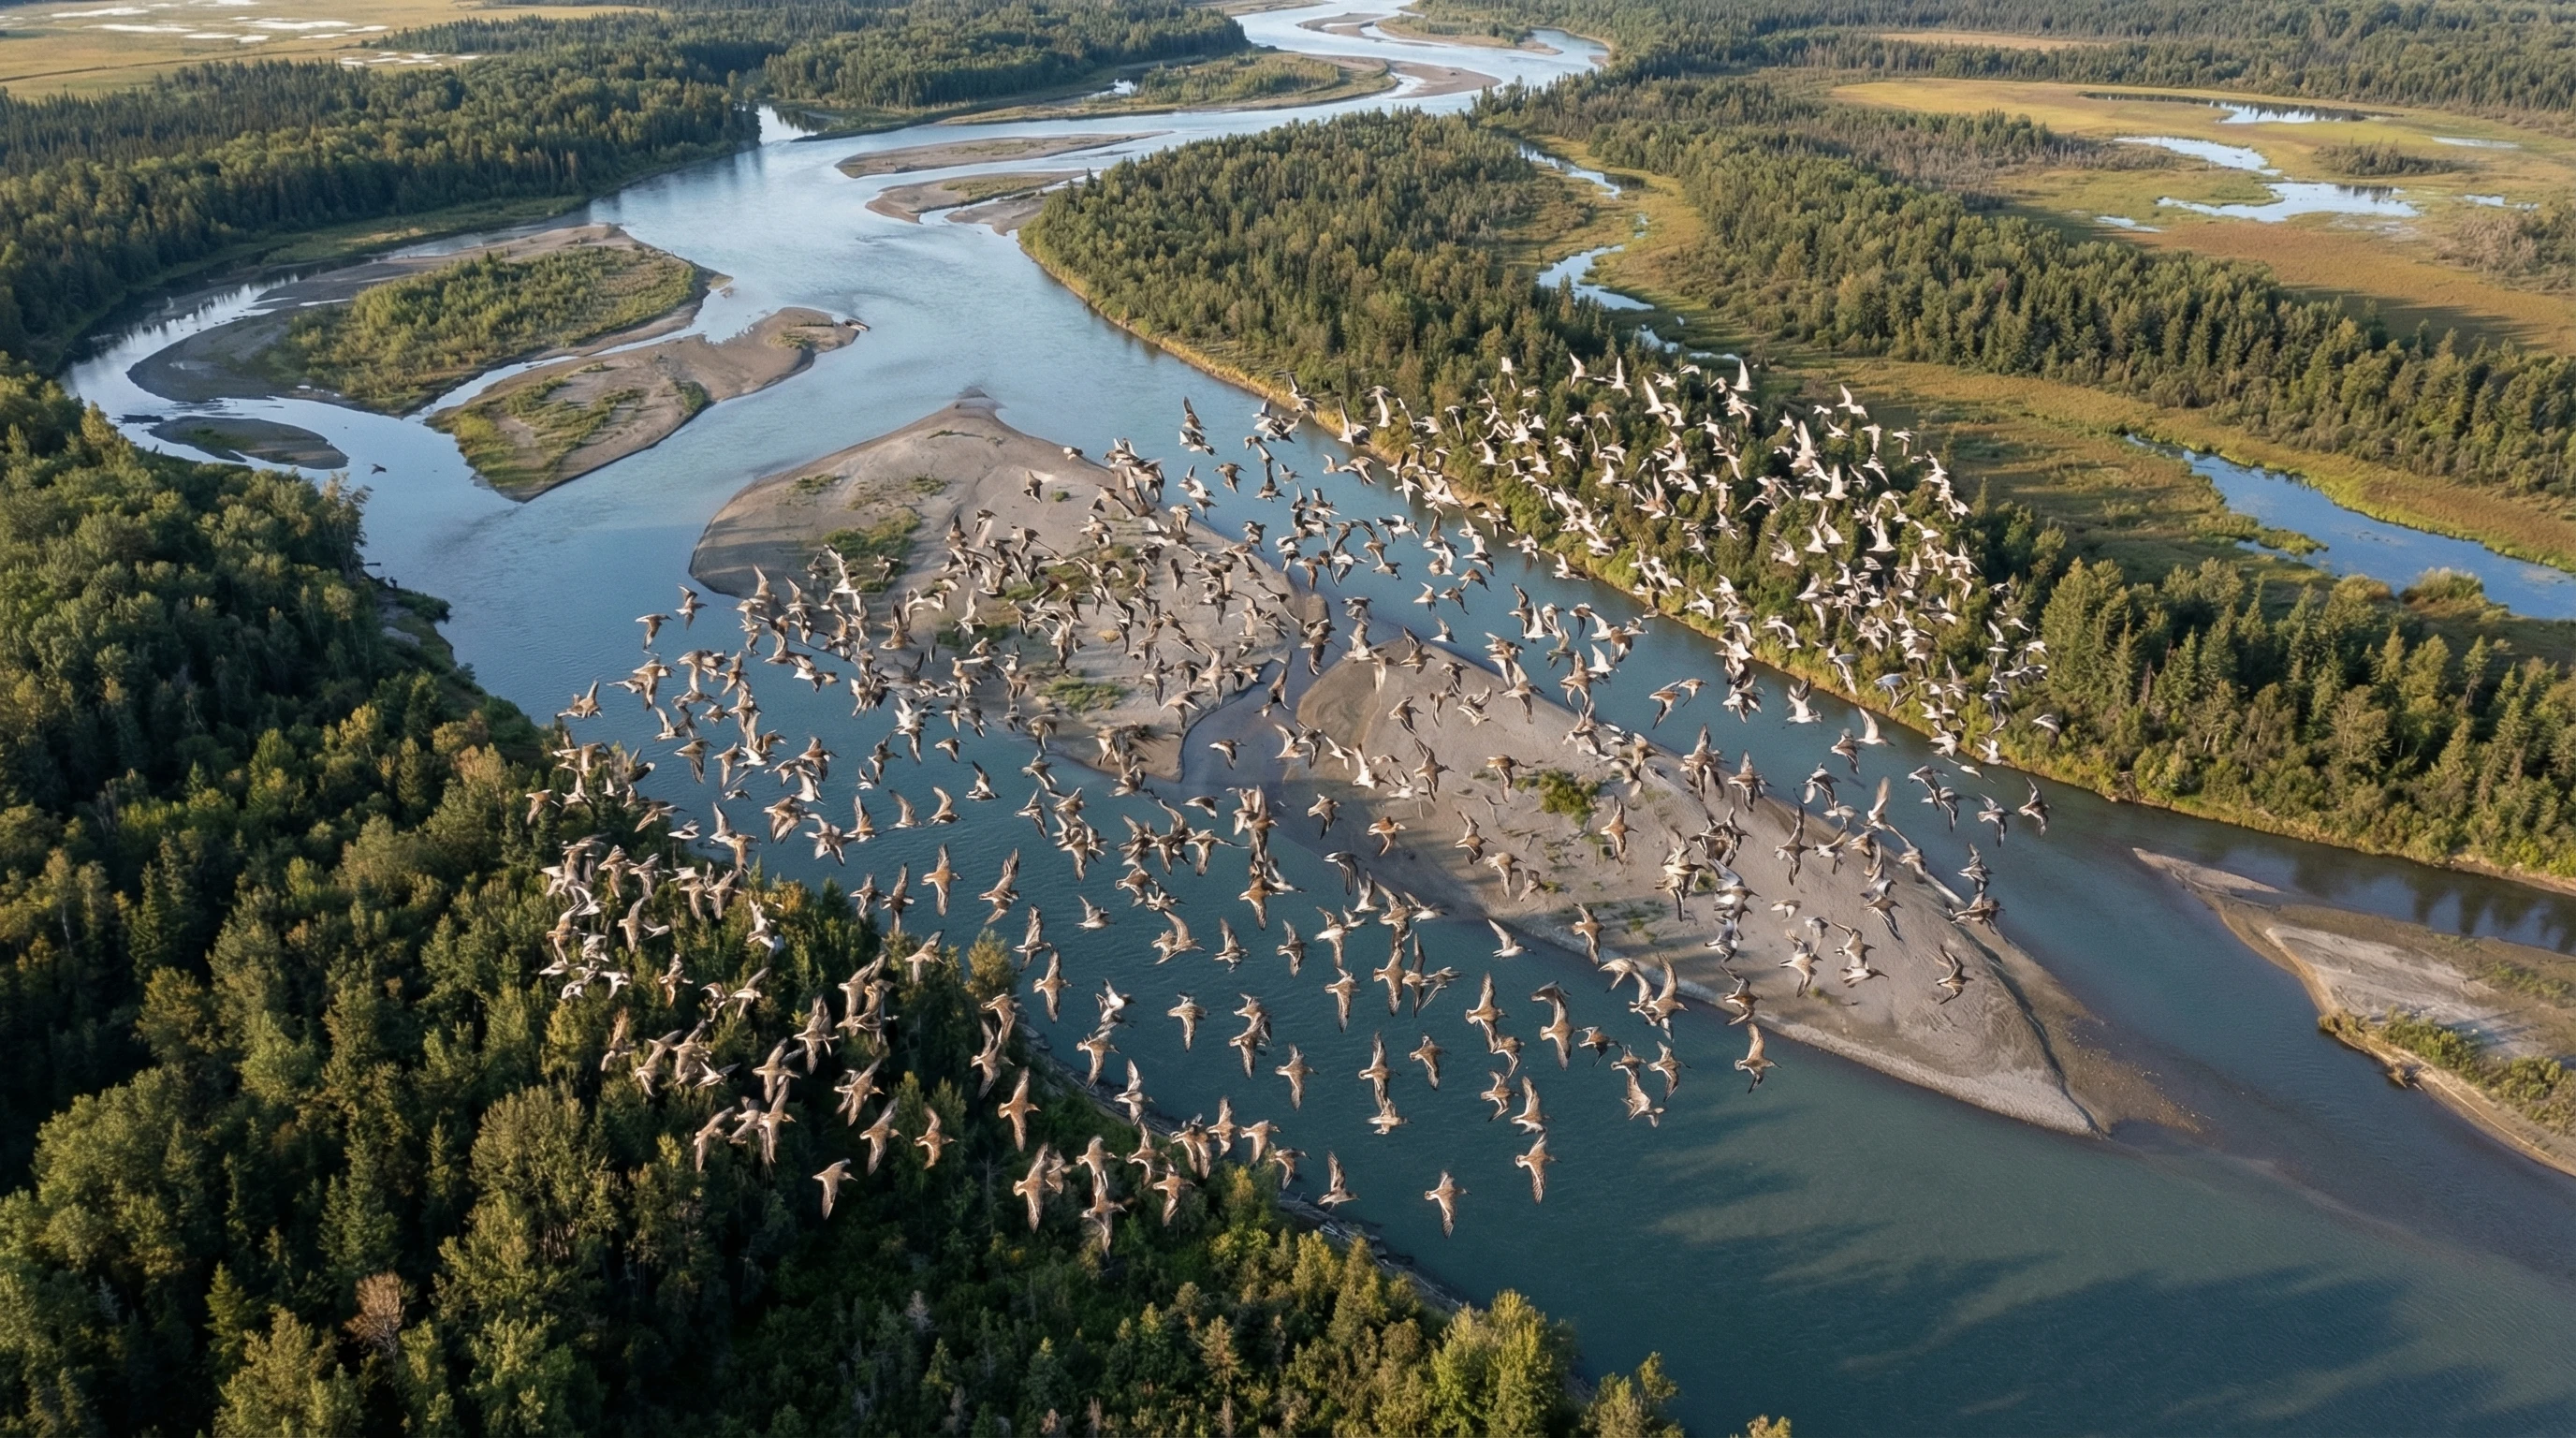
Top Down Angles (Beginner Friendly)
Shooting nearly straight down at birds is great for drone beginners.
When your drone is above the bird, you limit movement between the bird and the camera.
This works especially well for waterbirds, birds on mudflats, or groups in open fields.
Topdown shots also lower the risk you’ll startle the bird.
Side Angles for Perched Birds
For birds that are perched on fences or branches, don’t get too close.
Shoot side-on to get a more engaging angle and to reduce depthof field trouble. You’ll avoid blending the bird into a busy background.
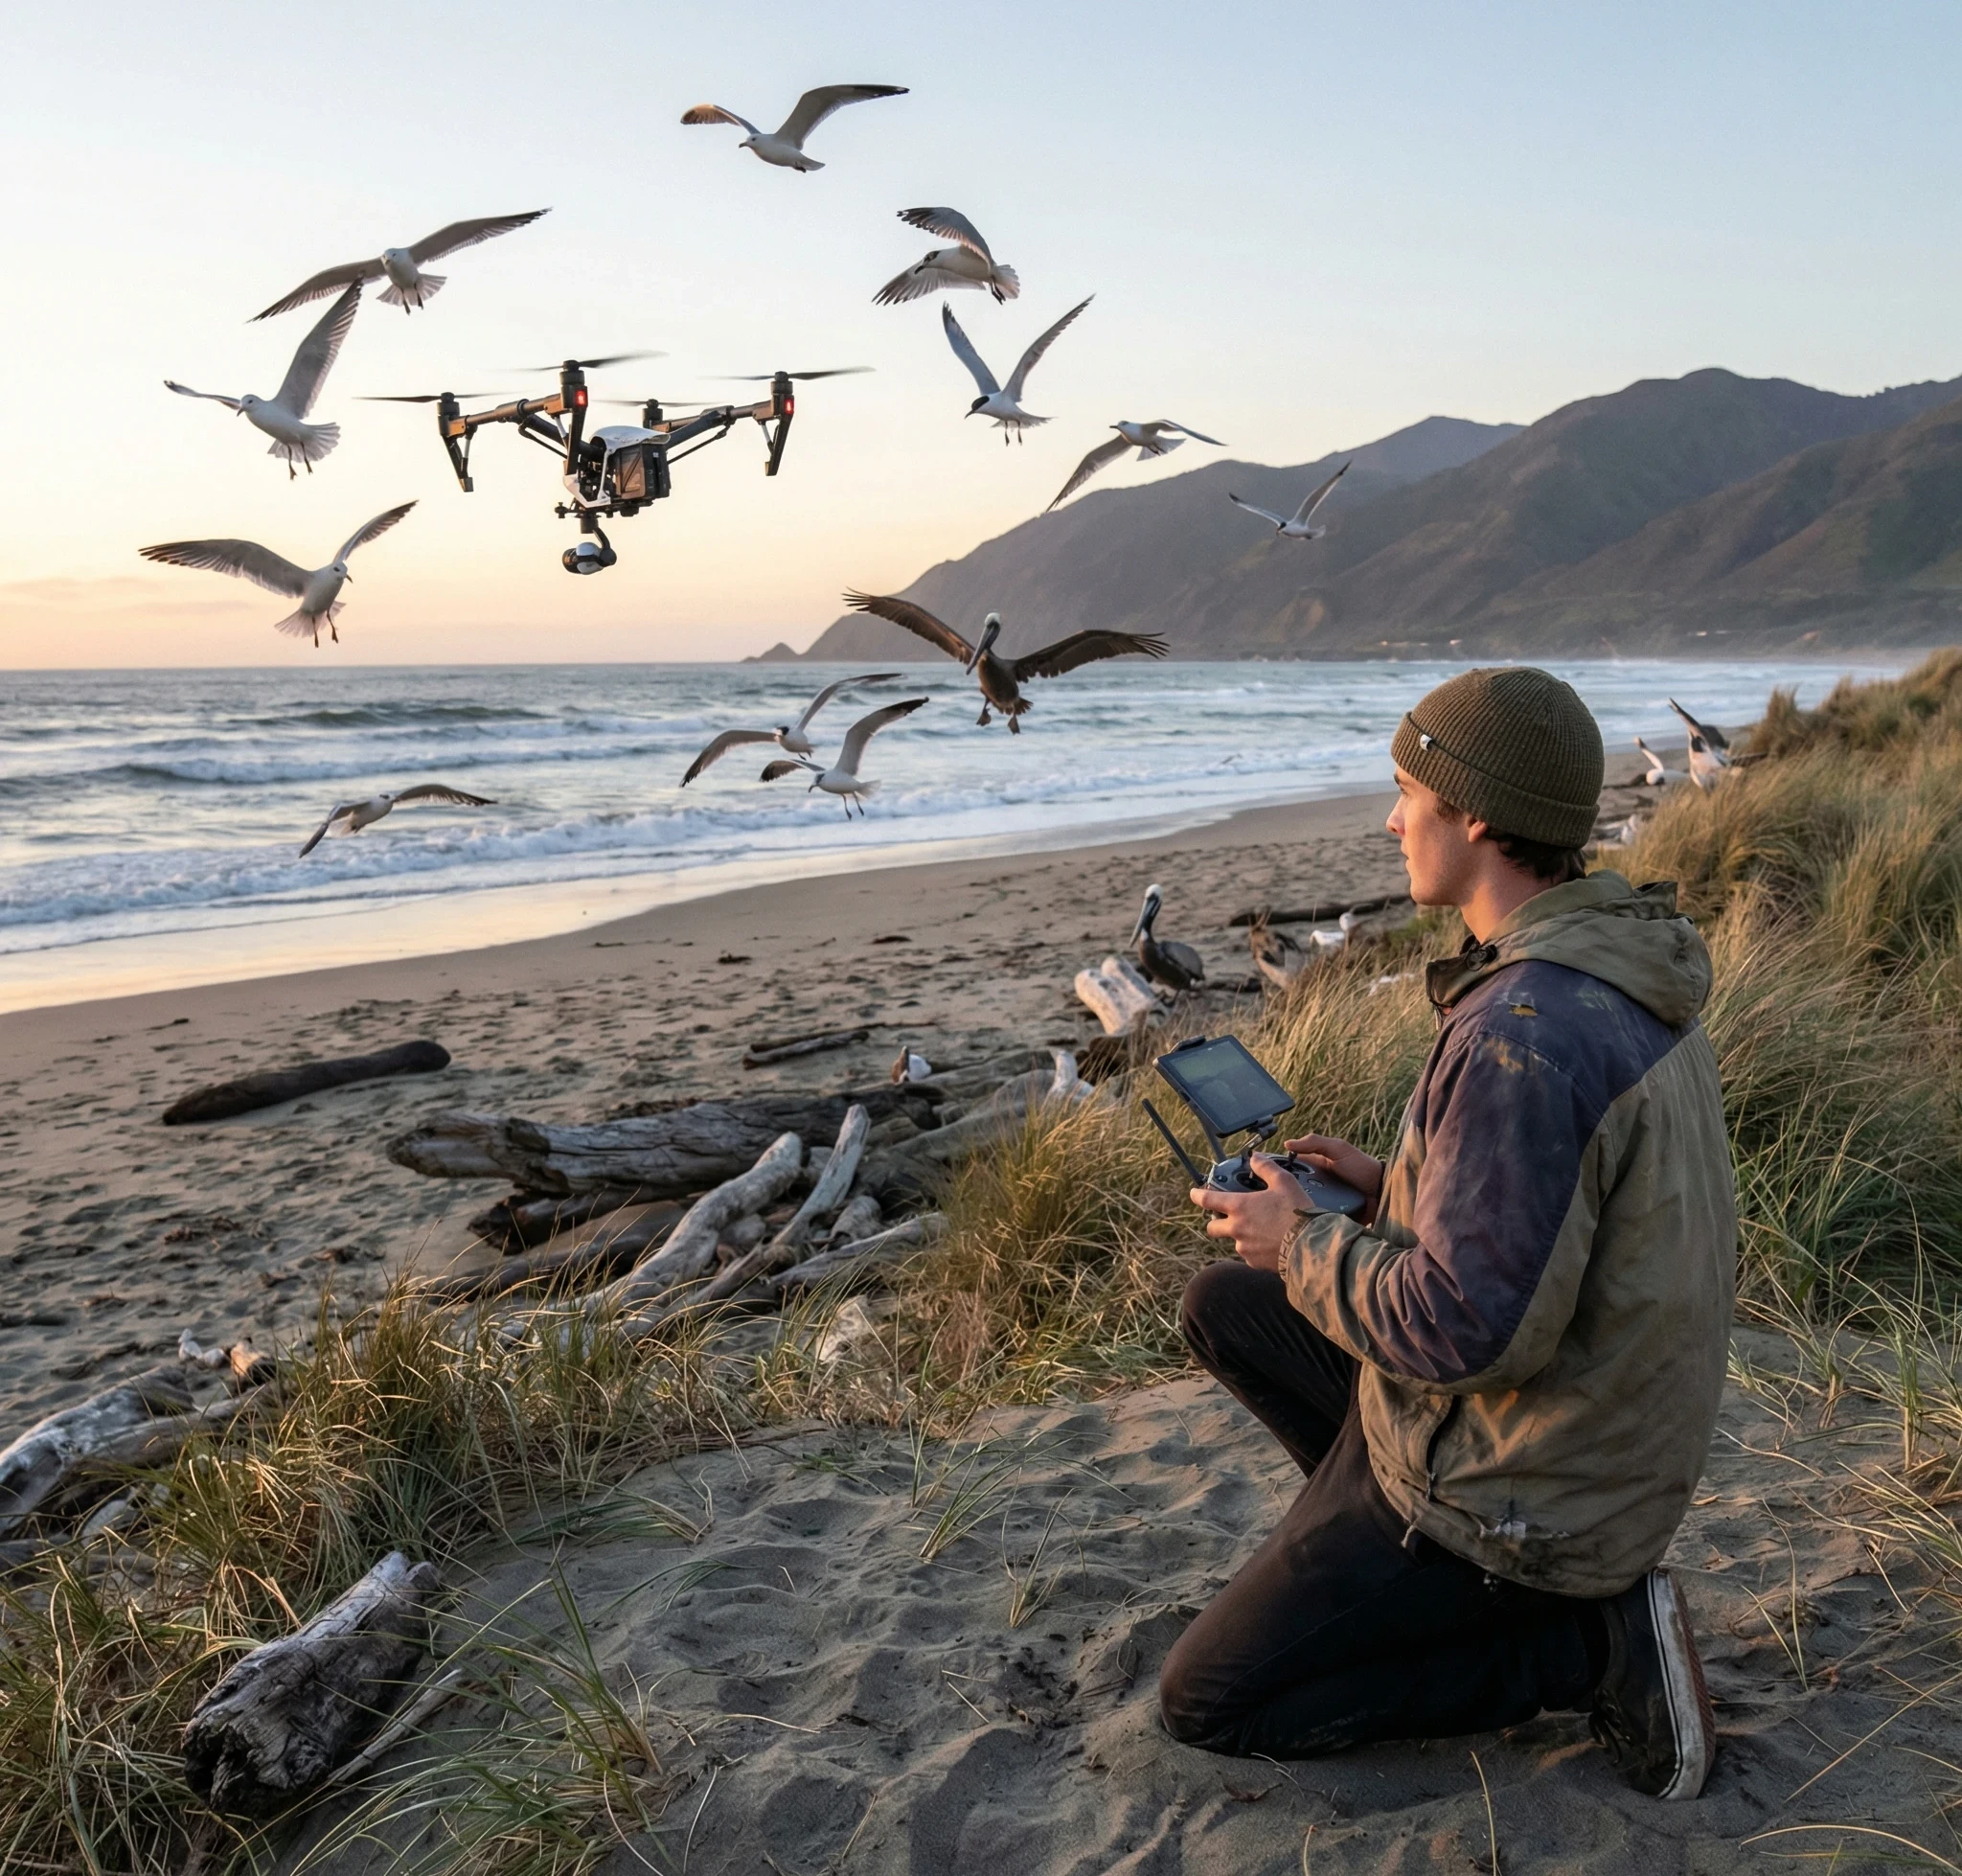
Why Chasing Birds Causes Blur
Chasing flying birds with your drone usually means moving quickly enough that your camera can’t keep up.
The bird zigzags, you try to follow, and blur multiplies.
Perfectly matching speed and direction is tough. It’s also not good for the birds – chasing wildlife just isn’t ethical or effective for sharp results.
Lighting Choices That Help Prevent Blur
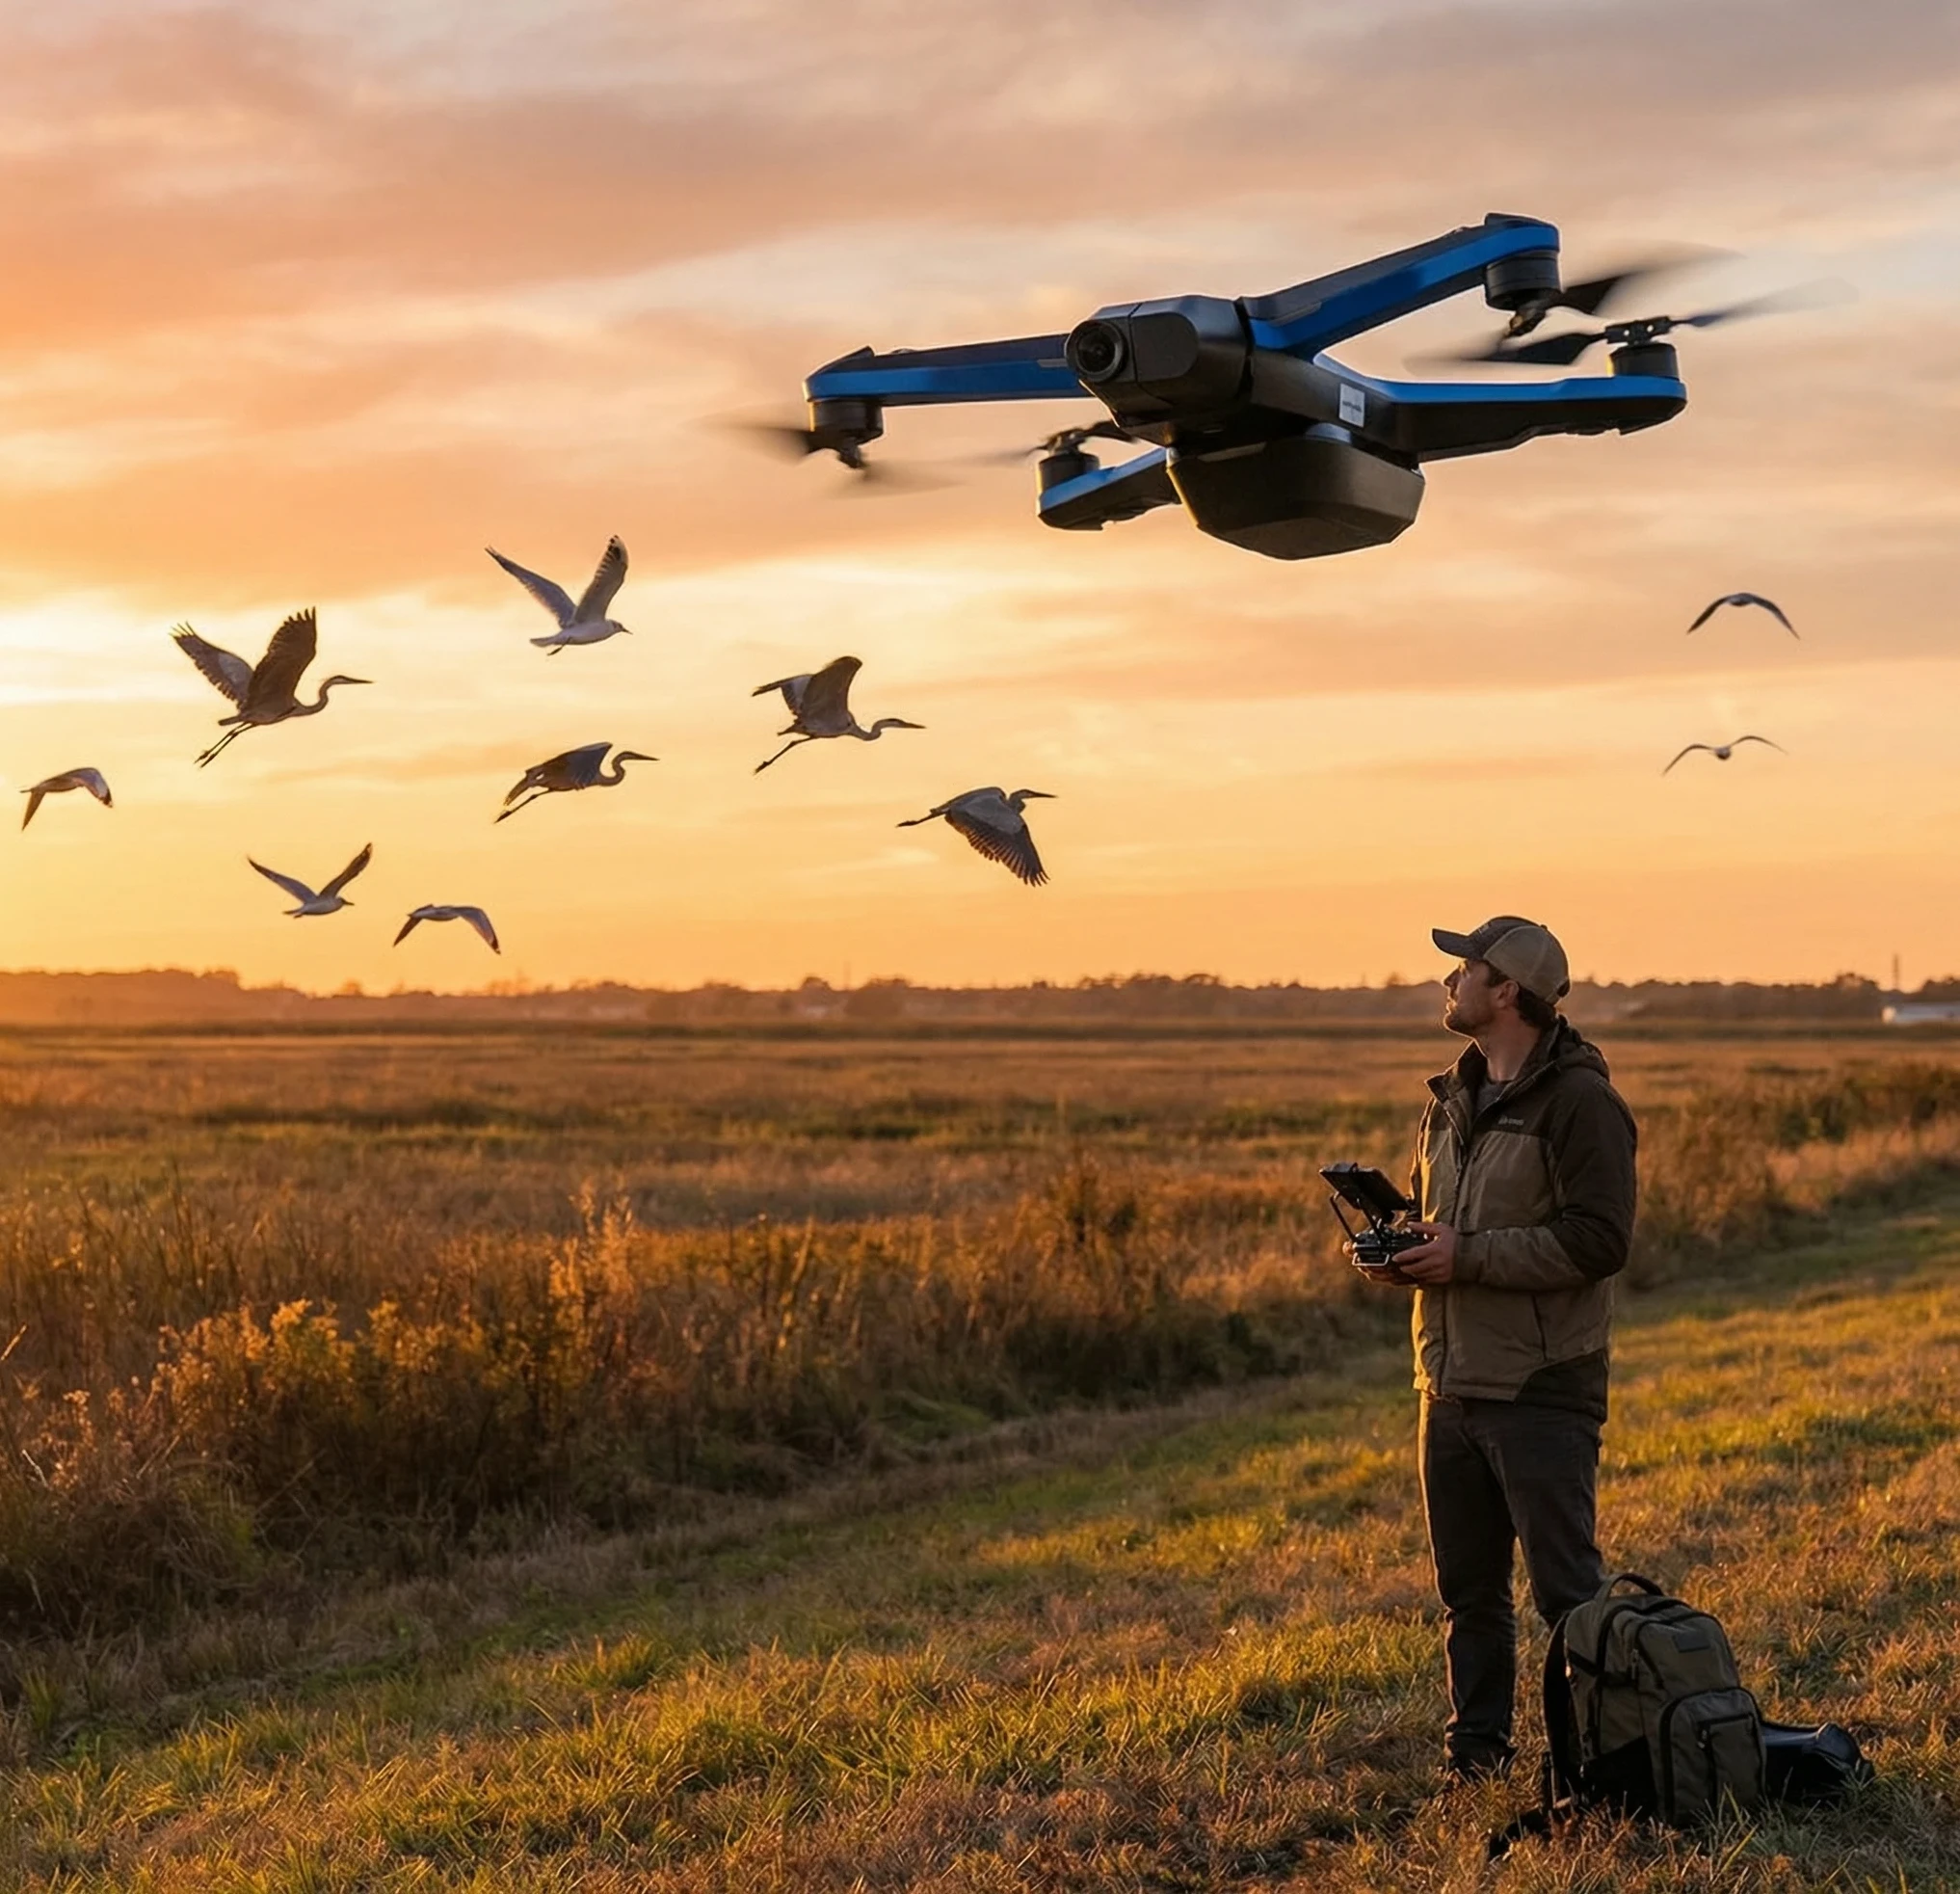
Why Golden Hour Helps
Shooting just after sunrise or right before sunset gives you the nicest light.
That deep, soft light means you get lower ISOs and faster shutter speeds without overexposure.
Contrast is better, which often helps your camera find focus faster too.
Avoiding Harsh Midday Light
Midday sun can flatten images, blow out highlights, and create heat shimmer in open places.
Plus, glare can make it hard to check focus and tweak settings on your screen.
Too much brightness also leads to overexposed water reflections or shiny bird feathers, which can trick autofocus and mess up your exposure.
Cloudy Days: Underrated for Sharpness
Cloudy weather serves up soft, even light, which can improve sharpness.
With fewer harsh shadows, your camera has an easier job locking focus and getting accurate exposure.
Many of my sharper drone bird images come from overcast mornings or afternoons.
Autofocus Settings for Sharper Drone Bird Photos
Most drones let you pick autofocus (AF) modes.
Continuous or “tracking” AF follows a moving subject, while singleshot AF locks and stays.
For birds, tracking AF is your friend, especially with any movement in the frame.
Center point AF helps, too, if your subject is small and you want to focus straight on the bird and not the background.
If your drone gives you focus lock, use it on the bird and then shoot your burst; don’t let the settings wander between each click.
Environmental Factors That Cause Blur
- Wind: Even light breezes can nudge your drone or the bird. Strong wind makes sharp shots a struggle.
- Heat haze: Photos taken over water or hot ground can show shimmering or softening due to heat. Even sharp shots may look slightly wobbly.
- Atmospheric distortion: At long distances, haze and atmospheric turbulence can soften everything, especially on humid or hot days. Getting closer to your bird helps a lot.
Common Beginner Mistakes That Cause Blur
- Shooting while the drone is still moving sideways or spinning
- Trying slow shutter speeds (below 1/1000s) for birds on the move
- Keeping ISO low, which means long exposures and more blur
- Trying to sneak too close so the birds take off, ruining the chance for a sharp image
- Flying on windy or gusty days without noticing
Simple Editing Tips to Improve Slight Blur
- Always check your burst for the sharpest image. Out of five or ten, usually one is much clearer.
- Apply gentle sharpening with editing tools, but avoid doing too much or the photo will look unnatural.
- Use some noise reduction if your ISO is high, but stop if details start to fade and things get plasticky.
- If a photo is simply too blurry, save your time and put your energy into the next shot instead.
Beginner Practice Exercises to Improve Sharpness
- Try zero movement shooting: hover steadily, frame up, then shoot without touching the controls.
- Work on snapping perched or resting birds to practice sharpness where you have more control.
- Practice tracking slow moving birds from the side, not chasing but keeping a steady flight line next to them.
- After flying, open your images on a bigger screen to check for sharpness. Look for what helped and what didn’t, and spot patterns so you can get better next time.
Frequently Asked Questions (FAQs)
What shutter speed prevents blur in drone bird photography?
For perched birds, 1/1000s is a solid starting point. For birds flying or moving unpredictably, 1/1600s or faster is better if you want sharp shots. If the light is low, don’t go below 1/800s.
Can drones take sharp photos of birds in flight?
Definitely – you can absolutely get tack sharp shots using the right technique. Stick with fast shutter speeds (1/1600s or higher), burst mode, tracking AF, and keep your flight as smooth as possible. Start with birds that are gliding or flying steadily, then take on quicker, more acrobatic birds later.
Is blur caused more by the drone or the bird?
Usually, both play a part. Bird movement is a big culprit, but so are drone vibrations and gusts. Getting both under control is the way to land sharp shots.
How windy is too windy for sharp images?
Anything more than a soft breeze (around 10 mph or up) makes sharp photos hard to get, especially for smaller drones. If you see your drone wobble even while hovering, it’s best to wait for calmer air.
Sharp Drone Bird Photos Come from Control, Not Speed
Crystal clear bird images from drones are about flying smoothly, knowing your camera, and staying patient.
If you chase birds or rush the process, blurry shots tend to pile up.
Sticking to simple habits – hovering before shooting, using a quick shutter, steering clear of wind – helps you steadily rack up crisp captures.
If you want to keep leveling up, check out my other guides covering drone photography fundamentals and wildlife safety tips for aerial photographers.