
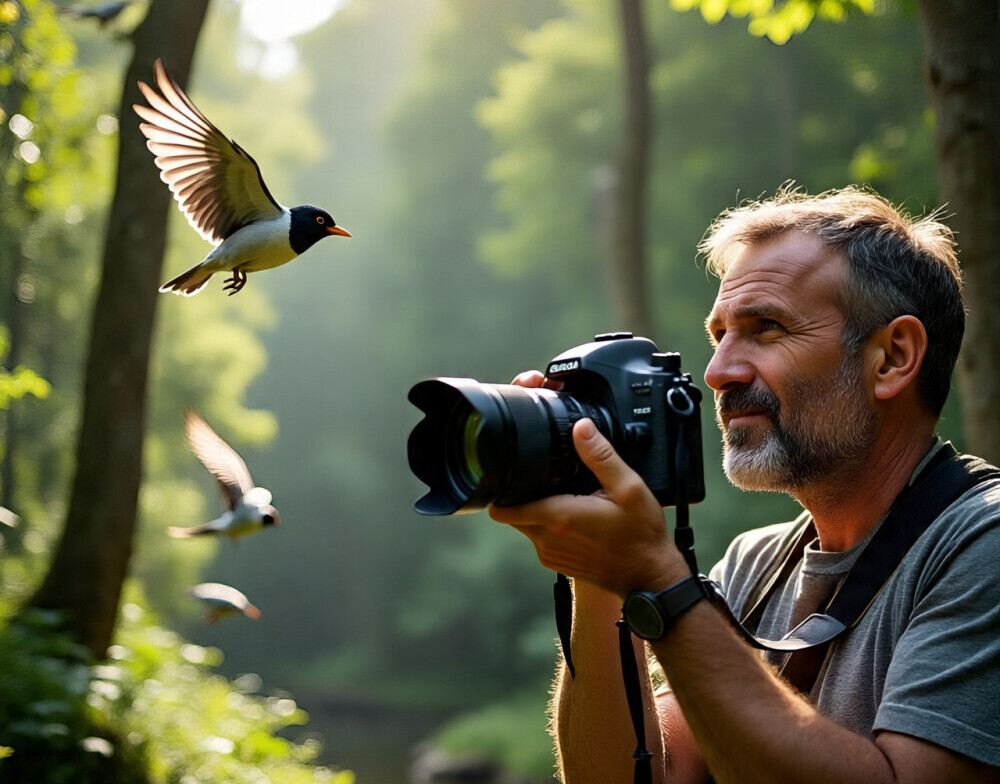
Bird photography brings together patience, excitement, and plenty of rewarding challenges.
Whether your aim is to document local wildlife or nab an eye-catching shot of a colorful bird mid-flight, getting started with the right equipment makes the whole ride smoother.
Picking out your gear can be confusing, but I’m here to help, sharing the essential equipment that’ll help you get those stunning bird shots while avoiding common frustrations.
Basic Equipment Every New Bird Photographer Needs
Bird photography keeps getting more popular, especially with the easy access to quality cameras and lenses these days.
Birds move quickly, sometimes on a whim, and often blend in with their surroundings, so the gear you use has a big effect on your overall results.
Trying to photograph a darting warbler or a faraway hawk without the right setup is basically asking for frustration.
The market for camera gear is full of options for every budget.
Manufacturers are always putting out new products to make wildlife and action photography far easier, so picking the right entry-level kit means you’ll spend less time troubleshooting and more time bagging images you’re proud of.
Alongside that, the hobby really took off with the arrival of affordable DSLRs and mirrorless cameras.
Now, it’s much cheaper (and easier) to get into bird photography than it was even a few years ago.
That means beginners can start learning techniques alongside the basics of equipment—an approach that pays off quickly.
Getting Ready: Gear That Makes Bird Photography Smoother
Knowing the basics is the real backbone.
Camera bodies, lenses, tripods, and a few trusty accessories form a complete foundation.
If you’re just getting your feet wet, lighter camera systems with user-friendly controls are worth looking at for more relaxed shooting.
Autofocus speed, burst shooting, and lens reach can make or break your results, though you don’t have to buy pro-level stuff right away to get quality images.
Here are a few common terms you’ll run into as you dig into bird photography:
- Autofocus Points: More autofocus points help you lock onto moving birds, boosting your odds of a sharp shot.
- Burst Rate: The number of photos your camera grabs per second. A higher burst rate is awesome for action shots.
- Focal Length: Lenses with longer focal lengths (measured in mm) let you pull in distant subjects, which is especially useful with skittish birds.
Understanding these basics gives you a leg up.
With time, you’ll spot the strengths and weaknesses in your gear, making upgrades intentional and meaningful rather than based on hype or trends.
Starter Kit: Essential Gear Choices for Beginners
Here’s a basic checklist to help anyone starting out—this is the gear I see most beginners using, and it sets you up for success from the jump:
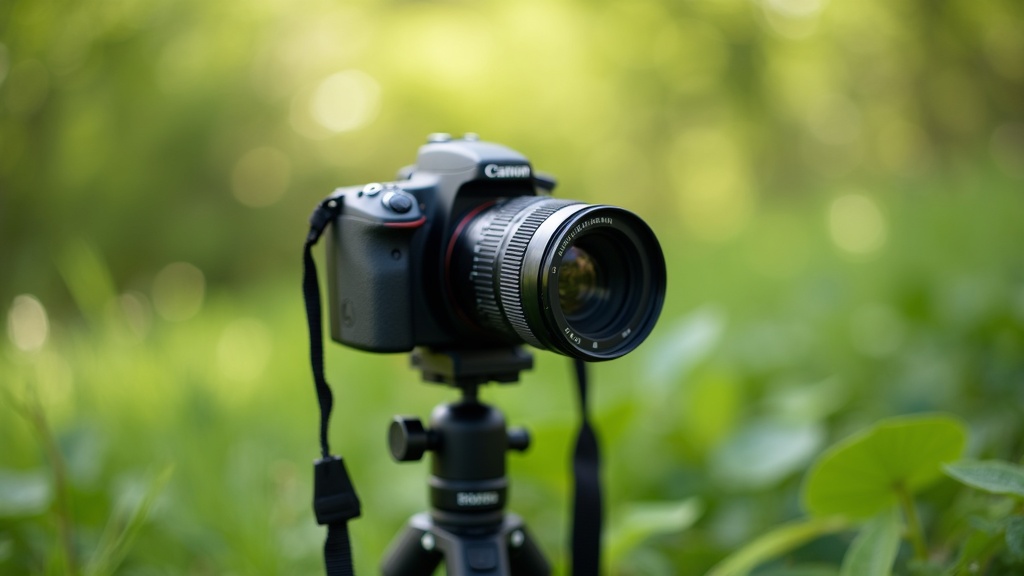
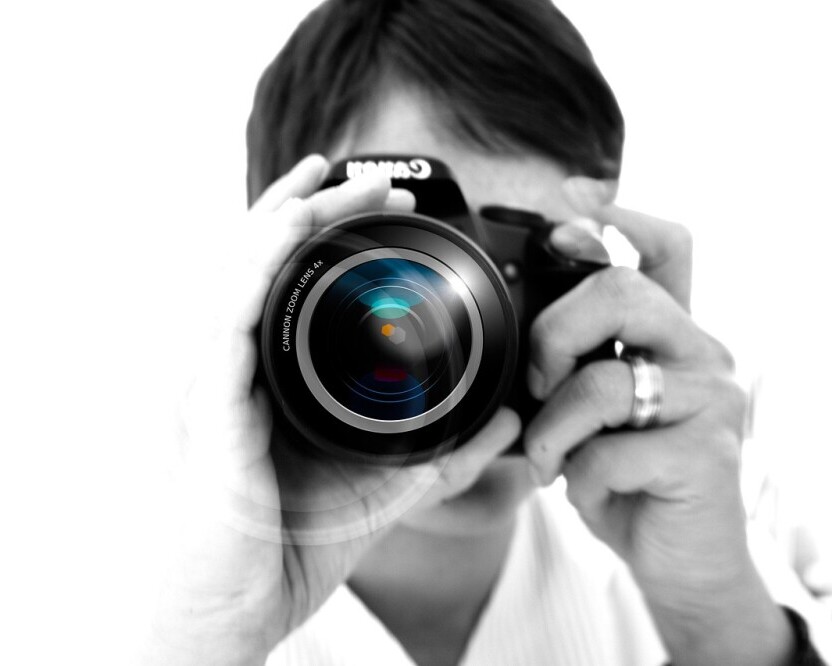
- Camera Body: Entry-level DSLR or mirrorless cameras are a perfect fit. Go for models with good autofocus and decent low-light results.
- Telephoto Lens: Anything from 300mm to 600mm is ideal for making distant birds big in your frame. Starter zooms like a 70-300mm are lighter on your shoulders and your wallet too.
- Tripod or Monopod: These keep your camera steady, which is key for sharp pictures—especially with bigger lenses or in dim lighting.
- Memory Cards: Pick fast, trustworthy cards with lots of room, so you won’t miss the action due to slow saves or full storage.
- Binoculars: These aren’t directly tied to photography, but a solid pair helps you track down birds before you aim your camera.
This kit covers the essentials and gets you comfortable in the field. Over time, you’ll notice which pieces become your favorites and which you can live without or upgrade later.
Things to Consider Before Buying Bird Photography Gear
Every beginner faces a few classic hurdles. Watch out for these so you can make smarter gear choices and steer clear of common regrets:
- Weight and Portability: Bigger lenses and tripods get heavy quickly—think about how far you’ll walk or how often you’ll be on your feet.
- Autofocus Performance: Speedy, precise autofocus helps you keep up with fast-moving birds. Modern cameras with good tracking modes make a huge difference.
- Weather and Durability: Not every piece of gear holds up to rain, mist, or dust. Weather-sealed items or handy rain covers give you peace of mind if you shoot outside regularly.
- Budget: Focus on the important gear first. Add specialty items as you get more into birding and start to know where your interests really lie.
Weight and Portability
Dragging a big lens and a steel tripod around can kill your enthusiasm.
I learned the hard way that picking lightweight zoom lenses and carbon fiber tripods makes longer photo adventures way easier on my back.
Going lighter sometimes means sacrificing a bit of reach or rock-solid stability, but if you’re walking far, the trade-off is usually worth it.
Autofocus Performance
Some cameras handle focusing quickly and reliably. I remember using older gear and missing way too many fast-moving subjects.
Budget cameras now have much better tracking than in years past, so even affordable models can keep up with action if you check the specs.
Weather and Durability
Dewy mornings, mist, and unexpected rain all put your camera to the test.
A lot of mirrorless options and modern lenses come with some weather sealing, but extra rain covers and lens hoods can be lifesavers for a few bucks.
It’s a small investment for big peace of mind.
Budget
With tempting new releases every year, it’s easy to overspend on extra features. I always advise buying one great lens up front rather than scattering the budget across too many entry-level models. Shooting with gear you trust keeps things fun while you wait to upgrade the rest.
In short, being honest about what you actually need saves you money, helps you avoid headaches, and keeps your enthusiasm high as you learn more.
Advanced Tips to Get Sharper and More Creative Bird Photos
Once you’re comfortable with the basics, there are several simple ways to level up your results and creativity:
Fine-tune Autofocus Modes: Try different modes (like single-point vs. continuous) and see what works for the kinds of birds and shots you prefer.
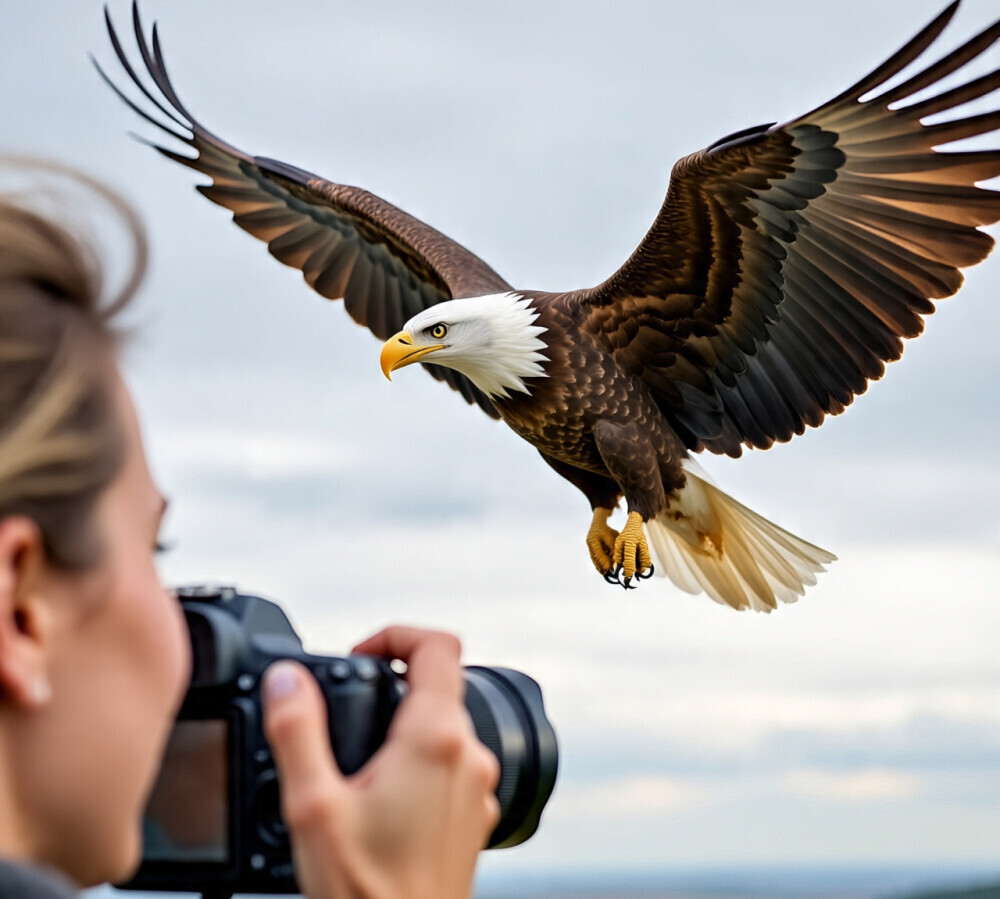
Shoot During Golden Hours: Early morning and late afternoon light always brings out richer colors and finer feather details, plus it’s less harsh than midday.
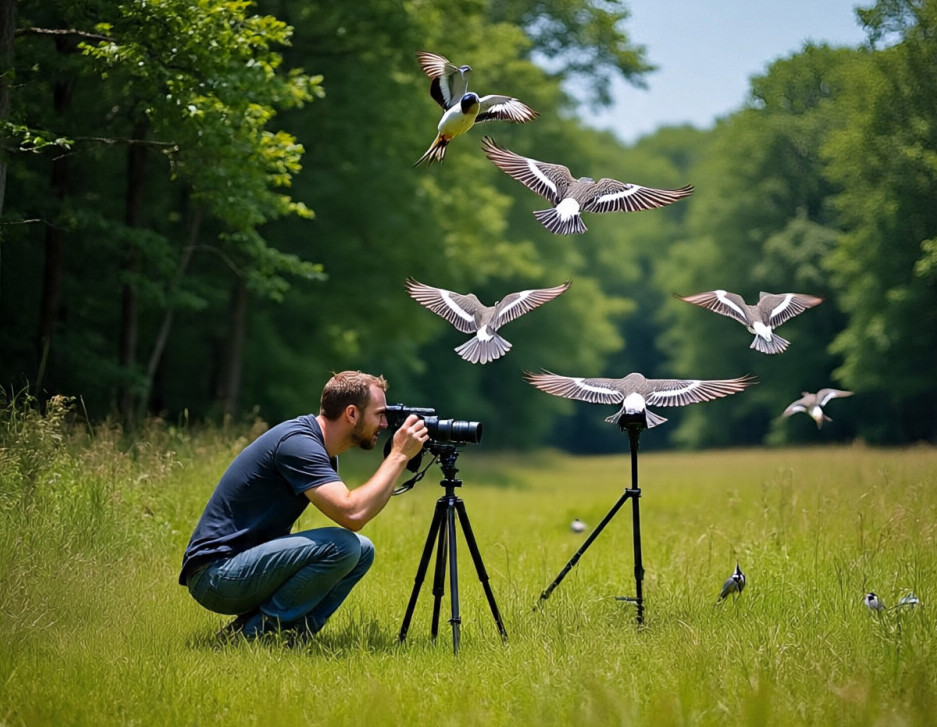
Stabilize Your Setup: Use a beanbag or a lightweight monopod when a full tripod isn’t practical. These work well on trail edges, boats, or uneven spots.
Use Remote Shutters or Timers: Camera shakes, especially with long lenses, can ruin perfectly good images. Remotes or timers keep things super steady for sharper results.
Learn Bird Habits: Dig into field guides or watch birds before you even lift the camera.
Knowing their routines and motions helps you anticipate cool moments or fun behaviors to photograph.
Mixing in these habits will bump up your number of keepers and add more personality to your photos.
Sometimes, even something simple like using a remote or choosing the right focus mode can be the difference between a decent shot and an amazing one.
The Basics: Must-Have Equipment in Real-World Bird Photography
The best kit is the one you actually carry and use.
Equipment that’s easy to operate or quick to set up gives you more chances to catch birds in action and less frustration in the field.
When I was starting out, my main setup was a crop-sensor DSLR and a used 70-300mm zoom lens.
It wasn’t expensive, but it delivered surprisingly sharp images of backyard birds and even wild herons by the river.
Focusing on camera skills and learning the habits of local birds helped me get better much faster than just buying fancier equipment.
- Backyard Birding: A basic setup lets you get great shots from garden feeders, balconies, or local parks without needing huge investments.
- On the Trail: Lightweight gear makes covering longer distances easy, so you can capture everything from flickers to hawks without feeling weighed down.
- Travel Adventures: Compact mirrorless kits with zoom lenses come in handy for snapping unusual species on trips or at wildlife sanctuaries.
Ultimately, bird photography is about balancing portability, flexibility, and fun. If you miss a shot, it’s just another lesson for the next time you’re out there.
Frequently Asked Questions
Here are some top questions new bird photographers often ask when assembling their kit:
Question: What’s the best camera for starting bird photography?
Answer: I recommend entry-level DSLR or mirrorless cameras with fast autofocus and at least five frames per second burst shooting. You can always upgrade as you gain experience and know what features you value most.
Question: Is a tripod really necessary for bird photography?
Answer: Tripods and monopods are very helpful with heavier lenses or when waiting for the perfect shot. Lighter kits can be handheld, but any extra steadiness means sharper photos, especially with slow shutter speeds.
Question: What accessories are worth picking up for a beginner?
Answer: Spare batteries, good rain covers, and a lens cleaning kit go a long way. A basic bird guide or a phone birding app is also super useful when you want to track down or identify new species.
Final Thoughts
Starting out with the right equipment makes bird photography inviting and a lot more fun.
By choosing gear you trust—like a solid camera body and a decent zoom lens—while packing a few handy accessories, you’re ready for whatever the field throws your way.
Each adventure brings new discoveries, unique photos, and plenty of great stories to share with other bird fans.
Time to roll and capture those next-level cool moments in nature!
My favorite nephew has recently fallen head over heels for bird photography. He’s always out at dawn with his binoculars and a borrowed camera, trying to capture the perfect shot of a kingfisher or a sunbird. With his birthday coming up, I’ve been considering a mirrorless camera as the ideal gift to support his passion.
Your breakdown of gear essentials and beginner-friendly tips really helped me understand what features to look for. I now realize that autofocus speed and burst rate are important factors to consider, and they’ve moved to the top of my checklist.
Do you have any specific mirrorless models you would recommend for a teenager just starting out? I’m looking for something reliable but not too intimidating. I’d love to surprise him with a camera that makes his birding adventures even more magical.
Hi Alyssa, thanks for your comment.
I am super excited to hear that my post on bird photography gear essentials was helpful.
I am also glad that you have been looking into mirrorless cameras for your nephew, please consider the following brands:-
Canon EOS R10: A great entry-level mirrorless camera with fast autofocus and 4K video capabilities. It’s compact, lightweight, and user-friendly, making it perfect for beginners.
Sony A6400: Another excellent choice with impressive autofocus and tracking capabilities. It’s also compact and features 4K video recording.
Wish your nephew the very best in his hobby of bird photography!!!!!!