
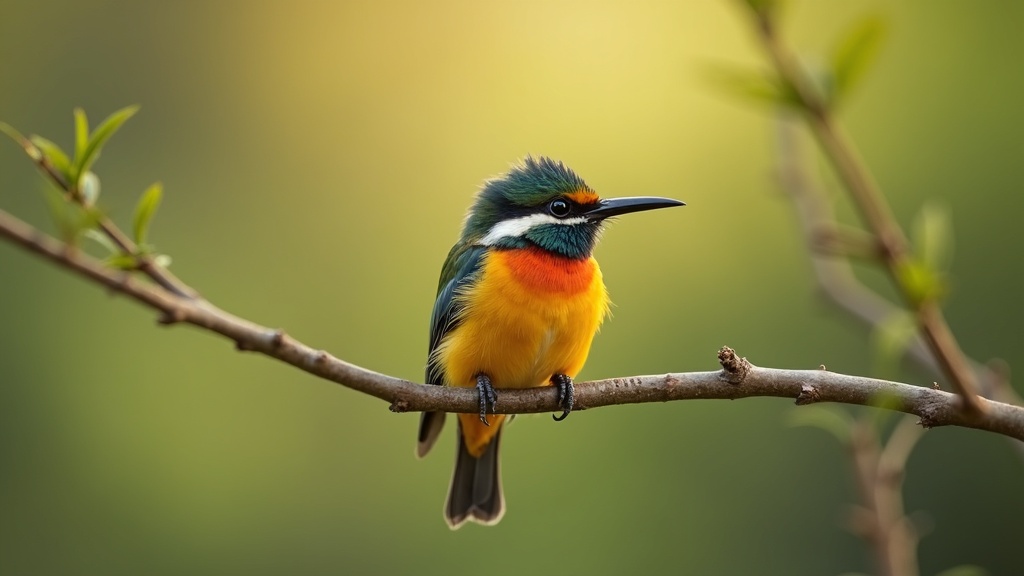
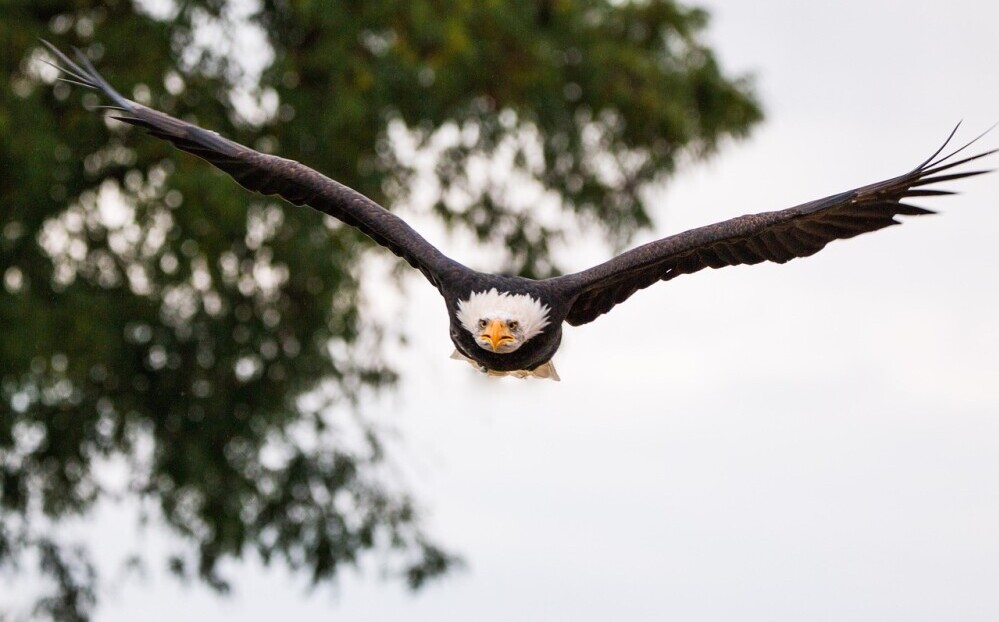
Capturing birds with a camera isn’t just about aiming and clicking. It takes a bit of planning and practice, especially when it comes to locking in your camera settings.
Birds move fast, switch directions in a split second, and often fly through tricky lighting.
If you’re feeling a bit stuck or not sure where to start, you’re definitely not alone. Here’s a chance to dig into choosing the right camera settings to help you get sharper, more vibrant bird photos that you’ll be proud to share.
Why Camera Settings Matter for Bird Photography
Getting the right camera settings for birds makes all the difference between a photo you’re excited to show off and one that ends up in the recycle bin.
Birds can fly off at any moment, and lighting or backgrounds can change as they move.
Mastering camera settings is super useful if you want to snap details like feathers, catch-action mid-flight, or control how the background looks. I’ve learned that dialing in my favorite bird settings has saved a ton of missed shots.
There’s no single “perfect” setting that works every time, but building a foundational approach gives you more confidence outdoors.
While high-end gear does help, even a modest camera gives impressive results if you handle the settings right. Plus, understanding why these choices work isn’t just for technical satisfaction. It puts the creative control back in your hands, not the camera’s auto mode.
Key Camera Settings to Focus On
Whether you’re shooting with a DSLR, a mirrorless camera, or even a bridge camera, these three settings are at the top of my checklist for birds:
- Shutter Speed: This is super important for freezeframe action, especially if you want those sharp in flight shots.
- Aperture: Controls how much of the scene is in focus, and helps blur out busy backgrounds so your bird pops.
- ISO: Cushions your settings in low light, but can add noise if pushed too high.
Knowing how to juggle these three is the core of bird photography. Messing around with them in different situations is easily the fastest way to see what works best for you.
Getting Started: The Basic Recipe
Every photographer works a little differently, but there’s a baseline that many bird shooters start with. I usually set my camera like this for most bird outings:
- Shutter Speed: 1/1000 sec or faster. For perched birds, you can get away with 1/500, but flyers need 1/2000 or more.
- Aperture: f/5.6 – f/8. This gives enough sharpness for the bird but still delivers a nice, creamy background.
- ISO: Start at ISO 400–800 on sunny days; bump it higher if the light dips. I don’t stress about noise because as long as the photo is sharp, noise can often be fixed in postprocessing.
Manual Mode and Shutter Priority are super handy.
In bright light, I’m usually on Manual. If the sky keeps changing, Shutter Priority lets me freeze the action while the camera works out the aperture.
Be sure to doublecheck that your image stabilization is on if you’re shooting handheld—it can save you if your arms get tired.
When you’re just starting out, set up your camera at home with these settings and photograph birds in the backyard.
That way, you build your muscle memory before a real adventure in the field begins.
Autofocus: Settings That Nail Focus Every Time
No matter how awesome your composition is, it won’t matter if the bird isn’t in sharp focus. Birds don’t sit still, so a good autofocus setup is a real lifesaver. Here’s what works for me most of the time:
- Continuous Autofocus (AI Servo/AF-C): Tracks moving birds so you don’t have to keep refocusing.
- Single Point or Dynamic Area: Lets you pick the focus point, but the camera helps if the bird moves a bit. I avoid big “wide area” or “auto area” because the focus sometimes grabs the wrong thing, like a branch.
- Back Button Focus: Separates focusing from the shutter button, helping keep moving birds in focus without refocusing every time you shoot.
It takes a few outings to get the hang of back button focus, but it’s worth it for birds on the go. Try practicing with slow moving birds like ducks before tackling tiny, quick warblers.
Advanced Tips to Tackle Tricky Bird Scenarios
Sometimes you’ll run into low light, fast flyers, or birds perched in dense brush. Here are a few things I do when standard settings aren’t cutting it:
- Use AutoISO With a Cap: In dim light, set shutter speed and aperture by hand, then let AutoISO handle the rest. I set a max ISO limit so photos don’t get too noisy.
- Burst Mode: Even budget cameras usually have a burst feature. I use this all the time for flight shots. More frames mean higher odds that one will be perfectly sharp.
- Exposure Compensation: Birds against a bright sky usually come out dark (silhouetted). Dial up the exposure by +0.7 or +1.0 to brighten, then tweak later if needed.
- Custom Shooting Modes: Save your favorite settings as a custom mode so you’re ready at a moment’s notice. Really handy if you switch between perched and flying birds a lot.
Modern cameras might also give options like Animal EyeAF (on newer mirrorless models).
This is worth checking if your gear supports it; it can really give a boost to your hit rate for sharp eyes.
Also: If you find yourself in rainy weather, use weatherproof lens covers or even a ziplock bag with a hole cut out for the lens—keeping gear dry helps you stay focused on shooting.
Common Mistakes and How to Avoid Them
I’ve made plenty of blunders in the field. These are the most common issues I see, along with tips to dodge them:
- Shutter Speed Too Slow: The biggest reason photos turn out blurry. Always doublecheck shutter speed before you shoot, especially if you’ve just taken landscape shots beforehand.
- Underestimating Backgrounds: Busy backgrounds distract from your subject. A wider aperture (like f/5.6) can clean things up nicely.
- Wrong Metering Mode: Spot metering or center weighted metering works really well when a bird fills up a small part of your frame. With matrix or evaluative metering, the camera sometimes exposes for the whole scene instead of your bird.
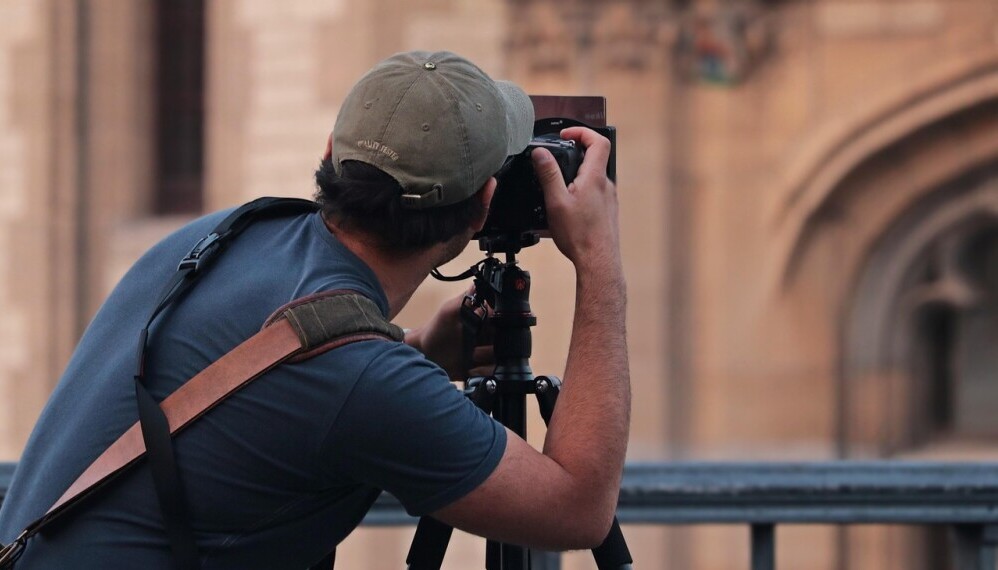
- Forgetting Proper Support: Long lenses can get heavy fast. If you can, bring a monopod or use a tree branch to steady your shot. A little extra stability saves your arms and gets sharper images.
- Ignoring Battery Levels: When shooting outside for hours, check battery status before heading deeper into the field; cold weather can also drain power quickly, so tuck spares into a warm pocket.
Accessories That Make Bird Photography Easier
While settings are key, a few extras go a long way when you’re out photographing birds:
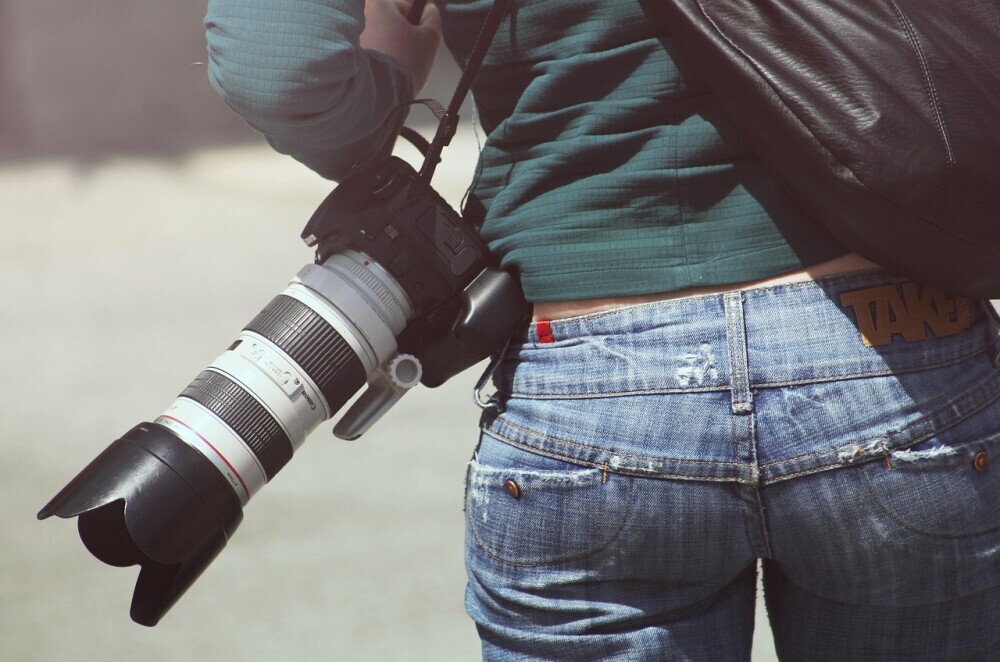
- Telephoto Lens: Anything 300mm or longer is helpful. Even decent zooms get you pretty close for sharp, frame filling shots.
- Sturdy Tripod or Monopod: Especially useful for waiting on patient perches.
- Extra Batteries and Memory Cards: Birds have a way of draining batteries fast, so I always pack extras and at least one clean memory card.
- Weather Protection: A rain sleeve or a plastic bag can save your gear from sudden showers or muddy trails.
- Bean Bag or Ground Pad: Perfect for lying low to photograph birds at ground level or on water, adding more creative perspectives to your shots.
All these extras make your time outside run smoother, which means more focus on the birds and less on equipment hassles.
If you hike to your location, a comfortable camera strap can save your neck and back, especially if you carry heavier lenses.
Popular Camera Setting Combos by Scenario
Here’s a quick guide I go back to for the most common bird photography settings:
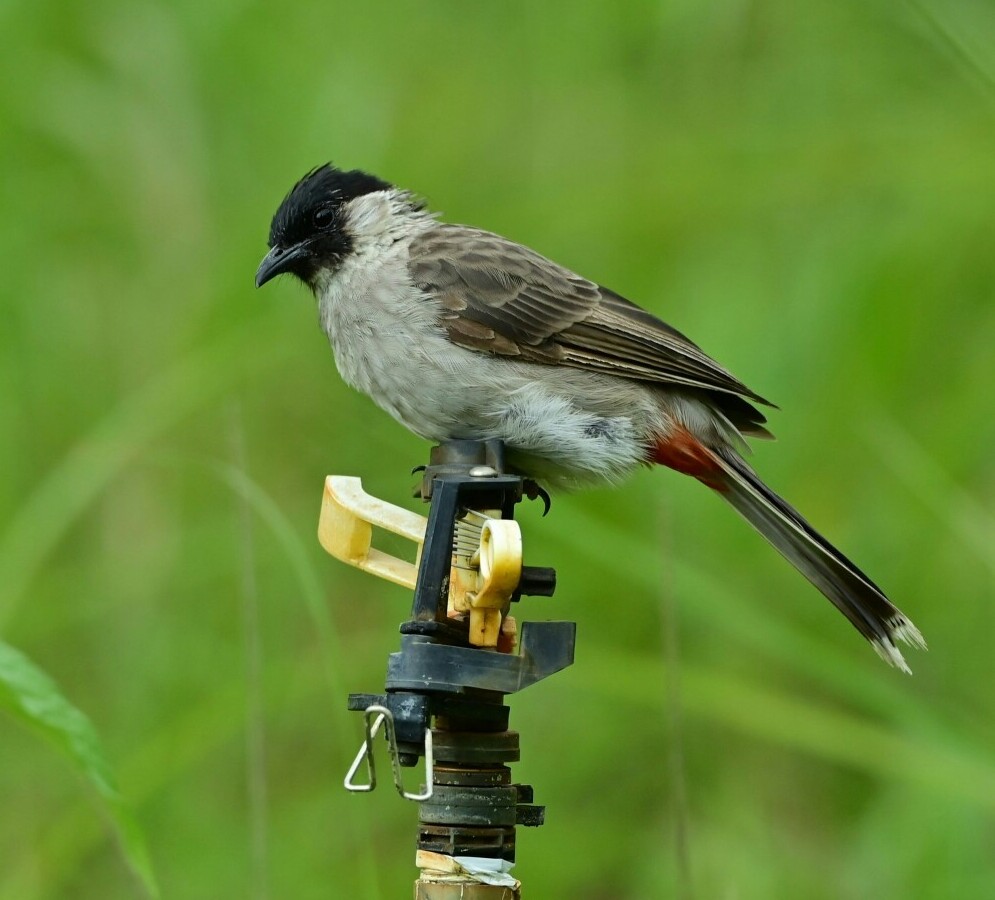
- Perched Birds (Shady Spot): 1/400 sec, f/5.6, ISO 800–1600
- Birds in Flight (Sunny Day): 1/2000 sec, f/5.6, ISO 400
- Birds in Bushes (Mixed Light): 1/800 sec, f/6.3, ISO 1000
- Backlit Birds: Spot metering, +1.0 exposure compensation, same speed/aperture as above
Keep in mind these aren’t fixed rules; tweaking them for your location and time of day is a good idea.
Also, when shooting on cloudy days, you might have to bump up ISO even higher to keep your shutter speed fast enough for crisp shots.
Don’t forget: Tracking down birds early in the morning or late afternoon gives you softer light; this natural glow helps take your photos up a notch.
FAQs About Bird Photography Camera Settings
Question: Is it better to shoot RAW or JPEG for birds?
Answer: RAW is more forgiving if you want to fix exposure, noise, or colors later. I always shoot RAW for birds, but JPEG is quicker to share right away if you don’t plan on editing.
Question: How do I expose for a bright sky/background?
Answer: Use spot metering and set your focus point on the bird. Bumping up exposure compensation (+1.0 or so) helps too. That way, birds don’t end up as dark shadows against the sky.
Question: What’s the best white balance setting?
Answer: Daylight setting looks natural in most situations. If the light keeps changing, auto white balance does a fine job. You can always tweak it later if you shoot RAW.
Question: Should I use manual or auto focus for small, fast birds?
Answer: Continuous autofocus with a single point or dynamic focus works best for most moving birds. Manual focus is really tricky with smaller, speedy species, so let your camera’s autofocus feature do the heavy lifting.
Getting Out There: Real World Experience
Experience outdoors really shapes your bird photography.
I’ve missed shots because I fiddled with settings too long, and I’ve gotten lucky by having my favorite setup dialed in.
Practicing in your local park or backyard is a great way to get comfortable before you try for rarer or warier species.
Recognizing patterns in bird movements, how they perch, and how light changes during the day puts you ahead of the game.
Planning matters too. Check sunrise and sunset times for soft light, and keep your gear (especially batteries and lenses) ready the night before.
Sometimes the best opportunities show up in the first five minutes!
Exploring with birding apps or field guides helps you spot species and their habitats so you know what’s likely to show up if you’re patient in the right spot.
Wherever you photograph, remember to respect wildlife and their environment; a little patience and a gentle presence can lead to more authentic, relaxed bird behavior.
My Takeaway
Bird photography is a mix of patience, practice, and knowing your camera inside out.
Experiment with the settings above, bring along the right accessories, and enjoy spending time with wildlife.
Every outing, even the challenging ones, helps you become quicker and sharper with your camera.
Whether you’re after colorful songbirds in the park or fast flying raptors in the open, the right settings and a little preparation help you make the most of every moment.
With steady practice and some field experiences, your best bird photo might just be waiting around the next bend.
This is such a well-rounded and practical guide; thank you for sharing it. I have been doing bird photography for quite a while now, and I completely agree with you about the common mistakes to avoid. You nailed it.
I’ve definitely learned the hard way about shutter speed: switching from landscape mode and forgetting to adjust it back has cost me more than a few flight shots. And the tip about the background? So true! A busy scene can completely distract from a beautifully captured bird. I’ve started scouting for cleaner backdrops before I even lift the camera.
Your reminders about metering mode and battery checks are also spot on. I’ve had cold mornings where my battery drained faster than expected, and nothing is more frustrating than missing a rare sighting because of it.
This post serves as a great refresher, even for seasoned birders. I look forward to more insights from your experience!
Thank you so much, Alice, for your kind words and for sharing your expertise!
I completely relate to learning the hard way about shutter speed – it’s a common pitfall, but one that makes all the difference in capturing those perfect flight shots.
Scouting for clean backdrops is a great strategy; it really elevates the quality of the photos.
I’m glad the post could serve as a refresher for you, and I’ll definitely keep sharing tips and insights from my own experiences.
Your feedback and sharing of your own experiences are greatly appreciated!