
 Bird photography is one of those hobbies that seems simple from the outside, but when you get involved, a whole new level of challenge appears.
I’ve spent countless hours in fields and forests, hunting for that one eye-catching shot, only to return home with blurry, off-balance photos or tiny distant birds.
Most beginners go through loads of trial and error, but being aware of common missteps helps you get up to speed and improve faster.
If you’ve just picked up a camera and want to photograph birds, you’re in good company; everyone fumbles early on. With just a few adjustments, your photos can quickly take up a notch and leave you much prouder of what you capture.
This all-in-one guide covers 11 mistakes I’ve run into (and made plenty of times myself) along my adventure in bird photography.
These tips should help you create sharper, cleaner, and more inviting bird photos—even if you’re working with basic gear.
1. Ignoring the Background
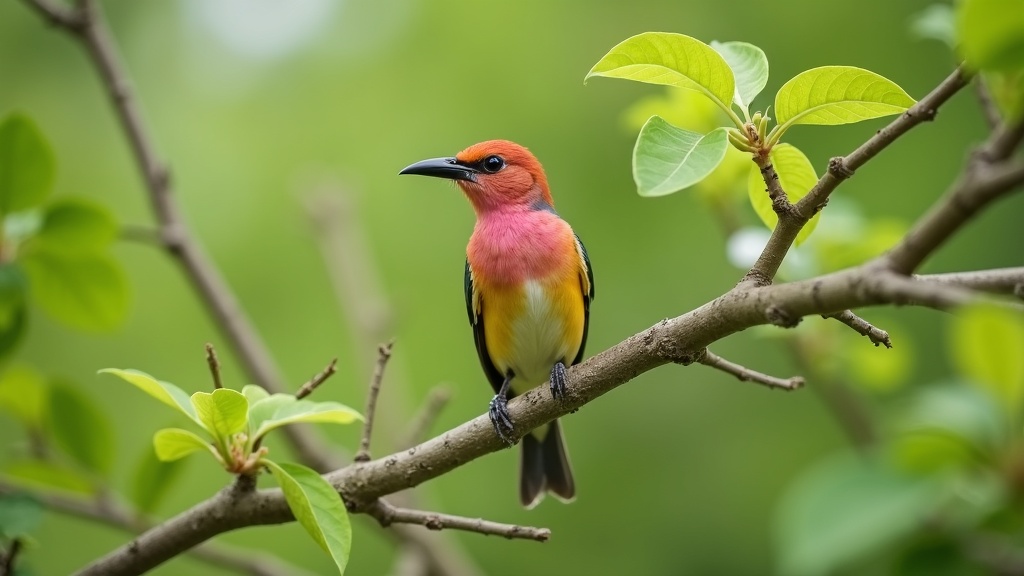
One of the most common issues in beginner bird photography is a background that’s cluttered or distracting.
A brilliant bird can vanish against a mess of sticks, odd flashes of light, or chaotic branches.
More than once, I’ve gotten excited for a photo only to notice later that a stray wire or person sneaked into the frame and ruined the shot.
How to Improve Your Background:
- Walk around and change your position to keep the background clean and manageable.
- Use wider apertures if you can—to blur the background with beautiful bokeh that makes the bird stand out.
- Watch out for bright patches of sun or anything in the background that draws eyes away from the bird.
Before you snap, scan the whole frame for anything that doesn’t belong. This quick pause makes a big difference every time.
2. Off-Balance Composition
Placing a bird dead center is something I did for ages.
But slotting your subject off to the side—even a bit—brings life to the shot.
There’s also a tendency to clip off beaks, tails, or wing tips, which leaves the photo feeling unfinished.
Composition Tips for Bird Photos:
- Set your bird off to one side, giving them space to “look into.”
- Include the full body and tail of the bird unless you want a detail shot of the head or eye.
- Try shooting vertical for perched birds, or horizontal for flocks or birds on the wing.
Thinking about your composition before you click will instantly give a boost to your photos, no matter what camera you’re using.
3. Over- or Under-Processing in Editing
As a novice, I would sometimes crank up sharpness or oversaturate colors, hoping it would rescue a soft or dull photo.
Usually, these heavy edits made things look odd or unnatural. Editing software is powerful, but restraint is your friend if you want natural, next-level cool bird shots.
Editing Tips for Beginners:
- Start with light edits—fix brightness, tweak contrast, and crop only if needed.
- Steer clear of excessive saturation, vibrance, or clarity.
- Keep birds looking like themselves, not like cartoons.
Let the shot shine without piling on heavy effects. A gentle touch helps every time.
4. Unwanted Motion Blur
Birds are speedy, and I’ve lost count of times when my backgrounds turned out crisp but wings or heads came out blurry.
If your shutter speed isn’t fast enough, you wind up freezing the scene but not the action.
How to Get Sharp Shots:
- Use a quick shutter—around 1/1000 second is my go-to for small perchers and birds flying past.
- Boost ISO in low light; grain is much easier to tone down in editing than fixing blur.
- If available, activate burst mode or continuous shooting to snap a rapid-fire series—one is likely to be tack-sharp.
Getting this balance right is essential if you want crisp, action-filled bird photos.
5. Unsafe Shooting Habits
It’s easy to forget about surroundings when you’re locked in on your subject, but accidents happen if you don’t stay sharp.
I’ve nearly stepped into ponds, gotten tangled in branches, or wandered onto private land all in the search for the perfect bird photo.
Ways to Stay Safe:
- Pay close attention to your steps—move slowly and with care.
- Never trespass or cross into off-limits zones, no matter how great the photo might be.
- Dress for weather and terrain—bring sturdy boots, sunscreen, rain jackets, or bug spray as needed.
- Be mindful of wildlife safety too; respect nesting seasons and territory boundaries.
Being thoughtful about where you go and what’s around you means you’ll stay out of trouble and enjoy your adventure more.
6. Not Reviewing Images in the Field
I’ve endured long hikes, eager to check my camera roll at home, only to realize every shot was blurry or blown out.
Taking a few minutes to look closely at your images while still in the field can save you hours of frustration.
Quick Review Checklist:
- Zoom into images to see if eyes and feathers are sharp, not just a general overview.
- Double-check exposure—look for lost shadow detail or overblown highlights.
- Ask yourself if the composition looks the way you want.
If you spot a setback, just adjust settings and keep going—practice in the field makes for progress at home.
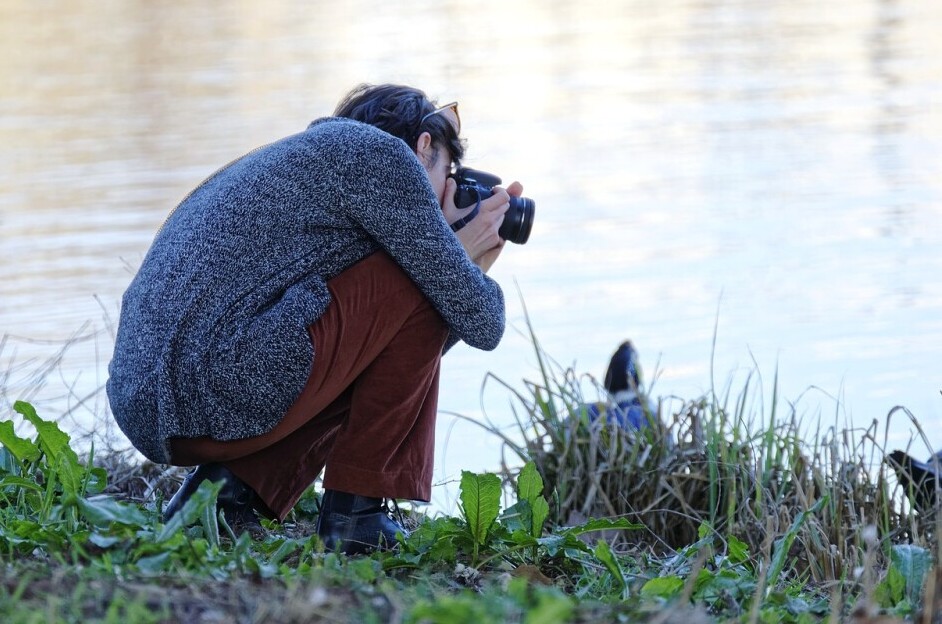
7. Shooting from the Wrong Angle
If you shoot down from above or up from below, birds tend to look distant or awkward.
Getting at eye level with your subject—crouching, kneeling, or even laying flat—can bring your bird photos straight to life.
Why Eye Level Matters:
- You connect with the bird, and so does your viewer—it feels personal.
- Backgrounds blend smoothly and distractions fade away.
- Birds appear more natural, lively, and ready to jump off the screen.
It’s worth bringing a towel or knee pads; the results pay off every time.
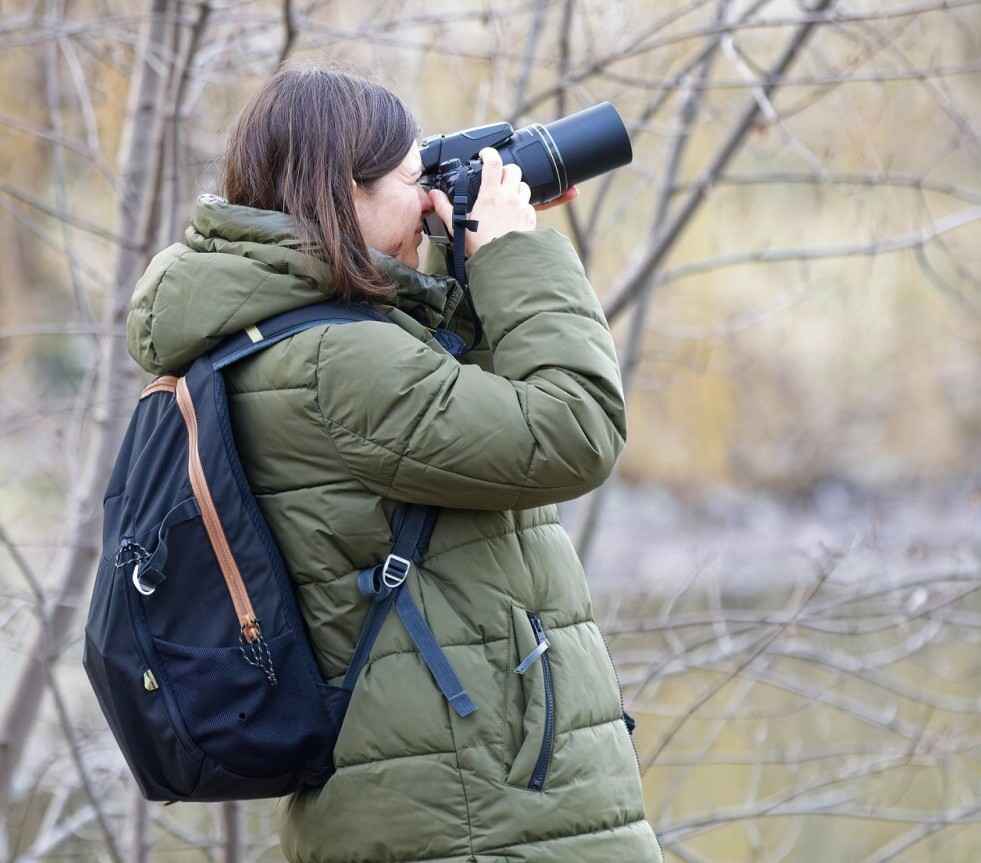
8. Getting Too Close Too Quickly
It’s tempting to close in fast when you spot a rare bird, but this usually ends with the bird taking flight and no photo.
I’ve lost more chances than I can count by moving in too quickly or too boldly.
How to Respect Bird Space:
- Keep your moves smooth, slow, and non-threatening.
- Rely on longer lenses or zooms; you don’t need to be physically right beside the bird.
- Let birds come to you sometimes; pick a likely spot and wait them out.
- Follow birding ethics by never disturbing nests or juveniles for a photo.
Your patience almost always lands you a calmer model and way better photos.
9. Allowing Cluttered Background Elements
Sometimes you snap a shot with the perfect bird pose, only to later spot a stick “growing” out of its head or bits of trash nearby.
These little details end up being big distractions in your shots.
Tips to Avoid Unwanted Subjects:
- Glance over backgrounds for stray objects or odd branches before shooting.
- Move a step left or right to line up for a cleaner shot.
- If there’s minor debris and you can safely remove it, do so—but always leave the area better than you found it.
Taking a moment up front means less disappointment later on.
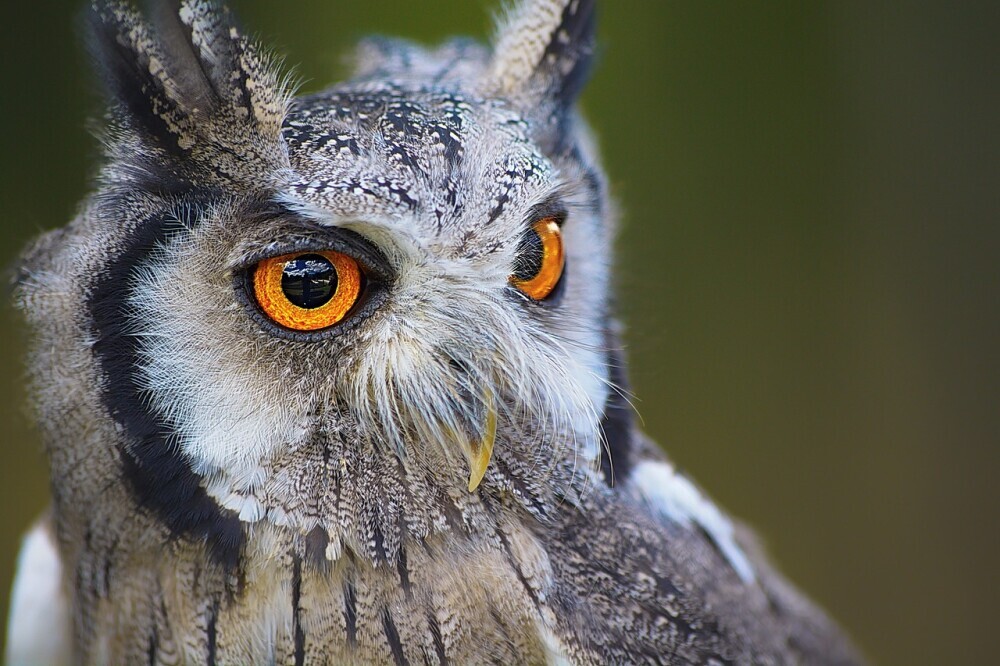
10. Improper Focus
Birds twitch, bob, and dart in unpredictable ways, so it’s easy for autofocus to get tricked by a branch or misjudge the distance.
Many new photographers end up with sharp branches but blurry birds.
Focusing Tips:
- Pick single-point autofocus and aim at the bird’s eye for sitters.
- When birds are flying, switch to continuous autofocus and use a wider focus area.
- If automation struggles, don’t be afraid to use manual focus for tricky cases.
When the bird’s eye is sharp, you almost always get a stunning image that holds your attention.
11. Using The Wrong Shutter Speed
Every species and scene calls for its own approach.
Songbirds need lightning-fast shutter speeds, while waders or ducks can be shot a little slower.
Forgetting to match your settings to your subject’s activity results in missed potential and images that disappoint.
Shutter Speed Recommendations:
- Small, twitchy birds work best at 1/1000 second or faster.
- For flight shots, push to 1/2000 second or more if possible.
- Calm or perched birds might be fine at 1/500, especially if light is low.
Crank up your ISO if you need to—the key is stopping motion and making sure your photos are sharp.
Bonus: Missing Out on Patience and Practice
The secret ingredient for every bird photographer?
Patience.
Top-level gear won’t do much without the willingness to wait quietly, adjust on the fly, and practice over and over.
There’ve been days when I spent hours sitting silently but learned more from the slow moments than the action-packed ones.
Get in regular practice, experiment with new perspectives, and review your work to see where you can step up next. In bird photography, sharp eyes and persistence matter more than fancy lenses.
Final Thoughts
Getting eye-catching bird photos isn’t about having expensive equipment or years under your belt.
It’s all about being mindful in the field, learning from each experience, and gradually building your shot collection.
If you avoid these 11 rookie mistakes, you’ll get sharper, more memorable images, and before long, your gallery will tell exciting stories of every bird you’ve come across.
If you have a bird photo that makes you smile, or want to share a hard-learned lesson.
I’d love to hear your thoughts below—let’s trade stories and cheer each other on.
This post is such a valuable read for anyone starting out in bird photography! I really like how it highlights the most common beginner mistakes with clear, real-world advice on how to fix them. From managing cluttered backgrounds to mastering composition and shutter speed, every point feels practical and experience-driven. I especially appreciate the reminders about safety and respecting wildlife—something that’s often overlooked but so important for ethical photography. The tips on reviewing shots in the field and being patient really hit home; those small habits can make the biggest difference in getting that perfect, sharp shot. What stands out most is the encouraging tone—it reminds beginners that everyone learns through trial and error, and progress comes with practice. This guide doesn’t just teach technique; it builds confidence for anyone hoping to capture birds beautifully and responsibly.
Thanks, Andrejs! Your kind words mean a lot, and I am happy that you found the post helpful.
Bird photography’s all about patience, practice, and passion, and it’s awesome you’re out there giving it a go!
Safety and respect for wildlife are top priorities, and I’m glad you appreciated that emphasis. Keep snapping, keep learning, and don’t be afraid to experiment – that’s where the magic happens